🛩️ Code
This guide gets you ready to fly the Code altitude for our AI Flight Academy session during Team Week. It assumes you're starting fresh: you'll set up your tools, then run a short test flight that proves everything works against your real Microsoft 365 work. At the end you'll take a screenshot and fill out a quick form to get certified.
Your goal: Pilot Certification. Finish the minimum for this altitude, screenshot your result, and upload it to the form. Keep this link handy - it's how you get certified.
Two parts:
Already a GitHub guru? Skim the prerequisites to verify your setup, then skip ahead to the test flight.
Set up GitHub Copilot
Don't know your GitHub login? Confirm your account
The Code altitude relies on GitHub Copilot, so it needs Copilot access on your Microsoft EMU (Enterprise Managed User) account. Do this first - without it, copilot won't run.
Go to aka.ms/copilot/explore and select Continue.
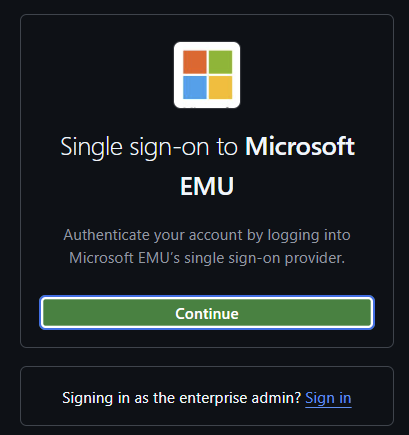
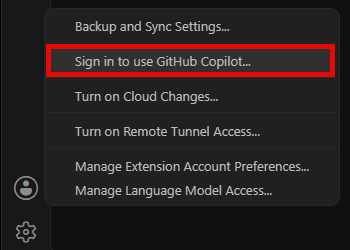
Sign in with your Microsoft account.
You land on GitHub Copilot Access. Seeing this page means the EMU account works.
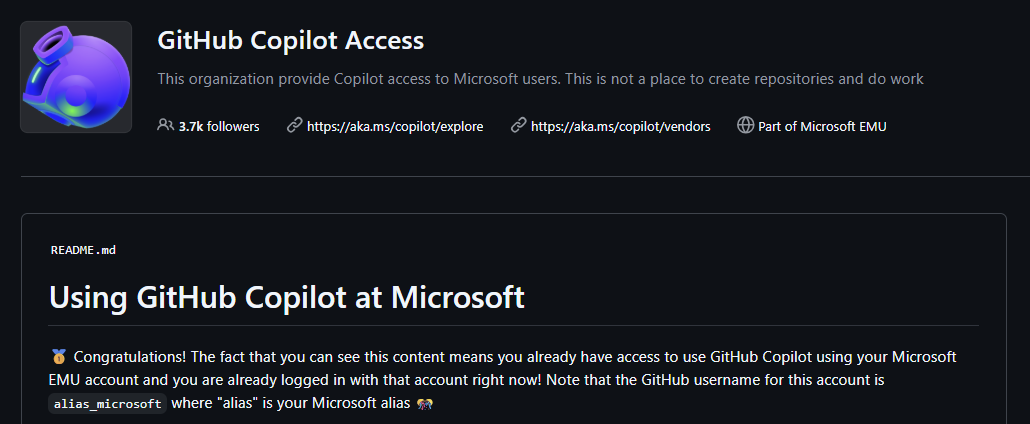
Your username should be
<alias>_Microsoft. Make note of this - you'll sign in with it.
Using a personal GitHub account instead (optional)
On aka.ms/copilot, under "Optional: Would you also like to use GitHub Copilot with your own personal GitHub account?", select Yes, show me how and follow the linking steps.

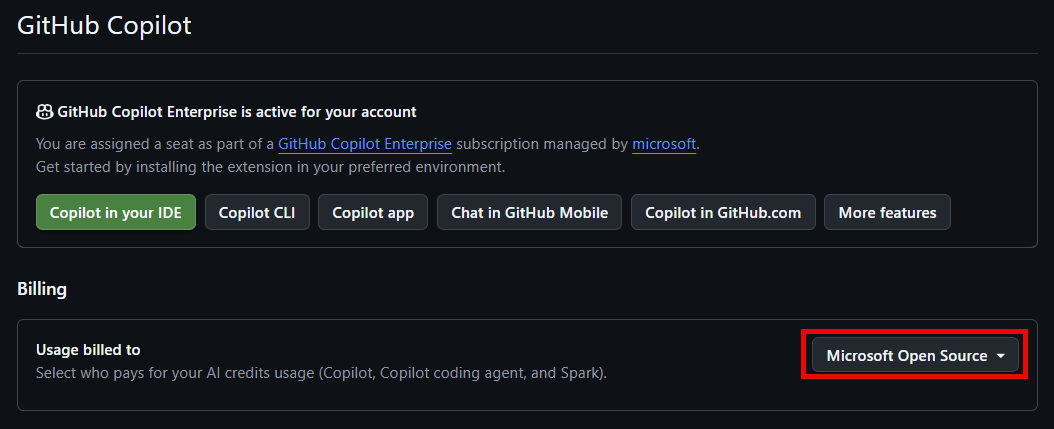
Once linked, navigate to github.com/settings/copilot/features. Make sure you're signed in with your personal GitHub account, then set Usage billed to to Microsoft Open Source.
Prerequisites
Install each prerequisite for the AI Flight Academy Code altitude, then confirm it with the command in Check with - run in any terminal (PowerShell, Command Prompt, Windows Terminal, or VS Code's built-in terminal via View → Terminal).
| Requirement | Get it from | Check with |
|---|---|---|
| GitHub account with GitHub Copilot access | Above. Do this first | |
| Node | nodejs.org | node --version |
| Python 3 | python.org/downloads | python --version |
| Git | git-scm.com | git --version |
| GitHub Copilot CLI | npm install -g @github/copilot | copilot --version |
| VS Code | code.visualstudio.com | code --version |
| GitHub Copilot app | github.com/features/ai/github-app |
Check you're ready
Pick the GitHub Copilot surface that fits your workflow. You're not limited to the ones below either - prefer working in the VS Code editor? Go for it.
Open a terminal and run
copilot.In the prompt box, type
/login.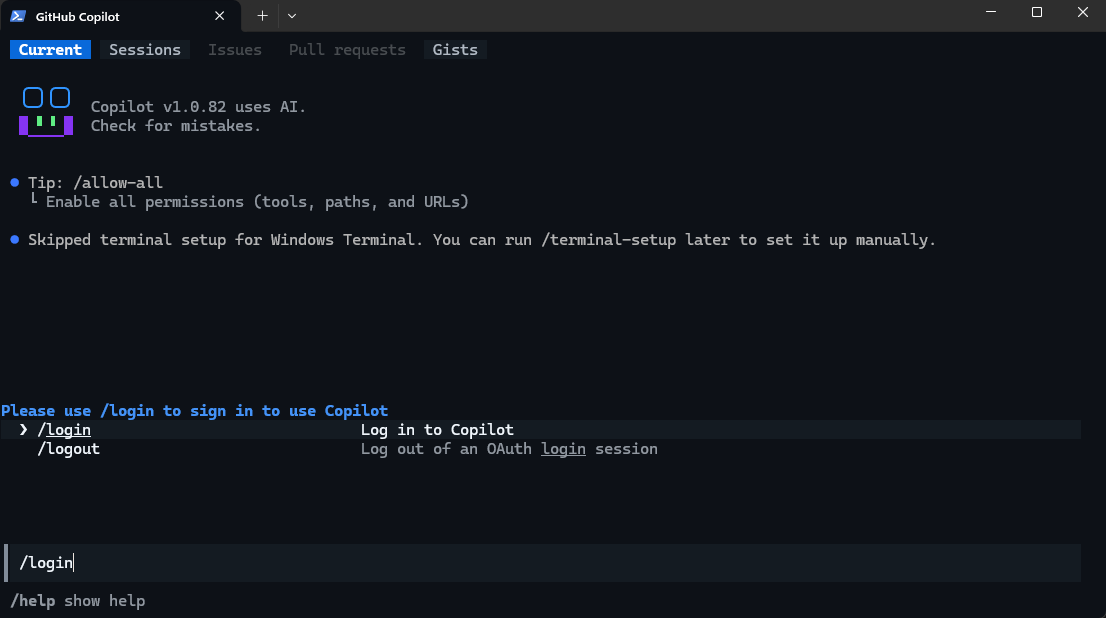
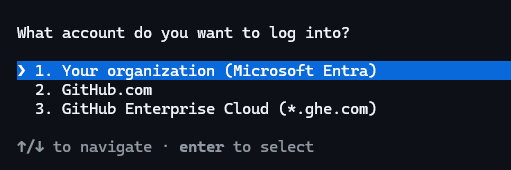
At What account do you want to log into?, choose:
- Option 1 - your org account, for your EMU login.
- Option 2 - a linked personal account.
At How do you want to sign in?, select Sign in with your browser (recommended).
If you're prompted to sign in to your EMU account, enter your address like
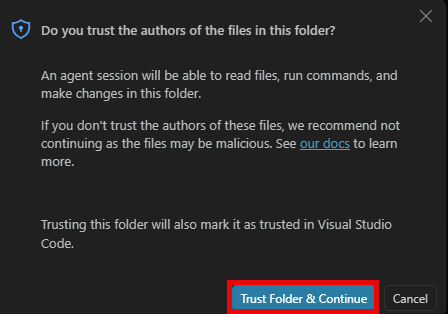
<alias>_Microsoft.If prompted Do you trust the files in this folder?, select either option 1 or 2.
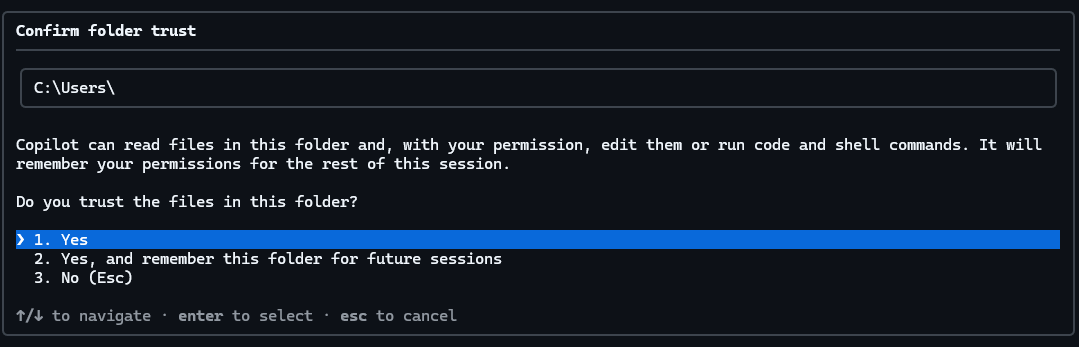
Press Esc to start a new session.
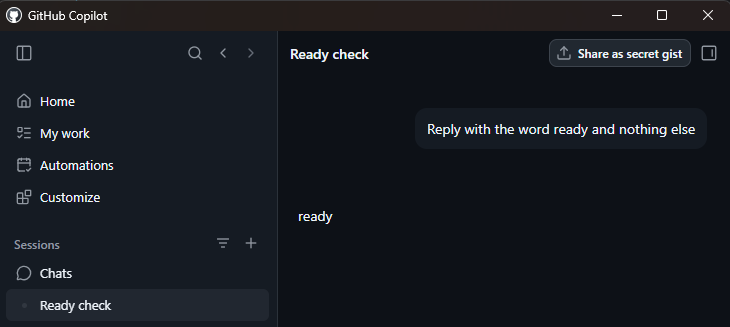
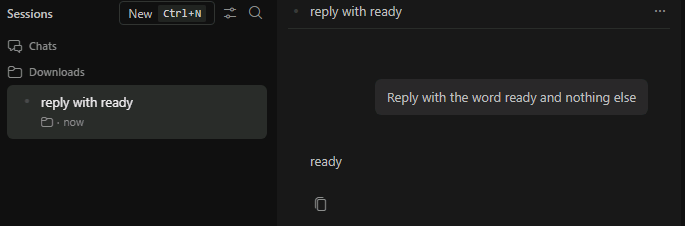
At the prompt, enter:
textReply with the word ready and nothing else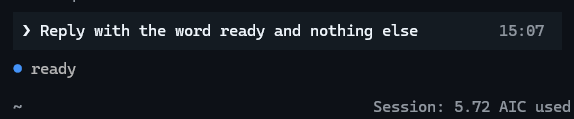
You're ready when it replies ready.
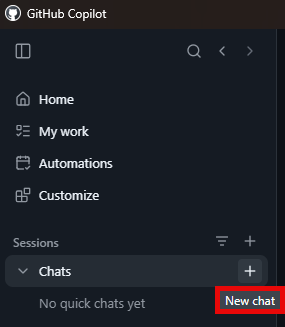

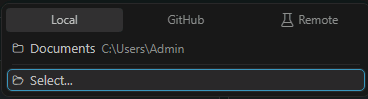
Leave the model on Auto
No scenario depends on a particular model. Auto routes each task based on what you're doing, current system health, and model performance. You can change it any time - by typing /model in the CLI, or by selecting a model from within the prompt window in the VS Code Agents window - but we recommend leaving it on Auto unless you have a reason to switch.
Weekly status report with Work IQ
The test flight: install the Work IQ plugin, then use it to pull a week of your real meetings, email, and Teams activity and turn it into a status report you could actually send.
The minimum to get certified
Install the plugin (step 1), run one prompt against Work IQ, and screenshot the response (step 2). Steps 3 to 6 are extra - they turn that response into a full weekly status report.
1 · Install the Work IQ plugin
Work IQ grounds Copilot in your real Microsoft 365 work - mail, calendar, Teams, and files. Install it as a plugin, then confirm it loaded.
Start a new session.
Add the Work IQ marketplace:
text/plugin marketplace add microsoft/work-iqInstall the plugin:
text/plugin install workiq@work-iqConfirm the skill installed:
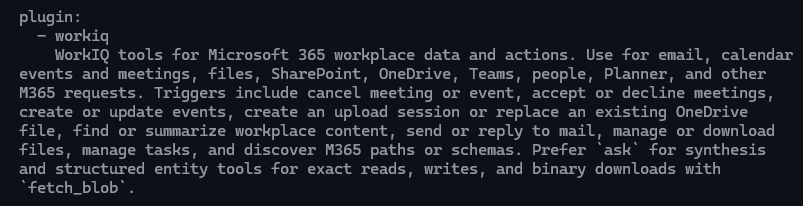
text/skills listScroll down and look for workiq under plugin.
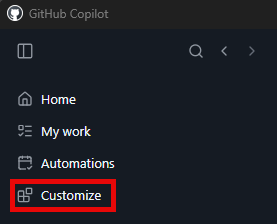
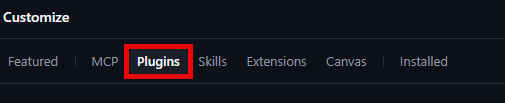
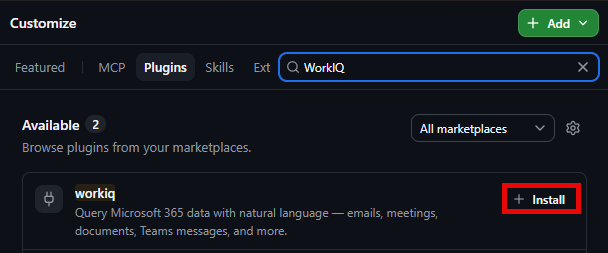
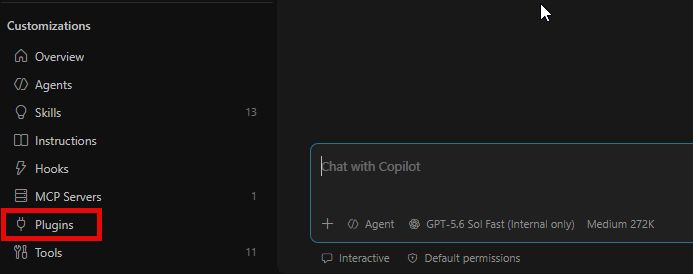
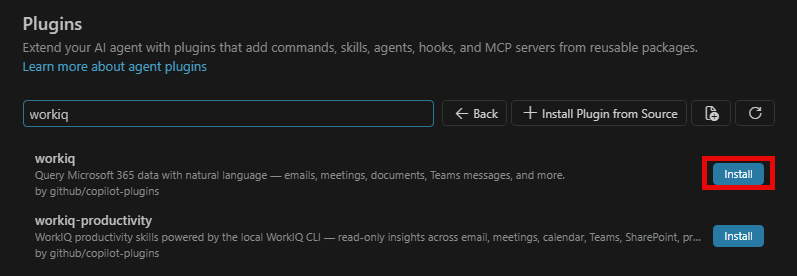
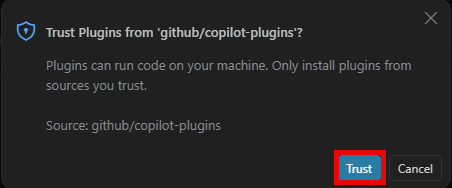
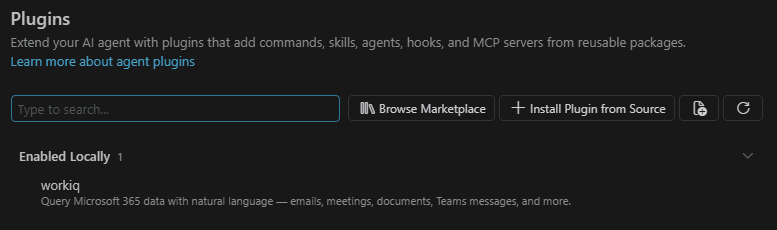
Note: Installing Work IQ in one of these tools typically makes it available across all GitHub Copilot harnesses. For example, if you install it in the CLI, it's also available in the GitHub Copilot app and in VS Code (Agents window and editor).
2 · Gather your week's meetings
Start a new session and pull the data your status report is built on. Ask Work IQ about your meetings from the past week:
Summarize all my meetings from the past 7 days. For each meeting, include the title, date, attendees, and key discussion points or decisions made.Review what Copilot returns. This is the foundation of your status report - it captures what you discussed, decided, and committed to throughout the week.
Note: If you're running in the VS Code Agents window after installing Work IQ for the first time, you may get a prompt to authenticate. Select the authenticate hyperlink and sign in with your Microsoft account.

Tip: Work IQ pulls from your Microsoft 365 meeting data when available. Meetings without notes or summaries show basic calendar info only.
🚨 IMPORTANT
That's the bar - get your Pilot Certification. You've run a prompt against Work IQ and have a response on screen. Screenshot it as your proof - that's all you need to be certified. Everything below is extra.
Want the full report? Keep going.
3 · Pull email highlights
Next, gather the important email threads from the week:
What are the most important email threads I was involved in over the past 7 days? Focus on threads where decisions were made, actions were assigned to me, or I was asked to follow up on something.This surfaces the email conversations that matter - not every newsletter or notification, but the threads with real work content.
4 · Check Teams discussions
Pull relevant Teams activity to capture what happened in your channels:
Summarize any important Teams messages or channel discussions I was part of in the past 7 days. Highlight anything where I was mentioned, action items were assigned, or key decisions were made.5 · Generate your weekly status report
Now bring it all together. Ask Copilot to synthesize everything into a structured report:
Based on everything we just gathered from my meetings, emails, and Teams discussions this past week, create a weekly status report with these sections: 1) Key Accomplishments - what was completed or decided. 2) In Progress - work that's actively underway. 3) Action Items - things I need to follow up on, with owners and due dates if mentioned. 4) Risks or Blockers - anything flagged as a concern. 5) Next Week Focus - what I should prioritize based on what's coming up. Format it professionally so I could share it with my manager or stakeholders.Review the report Copilot generates. It should be a clean, organized summary drawn from your actual work data - not a generic template.
6 · Save it as a reusable prompt
This is something you'll want every week, so save it as a reusable prompt file you can run with a single command. Create weekly-status.prompt.md in your .github/prompts/ directory (or wherever your team stores prompt files):
Create a file called weekly-status.prompt.md with the following content: A prompt that queries Work IQ for the past 7 days of meetings, emails, and Teams discussions, then synthesizes a weekly status report with sections for Key Accomplishments, In Progress, Action Items, Risks/Blockers, and Next Week Focus. Format it as a reusable Copilot prompt file.Now every Friday you can run this prompt to generate your status report in minutes instead of assembling it by hand.