Create a connector tool
In this exercise, you will configure a connector tool for a declarative agent in Copilot Studio. You’ll use the “SharePoint - List folder” connector to retrieve a list of files from a Products folder that contains product support files.
This exercise should take approximately 15 minutes to complete.
Before you start
This exercise focuses on adding connector tools to an existing agent. This exercise assumes the following:
- You’ve already created a Product Support declarative agent in Copilot Studio. If you need instructions for creating a declarative agent, see: Create a declarative agent.
- You have a SharePoint site titled Product Support that contains a document library named Products containing files with sample product-related data. For instructions, see the section titled Before you start within the exercise: Add custom knowledge.
Create a SharePoint connector tool from a prebuilt connector
Create a connector tool using the SharePoint List Folder prebuilt connector and add it to the agent.
-
In your web browser, navigate to Copilot Studio at
https://www.copilotstudio.microsoft.com. -
In the sidebar, select Agents.
-
Select Microsoft 365 Copilot.
-
Under Agents, select your Product Support agent.
-
Under Tools, select + Add tool.
-
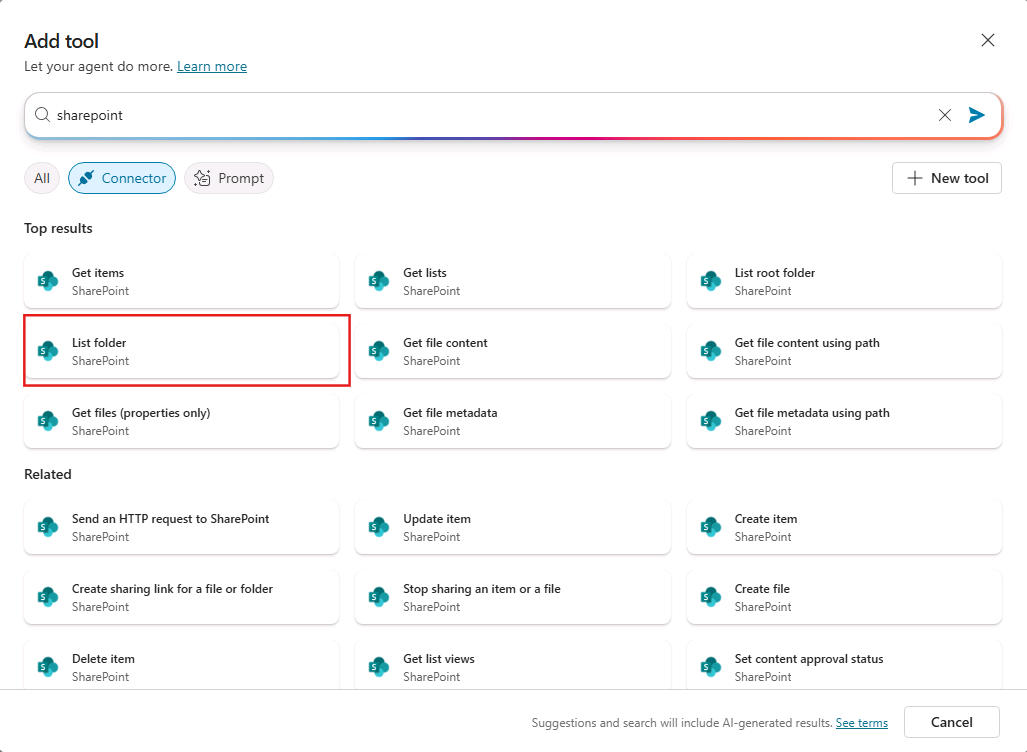
In the Add tool dialog, select the Connector button to filter for Connector tools, then enter
SharePointin the Search bar and select Search or press Enter. Wait for relevant connectors to be displayed in the window. -
Browse and select the List Folder SharePoint connector.
-
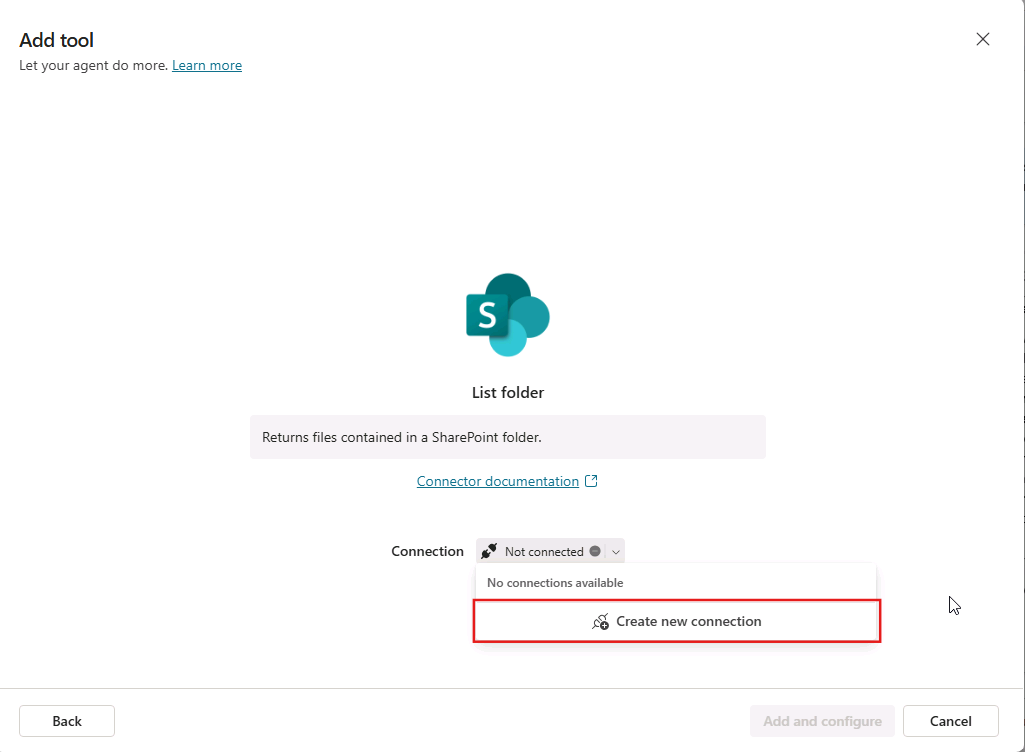
The modal window displays a connection for the SharePoint connector. A green checkmark will be displayed next to the connector when your connection is active. You may select the … to view details about the connection. If the status is Not connected, select the dropdown next to Not connected and select Create new connection.
-
On the Connect to SharePoint dialog, select Connect directly (cloud services), then select Create.
- You will be prompted to sign in. Sign in using the M365 account you’re using for the exercise.
-
On the Add tool dialog, after a connection is established, select Add and configure to add the tool to your agent.
-
Confirm that the List folder - connector tool is listed in the Tools section of your agent.

Configure the connector tool for your agent
Configure the properties of the connector tool for the agent.
-
From the Product Support agent page, under Tools, select the List folder - connector tool you added in the previous section.
-
In the Name text box, enter
List product support files. -
In the Description text box, enter
List product support files available in the Products folder. -
Select the toggle next to Additional details to reveal additional properties.
-
In the Description text box in the Additional details section, enter
Please log in to access the Product Support SharePoint site. -
In the Inputs section, locate the Site Address input.
-
In the Value text box, select your Product Support SharePoint site from the drop-down, or select Enter custom value and enter the URL in the format
https://DOMAIN.sharepoint.com/sites/ProductSupport. -
Next, locate the File Identifier input. Set the Fill using field to Custom.
-
In the Value text box for File Identifier, enter
Products. -
Select Save at the top of the page to save your changes.
Modify the agent’s instructions
Let’s also update your agent’s instructions, providing guidance to the agent for how to use the connector tool.
- Return to the overview page for your Product Support agent.
- From the Details section of your Product Support agent in Copilot Studio, select Edit.
- In the Instructions text box, add the following to the existing instructions text:
When asked about available support resources, use the SharePoint connector to list the files in the Products folder and let the user know the SharePoint Connector was used. - Select Save.
Test your agent with the tool
-
Expand the Test your agent pane on the right side of your agent’s detail page.
-
Select the New chat button in the test pane to load your agent’s latest changes.
-
In the message box, enter
What product support files are available?, then send the message. -
If you’re prompted with a Connect to continue message, select Allow to let the agent use your credentials to connect to SharePoint.
-
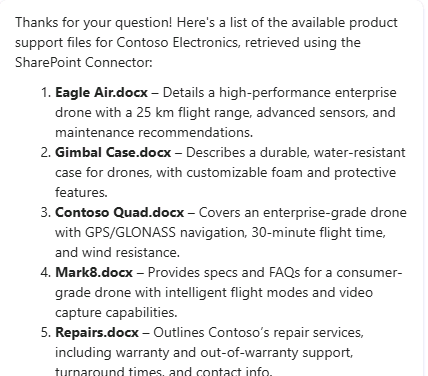
Notice that your agent responds with a comment about the connector that was used, as instructed, and lists the files available in the Products folder.
You’ve validated that your connector tool works as expected within your agent and completed this exercise.