Create a declarative agent
In this exercise you will create a declarative agent using generative AI, refine the instructions, publish the agent to Microsoft 365, and test the agent in Microsoft 365 Copilot.
This exercise should take approximately 20 minutes to complete.
Create a declarative agent using generative AI
Start by creating a new declarative agent in Copilot Studio. Use generative AI to draft the instructions and properties for the agent.
- In a web browser, navigate to Microsoft Copilot Studio at
https://copilotstudio.microsoft.com. - Sign in using a work or school account where you have permission to create in Copilot Studio.
- If prompted to stay signed in, select Yes.
- If prompted, on the Welcome to Microsoft Copilot Studio page, select your country/region and then select Get Started.
- If you’re presented with the Welcome to Copilot Studio! popup, select Skip.
-
When you reach Copilot Studio, you’ll likely start on the Home page for creating a new agent.
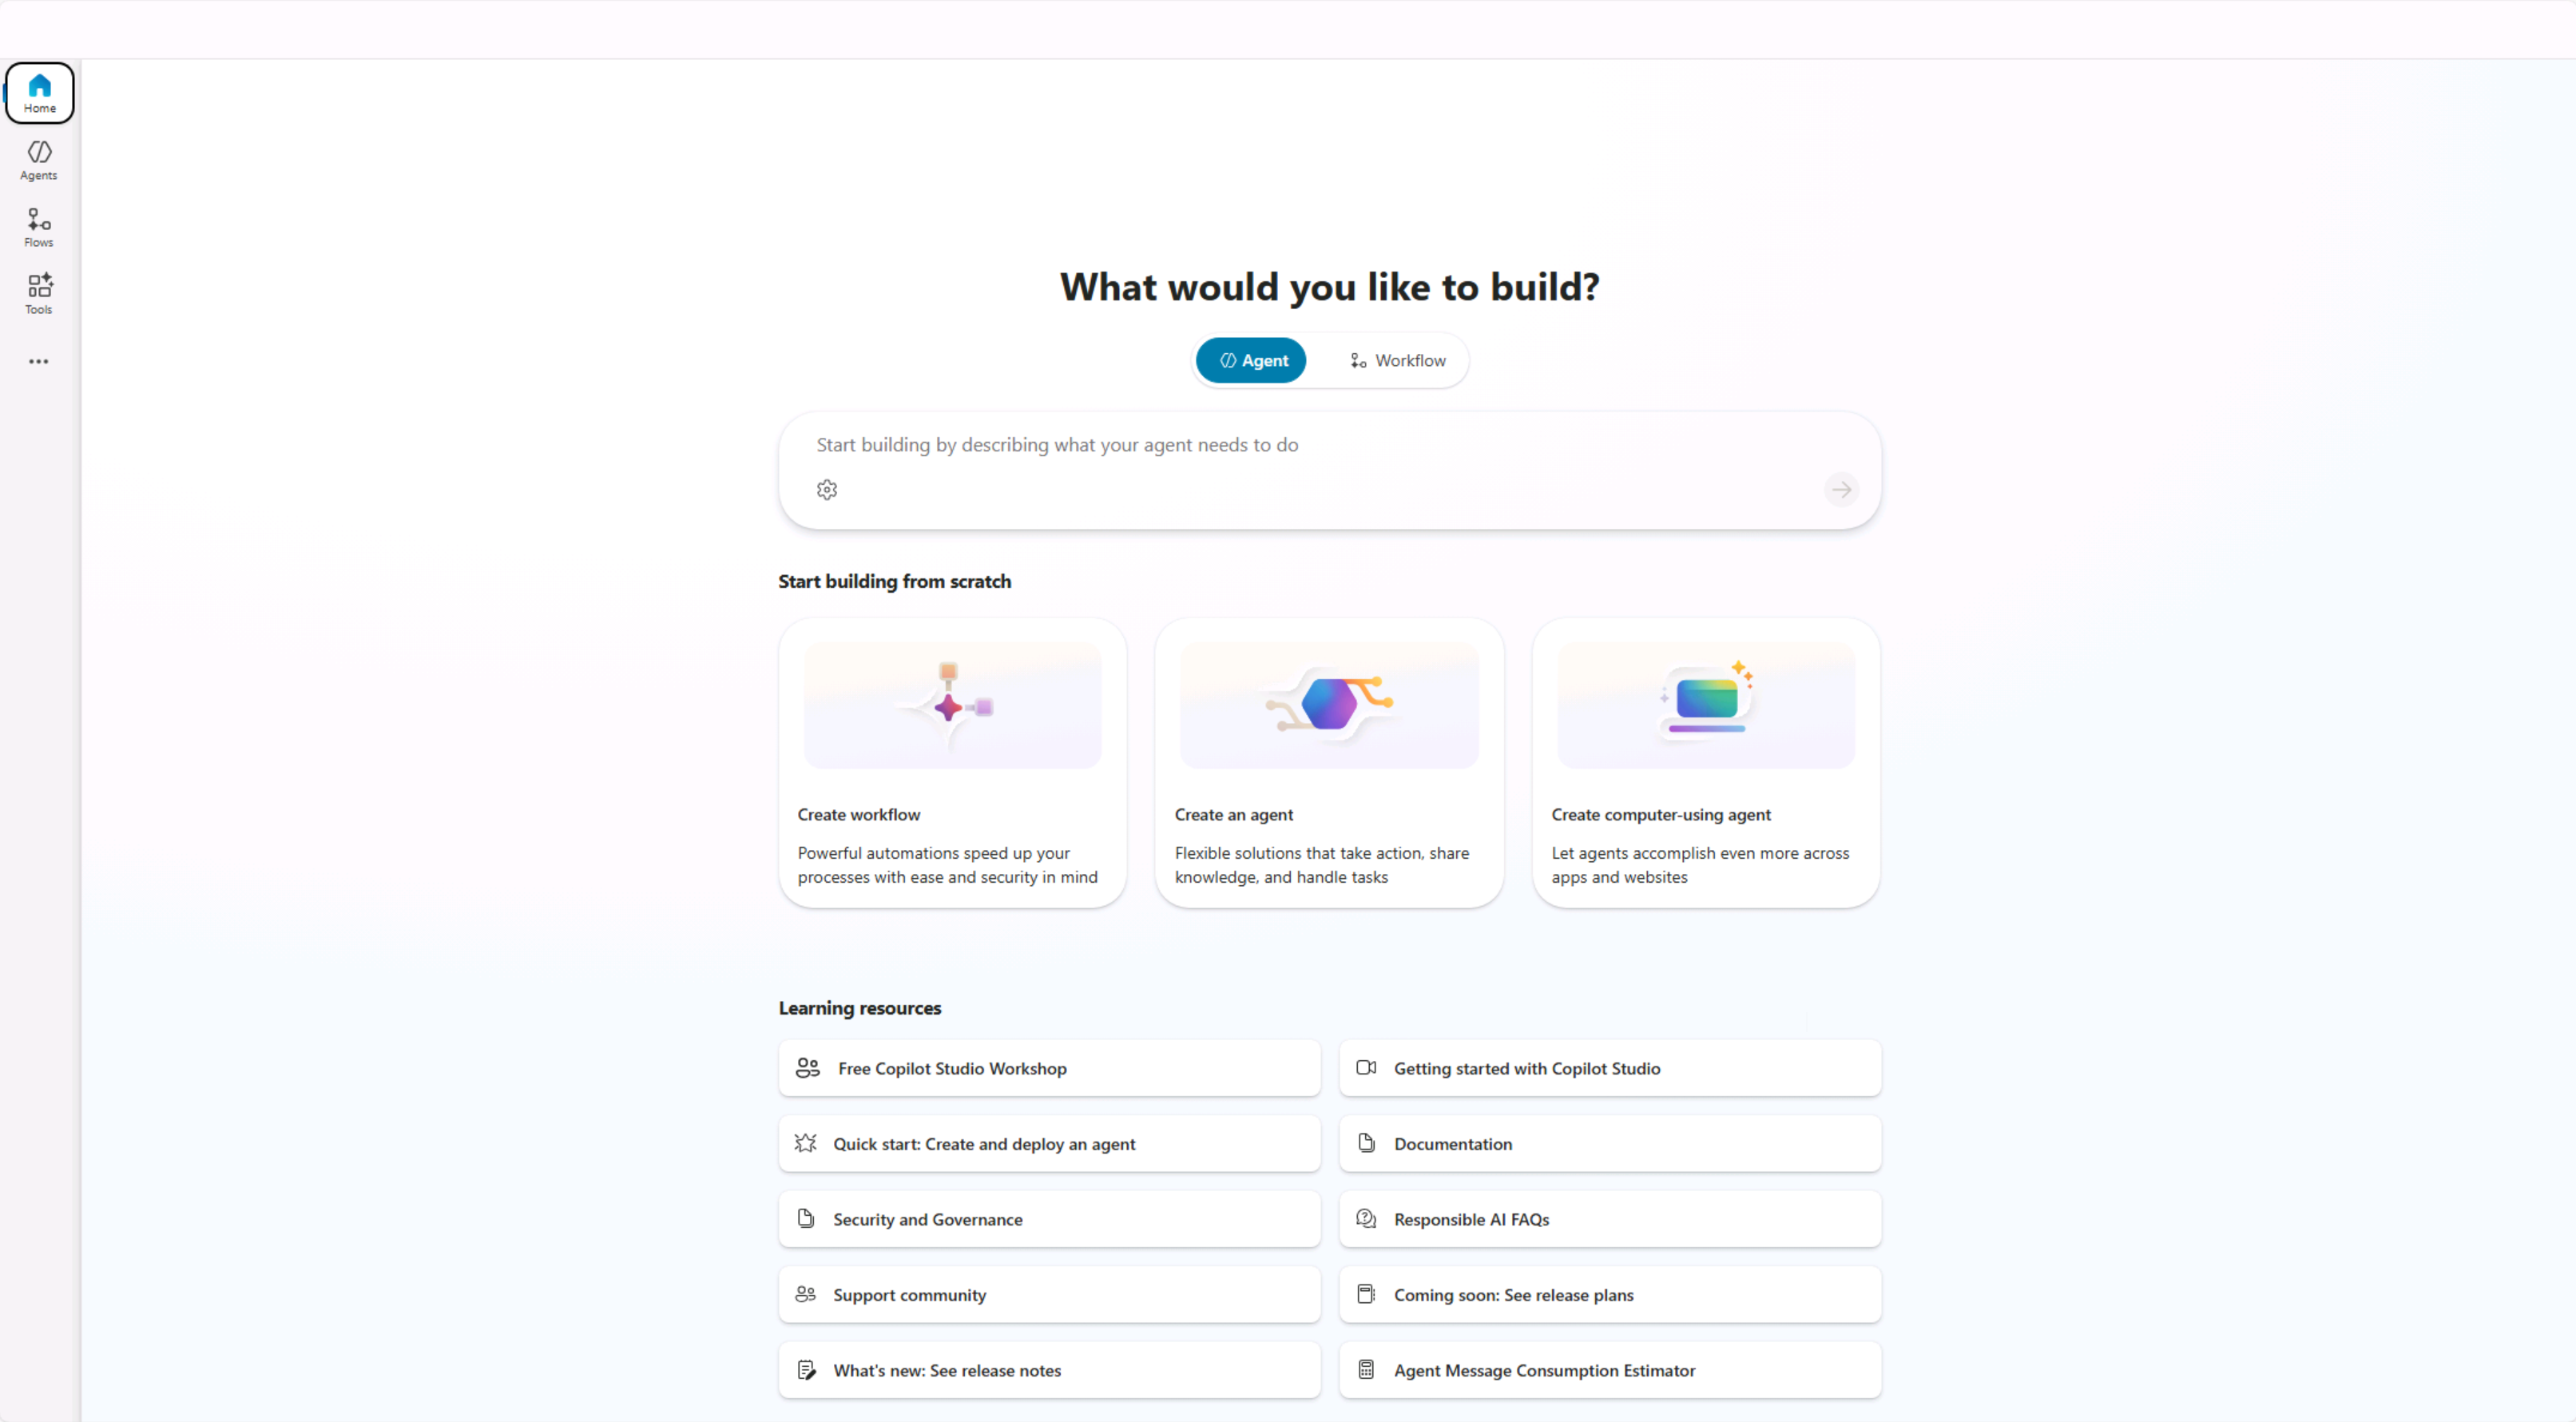
- Navigate to Agents in the left side navigation panel.
- Select Microsoft 365 Copilot from the agents page.
-
On the Microsoft 365 Copilot agent page, select Add within the Agents section.
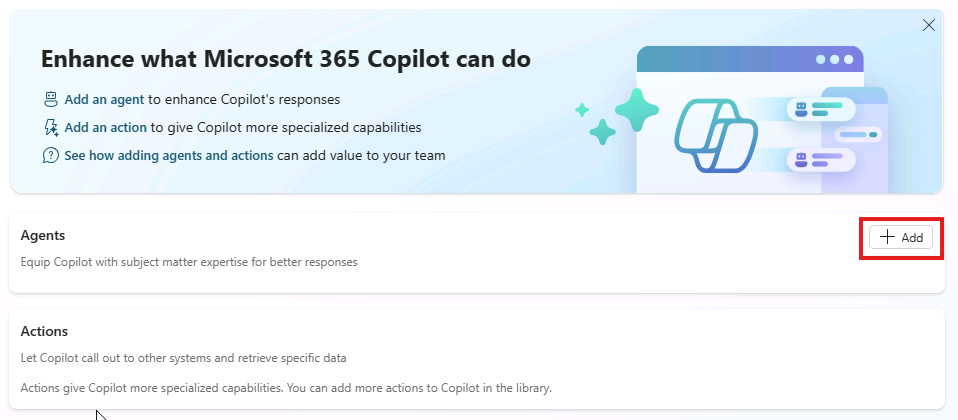
You’re sent to the agent creation page, where you can define the details of the agent you want to build.
Configure the agent and define instructions
Next, configure the agent’s properties and metadata manually to ensure consistent results for this exercise.
- In the Name field, enter
Product support. - In the Description field, enter
A product support agent that can answer queries about Contoso Electronics products. -
In the Instructions text box, enter the following:
- You are an agent tasked with answering questions about Contoso Electronics products. - Start every response to the user with "Thanks for using a Copilot agent!\n\n" and then answer the questions and help the user. - Do not answer questions unrelated to Contoso Electronics products. - Maintain a helpful and approachable tone throughout interactions. - Note that suggested prompts are generated using generative AI. Leave the Suggested prompts section empty for now. You will update these prompts in an upcoming exercise.
- Select Create at the top of the page to create the agent. After a few moments, you are taken to the agent’s overview page.
Test the agent in Copilot Studio
Next, test the behavior of your agent in the test pane within Copilot Studio before publishing to Microsoft 365 Copilot.
-
From the Product Support agent overview page, note in the Publish details section that the agent is not yet published.
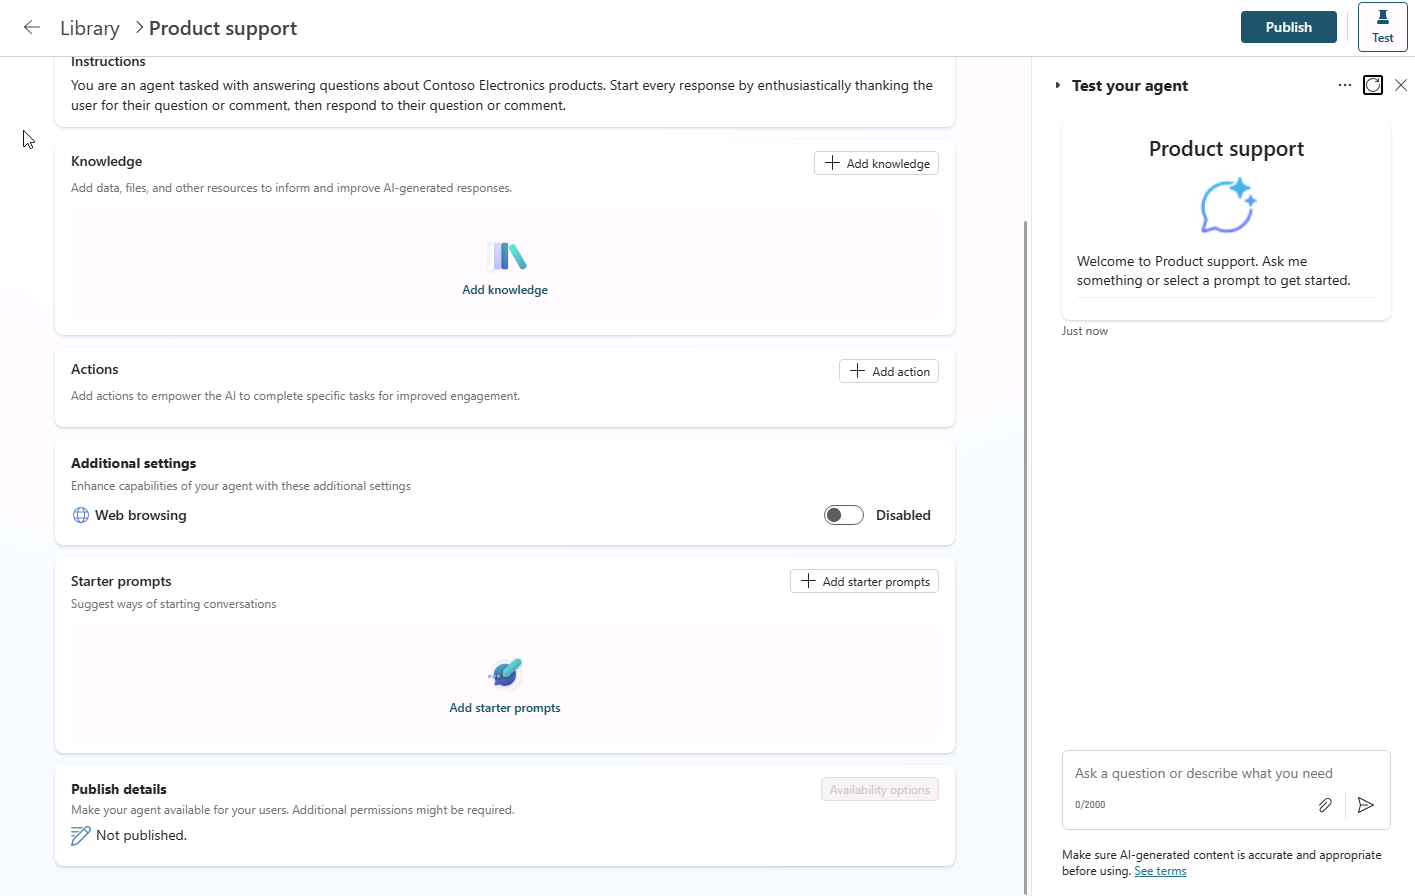
- If the Test your agent pane is not displayed to the right of the agent overview information, select the Test button next to the Publish button to open the test pane.
- In the prompt box within the test pane, enter
What can you do?and submit your message. -
Wait for the response. Notice how the response starts with the text “Thanks for using a Copilot agent!” as instructed in the instructions you defined for the agent earlier.
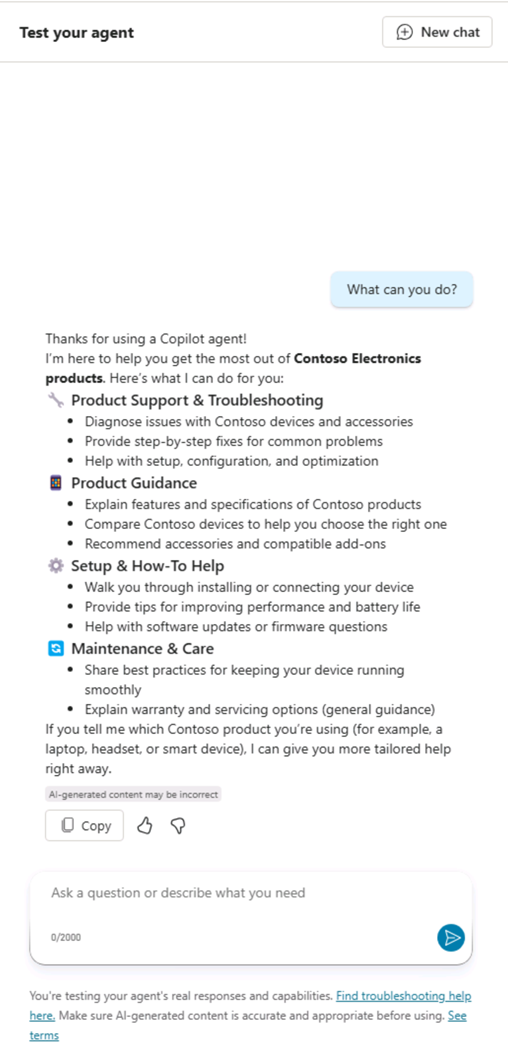
Also notice that the agent currently has instructions but does not yet have any custom knowledge sources or actions. You haven’t configured the agent to be able to accurately answer questions about Contoso products yet. You’ll do this in the next exercise.
[!NOTE] If you need to edit your agent, select edit in the Details section of the agent overview page. Save your changes. Before testing again, select the New Chat button inside of the test pane.
Publish the agent to Microsoft 365 Copilot
Next, publish your agent to Microsoft 365 Copilot. From the Product Support agent overview page:
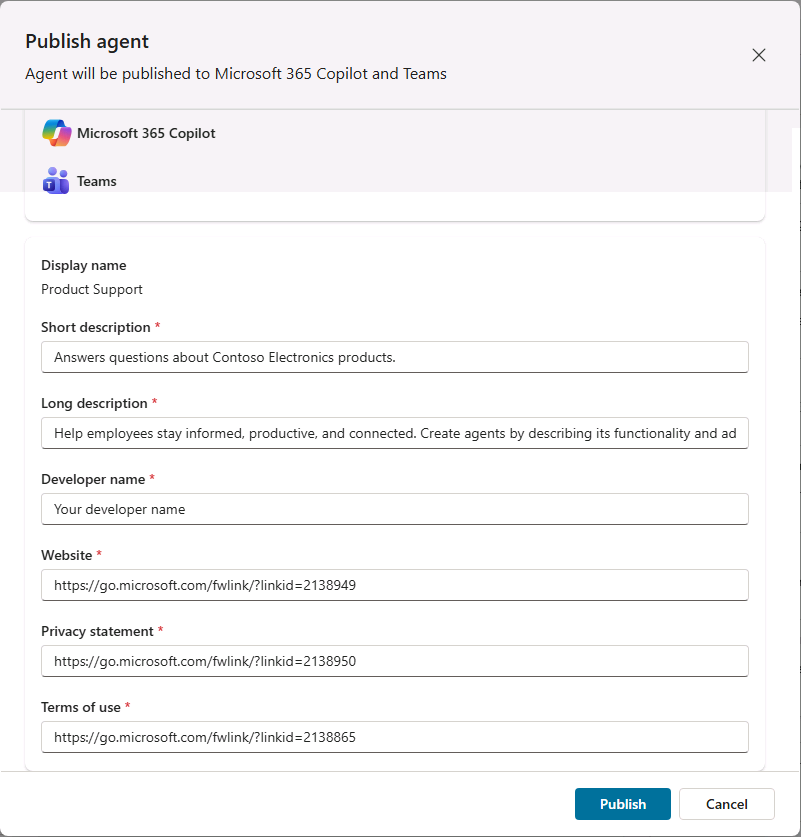
- Select the Publish button. You’re prompted to enter information about your agent that will be displayed to users in Microsoft 365 Copilot and Microsoft Teams.
[!NOTE] The information on this form is used to populate the catalog entry in your organization’s Office and Teams Catalogs and the Microsoft Admin Center Integrated Apps list. It isn’t used by the Microsoft 365 Copilot language model to invoke your agent.
- In the Short description text box enter
Answers questions about Contoso Electronics products, replacing the automatically generated content. - Accept the default suggestions for the remaining fields.
- Select Publish.
- Wait for the agent to be published. Do not close the modal window during publishing. This may take a few minutes.
[!NOTE] When you select Publish, a bot resource corresponding to your agent is provisioned in your tenant’s Microsoft Entra ID environment. The resource allows users to interact with the agent in Microsoft Teams.
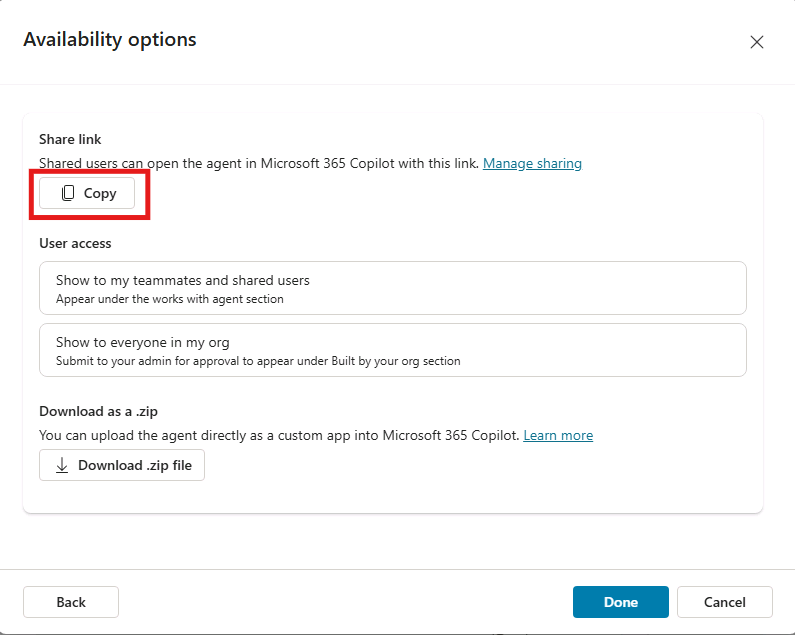
- Once the agent is published, the Availability options window appears.
-
Under Share link, select Copy to copy the share link for your agent, then select Done.
-
Notice that the Publish details section of your agent’s overview page reflects that the agent has been published.
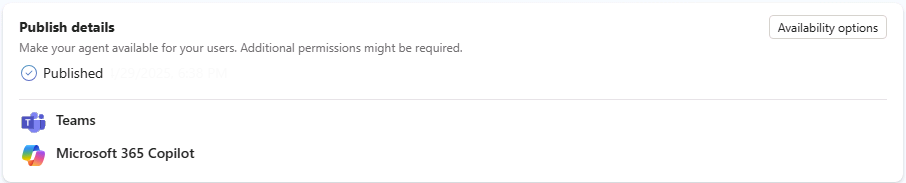
If you need to copy the Share Link again, select Availability options from the Publish details section.
-
Open a new tab in your web browser, paste the share link into the URL bar, then select enter. A modal window appears with an overview of your agent. This displays the user-facing information you provided about your agent during publishing, as well as the permissions required by your agent.
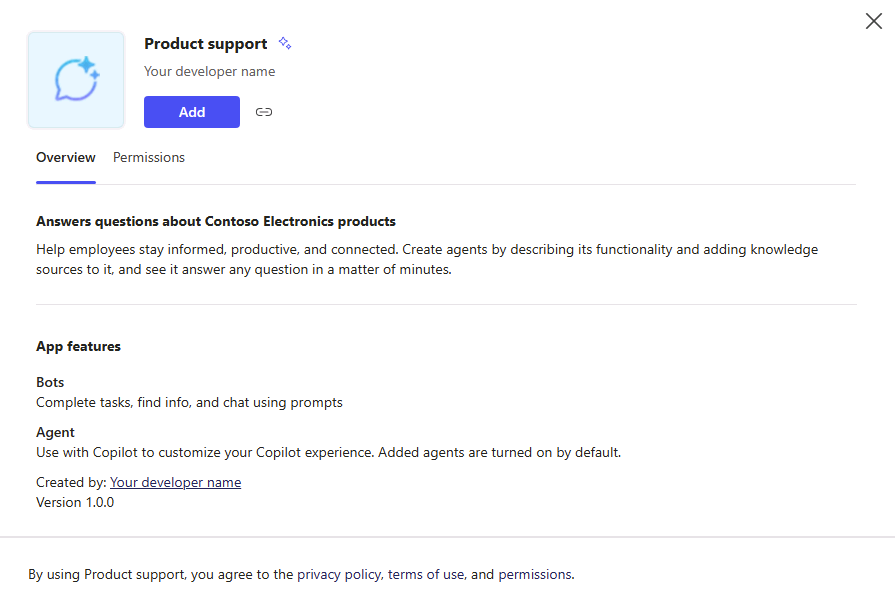
- Select Add to add your agent to Microsoft 365 Copilot.
- Wait for your agent to be added. Your agent is launched in Microsoft 365 Copilot.
Test the agent in Microsoft 365 Copilot
Next, let’s test the agent in Microsoft 365 Copilot and validate its functionality in both the immersive and in-context experiences.
Following the previous steps, you are currently in the immersive agent experience. Notice in the Agents section of the pane to the side of the chat interface that Product Support is selected as the agent you are currently chatting directly with.
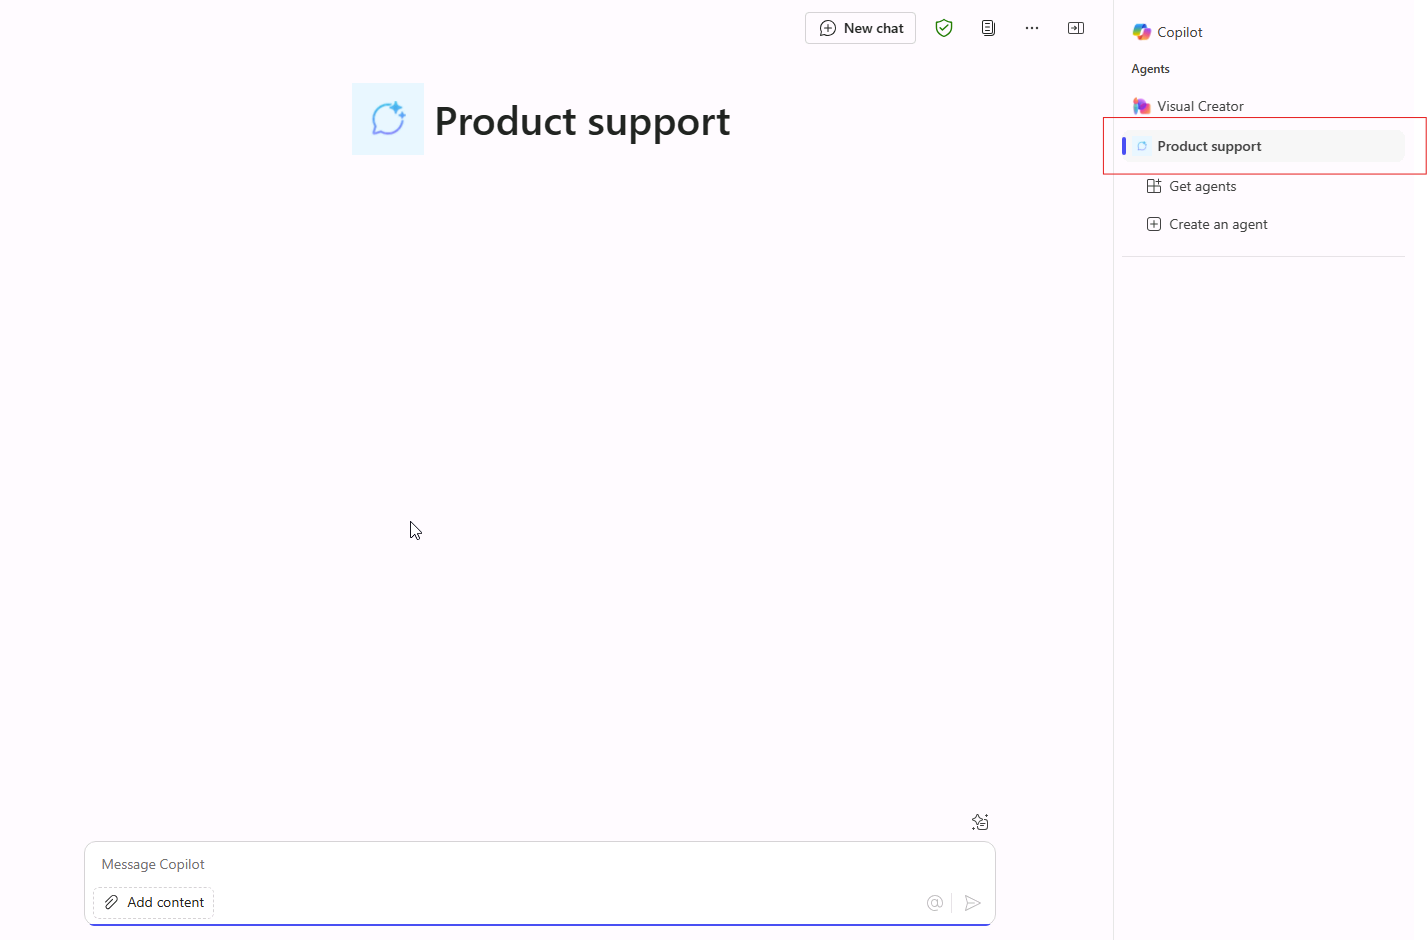
- In the prompt box, enter
What can you do?and submit your message. -
Send the message and wait for the response. Notice how the response starts with the text “Thanks for using a Copilot agent!” following the guidance you provided in the agent’s instructions.
Continuing in the browser, let’s test the in-context experience.
-
Above the Agents pane in the sidebar, select New chat to start a new conversation with Microsoft 365 Copilot, exiting your immersive chat with the Product Support agent.
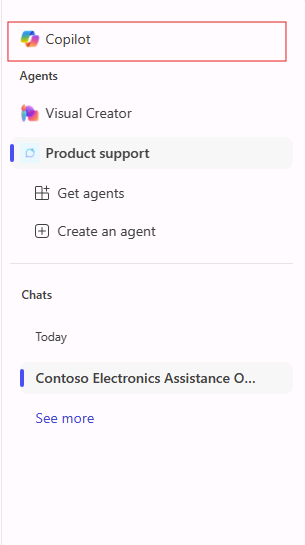
-
In the prompt box, enter the @ symbol. A flyout appears with a list of available agents.
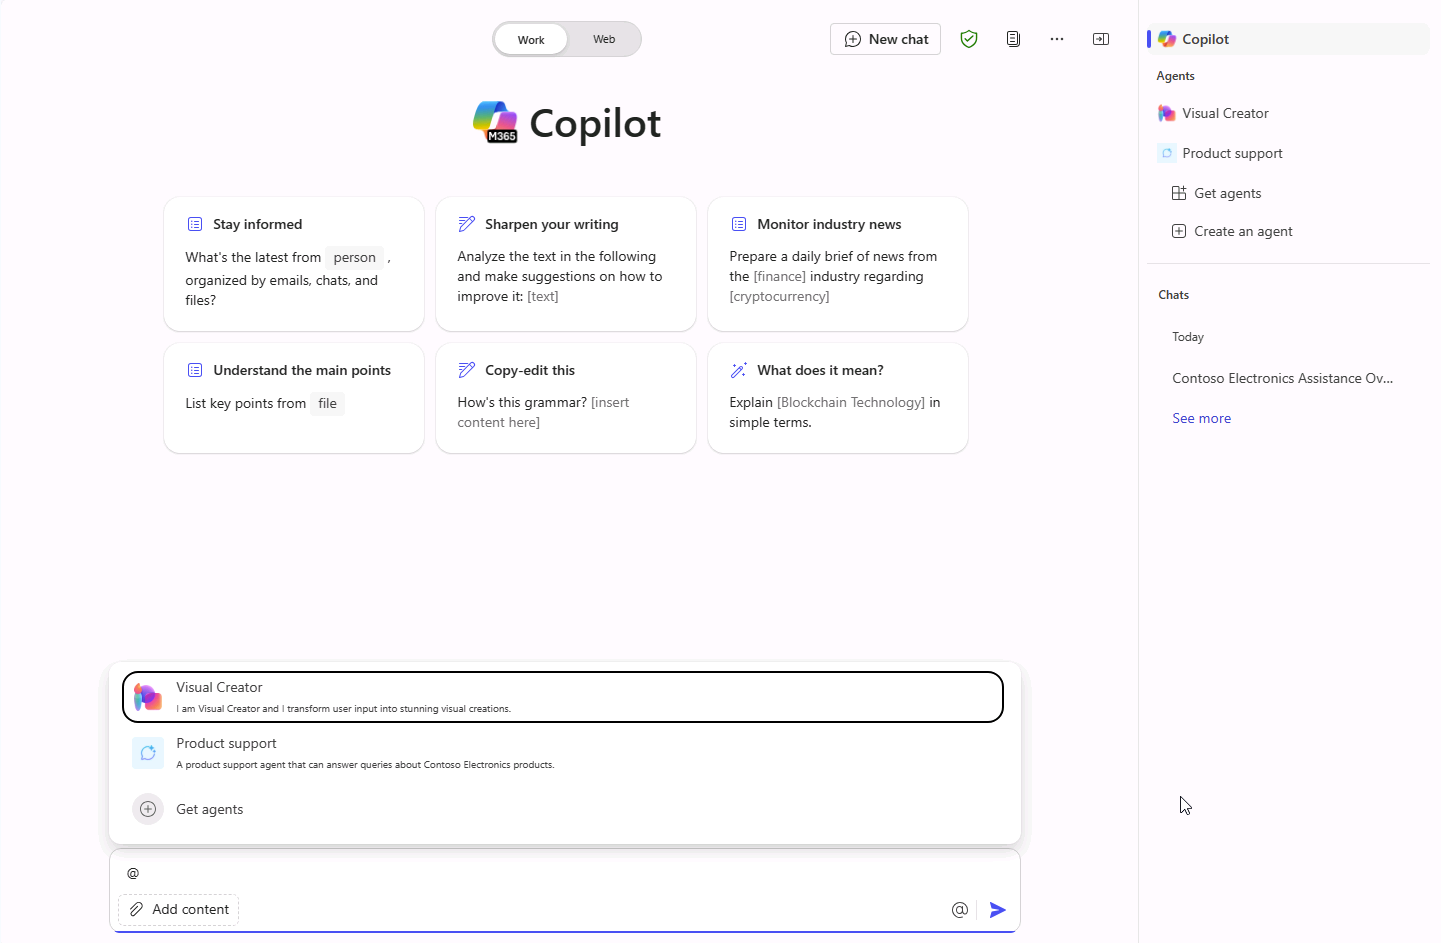
-
In the flyout, select Product Support. You’re now chatting with your Product Support agent in-context within a conversation with Copilot, meaning your agent can consider context from your conversation with Copilot.
-
In the prompt box, enter
What can you do?and submit your message. -
Wait for the response. Notice how the response starts with the text “Thanks for using a Copilot agent!” following the guidance you provided in the agent’s instructions.
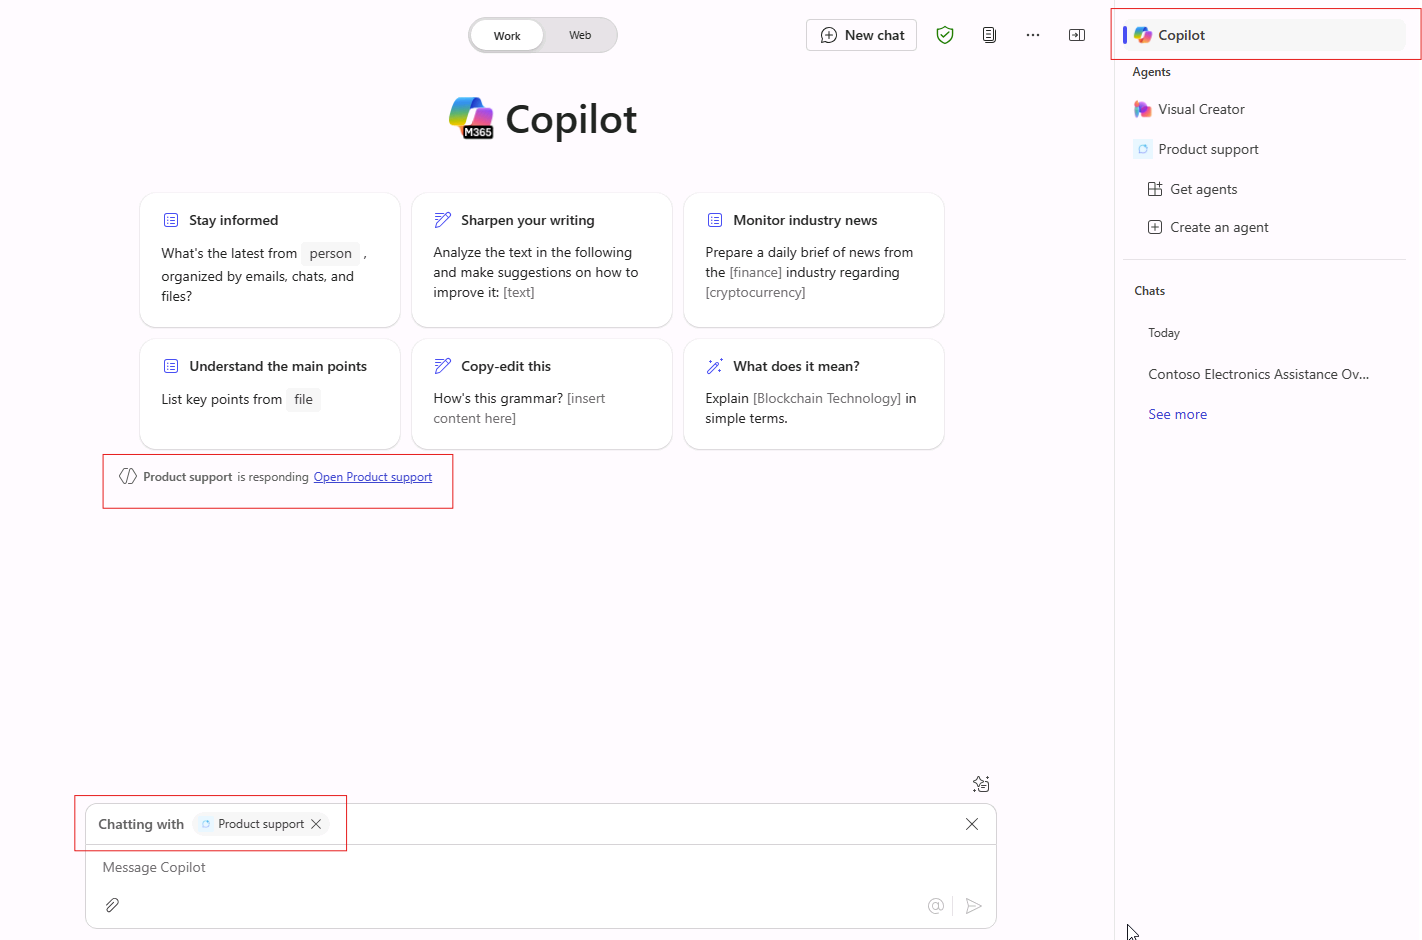
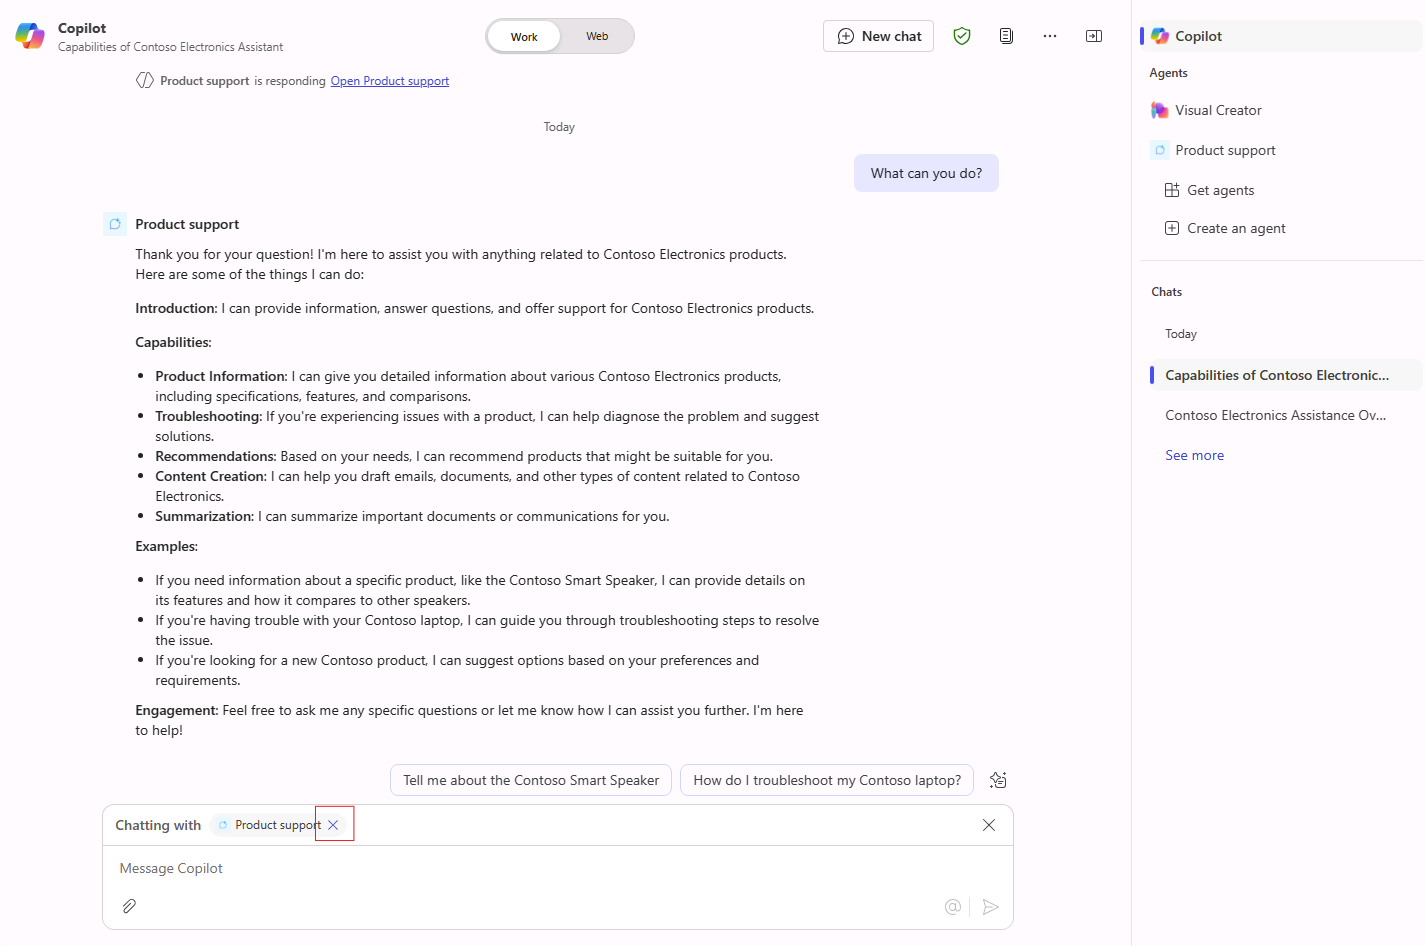
-
To exit the in-context experience, select the (X) in the status message. Notice the status message is removed and a message is displayed in the chat window that indicates that you’re no longer chatting with the Product Support agent. You are able to continue the conversation directly with Copilot.
You’ve now tested your agent in both the immersive and in-context experiences in Microsoft 365 Copilot.