Practice Lab 1 – Create cloud flows
In this lab you will create cloud flows.
What you will learn
- How to create Power Automate cloud flows from a template and with Copilot
- How to create a Power Automate cloud flow from blank and add actions
High-level lab steps
- Create a cloud flow from a template
- Create a cloud flow with Copilot
- Create a cloud flow
- Monitor cloud flow activity
Prerequisites
- Must have completed Lab 0: Validate lab environment
Detailed steps
Exercise 1 – Create a cloud flow from a template
Task 1.1 - Select a template
-
Navigate to the Power Automate portal
https://make.powerautomate.com -
If the Welcome to Power Automate pop-up dialog is displayed, select Get started.
-
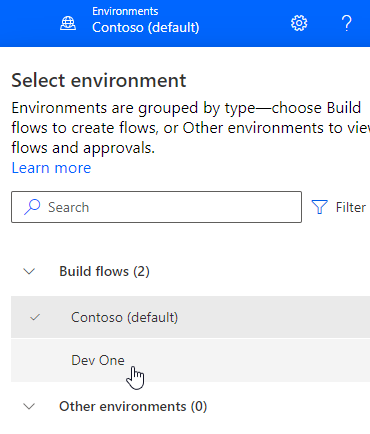
Select the Dev One environment.
-
Select the Templates tab from the left-side menu.
-
Select the Button tab.
-
Enter
locationin the Search templates field.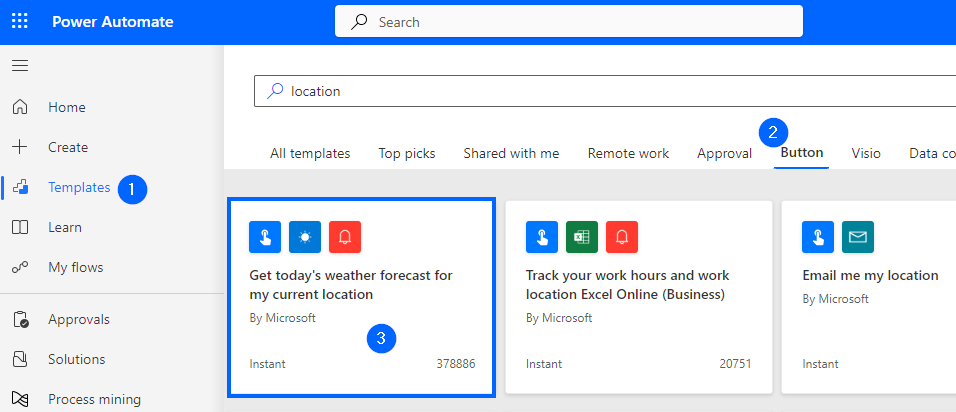
-
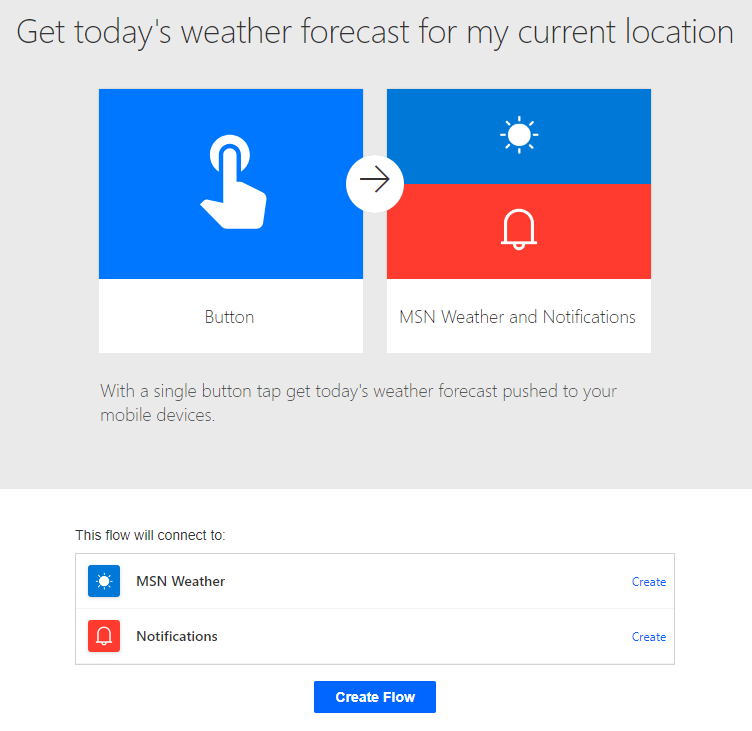
Select Get today’s weather forecast for my current location.
-
Select Create for MSN Weather.
-
Select Create for Notifications.
-
Select Create Flow.
-
If the Your flow is ready to go pop-up dialog is displayed, select Don’t show me this again and select Got it.
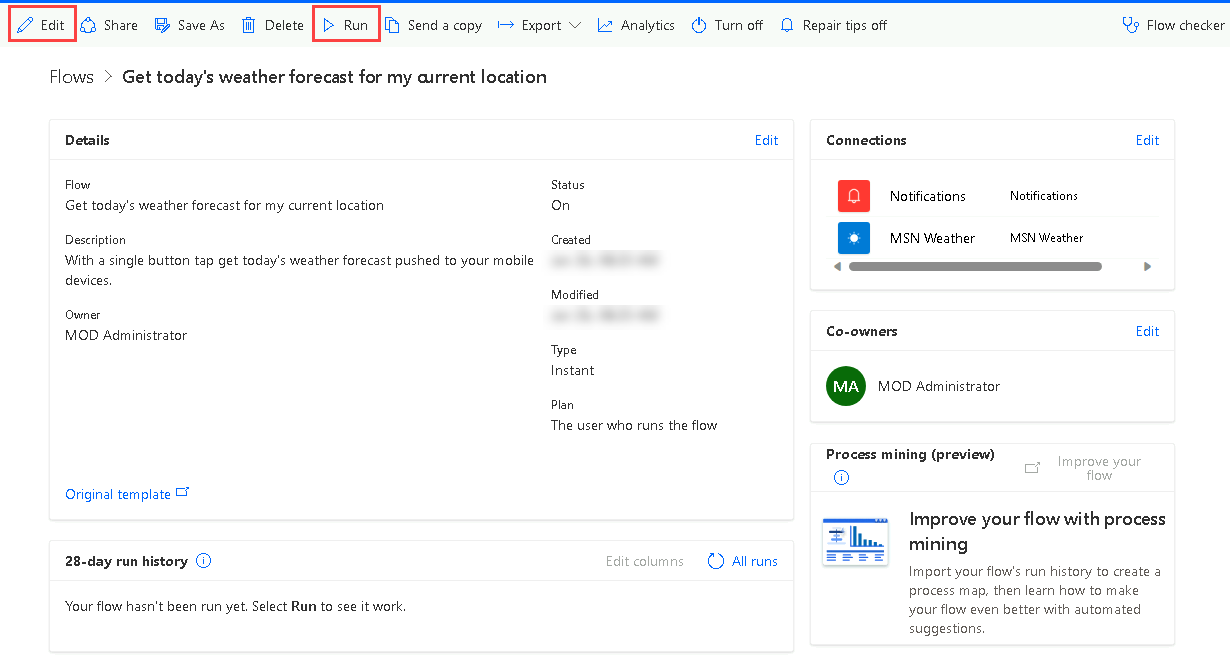
Task 1.2 - Run the flow
-
Select Run.
-
If prompted, select Allow in the Know your location popup.
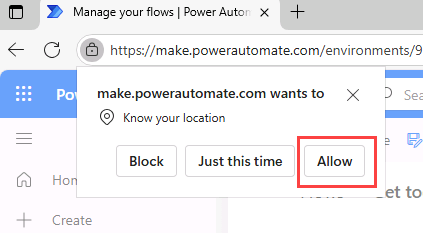
[!NOTE] If the error Location services must be enabled to run this flow is shown, in the machine’s Settings -> Privacy & security -> Location, enable Location services and Enable Let apps access your location.
-
Select Continue.
-
Select Run flow.
-
Select Done.
-
Wait for the flow to complete.
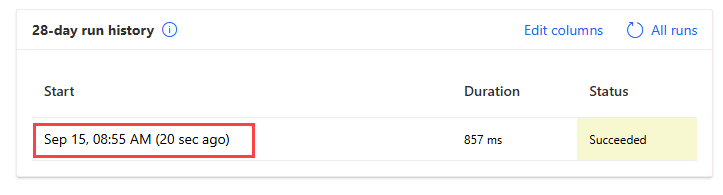
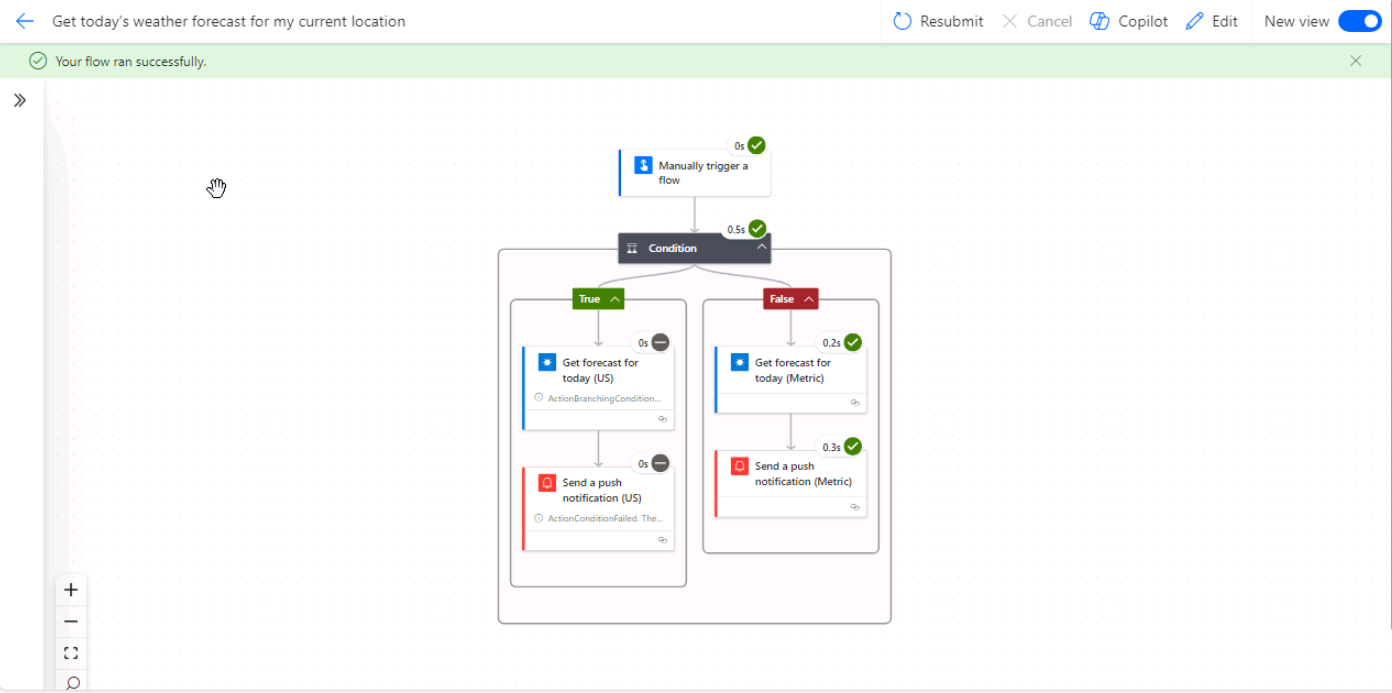
Task 1.3 - Review the flow
-
Select the date and time in the flow run history.
-
Expand the Condition.
-
Expand the False path.
-
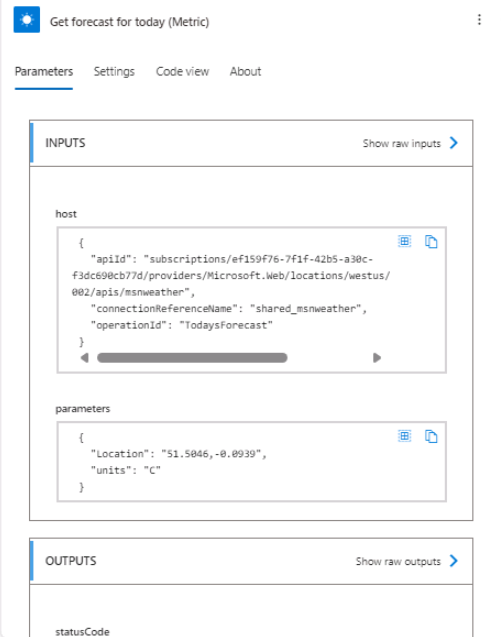
Select the Get forecast for today step with the green tick.
-
Select Edit and expand the flow steps.
-
Select one of the Send a push notification steps.
-
Select Flow checker. There should be no errors or warnings.
-
Close the Flow checker pane.
Task 1.4 - Test the flow
-
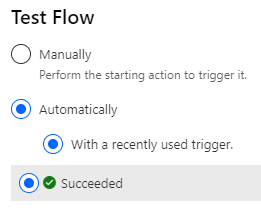
Select Test, select Automatically, select With a recently used trigger, and then select the flow run.
-
Select Test.
-
Select the <- Back button from the top left of the command bar.
Exercise 2 – Create a cloud flow with Copilot
Task 2.1 - Enter a prompt
-
Navigate to the Power Automate portal
https://make.powerautomate.com -
Make sure you are in the Dev One environment.
-
Select the Home tab from the left-side menu.
-
Under Create your automation with Copilot enter
Every day send me an email with the daily summary from MSN Weather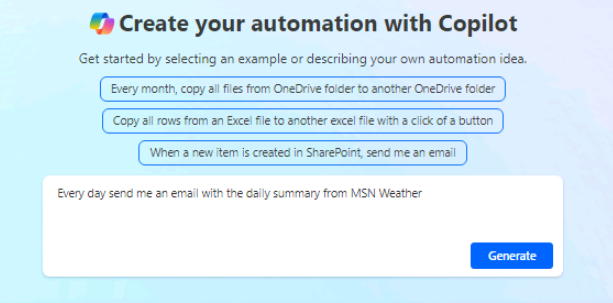
-
Select Generate.
-
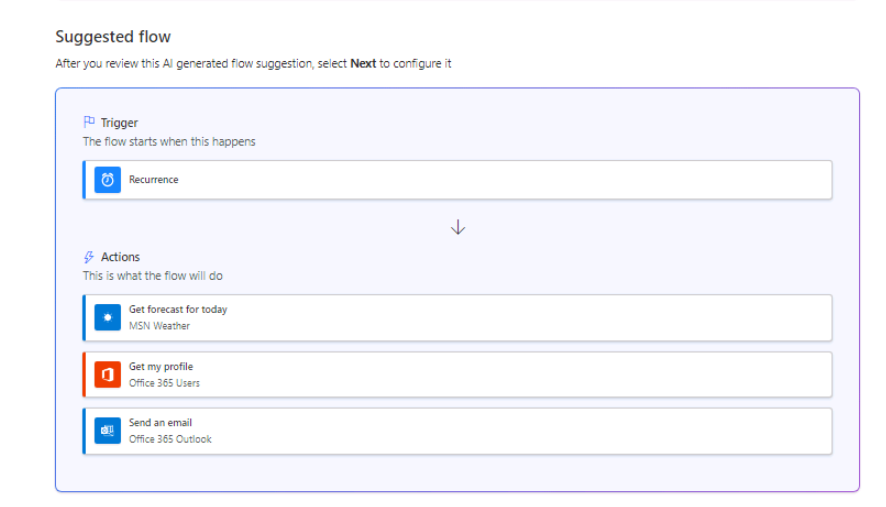
Select Keep it and continue.
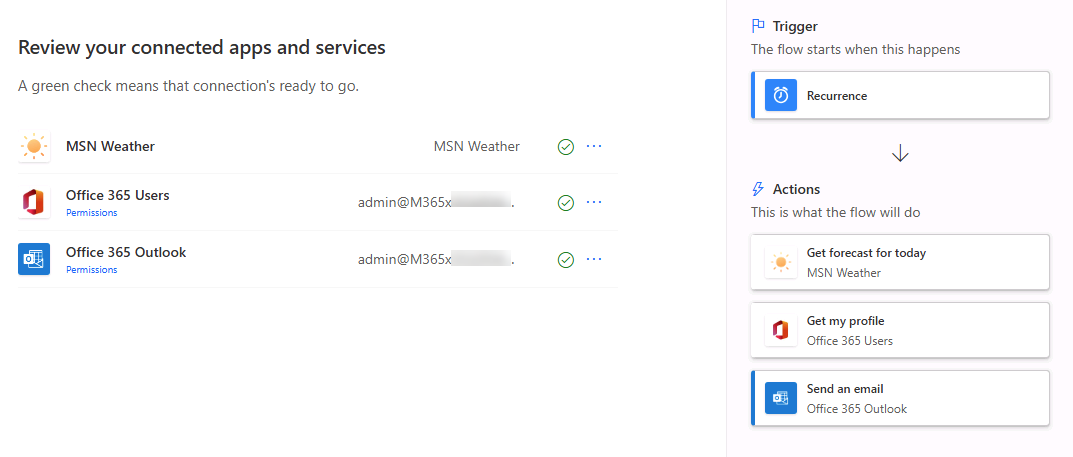
-
Select Create flow.
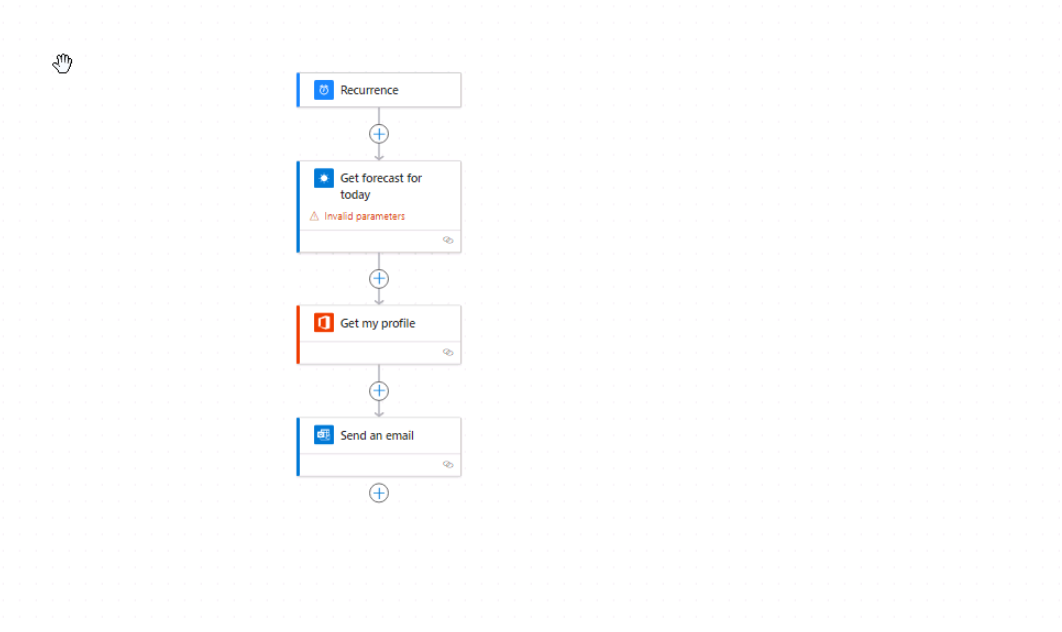
Task 2.2 - Configure flow step
-
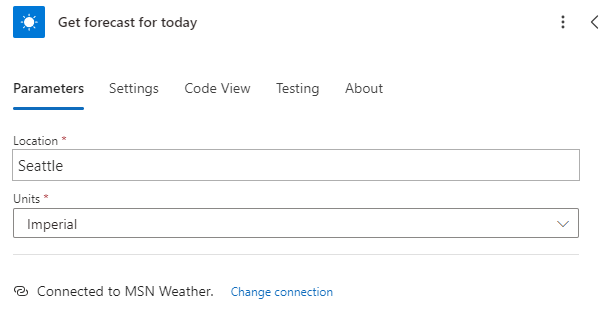
Select the Get Forecast for today step.
-
Enter
Seattlefor Location. -
In the Units drop-down, select Imperial.
-
Select the Send an email step.
-
In the Body field, delete the existing content.
-
Select the dynamic value icon or enter
/to Insert dynamic content. -
In the search field, enter
daily summary. -
Select Day Summary.
-
Select Save.
[!NOTE] If an error with status code “Forbidden” and details “ConnectionAuthorizationFailed” appears after saving, complete steps 10–13 to create new connections. If no error appears, skip to step 14.
-
Select the Get forecast for today action, select Change connection reference, select Add new, and select Create new.
-
Select the Get my profile action, select Change connection reference, select Add new, and select Sign in.
-
Select the Send an email action, select Change connection reference, select Add new, and select Sign in.
-
After creating the new connections for each action, select Save.
-
To test the flow, select Test, select Manually, and then select Test.
-
Select Run flow and then select Done.
-
Select the <- Back button from the top left of the command bar.
Exercise 3 – Create a cloud flow from blank
Task 3.1 - Create the trigger
-
Navigate to the Power Automate portal
https://make.powerautomate.com -
Make sure you are in the Dev One environment.
-
Select the + Create tab from the left-side menu.
-
Select Automated cloud flow.
-
Enter
Important emailfor Flow name. -
Enter
email arrivesin the Search all triggers field. -
Select When a new email arrives (V3).
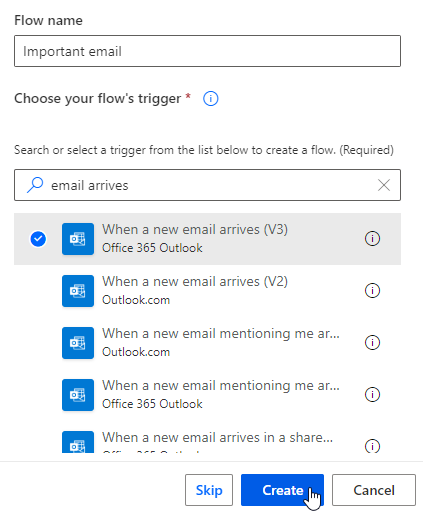
-
Select Create.
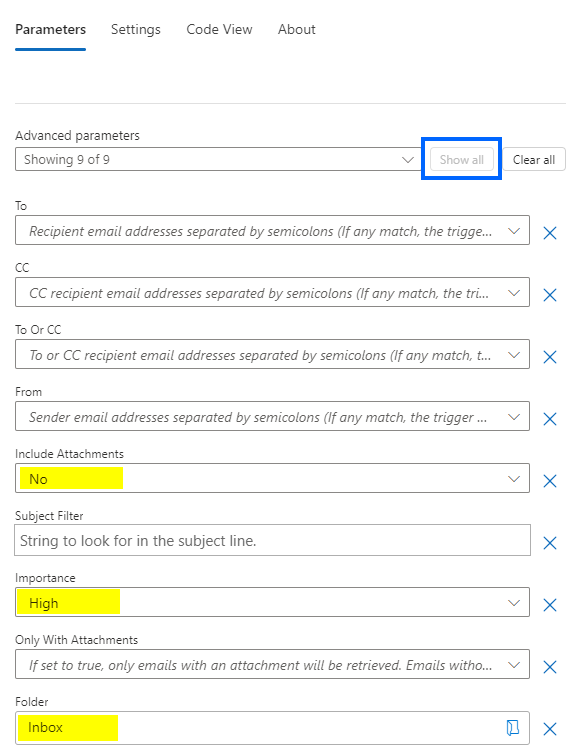
Task 3.2 - Configure the trigger
-
Select the When a new email arrives (V3) step.
-
Select Show all.
-
Select No for Include attachments.
-
Select High for Importance.
-
Select Inbox for Folder.
Task 3.3 - Add an action
-
Select the + icon under the trigger step and select Add an action.
-
If prompted, select Allow for See text and images copied to clipboard.
-
Enter
post messagein search.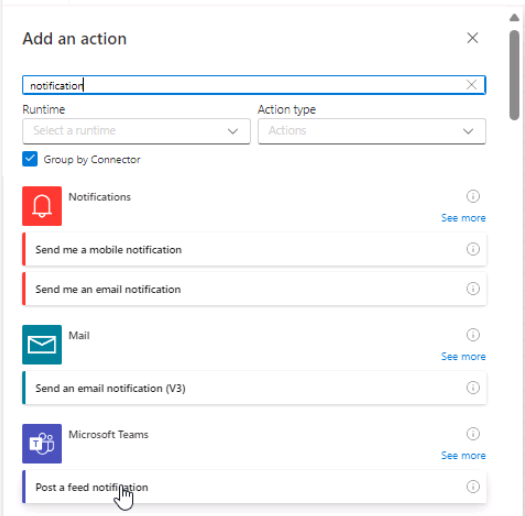
-
Select Post message in a chat or channel under Microsoft Teams.
-
Select Sign in.
-
Use your tenant credentials.
-
Select Flow bot for Post as.
-
Select Chat with Flow bot for Post in.
-
Enter your tenant user id for Recipient.
-
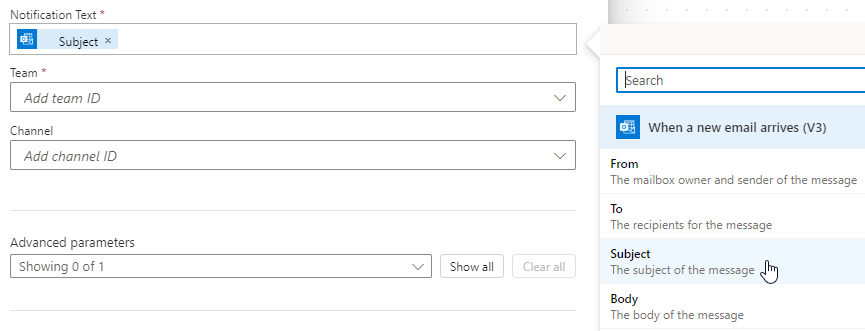
Enter
/in the Message field and select Insert dynamic content. -
Select Subject.
-
Select Save.
-
Select the <- Back button from the top left of the command bar.
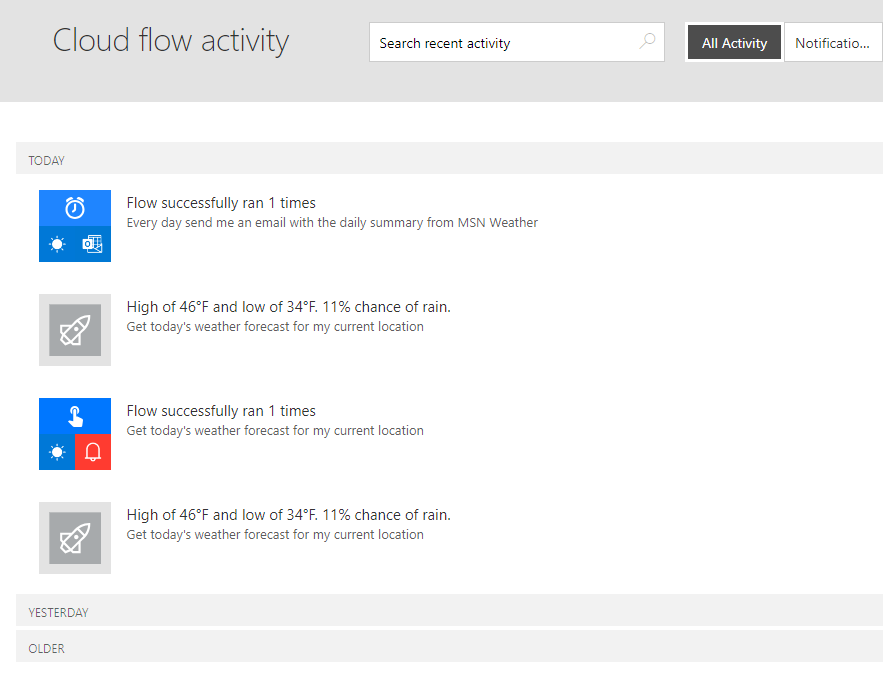
Exercise 4 – Monitor flows
Task 4.1 - Cloud flow activity
-
Navigate to the Power Automate portal
https://make.powerautomate.com -
Make sure you are in the Dev One environment.
-
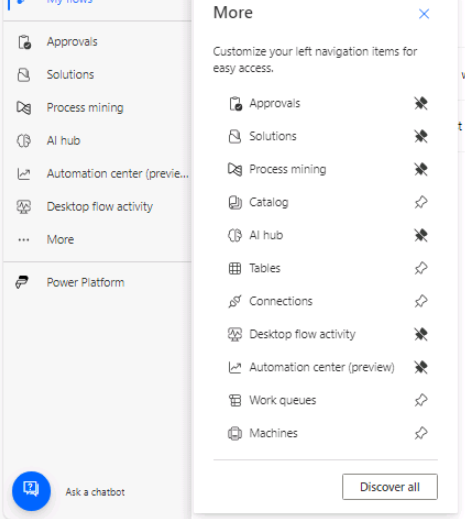
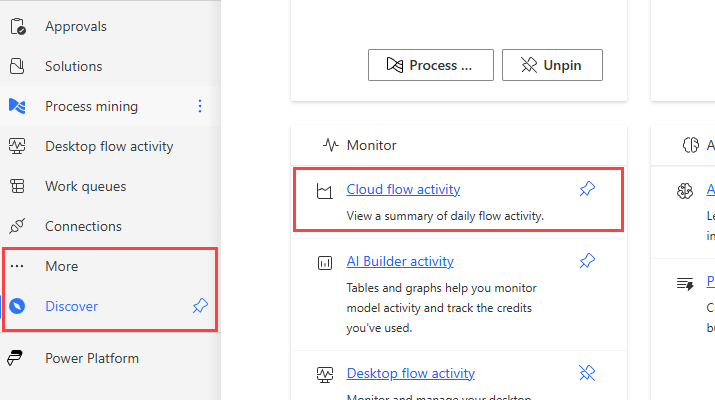
Select … More from the left-side menu.
-
Select Discover all and search for Cloud flow activity under Monitor section.
-
Select the pin icon for Cloud flow activity.
-
Select the Cloud flow activity tab from the left-side menu.