Practice Lab 6 – Forms
In this lab you will use forms to create and edit records in a data source.
What you will learn
- How to add screens
- How to navigate between screens
- How to use a form to create a record in a data source
- How to use a form to edit a record in a data source
- How to delete a record from a data source
- How to link a form to a gallery
High-level lab steps
- Create new screens
- Navigate to a screen when a record is selected in a gallery
- Navigate between screens
- Display a record with a form
- Delete a record
- Edit a record with a form
- Create a new record with a form
Prerequisites
- Must have completed Lab 5: External data
Detailed steps
Exercise 1 – Add screens and navigation
Task 1.1 - Edit the app
-
Navigate to the Power Apps Maker portal
https://make.powerapps.com -
Make sure you are in the Dev One environment.
-
Select the Apps tab from the left navigation menu.
-
Select the Booking Request app, select the Commands (…), and select Edit > Edit in new tab.
Task 1.2 - Add screens
-
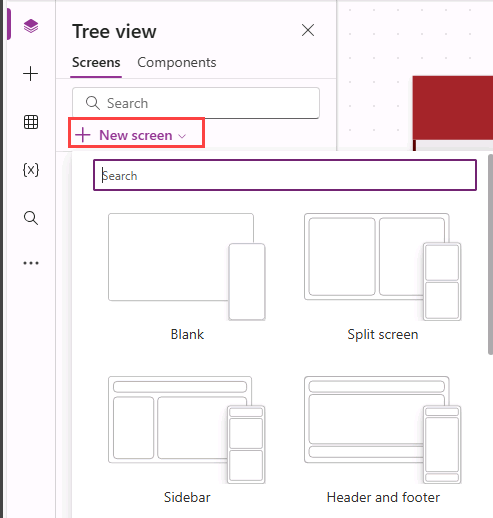
In the app authoring menu, select Tree view.
-
At the top of the Tree view, select + New screen.
-
Select Blank.
-
Rename the screen to
EditScreen. -
At the top of the Tree view, select + New screen.
-
Select Header and footer.
-
Rename the screen to
DetailScreen.
Task 1.3 - Add navigation
-
In the Tree view, under MainScreen, expand BookingRequestList.
-
Select NextArrow2 in BookingRequestList.
-
Set the OnSelect property of NextArrow in the formula bar to:
Collect(colRequests, ThisItem);Navigate(DetailScreen, ScreenTransition.Cover); -
Select EditScreen.
-
In the app authoring menu, select Insert (+).
-
Expand Classic icons.
-
Select Back arrow.
-
Set the OnSelect property of the icon to:
Back() -
Rename the icon to
BackIconEdit. -
In the Tree view, select the icon and select the Commands (…) and select Copy.
-
Expand DetailScreen.
-
Expand ScreenContainer1.
-
Select HeaderContainer1 and select the Commands (…) and select Paste.
-
Rename the icon to
BackIconDetail.
Exercise 2 – Details screen
Task 2.1 - Add display form
-
In the app authoring menu, select Tree view.
-
Expand DetailScreen.
-
Expand ScreenContainer1.
-
Select MainContainer1.
-
In the app authoring menu, select Insert (+).
-
Expand Classic.
-
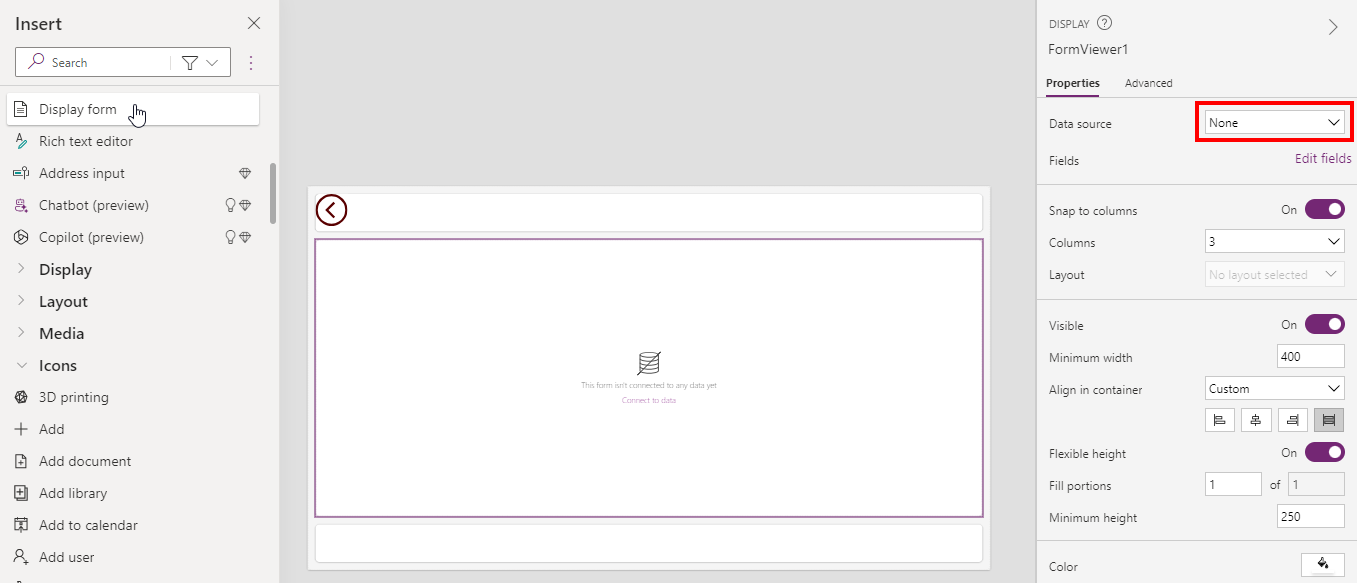
Select Display form.
-
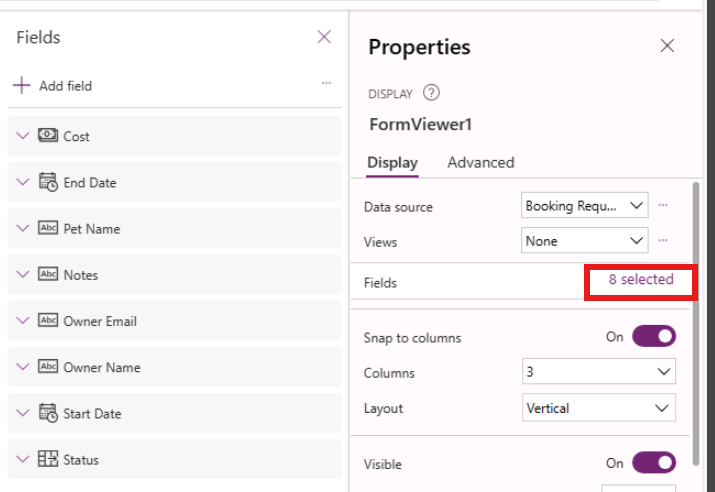
In the FormViewer’s properties, select Booking Requests for Data source.
-
In the Properties pane, select the link shown next to Fields (e.g., 8 selected).
-
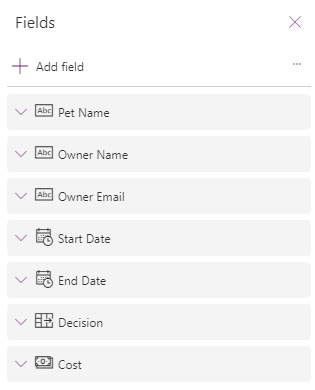
Add or remove the fields so that they are arranged in following order :
- Pet Name
- Owner Name
- Owner Email
- Start Date
- End Date
- Decision
- Cost
-
Close the Fields pane.
-
Set the Item property of the form viewer control in the formula bar to:
BookingRequestList.Selected
Task 2.2 - Add label
-
In the app authoring menu, select Tree view.
-
Expand DetailScreen.
-
Expand ScreenContainer1.
-
Select FooterContainer1.
-
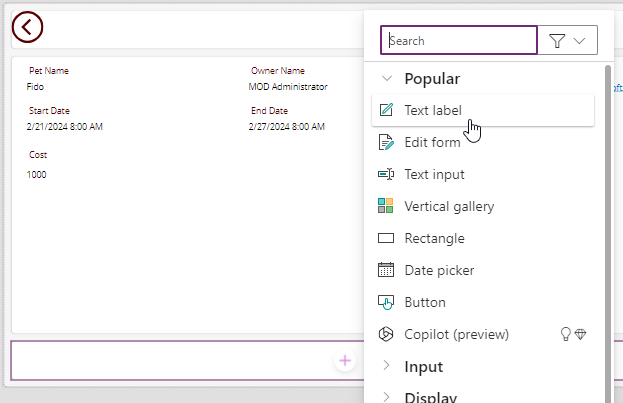
In the Footer container, select +.
-
Select Text label.
-
Set the Text property of the label to:
BookingRequestList.Selected.'Pet Name'
Task 2.3 - Add delete button
-
In the app authoring menu, select Tree view.
-
Expand DetailScreen.
-
Expand ScreenContainer1.
-
Select FooterContainer1.
-
In the app authoring menu, select Insert (+).
-
Select Button.
-
In the app authoring menu, select Tree view.
-
Rename the Button to
Deletebtn. -
Set the Text property of the button to:
"Delete" -
Set the OnSelect property of the button to:
Remove('Booking Requests', BookingRequestList.Selected); Back();
Exercise 3 – Edit screen
Task 3.1 - Add Edit form
-
In the app authoring menu, select Tree view.
-
Select EditScreen.
-
In the app authoring menu, select Insert (+).
-
Select Edit form.
-
In the Form’s properties, select Booking Requests for Data source.
-
In the Properties pane, select the link shown next to Fields (e.g., 9 selected).
-
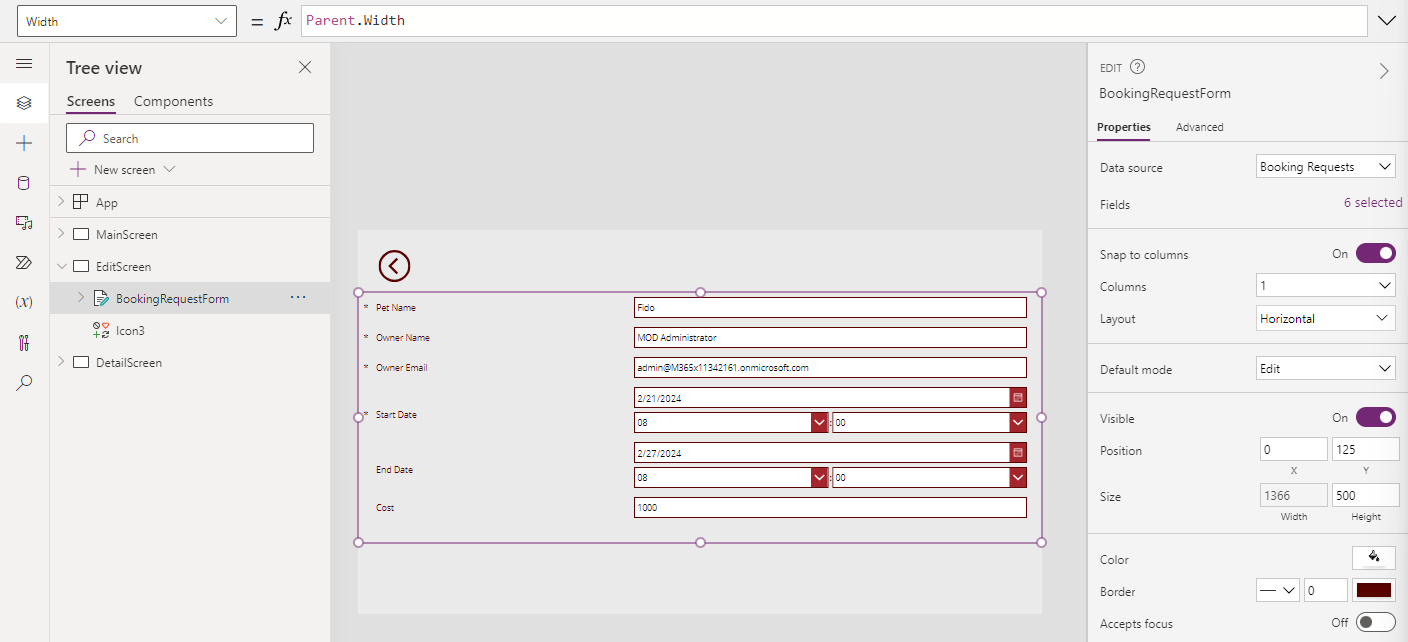
Add or remove the fields so that they are arranged in following order :
- Pet Name
- Owner Name
- Owner Email
- Start Date
- End Date
- Cost
-
Close the Fields pane.
-
Set the Item property of the form control to:
BookingRequestList.Selected -
In the app authoring menu, select Tree view.
-
Rename the form to
BookingRequestForm. -
Set the properties of the form as follows:
- X=
0 - Y=
125 - Height=
500 - Width=
Parent.Width - Columns=
1 - Layout=
Horizontal
- X=
Task 3.2 - Add submit button
-
In the app authoring menu, select Tree view.
-
Select EditScreen.
-
In the app authoring menu, select Insert (+).
-
Select Button.
-
Drag the button below the form.
-
In the app authoring menu, select Tree view.
-
Rename the Button to
Submitbtn. -
Set the Text property of the button to:
"Submit" -
Set the OnSelect property of the button to:
SubmitForm(BookingRequestForm) -
Select BookingRequestForm.
-
Set the OnSuccess property of the form to:
Navigate(MainScreen, ScreenTransition.UnCover)
Task 3.3 - Add navigation to the edit screen
-
In the app authoring menu, select Tree view.
-
Expand DetailScreen.
-
Expand ScreenContainer1.
-
Select HeaderContainer1.
-
In the app authoring menu, select Insert (+).
-
Expand Classic icons.
-
Select Edit.
-
In the app authoring menu, select Tree view.
-
Rename the icon to
EditIcon. -
Set the OnSelect property of the icon to:
Navigate(EditScreen, ScreenTransition.Cover)
Task 3.4 - New record
-
In the app authoring menu, select Tree view.
-
Select MainScreen.
-
In the app authoring menu, select Insert (+).
-
Expand Classic icons.
-
Select Add.
-
In the app authoring menu, select Tree view.
-
Rename the icon to
NewIcon. -
Set the properties of the icon as follows:
- X=
0 - Y=
0 - Height=
80 - Width=
80 - Color=
Color.White
- X=
-
Set the OnSelect property of the icon to:
NewForm(BookingRequestForm);Navigate(EditScreen, ScreenTransition.Cover) -
Select Save in the top-right of the Power Apps Studio.
-
Select the <- Back button from the top left of the command bar, and select Leave to exit the app.