Practice Lab 1 – Create a canvas app from data
In this lab you will design and build a canvas app from an existing data source.
What you will learn
- How to create Power Apps canvas apps from data and with Copilot
- How to connect to Excel using OneDrive for Business as a data source
High-level lab steps
- Create a canvas app from data
- Test the app
- Create a canvas app with Copilot
Prerequisites
- Must have completed Lab 0: Validate lab environment
Detailed steps
Exercise 1 – Get the data
Task 1.1 - Download the Excel spreadsheet
-
In a web browser, navigate to CoffeeMachineData.xlsx at
https://github.com/MicrosoftLearning/PL-7001-Create-and-manage-canvas-apps-with-Power-Apps/blob/master/Allfiles/Labs/CoffeeMachineData.xlsx. -
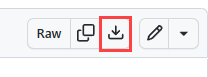
Select the Download file button to download the Excel workbook.
Task 1.2 Upload to OneDrive for Business
-
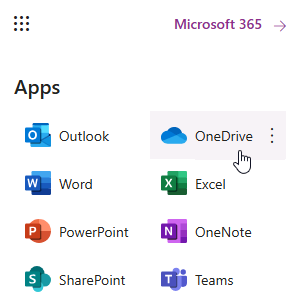
In the Power Apps maker portal select the App launcher in the top left of the browser window and then select OneDrive.
-
If presented with a pop-up, select Your OneDrive is ready.
-
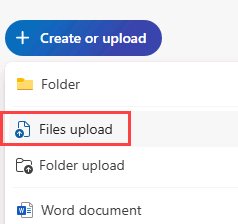
Select + Create or upload and then select Files upload
-
Browse to the Downloads folder and select the CoffeeMachineData.xlsx file and select Open.
-
Select My files and verify that CoffeeMachineData.xlsx has been uploaded.
Exercise 2 – Build a canvas app from data
Task 2.1 - Create the app
-
Navigate to the Power Apps Maker portal https://make.powerapps.com.
-
Make sure you are in the Dev One environment.
-
Select the + Create tab from the left-side menu.
-
Select the Excel Online (Business) tile under Start from data.

-
An Excel Online (Business) connection will automatically be created after a short delay.
-
Expand OneDrive for Business under Select the table.
-
Expand OneDrive.
-
Expand the CoffeeMachineData.xlsx Excel file.
-
Select the CoffeeMachines table.

-
Select Create app.
-
If the Welcome to Power Apps Studio pop-up dialog is displayed, select Don’t show me this again and select Skip.
-
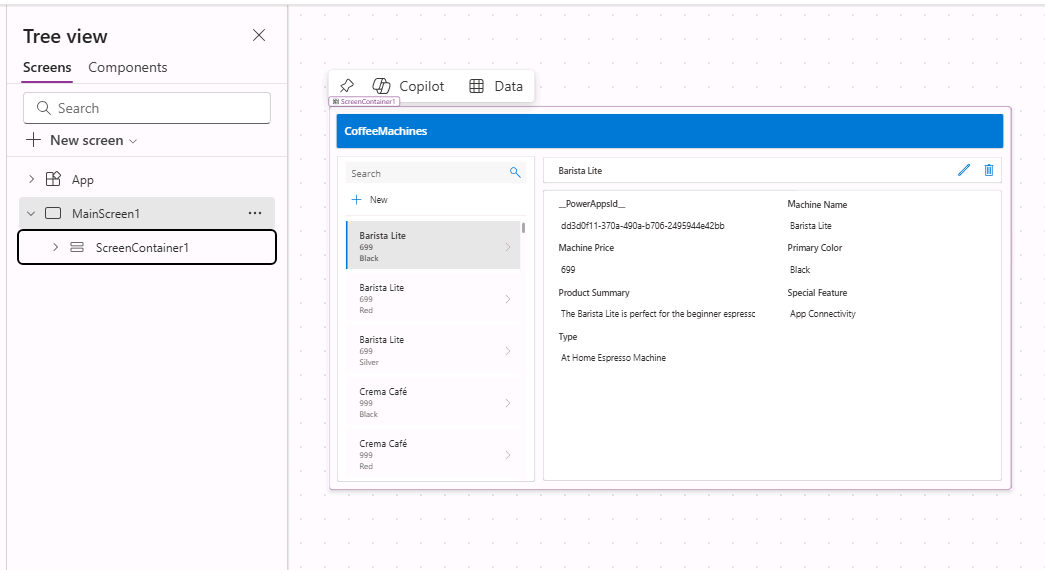
Wait for the app to be built.
-
Select Save in the top-right of the Power Apps Studio, enter
Coffee Machines Appfor Name, and then select Save.
Task 2.2 - Test the app
-
Select the Preview the app (F5) icon in the top-right of the Power Apps Studio.
-
Select any machine in the gallery. This displays details of the machine in the form.
-
Select the Edit icon at the top right of the app.
-
Change the Machine Price and select the Tick icon at the top right of the app.
-
Select the + New icon at the top left of the app.
-
Enter
abcdefor Machine ID. -
Enter
Demo Machinefor Machine Name. -
Enter
999for Machine Price. -
Select the Tick icon at the top right of the app.
-
Select X in the upper right corner to stop the preview.
-
If the Did you know? pop-up dialog is displayed, select Don’t show me this again and select Ok.
-
Select the <- Back button from the top left of the command bar, and select Leave to exit the app.
Exercise 3 – Build a canvas app with Copilot
Task 3.1 - Create the app
-
Navigate to the Power Apps Maker portal
https://make.powerapps.com -
Make sure you are in the Dev One environment.
-
Select the Apps tab from the left-side menu.
-
Select the +New app dropdown, and then Start with Copilot.
-
Select the Start with Copilot tile under Create your apps.
-
Under Get started with Copilot enter
Assign coffee repairs to technicians per customer request.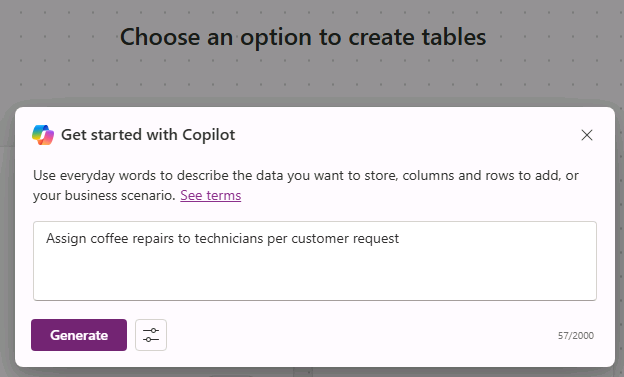
-
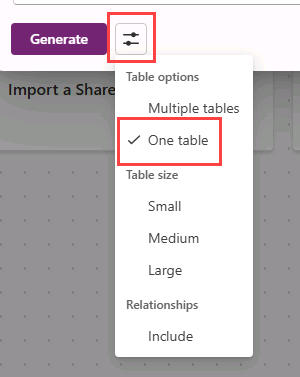
Select the Table options icon and select One table..
-
Select Generate.
Copilot will begin to build a table structure to support your application.
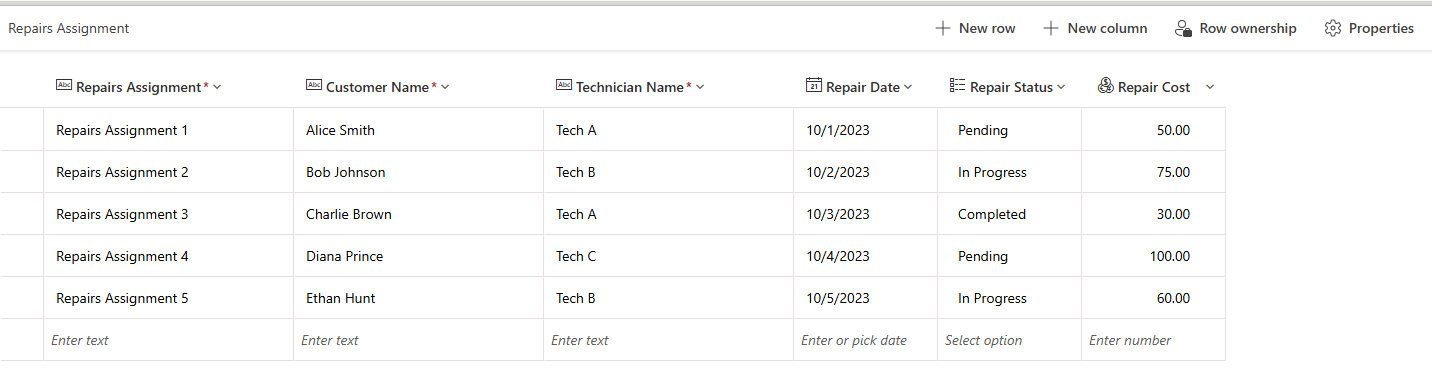
IMPORTANT: When using generative AI, you will not always get the same exact results. It is possible that your table will not exactly match the table created for another student.
-
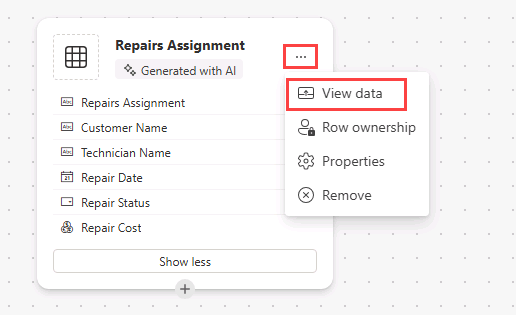
Select the Commands (…) next to the table and select View data.
-
Review the table
-
Once you are happy with your table, select the Save and open app button.
-
If necessary, On the Done working? screen, select Don’t ask me again, and select the Save and open app button.
-
Wait for the app to be built.

-
Select Save in the top-right of the Power Apps Studio, enter
Coffee Machine Repairs Appfor Name, and then select Save. -
Select the <- Back button from the top left of the command bar, and select Leave to exit the app.
-
Select the Apps tab from the left-side menu of the Power Apps maker portal.