Practice Lab 5.1 – Build a Power Pages portal
Scenario
You are a Power Platform functional consultant and have been assigned to the Fabrikam project for the next stage of the project.
In this practice lab, you will deploy a Power Pages portal and expose Milestone data to customers.
This lab will take approximately 30 minutes to complete.
Exercise 1 - Sign up for Power Pages
In this exercise, you will provision a Power Pages site using a starter template.
Task 1.1 - Create a Power Pages site
-
Navigate to the Power Pages portal
https://make.powerpages.microsoft.com/and sign in with your Microsoft 365 credentials if prompted. -
Use the Environment selector to switch to the Dev One environment.
-
Select Get started.
-
If you are asked about your experience creating websites, select Skip.
-
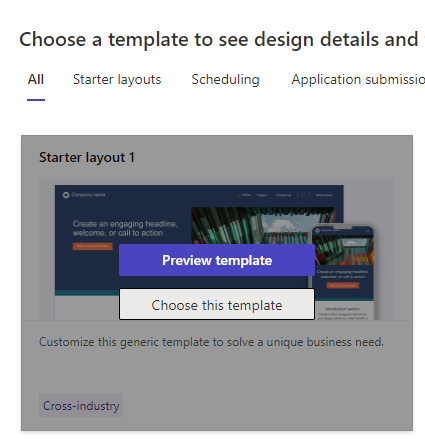
Scroll down and select Start with a template.
-
Choose the default design template, Starter layout 1, and select Choose this template.
-
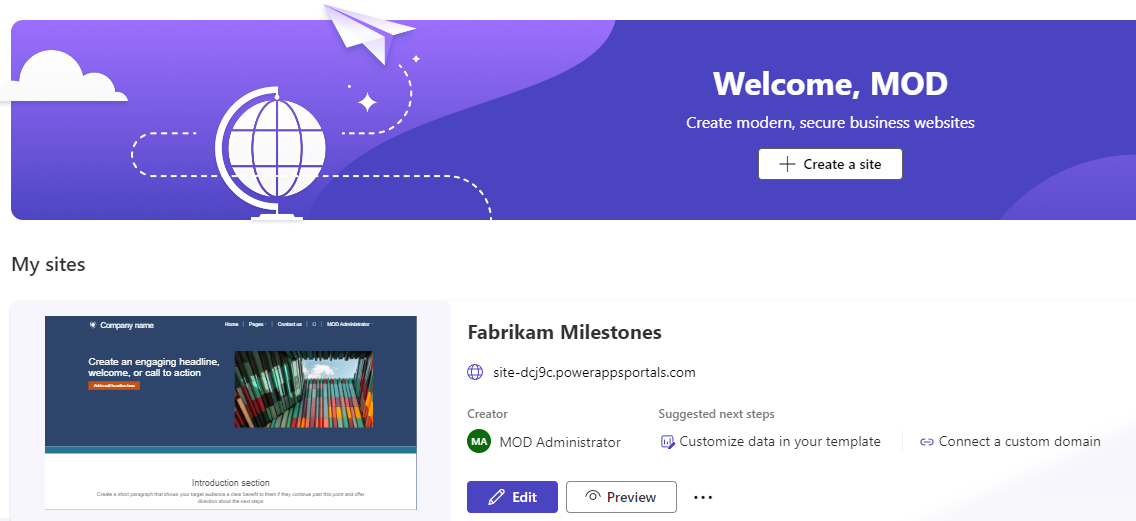
Enter
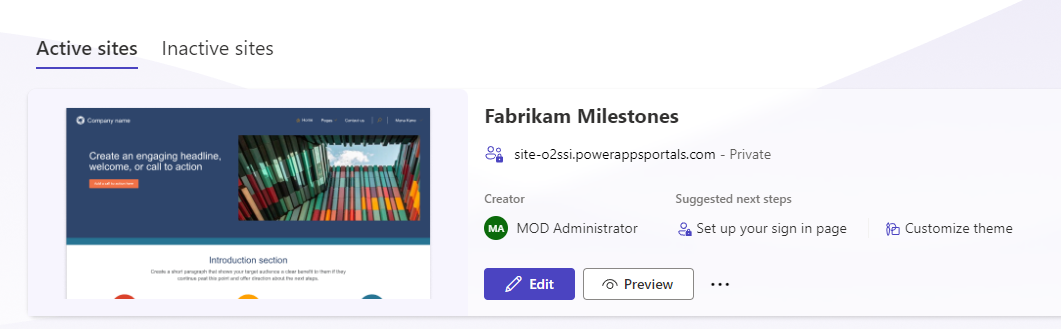
Fabrikam Milestonesfor Give your site a name. -
Use the autogenerated web address.
-
Select Done.
The portal site will deploy. It can take a while for your site to fully deploy.
-
Wait for the site to be deployed.
Exercise 2 - Explore and configure a Power Pages site
In this exercise, you will explore a Power Pages site and the Power Pages tools. You will make minor changes to the site content.
Task 2.1 - Review the Power Pages site
-
Navigate to the Power Pages portal
https://make.powerpages.microsoft.com/. -
Make sure you are in the Dev One environment.
-
Select Preview and then select Desktop.
-
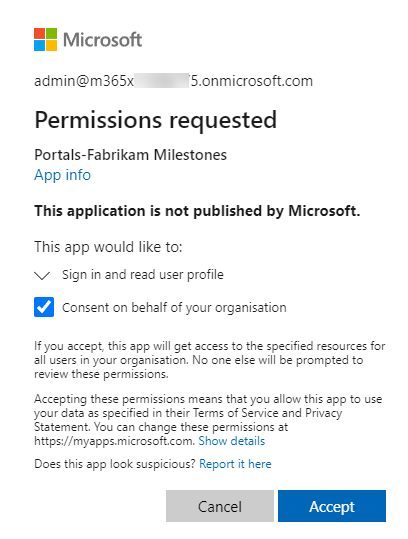
If permissions are requested, check the Consent on behalf of your organization and select Accept.
-
Scroll down to the bottom of the page and note the page footer.
-
In the menu, select Pages and then select Subpage 2. You should see an empty page.
-
In the menu, select Contact us. You should see a form.
-
Complete the Fill in your details form with dummy data and select Submit.
Task 2.2 - Sign in to the Power Pages site
-
In the menu, select Sign in.
-
Select Microsoft Entra ID. This will sign you in with your Microsoft 365 credentials.
-
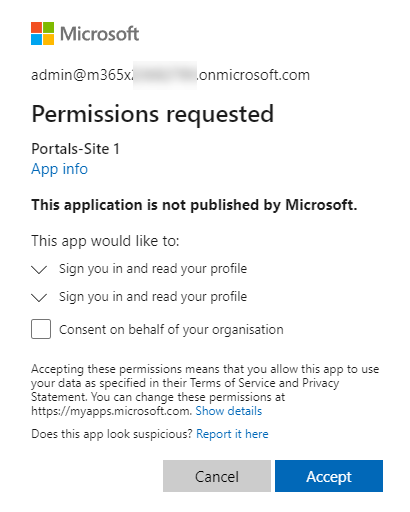
If permissions are requested, select Accept.
-
Enter
MODandAdministratorfor First Name and Last Name respectively and select Update.
Task 2.3 - Review the Power Pages Management model-driven app
-
Navigate to the Power Apps Maker portal
https://make.powerapps.com -
Make sure you are in the Dev One environment.
-
Select Apps and select All.
-
Select the Power Pages Management app, select the ellipsis menu (…), and select Play.
-
In the left navigation, select Web Pages. You should see 10 rows including Subpage 2.
-
Select and edit Subpage 2. You should see that this page uses the Default studio template page template.
-
Select Default studio template. You should see that this page uses the Default studio template web template.
-
Select Default studio template. You should see the source for the web template.
-
In the left navigation, select Web Templates. You should see many web templates.
-
In the left navigation, select Contacts.
-
A contact has been created for your user, MOD Administrator.
-
Select and edit MOD Administrator.
-
Select the caret at the top-left of the form and select the Portal Contact (enhanced) form.
-
Select the Web Authentication tab. You are authenticating using https://sts.windows.net which is Microsoft Entra Id (Azure Active Directory).
-
Select the General tab and view the Web Roles subgrid. Note that you have the Administrators web role.
-
In the left navigation, select Web Roles. You will see active Web Roles listed
- Administrators
- Anonymous Users
- Authenticated Users
Task 2.4 - Edit the site footer in Portal Management
-
In the left navigation, select Content Snippets.
-
Select and edit Footer. Do not navigate away from this page.
-
Replace the HTML with the following:
<p class="smallText">Copyright ©Fabrikam </p> <p class="smallText"></p> -
Select Save & Close.
Note: The footer on the site is not updated immediately.
Task 2.5 - Review Portal Designer
-
Navigate to the Power Pages portal
https://make.powerpages.microsoft.com/ -
Make sure you are in the Dev One environment.
-
Select Edit to open the site designer.
-
Scroll to the bottom of the page. You should see the footer that you changed in the earlier task.
-
In the Pages pane on the left side, select to expand Pages. You should see Subpage 2.
-
Select Subpage 2. Do not navigate away from this page.
Task 2.6 - Update pages in the Portal Designer
-
Select the ellipsis (…) and select Page settings.
-
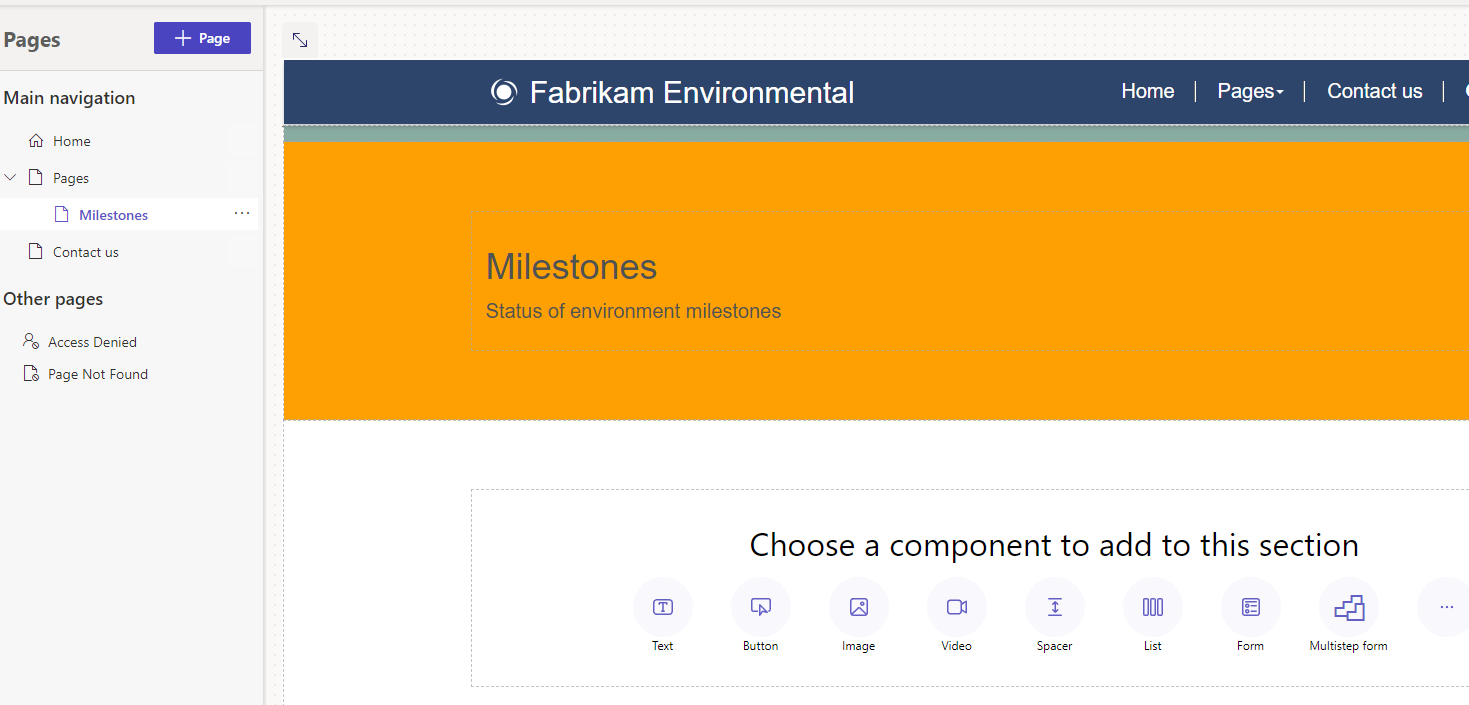
Enter
Milestonesfor Name. -
Enter
milestonesfor Partial URL. -
Select OK.
-
In the canvas, select the heading, Subpage 2, and enter
Milestones. -
In the canvas, select the line of text underneath the heading and enter
Status of environmental milestones. -
Select the background in the canvas above the heading and select the section.
-
Select Edit background.
-
Pick the Yellow color under Brand colors.
-
In the Pages pane on the left side, select Subpage 1.
-
Select the ellipsis (…) and select Delete.
-
Select Delete.
-
Select Company name at the top of the page and select Edit site header.
-
Enter Fabrikam Environmental for Site title.
Task 2.7 - View the changes to the site
-
In the top-right of the Power Pages designer, select Sync.
-
Select Preview and then select Desktop.
-
Verify your changes have been made.
Exercise 3 – Expose Dataverse data
In this exercise, you will add a list of Milestone rows to the page, add a form to edit rows, and configure security to allow the data to be changed in the portal site.
Task 3.1 - Display Dataverse records
-
Navigate to the Power Pages portal https://make.powerpages.microsoft.com/.
-
Make sure you are in the Dev One environment.
-
Select Edit to open the site designer.
-
In the Pages pane on the left side, select and expand Pages, and select Milestones.
-
In the canvas under Choose a component to add to this section, select the List icon.
-
Enable Try the new and improved version of this component.
-
Select Milestone for Choose a table.
-
Select Milestones SubGrid for Select the data views.
-
Enter Milestones for Name your list.
-
Select Done.
Task 3.2 - Security
-
Select Permissions in the list component editor (you may need to hover over the list to see this).
-
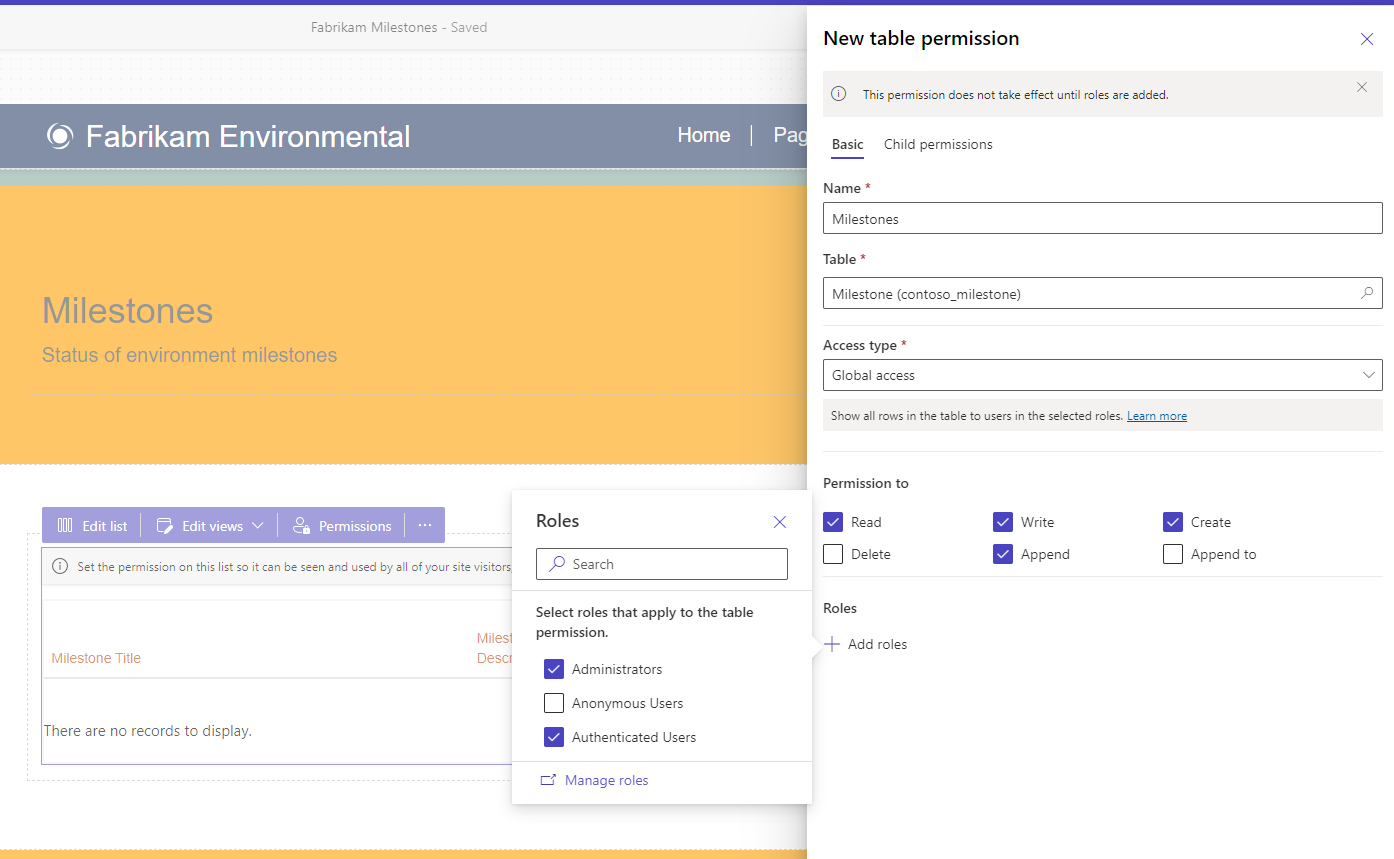
In the Table Permissions pane on the right-hand side, select + New permission
-
Enter Milestones for Name.
-
Select Milestone for Table.
-
Select Global access for Access type.
-
Check the following permissions:
- Read
- Update
- Create
- Append
- Append To
-
Select + Add roles
-
Check the following permissions:
- Administrators
- Authenticated Users
-
Select Save.
-
In the Table Permissions pane on the right-hand side, select New table permission
-
Enter Projects for Name.
-
Select Project for Table.
-
Select Global access for Access type.
-
Check the following permissions:
- Read
- Append
-
Select + Add roles
-
Check the following permissions:
- Administrators
- Authenticated Users
-
Select Save.
-
Select Close to close the Table permissions pane.
-
In the top-right of the Power Pages designer, select Sync.
-
Select Preview and then select Desktop.
-
Verify that milestone records are listed in the Power Pages site.
Task 3.3 - Form
-
In the Pages pane on the left side, select Pages.
-
Select the ellipsis (…) and select Add a new subpage.
-
Select Other ways to add a page.
-
Enter
Milestone Details. -
Uncheck Add page to main navigation
-
Select Start from blank.
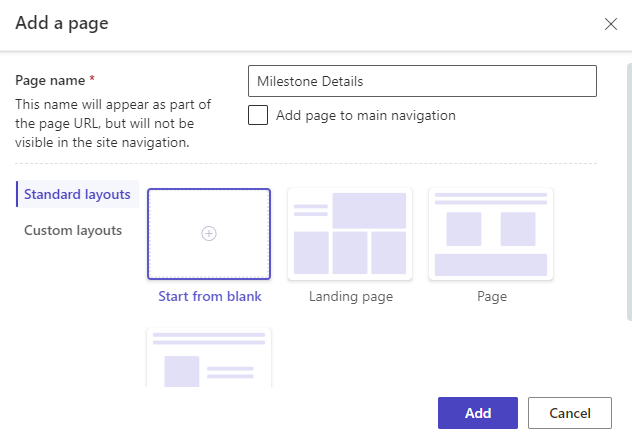
-
Select Add
-
In the canvas under Choose a component to add to this section, select the Form icon.
-
Select + New form.
-
Select Milestone for Choose a table.
-
Select Information for Select a form.
-
Enter
Milestonefor Name your copy of the selected form. -
Select the Data tab.
-
Select Updates an existing record for Data from this form.
-
Select the On submit tab.
-
Select Redirect to a page for When the form is submitted and then select the Milestones page.
-
Select the CAPTCHA tab.
-
Uncheck both boxes.
-
Select OK.
-
In the Pages pane on the left side, select Milestones.
-
Select the ellipsis (…) and select Promote this subpage.
-
In the Pages pane on the left side, select Pages.
-
Select the ellipsis (…) and select Delete.
-
In the Pages pane on the left side, select Milestones.
-
In the canvas, select the Milestones list component and select Edit list.
-
Select the Actions tab.
-
Toggle View details to On.
-
Select Form for Target type.
-
Select Milestone for Forms.
-
Select Done.
-
In the top-right of the Power Pages designer, select Sync.
-
Select Preview and then select Desktop.
-
Test viewing and editing Milestones.