Practice Lab 4.2 – Create a custom page
Scenario
You are a Power Platform functional consultant and have been assigned to the Fabrikam project for the next stage of the project.
You have been assigned to add a custom page to a model-driven app.
Exercise 1 – Add an image to the Resource table
In this exercise, you will be adding an image column to the Resource table.
Task 1.1 – Create an image column
-
Navigate to the Power Apps Maker portal
https://make.powerapps.com -
Make sure you are in the Dev One environment.
-
Select Solutions.
-
Open the Fabrikam Environmental solution.
-
In the Objects pane on the left, expand Tables.
-
Select the Resource table.
-
Under Schema, select Columns.
-
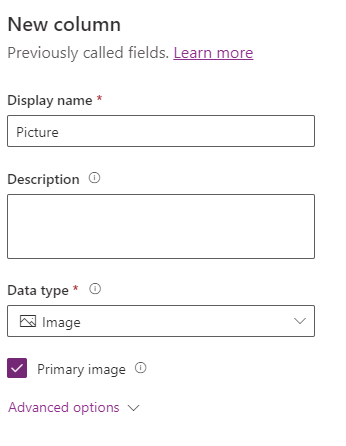
Select + New column.
-
Enter
Picturefor Display name. -
Select File and then Image in the Data type drop-down.
-
Check the Primary image box.
-
Select Save.
Task 1.2 – Add images to resources
-
Navigate to the Power Apps Maker portal
https://make.powerapps.com -
Make sure you are in the Dev One environment.
-
Select Solutions.
-
Open the Fabrikam Environmental solution.
-
In the Objects pane on the left, select Apps.
-
Select the Environmental Administration app, and select Play.
-
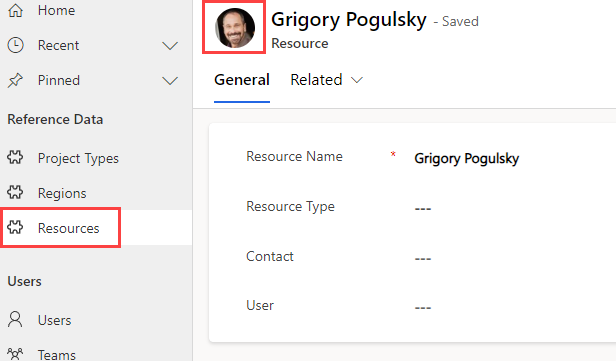
Select Resources.
-
Edit each of the resources and upload an image by clicking the circle in the top-left of the form.
Exercise 2 – Build custom page
In this exercise, you will build a custom page to manage project resources.
Task 2.1 - Create a custom page
-
Navigate to the Power Apps Maker portal
https://make.powerapps.com -
Make sure you are in the Dev One environment.
-
Select Solutions.
-
Open the Fabrikam Environmental solution.
-
In the Objects pane on the left, select Apps.
-
Select the + New drop-down and select App then Page.
-
Select With layout and select Split screen.
-
Select Settings which may be behind the ellipsis (…) menu in the command bar.
-
Enter
Project Resources pagefor Name. -
Close Settings.
-
Rename Screen1 to
Project Resources.
Task 2.2 - Add gallery for resources
-
In the Tree view, expand ScreenContainer1.
-
Select LeftContainer1.
-
In LeftContainer1, select the + icon and select Vertical gallery.
-
Search for
Resourcesand select the Resources table. -
On the Properties tab for the gallery, select Active Resources for Views.
-
On the Properties tab for the gallery, under Fields select 5 selected.
-
Select contoso_resourcetype for Subtitle1.
-
Rename the gallery to
ResourceList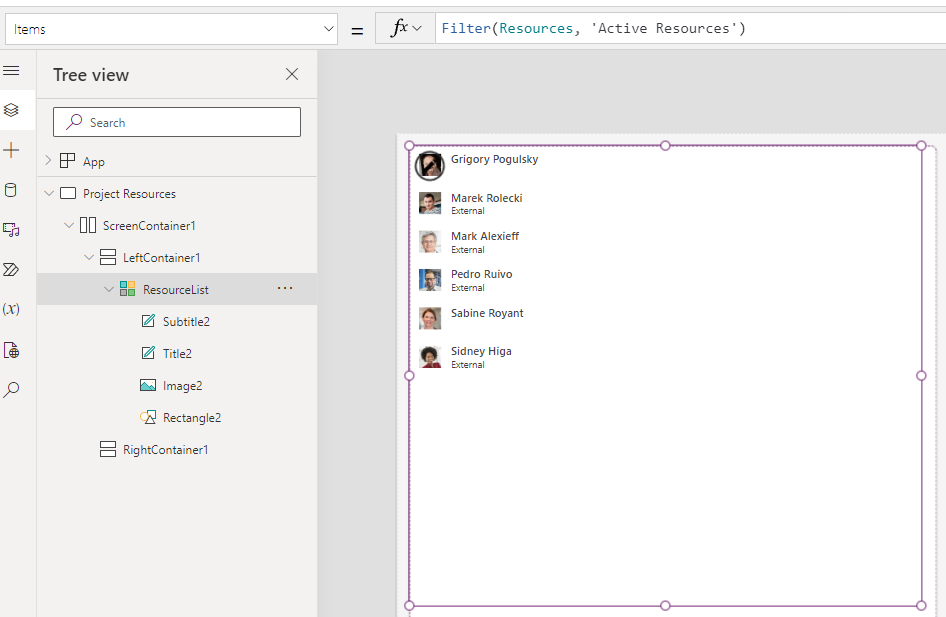
-
Close the Data panel.
Task 2.3 - Add gallery for project resources
-
In the Tree view, expand ScreenContainer1.
-
Select RightContainer1.
-
In RightContainer1, select the + icon and select Vertical gallery.
-
Search for
Resourcesand select the Project Resources table. -
On the Properties tab for the gallery, select Project Resources SubGrid for Views.
-
On the Properties tab for the gallery, select Title, subtitle, and body for Layout.
-
On the Properties tab for the gallery, under Fields select 5 selected.
-
Enter
ThisItem.'Status Reason'for Body. -
Enter
ThisItem.'Project Role'for Subtitle. -
Enter
ThisItem.Namefor Title.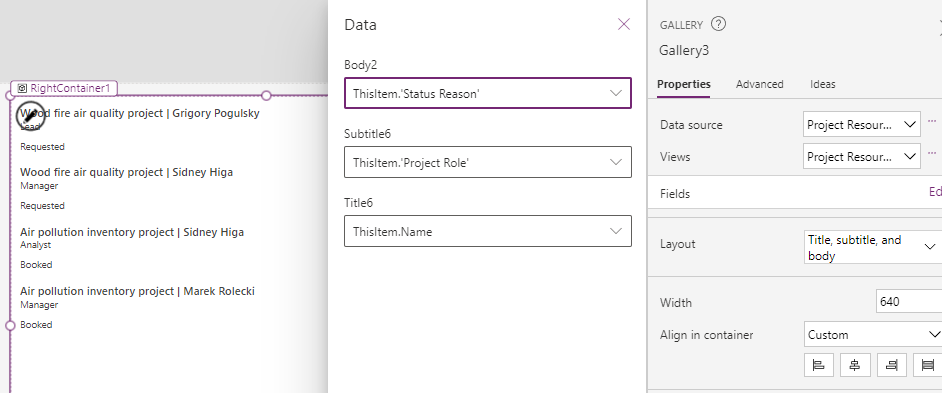
-
Select the gallery and select Items in the property selector.
Filter('Project Resources', Resource.Resource = ResourceList.Selected.Resource) -
Rename the gallery to
ProjectResourceList -
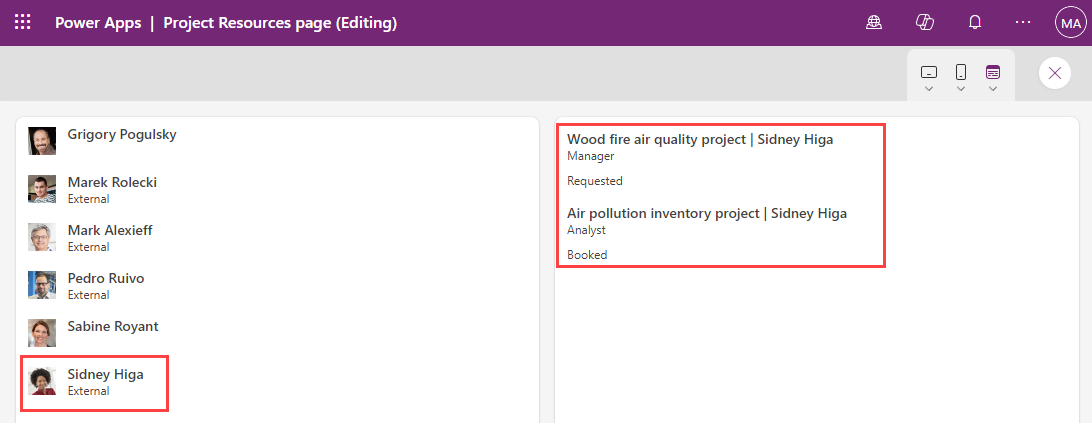
Preview the page and verify that two projects are listed for Sidney.
-
Close the preview.
-
Select Save.
-
Select Publish.
-
Select Publish this version.
-
Select 🡠 Back.
Task 2.4 – Add custom page
In this task, you will add the custom page to a model-driven app.
-
Navigate to the Power Apps Maker portal
https://make.powerapps.com -
Make sure you are in the Dev One environment.
-
Select Solutions.
-
Open the Fabrikam Environmental solution.
-
In the Objects pane on the left, select Apps.
-
Select the Environmental Project Delivery app, select the Commands menu (…), and select Edit > Edit in new tab.
-
In the Pages pane on the left side, select projects.
-
Select the ellipsis (…) for Projects and select New page.
-
Select Custom page.
-
Select Project Resources page.
-
Select Add.
-
Select Save.
-
Select Publish.
-
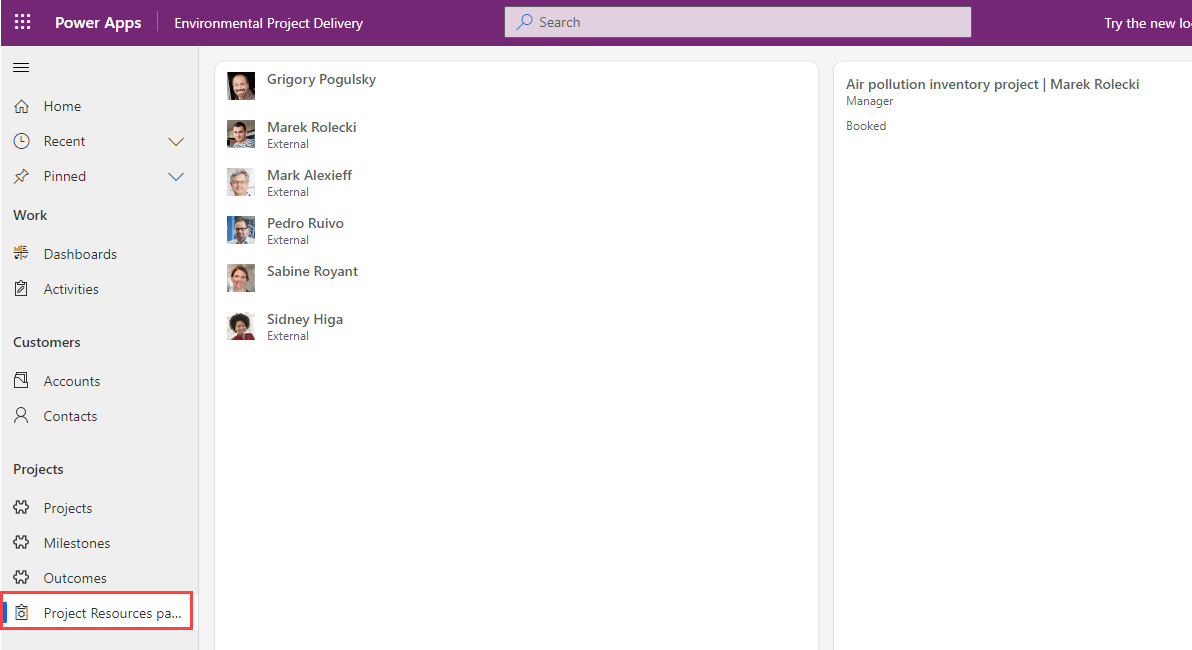
Select Play.
-
Select Project Resources page under Projects and verify that resources are displayed and then close the app and app designer browser tabs.
-
Select Done.