Practice Lab 3.2 – Views
Scenario
You are a Power Platform functional consultant and have been assigned to the Fabrikam project for the next stage of the project.
In this practice lab, you will be modifying the views for the Fabrikam Environment model-driven apps.
You will be:
- adding the columns you created in the earlier lab to the view
- creating a new view for completed Projects
- adding the funding amount to views
- editing the lookup view for Outcomes
- adding find columns to the Outcomes quick find view
- configuring default view for Project Outcome
- changing Milestone sub-grid on Project to an editable grid
- restricting views in the app
- Enabling Dataverse search
This lab will take approximately 30 minutes to complete.
Exercise 1 – Project views
In this exercise, you will make changes to the views for the Project table.
Task 1.1 – Modify the Project public view
In this task, you will perform the following changes to the form:
- add columns to views
-
Navigate to the Power Apps Maker portal
https://make.powerapps.com -
Make sure you are in the Dev One environment.
-
Select Solutions.
-
Click to open the Fabrikam Environmental solution.
-
In the Objects pane on the left, expand Tables.
-
Select the Project table.
-
Under Data experiences, select Views.
-
Select the Active Projects view, select the Commands menu (…), and select Edit > Edit in new tab.
-
Select the Total Project Funding column to add to the view.
-
Drag the Total Project Funding column to the left of Project Status.

-
On the Save and publish drop-down menu, select Save only. Do not navigate away from this page.
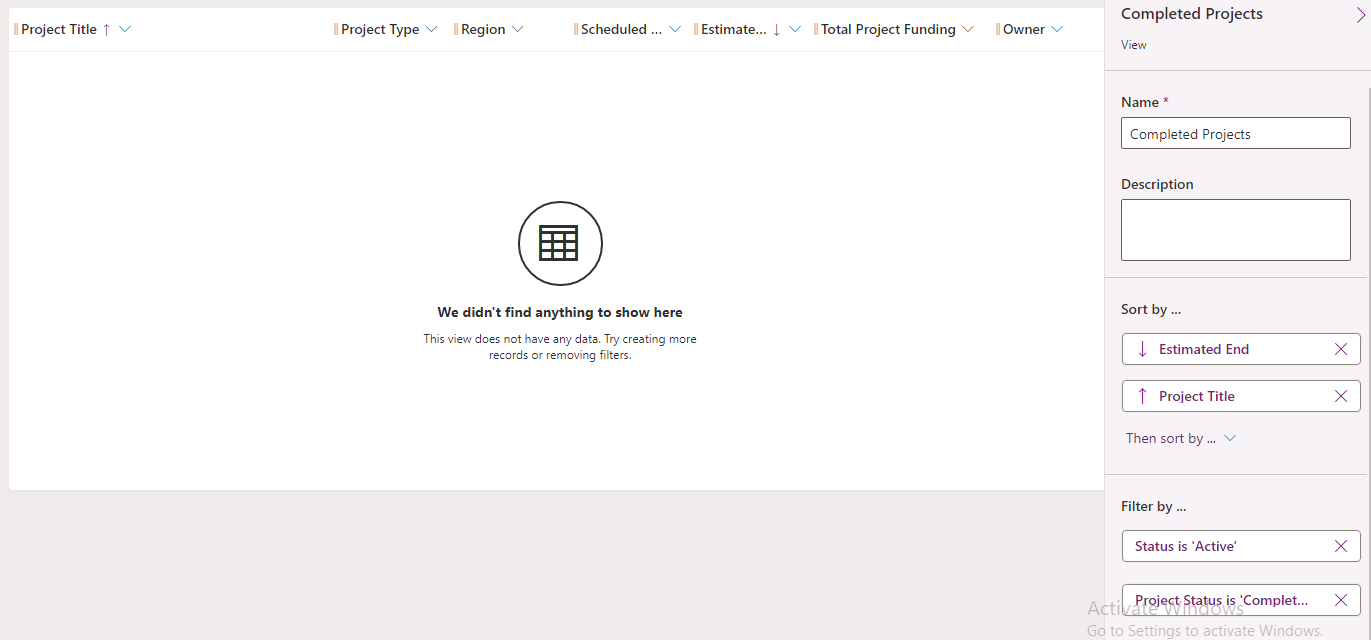
Task 1.2 – Create new completed projects view
In this task, you will perform the following changes to the form:
- create a new view
- set filter
- remove column
-
Select Save As.
-
Enter
Completed Projectsfor Name. -
Select Save.
-
Select the caret next to the Project Status column and select Filter by.
-
Select Equals and choose Completed.
-
Select Apply.
-
Select the caret next to the Project Status column and select Remove.
-
On the Save and publish drop-down menu, select Save only.
-
Close the view designer.
-
Select Done.
Exercise 2 – Project Funding views
In this exercise, you will make changes to the views for the Project Funding table.
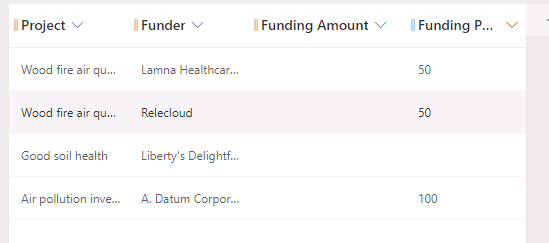
Task 2.1 – Modify the Project Funding public view
In this task, you will perform the following changes to the form:
- add columns to views
-
Navigate to the Power Apps Maker portal
https://make.powerapps.com -
Make sure you are in the Dev One environment.
-
Select Solutions.
-
Open the Fabrikam Environmental solution.
-
In the Objects pane on the left, expand Tables.
-
Select the Project Funding table.
-
Under Data experiences, click on Views.
-
Select the Active Project Funding view, select the Commands menu (…), and select Edit > Edit in new tab.
-
Drag the Funding Amount column from Table columns to between the Funder and Funding Percentage columns, adding it to the view.
-
On the Save and publish drop-down menu, select Save only.
-
Close the view designer.
-
Select Done.
Exercise 3 – Outcome views
In this exercise, you will make changes to the views for the Outcome table.
Task 3.1 – Modify the Active Outcomes public view
In this task, you will perform the following changes to the form:
- add the Milestone Status to public view
- remove the status reason column
-
Navigate to the Power Apps Maker portal https://make.powerapps.com.
-
Make sure you are in the Dev One environment.
-
Select Solutions.
-
Click to open the Fabrikam Environmental solution.
-
In the Objects pane on the left, click and expand Tables.
-
Select the Outcome table.
-
Under Data experiences, click on Views.
-
Select the Active Outcomes view, select the Commands menu (…), and select Edit > Edit in new tab.
-
Drag the Outcome Status column to the left of the Owner column in the view.
-
Select the caret next to the Status Reason column and select Remove.
-
On the Save and publish drop-down menu, select Save only.
-
Close the view designer.
-
Select Done.
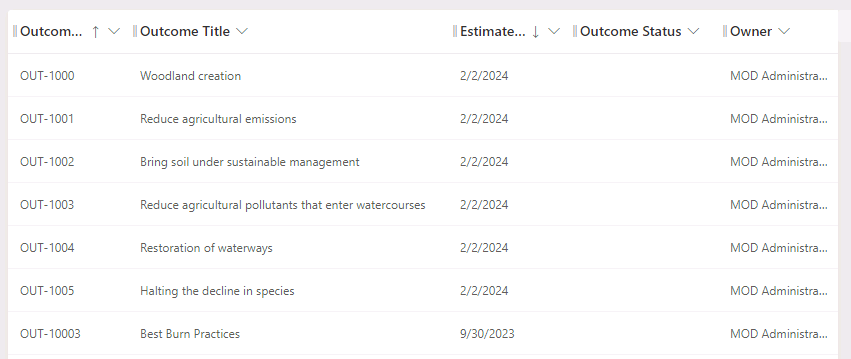
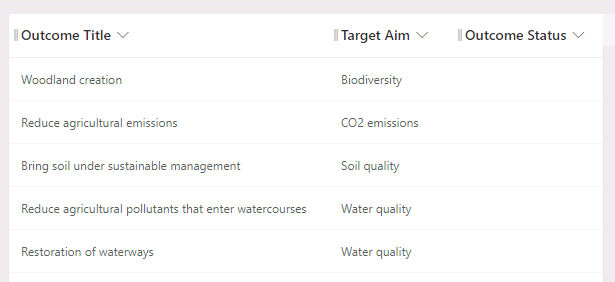
Task 3.2 – Modify the Outcome lookup view
In this task, you will perform the following changes to the form:
- change the columns in the lookup view for Outcomes
-
Select the Outcome Lookup View view, select the Commands menu (…), and select Edit > Edit in new tab.
-
Select the caret next to the Created On column and select Remove.
-
Select the Target Aim column to add to the view.
-
Select the Outcome Status column to add to the view.
-
On the Save and publish drop-down menu, select Save only.
-
Close the view designer.
-
Select Done.
Task 3.3 – Modify the Outcome Quick Find view
In this task, you will perform the following changes to the form:
- change the find columns in the quick find view
-
Select the Quick Find Active Outcomes view, select the Commands menu (…), and select Edit > Edit in new tab.
-
Select the caret next to the Created On column and select Remove.
-
Select the Target Aim column to add to the view.
-
Select the Outcome Status column to add to the view.
-
Select the Estimated Completion Date column to add to the view.
-
In the Quick Find Active Outcomes pane on the right, select Edit find table columns under Find by.
-
Choose the following columns and select Apply.
- Goal
- Outcome Code
- Outcome Description
- Outcome Title
- Target Aim
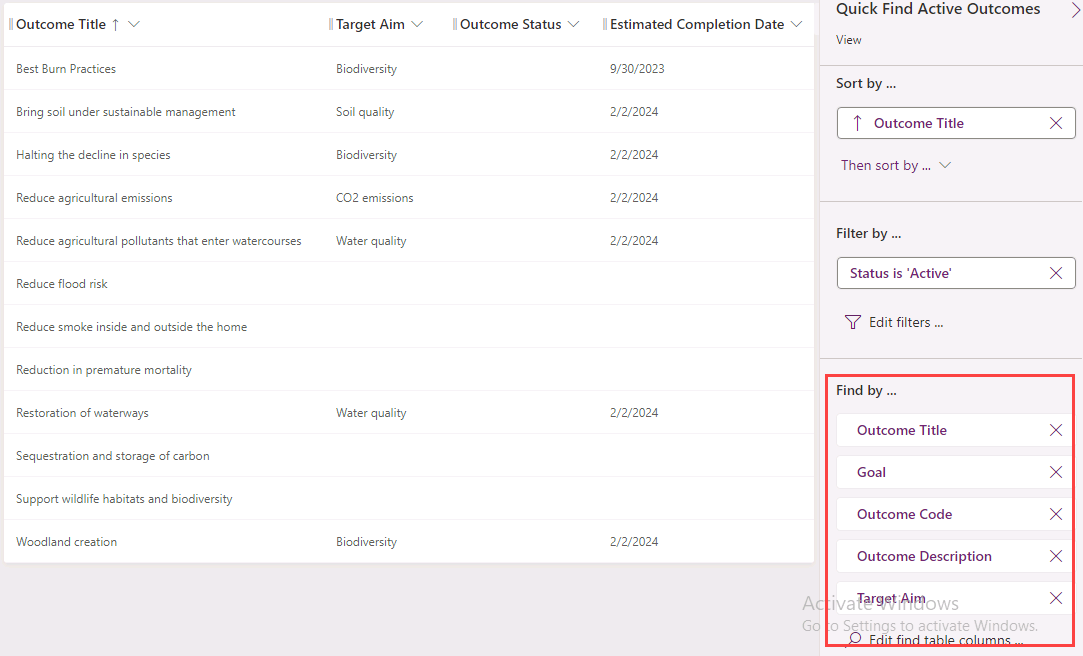
-
On the Save and publish drop-down menu, select Save only.
-
Close the view designer.
-
Select Done.
Exercise 4 – Milestone views
In this exercise, you will make changes to the views for the Milestone table.
Task 4.1 – Modify the Active Milestones public view
In this task, you will perform the following changes to the form:
- add the Milestone Status to the public view
- remove the Status Reason column
-
Navigate to the Power Apps Maker portal
https://make.powerapps.com -
Make sure you are in the Dev One environment.
-
Select Solutions.
-
Open the Fabrikam Environmental solution.
-
In the Objects pane on the left, expand Tables.
-
Select the Milestone table.
-
Under Data experiences, select Views.
-
Select the Active Milestones view, select the Commands menu (…), and select Edit > Edit in new tab.
-
Drag the Number of Open Tasks column to the right of the Milestone Title column in the view.
-
Drag the Milestone Status column to the left of the Owner column in the view.
-
Select the caret next to the Status Reason column and select Remove.
-
On the Save and publish drop-down menu, select Save only.
-
Close the view designer.
-
Select Done.
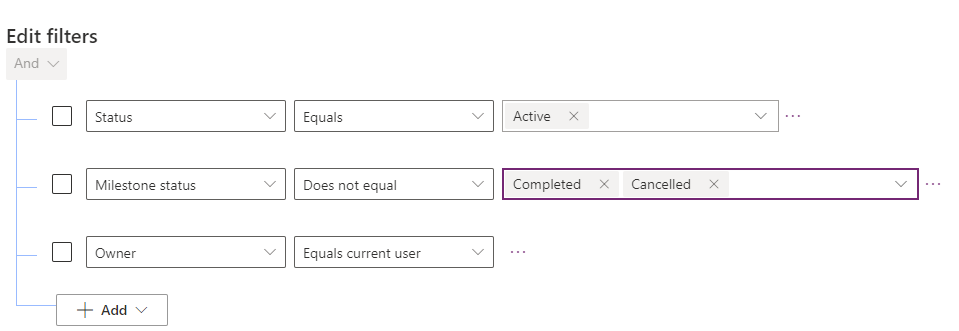
Task 4.2 – Modify the My Pending Milestones public view
In this task, you will perform the following changes to the form:
- add the Milestone Status to the public view
- remove the Status Reason column
- edit the filter
-
Select the My Pending Milestones view, select the Commands menu (…), and select Edit > Edit in new tab.
-
Drag the Milestone Status column to the right of the Status Reason column in the view.
-
Select the caret next to the Status Reason column and select Remove.
-
In the My Pending Milestones pane on the right side, select Edit filters.
-
In the Edit filters pane, change Status Reason to Milestone Status.
-
Change the Operator to Does not equal.
-
Select Completed and Cancelled.
-
Select Ok.
-
On the Save and publish drop-down menu, select Save only.
-
Close the view designer.
-
Select Done.
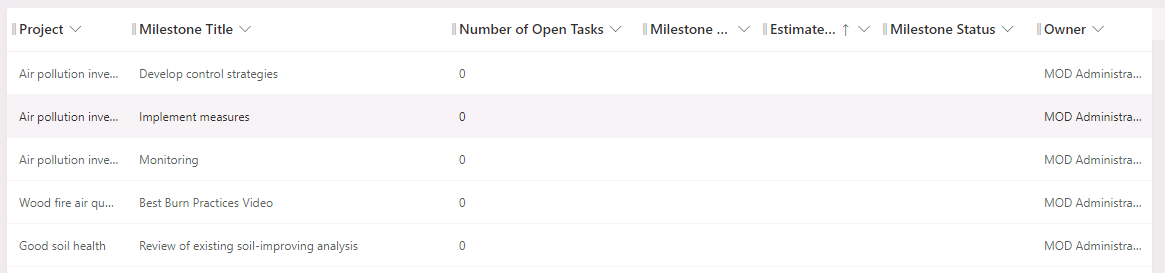
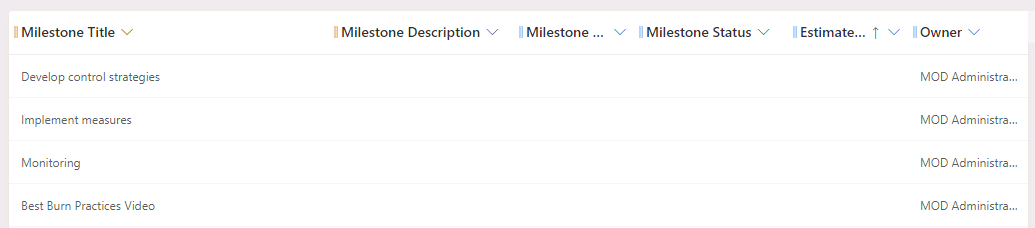
Task 4.3 – Modify the Milestones SubGrid view
In this task, you will perform the following changes to the form:
- add the Milestone Description to the view
- add the Milestone Status to the view
- remove the Status Reason column
-
Select the Milestones SubGrid view, select the Commands menu (…), and select Edit > Edit in new tab.
-
Drag the Milestone Description column to the right of the Milestone Title column in the view.
-
Drag the Milestone Status column to the right of the Status Reason column in the view.
-
Select the caret next to the Status Reason column and select Remove.
-
On the Save and publish drop-down menu, select Save only.
-
Close the view designer.
-
Select Done.
Exercise 5 – Project Outcome views
In this exercise, you will make changes to the views for the Project Outcome table.
Task 5.1 – Modify the Active Project Outcomes public view
In this task, you will perform the following changes to the form:
- Configure the default views created when the table was created
-
Navigate to the Power Apps Maker portal
https://make.powerapps.com -
Make sure you are in the Dev One environment.
-
Select Solutions.
-
Open the Fabrikam Environmental solution.
-
In the Objects pane on the left, expand Tables.
-
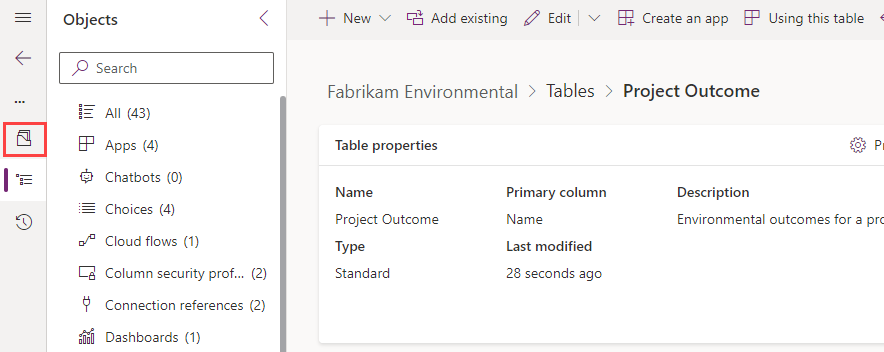
Select the Project Outcome table.
-
Under Data experiences, select Views.
-
Select the Active Project Outcomes view, select the Commands menu (…), and select Edit > Edit in new tab.
-
Select the caret next to the Created On column and select Remove.
-
Select the Outcome column to add to the view.
-
Select the Comments column to add to the view.
-
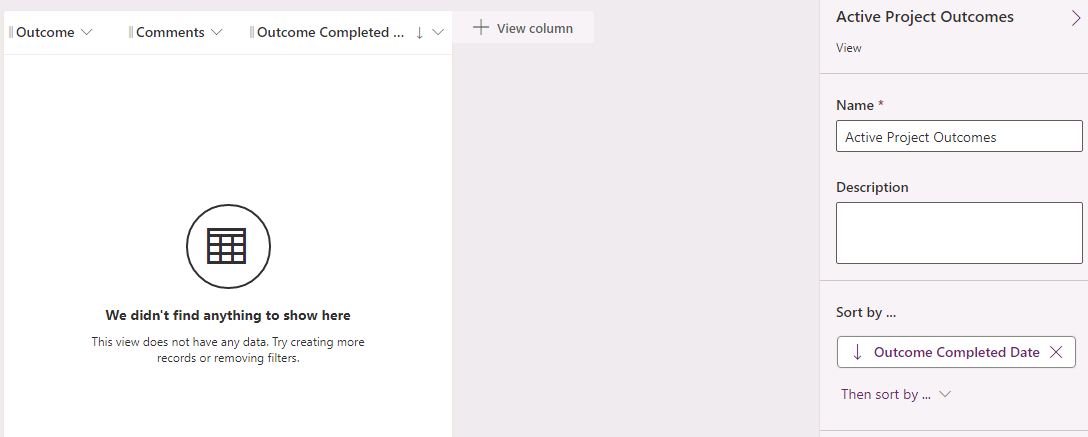
Select the Outcome Completed Date column to add to the view.
-
Select the caret next to the Title column and select Remove.
-
In the Active Project Outcomes pane on the right side, select Sort by and select Outcome completed date.
-
Select the up arrow to change the sorting to descending.
-
On the Save and publish drop-down menu, select Save only.
-
Close the view designer.
-
Select Done.
Task 5.2 – Publish changes
-
In the Objects pane on the left, select All.
-
Select Publish all customizations.
Exercise 6 – Editable grid
In this exercise, you will make changes to a sub-grid in the main form for the Project table to make it editable.
Task 6.1 – Modify the Project main form
In this task, you will perform the following changes to the form:
- change the Milestone sub-grid to be an editable grid
-
Navigate to the Power Apps Maker portal
https://make.powerapps.com -
Make sure you are in the Dev One environment.
-
Select Solutions.
-
Open the Fabrikam Environmental solution.
-
In the Objects pane on the left, expand Tables.
-
Select the Project table.
-
Under Data experiences, select Forms.
-
Select the Information where Form type is Main, select the Commands menu (…), and select Edit > Edit in new tab.
-
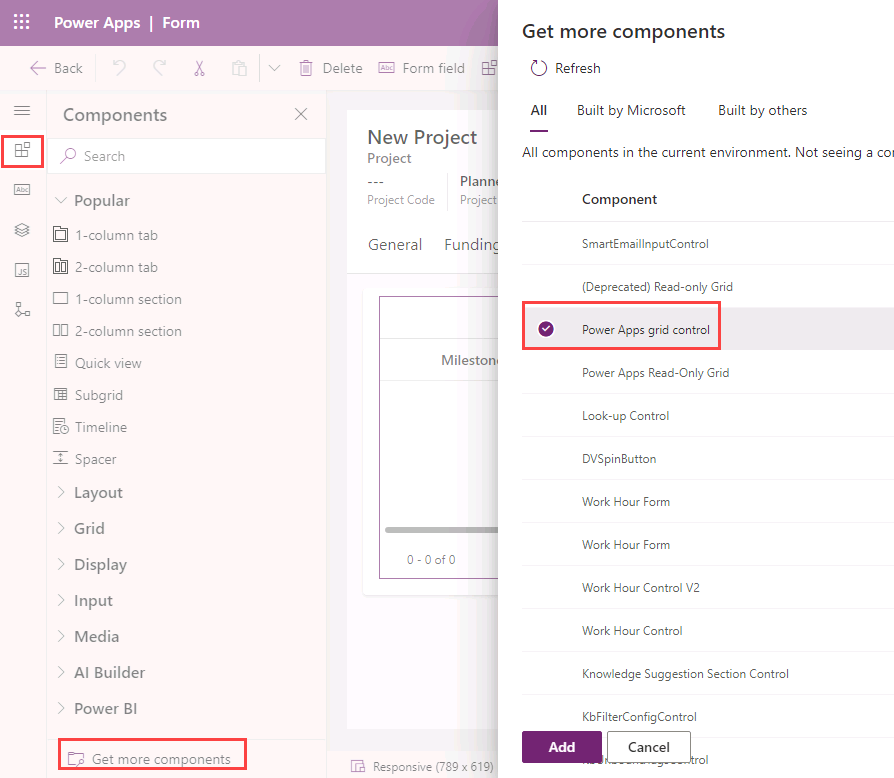
Select Components on the left navigation of the form designer.
-
Select Get more components.
-
Select the Power Apps grid control.
-
Select Add.
-
Select the Milestones tab.
-
Select the Milestones sub-grid.
-
In the Properties pane on the right, expand Components.
-
Select + Component.
-
Select Power Apps grid control.
-
Select Yes for Enable editing.
-
Select Yes for Show data type icons.
-
Select Done.
-
Select Save and publish.
-
Close the form designer.
-
Select Done.
Exercise 7 – Modify model-driven apps
In this exercise, you will be restricting views in model-driven apps.
Task 7.1 – Environmental Project Delivery app
In this task, you will perform the following changes to the app:
- restrict Project views
- restrict Milestone views
- restrict Outcome views
-
Navigate to the Power Apps Maker portal https://make.powerapps.com.
-
Make sure you are in the Dev One environment.
-
Select Solutions.
-
Click to open the Fabrikam Environmental solution.
-
In the Objects pane on the left, select Apps.
-
Select the Environmental Project Delivery app, select the Commands menu (…), and select Edit > Edit in new tab.
-
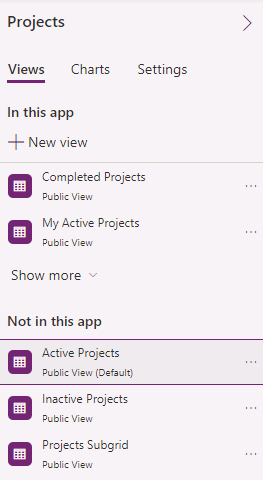
Under Projects in the Pages pane on the left-hand side, select Projects view.
-
In the Projects pane on the right side, select the ellipsis … on the Active Projects view and select Remove.
-
In the Projects pane on the right side, select the ellipsis … on the Inactive Projects view and select Remove.
-
In the Projects pane on the right side, select the ellipsis … on the Projects Subgrid view and select Remove.
-
Select Milestones view from the left Pages pane.
-
In the Milestones pane on the right side, select the ellipsis … on the Inactive Milestones view and select Remove.
-
In the Milestones pane on the right side, select the ellipsis … on the Milestones SubGrid view and select Remove.
-
In the Pages pane on the left-hand side, select Outcomes view.
-
In the Outcomes pane on the right side, select the ellipsis … on the Inactive Outcomes view and select Remove.
-
In the Outcomes pane on the right side, select the ellipsis … on the Outcomes SubGrid view and select Remove.
-
Select Save and Publish.
-
Select Play. Explore the Environmental Project Delivery model-driven app.
-
Close the app and the app designer tabs.
-
Select Done.
Exercise 8 – Enable Dataverse Search
In this exercise, you will enable Dataverse search for your environment.
The find columns on the quick find views define the searchable fields in the Dataverse search index.
Task 8.1 – Search settings
-
Navigate to the Power Platform admin center
https://aka.ms/ppac -
Select Manage and then select Environments from the left navigation pane.
-
Select the Dev One environment.
-
Select Settings.
-
Expand Product.
-
Select Features.
-
Verify that Dataverse search is On.
-
If you made changes, select Save at the bottom.
Task 8.2 – Search index
-
Navigate to the Power Apps Maker portal
https://make.powerapps.com -
Make sure you are in the Dev One environment.
-
Select Solutions.
-
Open the Fabrikam Environmental solution.
-
In the solution select the Overview page.
-
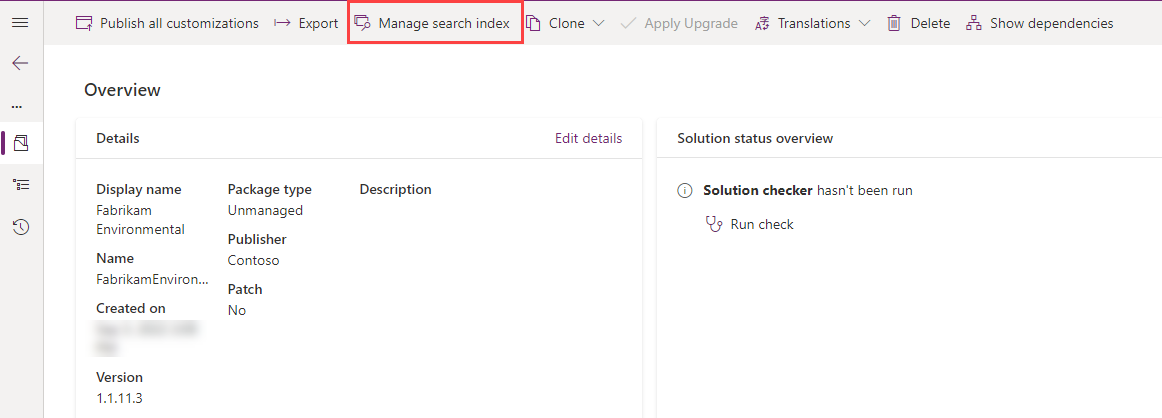
Select Manage search index.
-
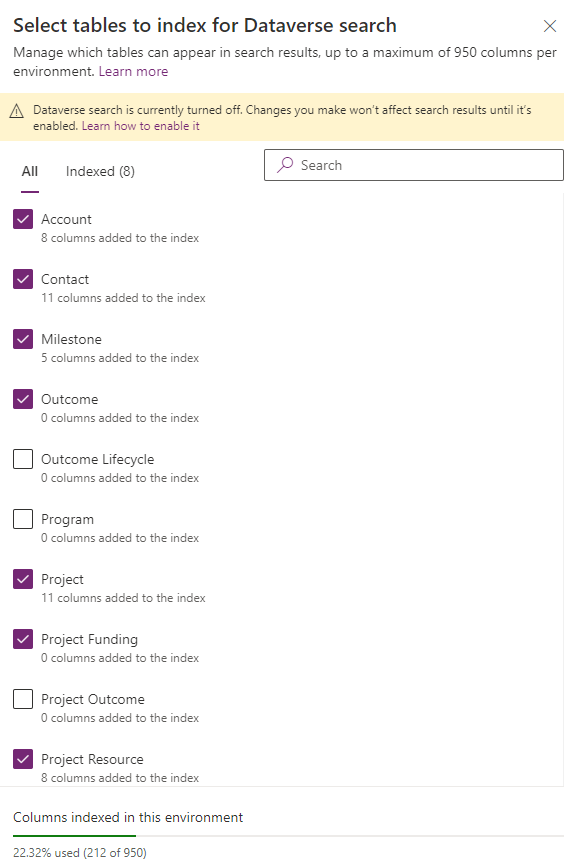
In the Select tables to index for Dataverse search pane, add the following tables:
- Outcome
- Project Funding
- Resource
-
Select Save.
Task 8.3 – Publish changes
- Select Publish all customizations.