Practice Lab 2.1 - Security roles
Scenario
You are a Power Platform functional consultant and have been assigned to the Fabrikam project for the next stage of the project.
In this practice lab, you will be modifying security roles.
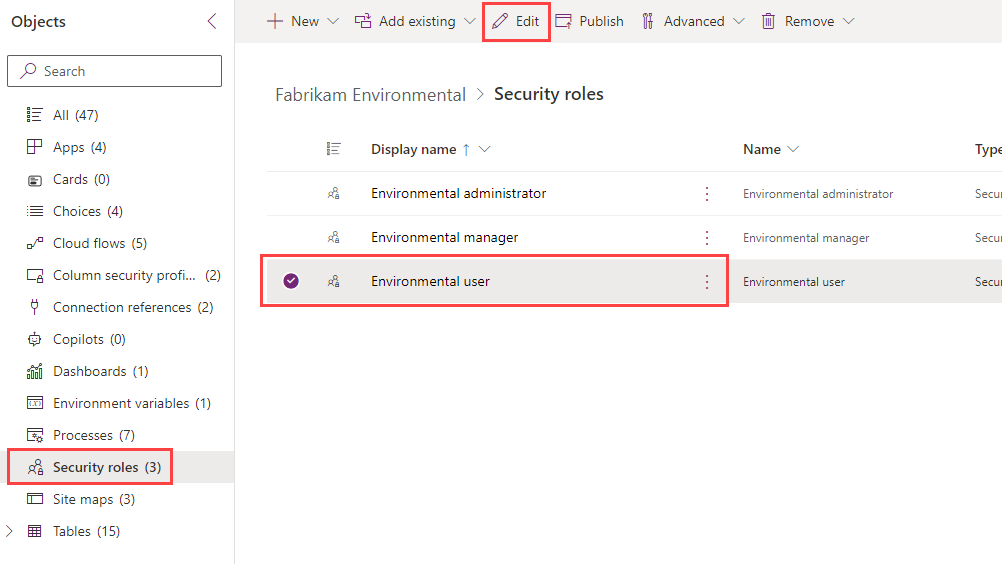
There are three security roles in the solution:
- Environmental administrator
- Environmental manager
- Environmental user
You need to add privileges for the new Project Outcome table.
You need to adjust the Write privileges for the Milestone and Outcome tables on the Environmental user role. Currently, users can edit all records on these tables. Users should only be able to edit the records in their business unit.
You need to remove privileges for importing and exporting of data, deleting account and contacts, and add privileges for connection roles and audit history.
This lab will take approximately 20 minutes to complete.
Exercise 1 – Modify the Environmental user security role
Task 1.1 – Evaluate security role
-
Navigate to the Power Apps Maker portal https://make.powerapps.com.
-
Make sure you are in the Dev One environment.
-
Select Solutions.
-
Open the Fabrikam Environmental solution.
-
In the Objects pane on the left, select Security roles.
-
Select the Environmental user role and click Edit.
-
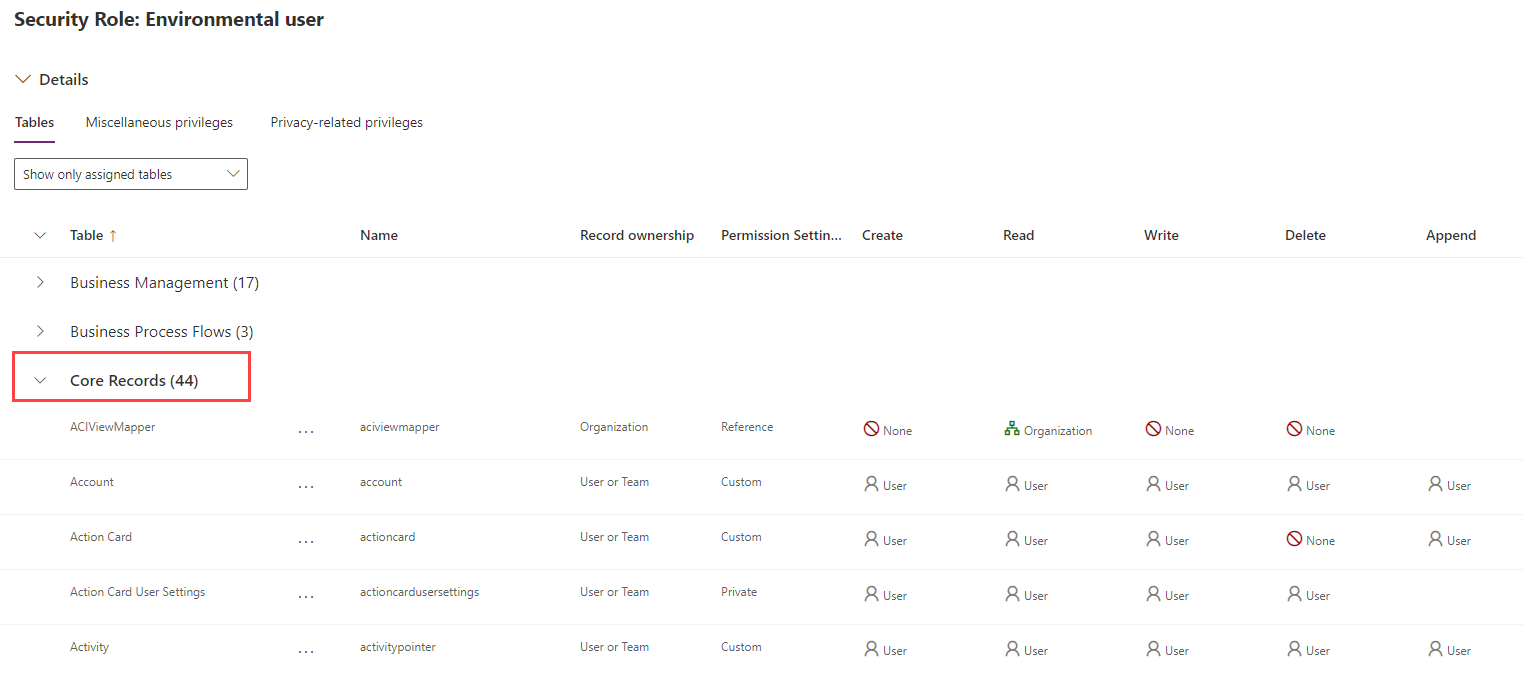
Scroll down to the Core Records section.
-
Scroll down and review the privileges the security role has for the Core Records.
-
Scroll down to the Custom Tables section.
-
Select Show all tables.
-
Enter
contosoin the Search by table name or table privilege field.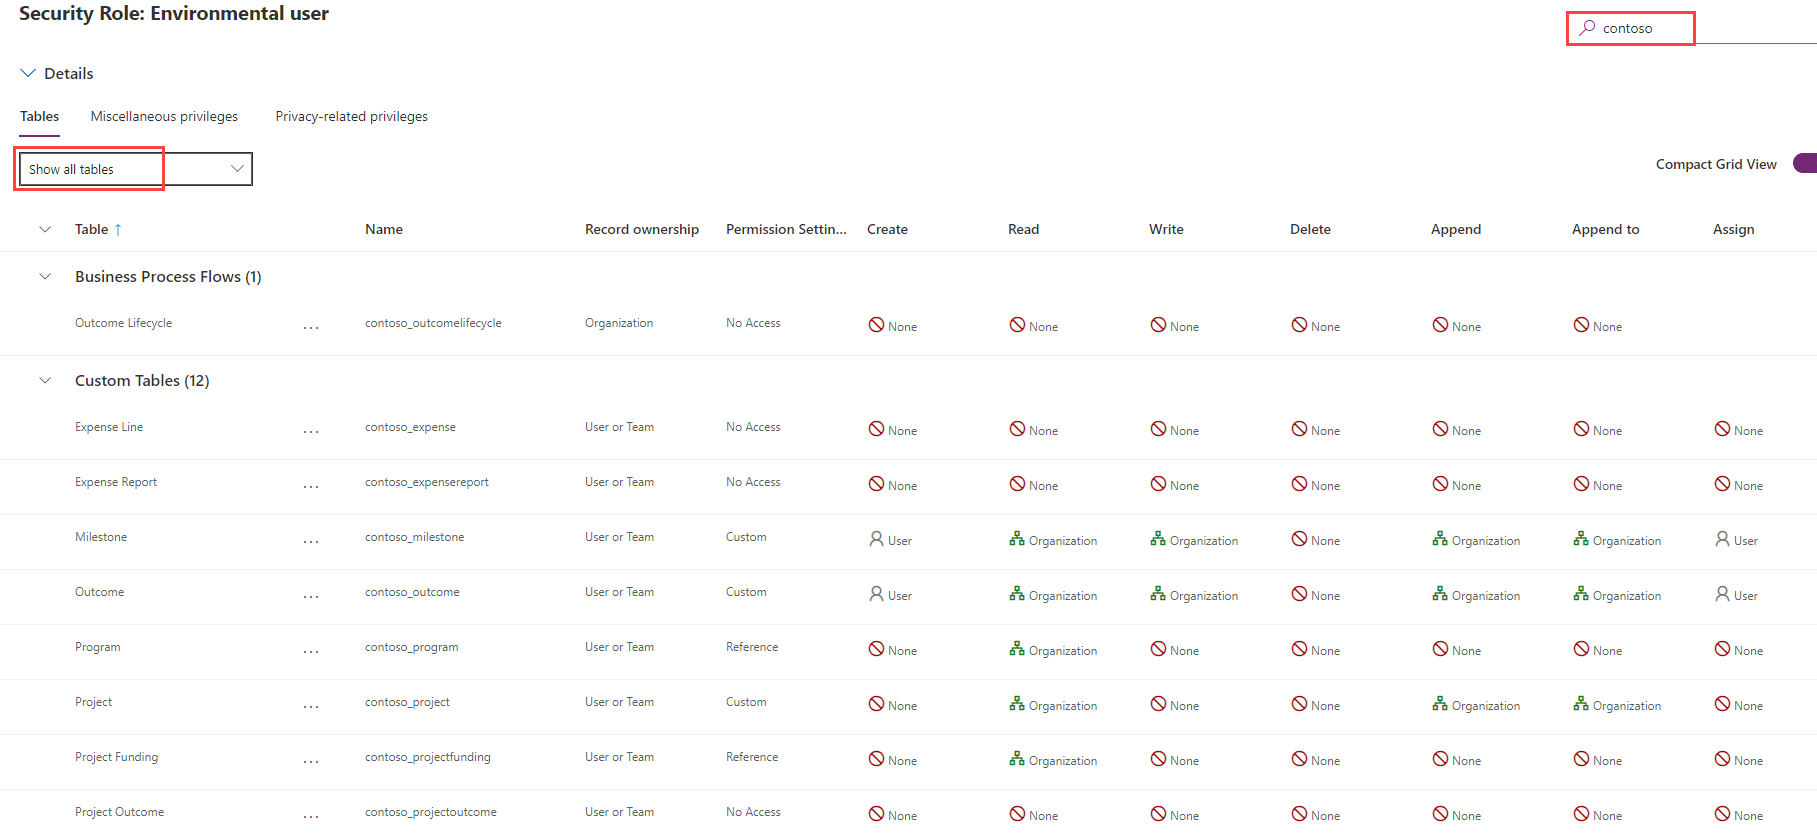
-
Review the privileges the security role has for the tables in the Fabrikam solution. Do not navigate away from this page.
Task 1.2 – Modify Milestone and Outcome privileges
-
In the Custom Tables section for the Environmental user role, locate the Milestone table privileges.
-
Select the drop-down for the Write privilege and select Business Unit.

-
Locate the Outcome table privileges.
-
Select the drop-down for the Write privilege and select Business Unit.

-
Select Save. Do not navigate away from this page.
Task 1.3 – Add privileges for Project Outcome
-
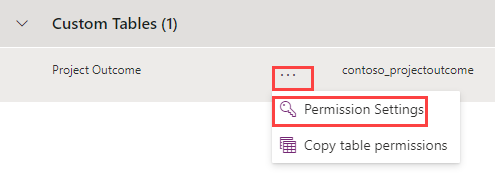
In the Custom Tables section for the Environmental user role, locate the Project Outcome table privileges.
-
Select the ellipses and select Permission Settings.
-
Select Full Access.
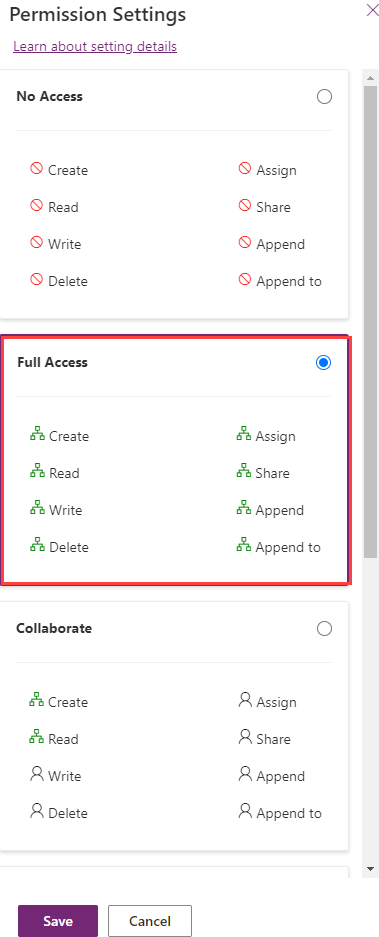
-
Select Save.
-
Select the drop-down for the Delete privilege and select None.

-
Select Save. Do not navigate away from this page.
Task 1.4 – Modify standard table privileges
-
Enter
datain the Search by table name or table privilege field. -
Locate the Data Import table privileges.
-
Select the ellipses and select Permission Settings.
-
Select No Access.
-
Select Save.
-
Locate the Data Map table privileges.
-
Select the ellipses and select Permission Settings.
-
Select No Access.
-
Select Save.
-
Enter
importin the Search by table name or table privilege field . -
Locate the Import Source File table privileges.
-
Select the ellipses and select Permission Settings.
-
Select No Access.
-
Select Save.
-
Enter
connectionin the Search by table name or table privilege field. -
Locate the Connection table privileges.
-
Verify that the Append privilege access level is set to Organization.
-
Verify that the Append To privilege access level is set to Organization.
-
Enter
accountin the Search by table name or table privilege field. -
Locate the Account table privileges.
-
Select the drop-down for the Delete privilege and select None.
-
Enter
contactin the Search by table name or table privilege field . -
Locate the Contact table privileges.
-
Select the drop-down for the Delete privilege and select None.
-
Select Save. Do not navigate away from this page.
Task 1.5 – Modify miscellaneous privileges
-
Select the Miscellaneous privileges tab.
-
Select Show all privileges.
-
Enter
auditin the Search miscellaneous privileges field. -
Select the drop-down for the View Audit History privilege and select Organization.
-
Enter
bulkin the Search miscellaneous privileges field. -
Select the drop-down for the Bulk Edit privilege and select None.
-
Enter
mergein the Search miscellaneous privileges field. -
Select the drop-down for the Merge privilege and select None.
-
Select Save. Do not navigate away from this page.
Task 1.6 – Modify privacy privileges
-
Select the Privacy-related privileges tab.
-
Select Show all privileges.
-
Enter
exportin the Search privacy-related privileges field. -
Select the drop-down for the Export to Excel privilege and select None.
-
Enter
printin the Search privacy-related privileges field. -
Select the drop-down for the Print privilege and select None.
-
Select Save.
-
Select <- Back.
Exercise 2 – Solutions
In this exercise, you will export the solution from the Development environment and import it into the Production environment.
Task 2.1 – Export managed solution
-
Navigate to the Power Apps Maker portal https://make.powerapps.com.
-
Make sure you are in the Dev One environment.
-
Select Solutions.
-
Select the Fabrikam Environmental solution but do not open it.
-
Select Export solution.
-
Select Publish to publish all of your recent changes.
-
Select Next, and then select Next again.
-
Change the version number to
1.1.11.8. -
Select Managed for Export as.
- Select Export.
NOTE: If the export process remains stuck on Currently exporting solution and does not complete, select Switch to classic from the command bar and export the solution using the classic experience instead
- The export will be prepared in the background, when the solution is ready select the Download button.
Task 2.2 – Export unmanaged solution
-
Select the Fabrikam Environmental solution.
-
Select Export solution.
-
Select Next, and then select Next again.
-
Change the version number to
1.1.11.8. -
Select Unmanaged for Export as.
-
Select Export.
-
The export will be prepared in the background, when the solution is ready select the Download button.
Task 2.3 – Import managed solution
-
Switch environments by using the Environment Selector in the upper right corner of the Maker portal.
-
Select the Production environment from the list.
-
Select Solutions.
-
Select Import solution.
-
Select Browse, change to the Downloads folder and select FabrikamEnvironmental_1_1_11_8_managed.zip and select Open.
-
Select Next.
Note: You should see details about Current version installed and Version contained in the update .
-
Expand Advanced settings.
-
Select Upgrade for Solution action.
-
Select Next, and then select Next again.
-
Select Import. The solution will import in the background.