Practice Lab 1.2 - Publisher and Solution
Scenario
In this lab, you will create a publisher and a solution.
This lab will take approximately 10 minutes to complete.
Exercise 1 - Create publisher and solution
In this exercise, you will access the Power Apps maker portal, the Developer environment and create a new solution.
Task 1.1 – Maker portal
-
In a new tab, navigate to the Power Apps Maker portal
https://make.powerapps.comand sign in with your Microsoft 365 credentials if prompted again. -
If you are prompted for a Phone number enter
0123456789and select Submit. -
Switch environments by using the Environment Selector in the upper right corner of the screen.
-
Select the Dev One environment from the list.
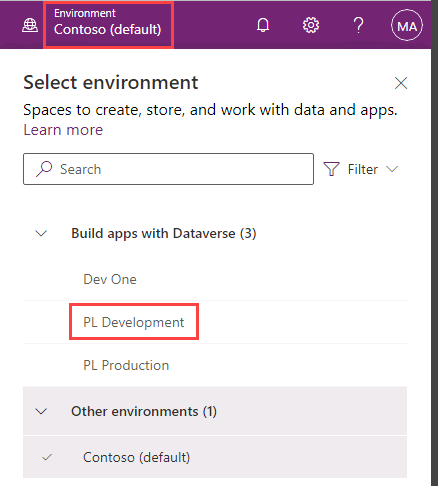
-
Select Apps from the left navigation pane and then select All. You should see several apps including, Power Platform Environment Settings, Solution Health Hub, and Power Pages Management listed.
-
Select Tables from the left navigation pane. You should see the standard tables from the Common Data Model including Account and Contact.
Task 1.2 – Create solution and publisher
-
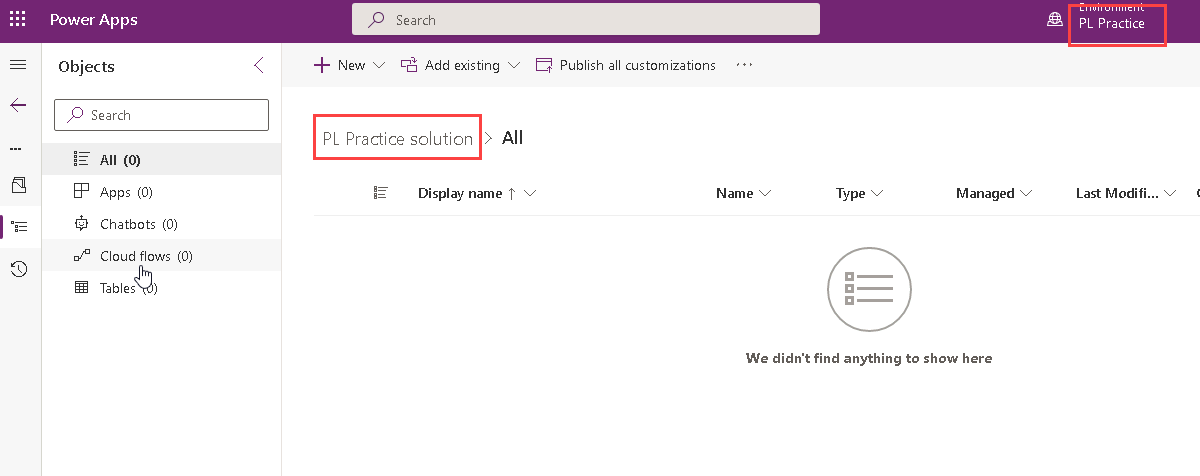
Select Solutions from the left navigation pane. You should see several solutions including the Default Solution and the Common Data Services Default Solution.
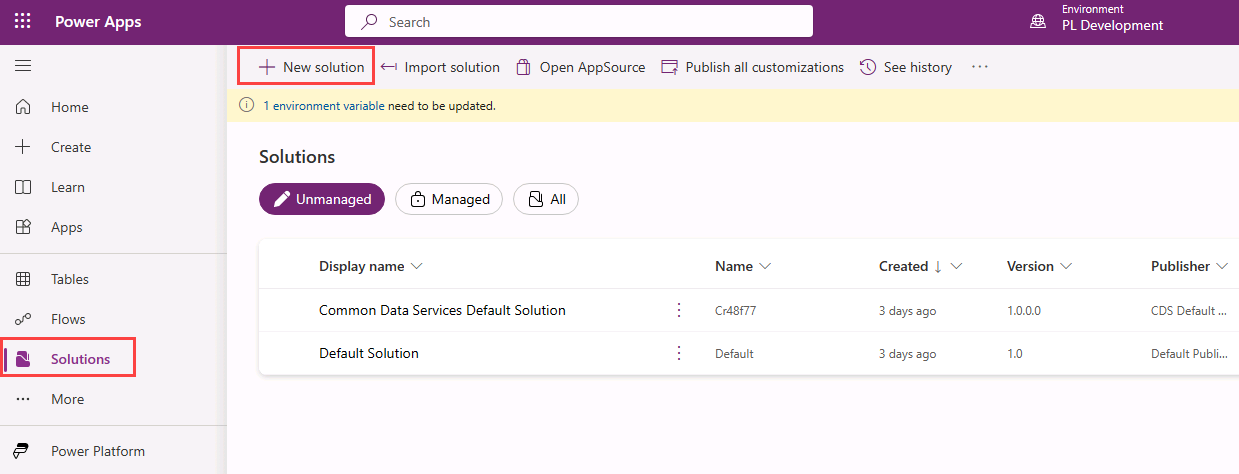
-
Select + New solution.
-
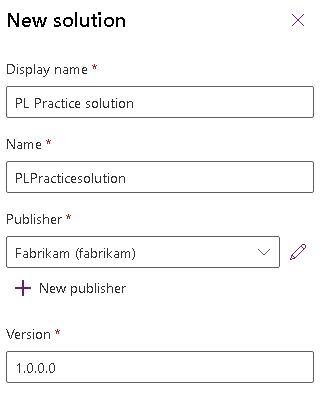
In the Display name text box, enter
[my initials] Practice solution -
Verify that Name is automatically populated.
-
Select + New publisher below the Publisher drop-down.
-
For Display name, enter
Fabrikam -
For Name, enter
fabrikam -
For Prefix, enter
fab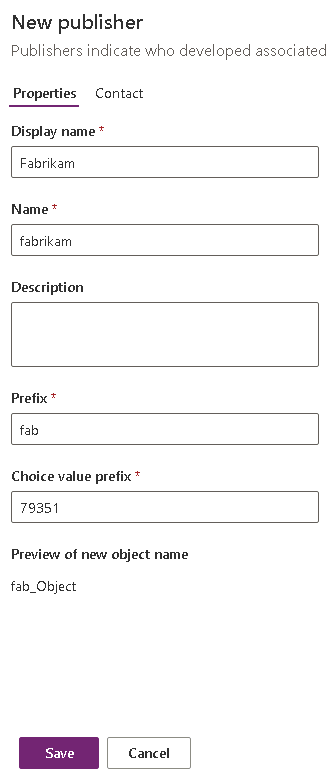
-
Select Save.
-
In the Publisher drop-down, select Fabrikam (fabrikam).
-
Select Create.
Exercise 2 - Add components to the solution
In this exercise, you will add an existing table to the solution.
Task 2.1 – Add table
-
Navigate to the Power Apps Maker portal
https://make.powerapps.com -
Make sure you are in the Dev One environment.
-
Select Solutions.
-
Select the Practice solution, from the previous exercise.
-
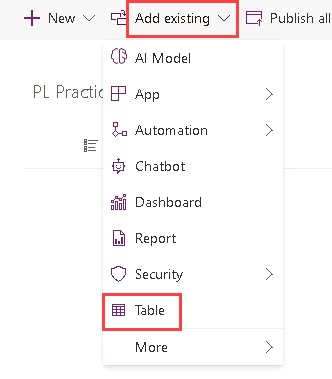
Select Add existing and choose Table.
-
Select the Account table.

-
Select Next.
-
Under the Account table, select the Edit objects link.
-
In the Columns tab, select the Account Number column.
-
Select the Views tab.
-
Select the Active Accounts view.
-
Select the Forms tab.
-
Select the Account form.
-
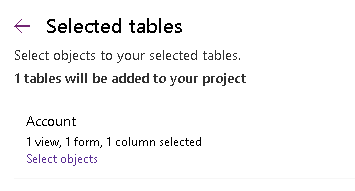
Select Add.
Note: You should have selected 1 view, 1 form, and 1 column for the Account table.
-
Select Add.