Use Azure Synapse Link for SQL
Azure Synapse Link for SQL enables you to automatically synchronize a transactional database in SQL Server or Azure SQL Database with a dedicated SQL pool in Azure Synapse Analytics. This synchronization enables you to perform low-latency analytical workloads in Synapse Analytics without incurring query overhead in the source operational database.
This lab will take approximately 35 minutes to complete.
Before you start
You’ll need an Azure subscription in which you have administrative-level access.
Provision Azure resources
In this exercise, you’ll synchronize data from an Azure SQL Database resource to an Azure Synapse Analytics workspace. You’ll start by using a script to provision these resources in your Azure subscription.
- Sign into the Azure portal at
https://portal.azure.com. -
Use the [>_] button to the right of the search bar at the top of the page to create a new Cloud Shell in the Azure portal, selecting a PowerShell environment and creating storage if prompted. The cloud shell provides a command line interface in a pane at the bottom of the Azure portal, as shown here:
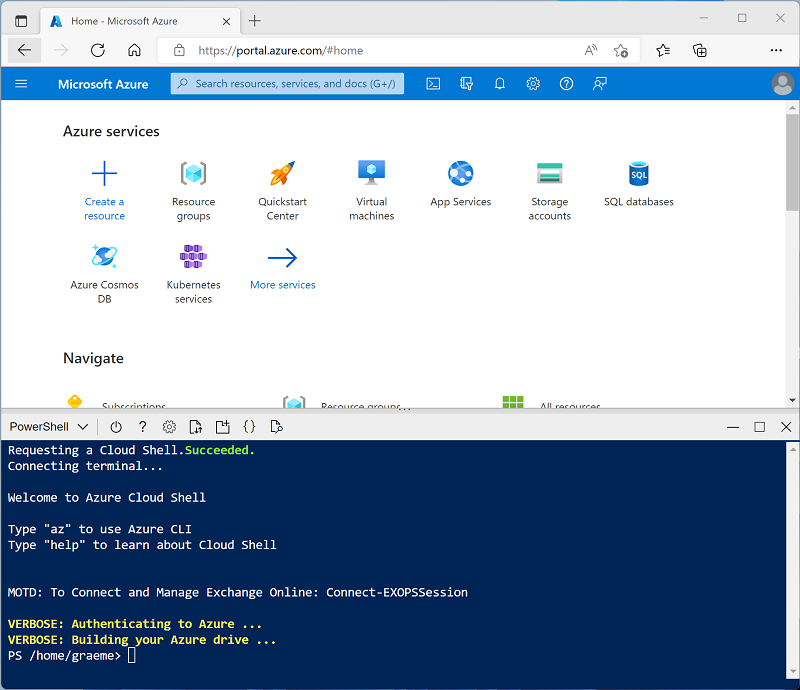
Note: If you have previously created a cloud shell that uses a Bash environment, use the the drop-down menu at the top left of the cloud shell pane to change it to PowerShell.
-
Note that you can resize the cloud shell by dragging the separator bar at the top of the pane, or by using the —, ◻, and X icons at the top right of the pane to minimize, maximize, and close the pane. For more information about using the Azure Cloud Shell, see the Azure Cloud Shell documentation.
-
In the PowerShell pane, enter the following commands to clone this repo:
rm -r dp-000 -f git clone https://github.com/MicrosoftLearning/mslearn-synapse dp-000 -
After the repo has been cloned, enter the following commands to change to the folder for this lab and run the setup.ps1 script it contains:
cd dp-000/Allfiles/Labs/09 ./setup.ps1 - If prompted, choose which subscription you want to use (this will only happen if you have access to multiple Azure subscriptions).
-
When prompted, enter a suitable password for your Azure SQL Database.
Note: Be sure to remember this password!
- Wait for the script to complete - this typically takes around 15 minutes, but in some cases may take longer. While you are waiting, review the What is Azure Synapse Link for SQL? article in the Azure Synapse Analytics documentation.
Configure Azure SQL Database
Before you can set up Azure Synapse Link for your Azure SQL Database, you must ensure that the required configuration settings have been applied in your Azure SQL Database server.
-
In the Azure portal, browse to the dp000-xxxxxxx resource group that was created by the setup script, and select your sqldbxxxxxxxx Azure SQL server.
Note: be careful not to mix up the Azure SQL server resource sqldbxxxxxxxx) and the Azure Synapse Analytics dedicated SQL pool (sqlxxxxxxxx).
-
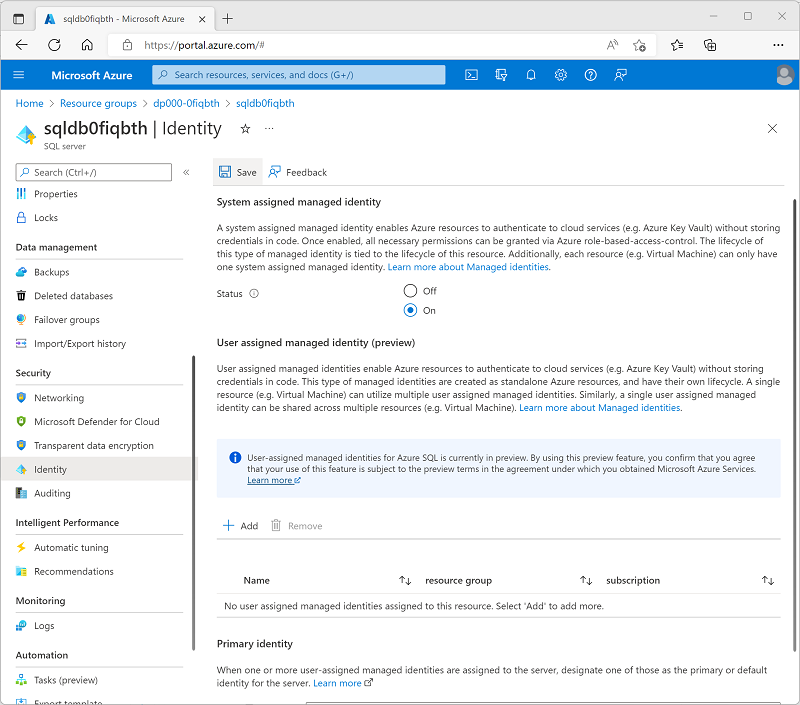
In the page for your Azure SQL Database resource, in the pane on the left, in the Security section (near the bottom), select Identity. Then under System assigned managed identity, set the Status option to On. Then use the 🖫 Save icon to save your configuration change.
-
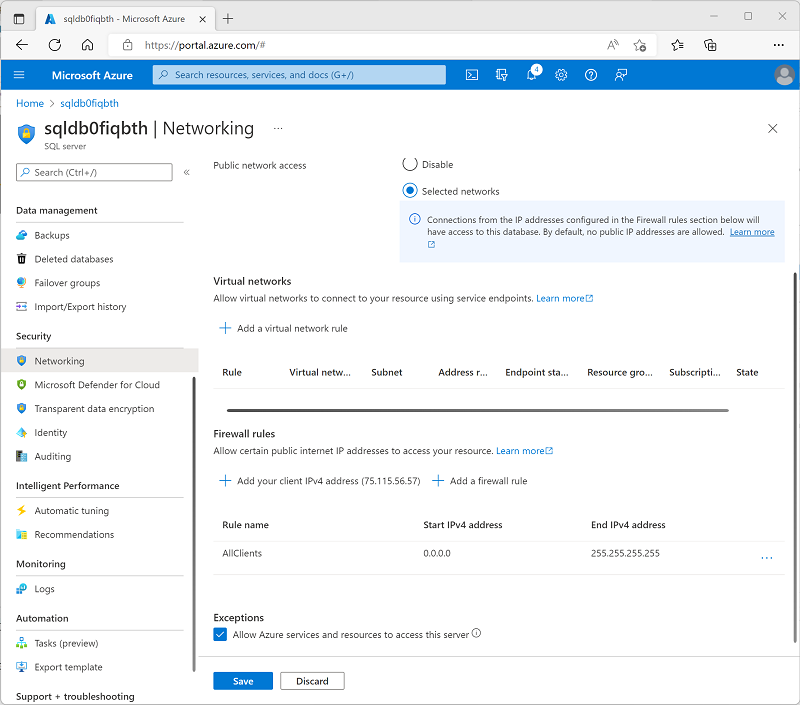
In the pane on the left, in the Security section, select Networking. Then, under Firewall rules, select the exception to Allow Azure services and resources to access this server.
-
Use the + Add a firewall rule button to add a new firewall rule with the following settings:
Rule name Start IP End IP AllClients 0.0.0.0 255.255.255.255 Note: This rule allows access to your server from any Internet-connected computer. We’re enabling this to simplify the exercise, but in a production scenario you should restrict access to only network addresses that need to use your databases.
-
Use the Save button to save your configuration change:
Explore the transactional database
Your Azure SQL server hosts a sample database named AdventureWorksLT. This database represents a transactional database used for operational application data.
- In the Overview page for your Azure SQL server, at the bottom of the, select the AdventureWorksLT database:
- In the AdventureWorksLT database page, select the Query editor tab and log in using SQL server authentication with the following credentials:
- Login SQLUser
- Password: The password you specified when running the setup script.
- When the query editor opens, expand the Tables node and view the list of tables in the database. Note that they include tables in a SalesLT schema (for example, SalesLT.Customer).
Configure Azure Synapse Link
Now you’re ready to configure Azure Synapse Link for SQL in your Synapse Analytics workspace.
Start the dedicated SQL pool
- In the Azure portal, close the query editor for your Azure SQL database (discarding any changes) and return to the page for your dp000-xxxxxxx resource group.
- Open the synapsexxxxxxx Synapse workspace, and on its Overview page, in the Open Synapse Studio card, select Open to open Synapse Studio in a new browser tab; signing in if prompted.
- On the left side of Synapse Studio, use the ›› icon to expand the menu - this reveals the different pages within Synapse Studio.
- On the Manage page, on the SQL pools tab, select the row for the sqlxxxxxxx dedicated SQL pool and use its ▷ icon to start it; confirming that you want to resume it when prompted.
- Wait for the SQL pool to resume. This can take a few minutes. You can use the ↻ Refresh button to check its status periodically. The status will show as Online when it is ready.
Create the target schema
- In Synapse Studio, on the Data page, on the Workspace tab, expand SQL databases and select your sqlxxxxxxx database.
- In the … menu for the sqlxxxxxxx database, select New SQL script > Empty script.
-
In the SQL Script 1 pane, enter the following SQL code and use the ▷ Run button to run it.
CREATE SCHEMA SalesLT; GO - Wait for the query to complete successfully. This code creates a schema named SalesLT in the database for your dedicated SQL pool, enabling you to synchronize tables in the schema of that name from your Azure SQL database.
Create a link connection
- In Synapse Studio, on the Integrate page, on the + drop-down menu, select Link connection. Then create a new linked connection with the following settings:
- Source type: Azure SQL database
- Source linked service: Add a new linked service with the following settings (a new tab will be opened):
- Name: SqlAdventureWorksLT
- Description: Connection to AdventureWorksLT database
- Connect via integration runtime: AutoResolveIntegrationRuntime
- Connection String: Selected
- From Azure subscription: Selected
- Azure subscription: Select your Azure subscription
- Server name: Select your sqldbxxxxxxx Azure SQL server
- Database name: AdventureWorksLT
- Authentication type: SQL authentication
- User name: SQLUser
- Password: The password you set when running the setup script
Use the Test Connection option to ensure your connection settings are correct before continuing! Afterwards, click Create.
- Source tables: Select the following tables:
- SalesLT.Customer
- SalesLT.Product
- SalesLT.SalesOrderDetail
- SalesLT.SalesOrderHeader
Continue to configure the following settings:
Note: Some target tables display an error due to the use of custom data types or because the data in the source table is not compatible with the default structure type of clustered columnstore index.
-
Target pool: Select your sqlxxxxxxx dedicated SQL pool
Continue to configure the following settings:
- Link connection name: sql-adventureworkslt-conn
- Core count: 4 (+ 4 Driver cores)
-
In the sql-adventureworkslt-conn page that is created, view the table mappings that have been created. You can use the Properties button (which looks similar to 🗏*) to hide the Properties pane to make it easier to see eveything.
-
Modify thes structure types in the table mappings as follows:
Source table Target table Distribution type Distribution column Structure type SalesLT.Customer → [SalesLT] . [Customer] Round robin - Clustered columnstore index SalesLT.Product → [SalesLT] . [Product] Round robin - Heap SalesLT.SalesOrderDetail → [SalesLT] . [SalesOrderDetail] Round robin - Clustered columnstore index SalesLT.SalesOrderHeader → [SalesLT] . [SalesOrderHeader] Round robin - Heap - At the top of the sql-adventureworkslt-conn page that is created, use the ▷ Start button to start synchronization. When prompted, select OK to publish and start the link connection.
- After starting the connection, on the Monitor page, view the Link connections tab and select the sql-adventureworkslt-conn connection. You can use the ↻ Refresh button to update the status periodically. It may take several minutes to complete the initial snapshot copy process and start replicating - after that, all changes in the source database tables will be automatically replayed in the synchronized tables.
View the replicated data
- After the status of the tables has changed to Running, select the Data page and use the ↻ icon at the top right to refresh the view.
- On the Workspace tab, expand SQL databases, your sqlxxxxxxx database, and its Tables folder to view the replicated tables.
-
In the … menu for the sqlxxxxxxx database, select New SQL script > Empty script. Then in the new script page, enter the following SQL code:
SELECT oh.SalesOrderID, oh.OrderDate, p.ProductNumber, p.Color, p.Size, c.EmailAddress AS CustomerEmail, od.OrderQty, od.UnitPrice FROM SalesLT.SalesOrderHeader AS oh JOIN SalesLT.SalesOrderDetail AS od ON oh.SalesOrderID = od.SalesOrderID JOIN SalesLT.Product AS p ON od.ProductID = p.ProductID JOIN SalesLT.Customer as c ON oh.CustomerID = c.CustomerID ORDER BY oh.SalesOrderID; - Use the ▷ Run button to run the script and view the results. The query is run against the replicated tables in the dedicated SQL pool and not the source database, enabling you to run analytical queries without impacting business applications.
- When you’re done, on the Manage page, pause the sqlxxxxxxx dedicated SQL pool.
Delete Azure resources
If you’ve finished exploring Azure Synapse Analytics, you should delete the resources you’ve created to avoid unnecessary Azure costs.
- Close the Synapse Studio browser tab and return to the Azure portal.
- On the Azure portal, on the Home page, select Resource groups.
- Select the dp000-xxxxxxx resource group that was created by the setup script at the beginning of this exercise.
- At the top of the Overview page for your resource group, select Delete resource group.
-
Enter the dp000-xxxxxxx resource group name to confirm you want to delete it, and select Delete.
After a few minutes, your resource group and the resources it contained will be deleted.