Use Azure Synapse Link for Dataverse
Azure Synapse Link for Dataverse enables you to automatically synchronize a structure in dataverse with a dedicated SQL pool in Azure Synapse Analytics. This synchronization enables you to perform low-latency analytical workloads in Synapse Analytics without incurring query overhead in the source operational database.
This lab will take approximately 35 minutes to complete.
Before you start
You’ll need an Azure subscription in which you have administrative-level access.
You’ll need to setup or have access with appropriate permissions to a Dataverse Table which can be accomplished by using the Create tables in Dataverse module.
Provision Azure resources
In this exercise, you’ll synchronize data from an Azure SQL Database resource to an Azure Synapse Analytics workspace. You’ll start by using a script to provision these resources in your Azure subscription.
- Sign into the Azure portal at
https://portal.azure.com. -
Use the [>_] button to the right of the search bar at the top of the page to create a new Cloud Shell in the Azure portal, selecting a PowerShell environment and creating storage if prompted. The cloud shell provides a command line interface in a pane at the bottom of the Azure portal, as shown here:
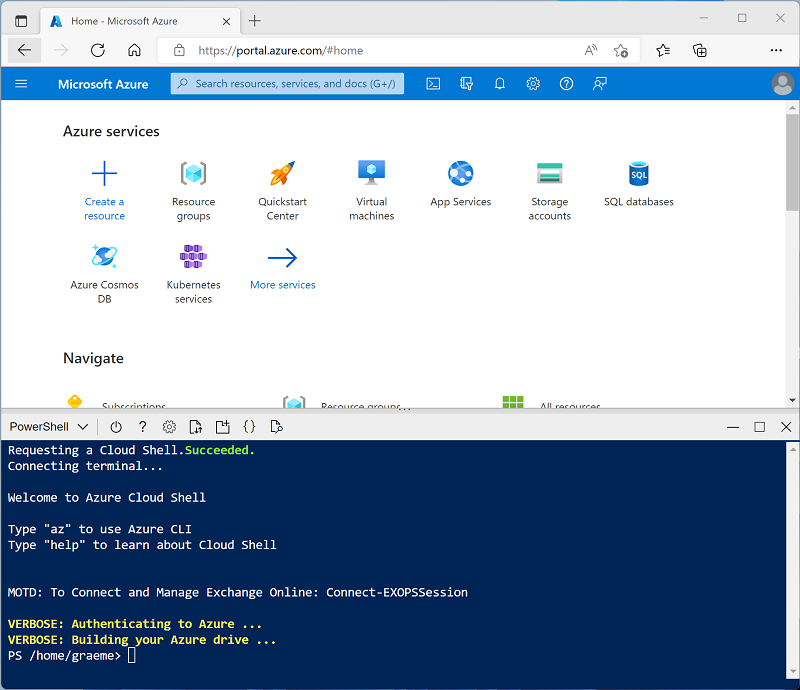
Note: If you have previously created a cloud shell that uses a Bash environment, use the the drop-down menu at the top left of the cloud shell pane to change it to PowerShell.
-
Note that you can resize the cloud shell by dragging the separator bar at the top of the pane, or by using the —, ◻, and X icons at the top right of the pane to minimize, maximize, and close the pane. For more information about using the Azure Cloud Shell, see the Azure Cloud Shell documentation.
-
In the PowerShell pane, enter the following commands to clone this repo:
rm -r dp-000 -f git clone https://github.com/MicrosoftLearning/mslearn-synapse dp-000 -
After the repo has been cloned, enter the following commands to change to the folder for this lab and run the setup.ps1 script it contains:
cd dp-000/Allfiles/Labs/08 ./setup.ps1 - If prompted, choose which subscription you want to use (this will only happen if you have access to multiple Azure subscriptions).
-
When prompted, enter a suitable password for your Azure SQL Database.
Note: Be sure to remember this password!
- Wait for the script to complete - this typically takes around 15 minutes, but in some cases may take longer. While you’re waiting, review the What is Azure Synapse Link for Dataverse? article in the Azure Synapse Analytics documentation.
Configure Storage Account for Owner Access
[!IMPORTANT] The system administrator in your organization should determine and assign appropriate permissions to create and update dataverse tables with Synapse storage accounts. This is for demonstration purposes and assumes you have appropriate permissions to add user to your role assignments
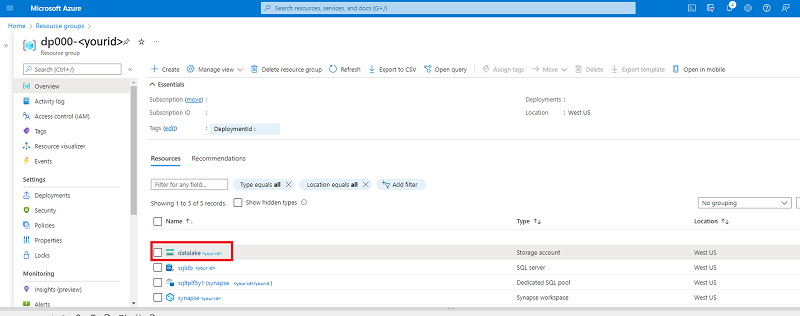
- Navigate back to your portal and open the resource group that was created for you.
- In the Resource group, select the data lake within the resource group.
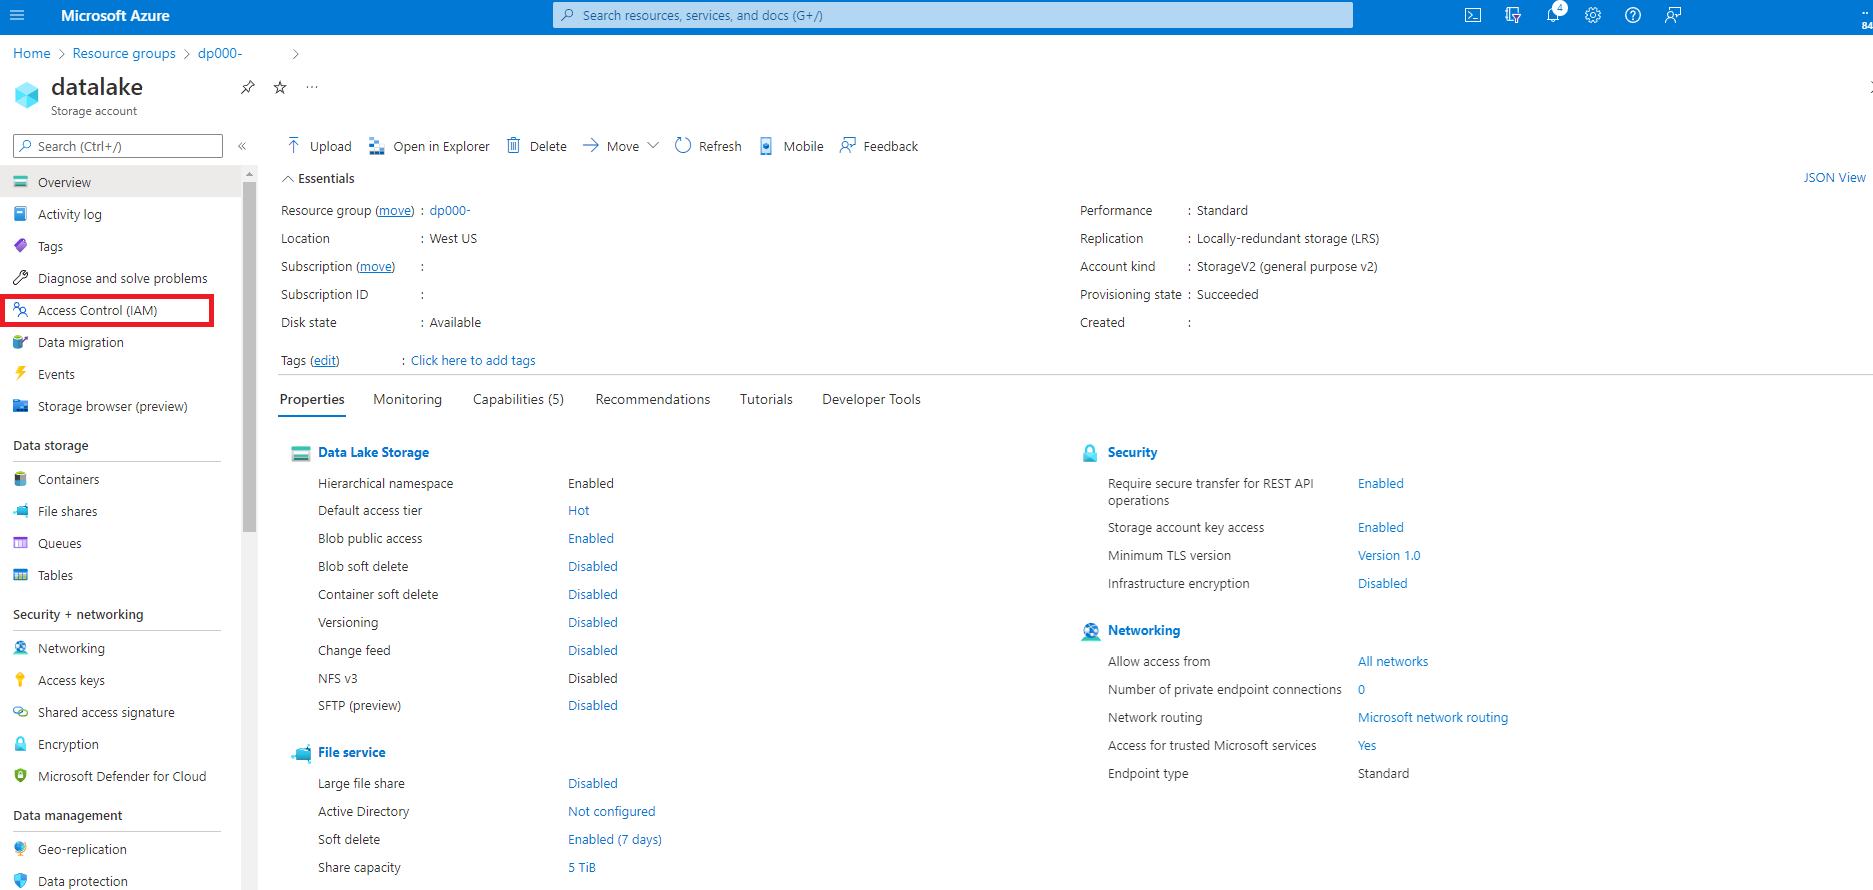
- Next, select Access Control (IAM) in the left pane of the portal. If your pane isn’t showing, select on the ☰ icon in the top left of the portal, which appear as three horizontal lines.
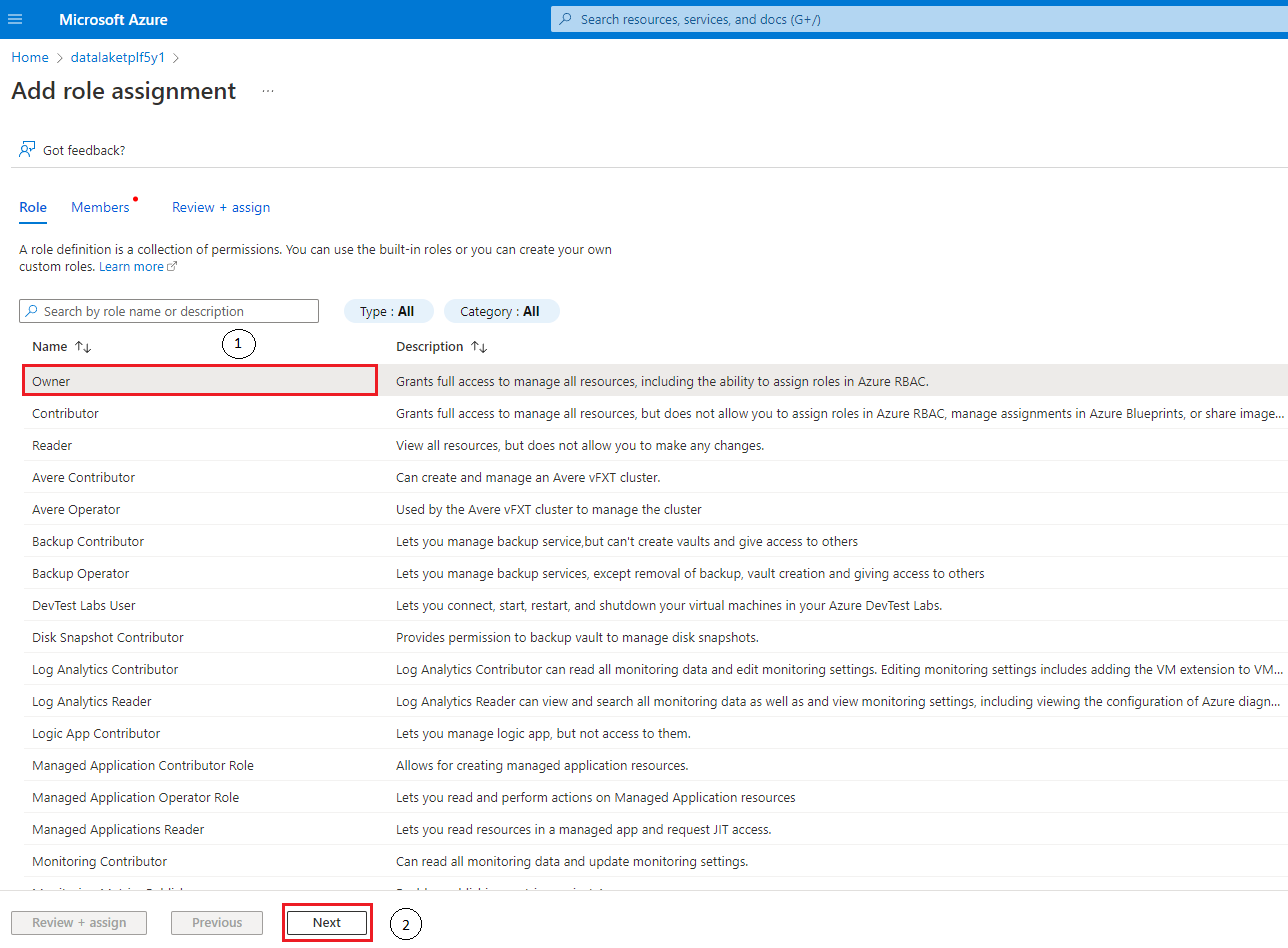
- Next, we need to add a role assignment, by clicking the +Add button and then selecting Add Role Assignment.
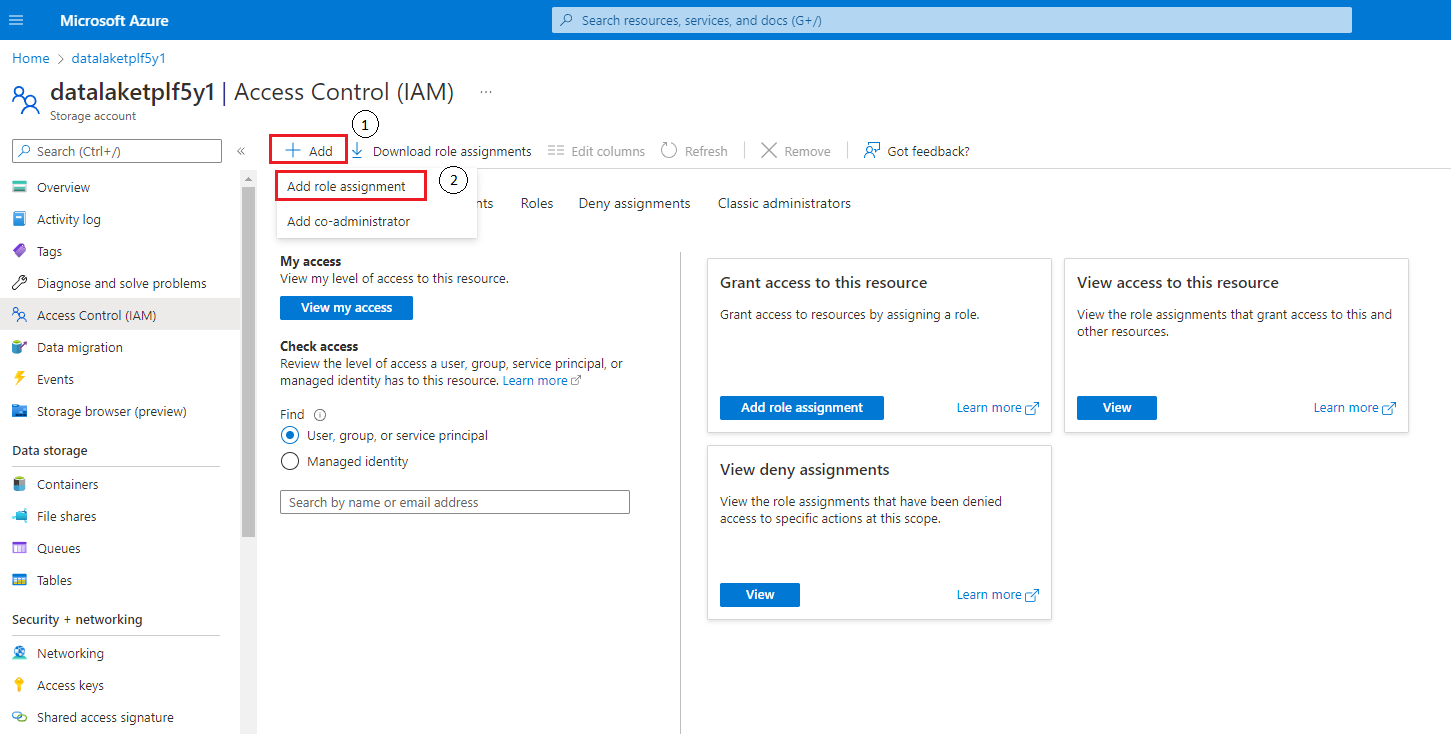
- In the Add Role Assignment blade, select the owner under the column name and then select Next.
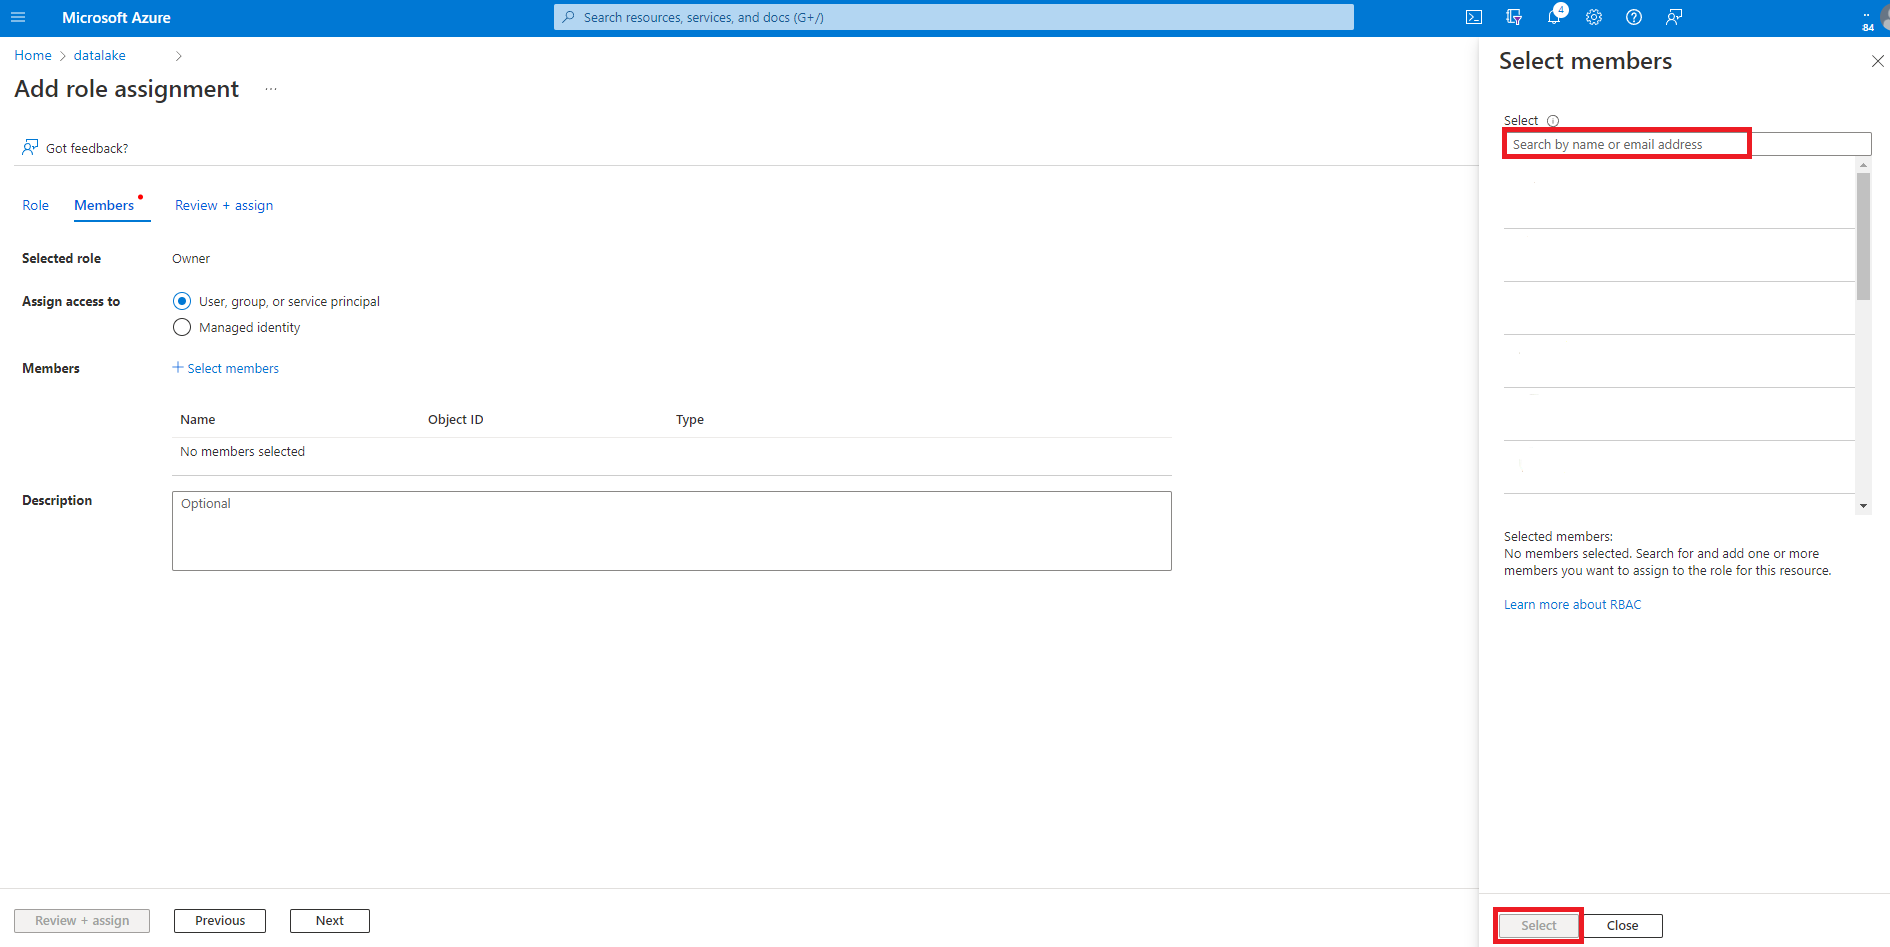
- On the next blade within Add Role Assignment you’ll see a blade named, Select Members. Type in the email address that you were assigned and will be using in PowerApps to establish the connection between Synapse and Dataverse.
Provision Dataverse Resource
In this exercise we’re going to connect to the synapse instance and storage account in the resource group we just created.
[!IMPORTANT] The system currently requires you to setup your storage accounts in the same region as your O365 Service which may impact your ability to complete this portion of the lab.
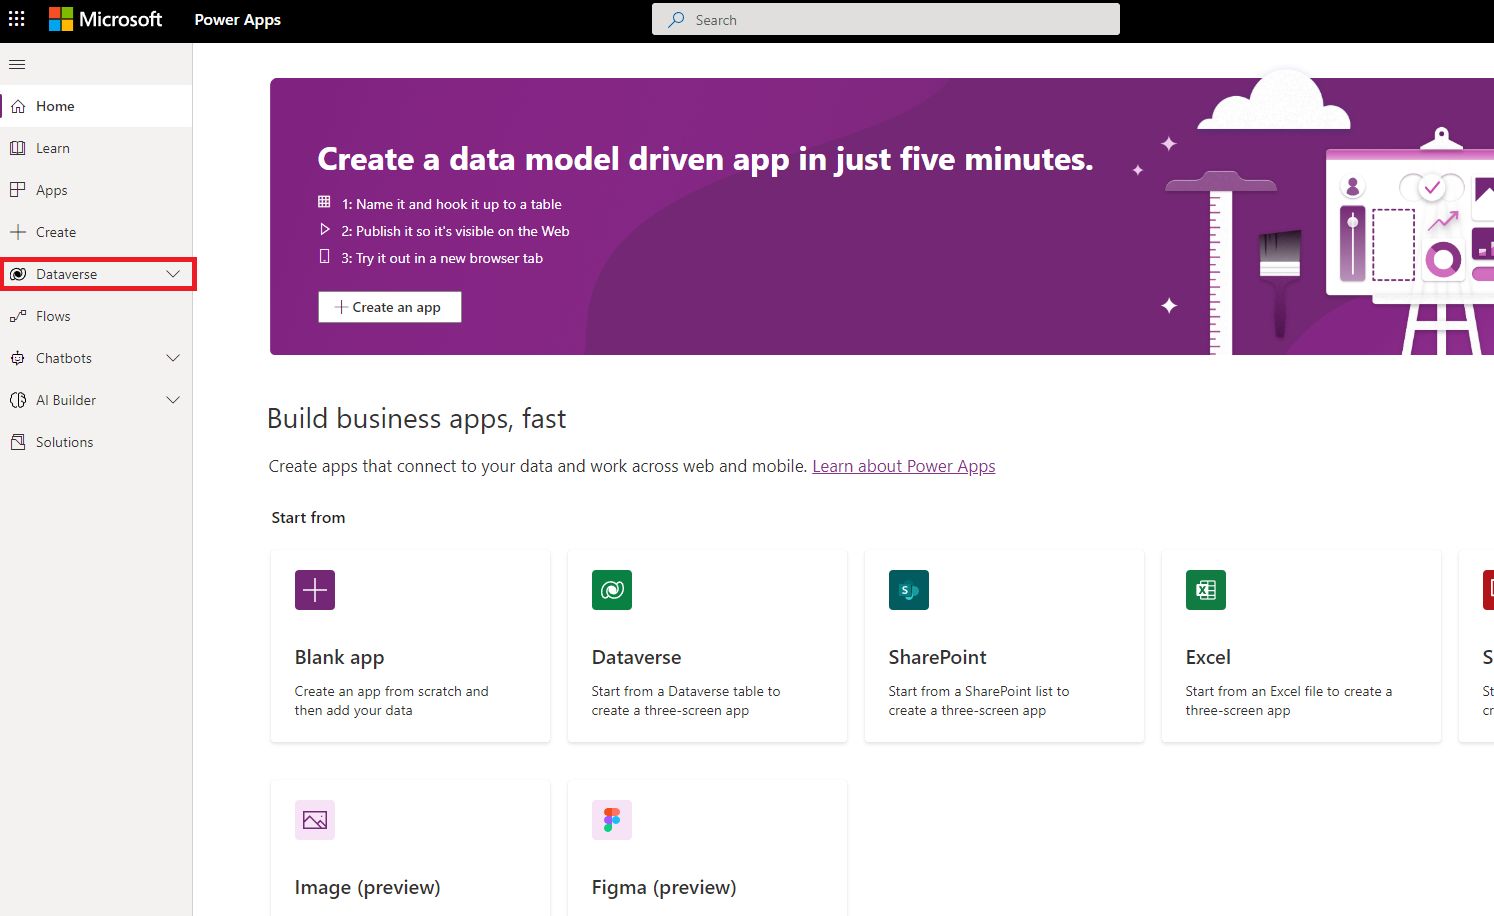
- Sign into PowerApps
- Expand the Dataverse section:
- Select the Select Synapse Link.
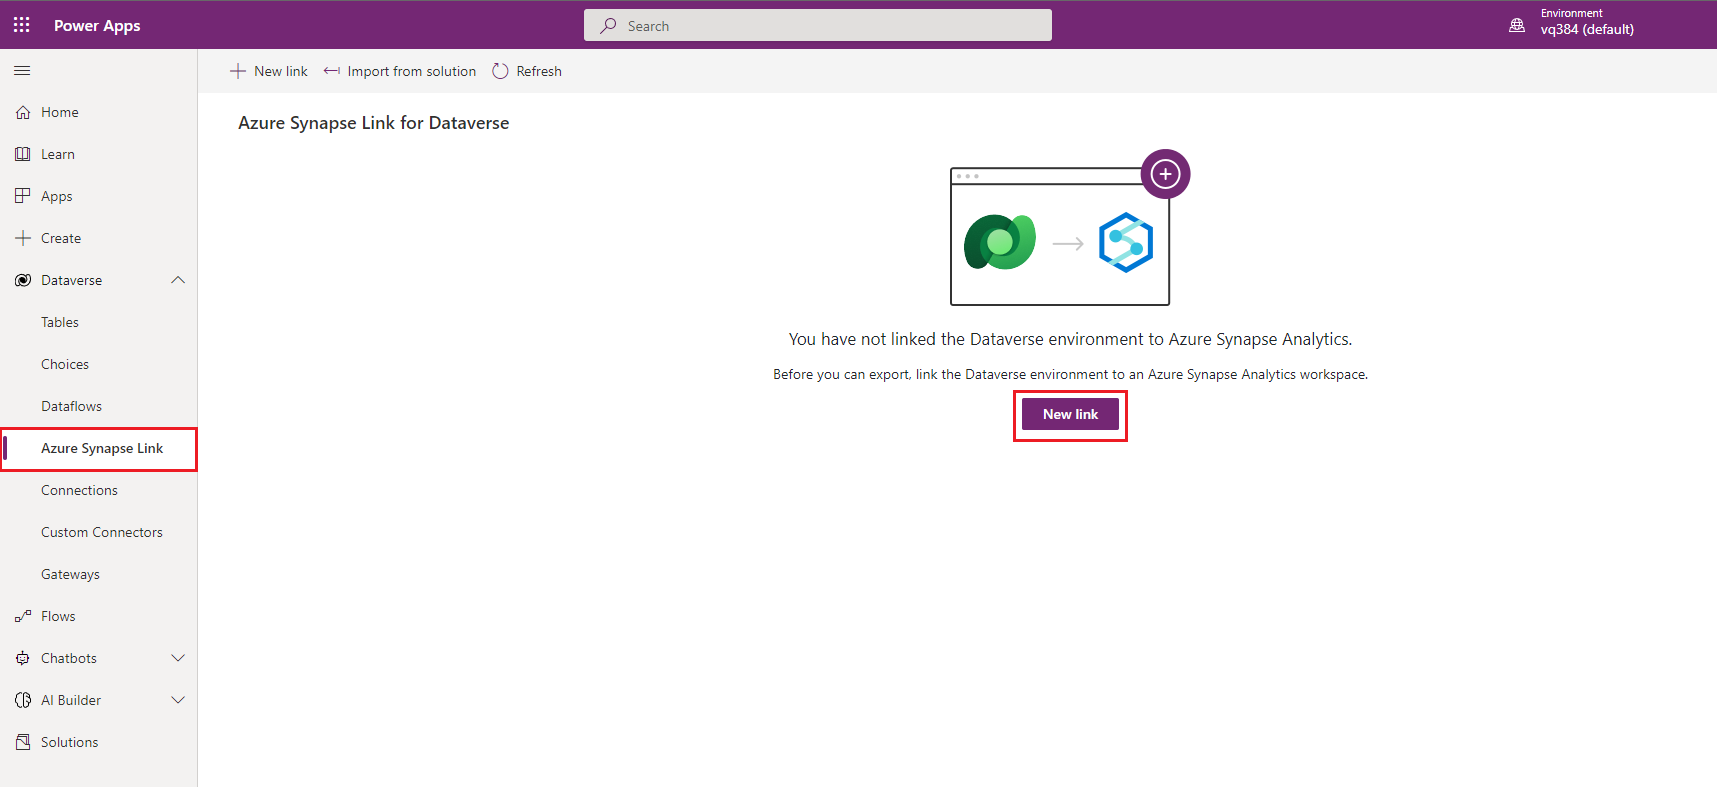
- select New Link.
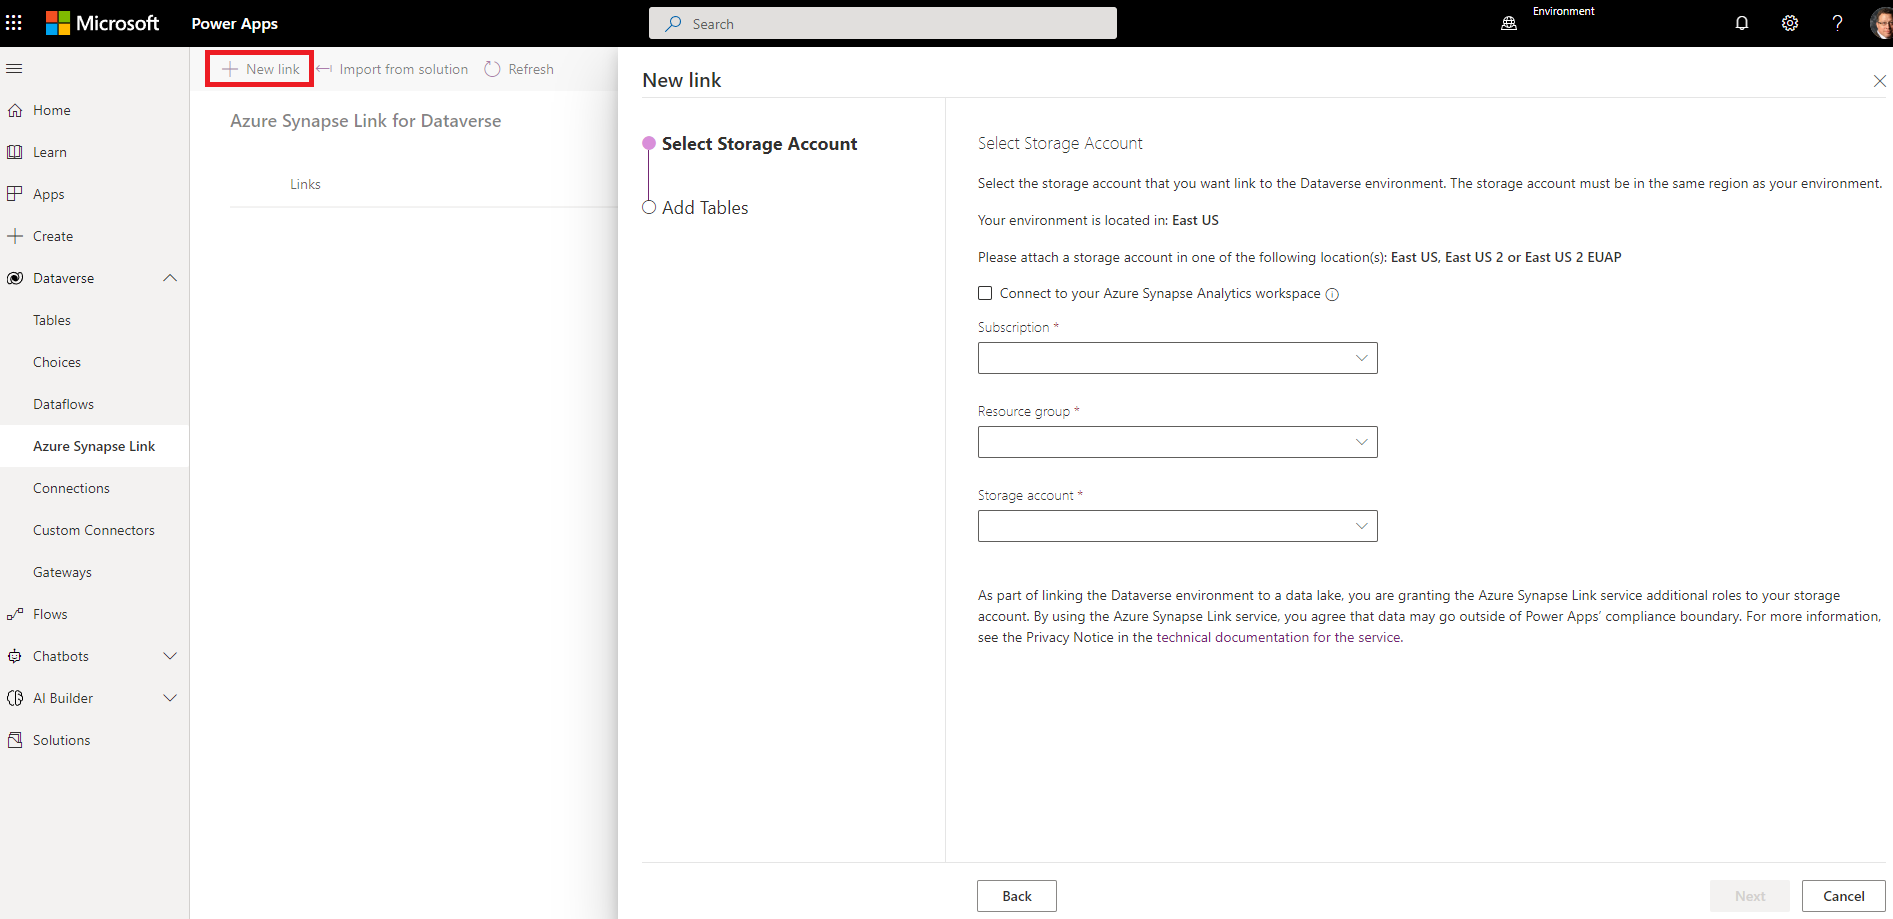
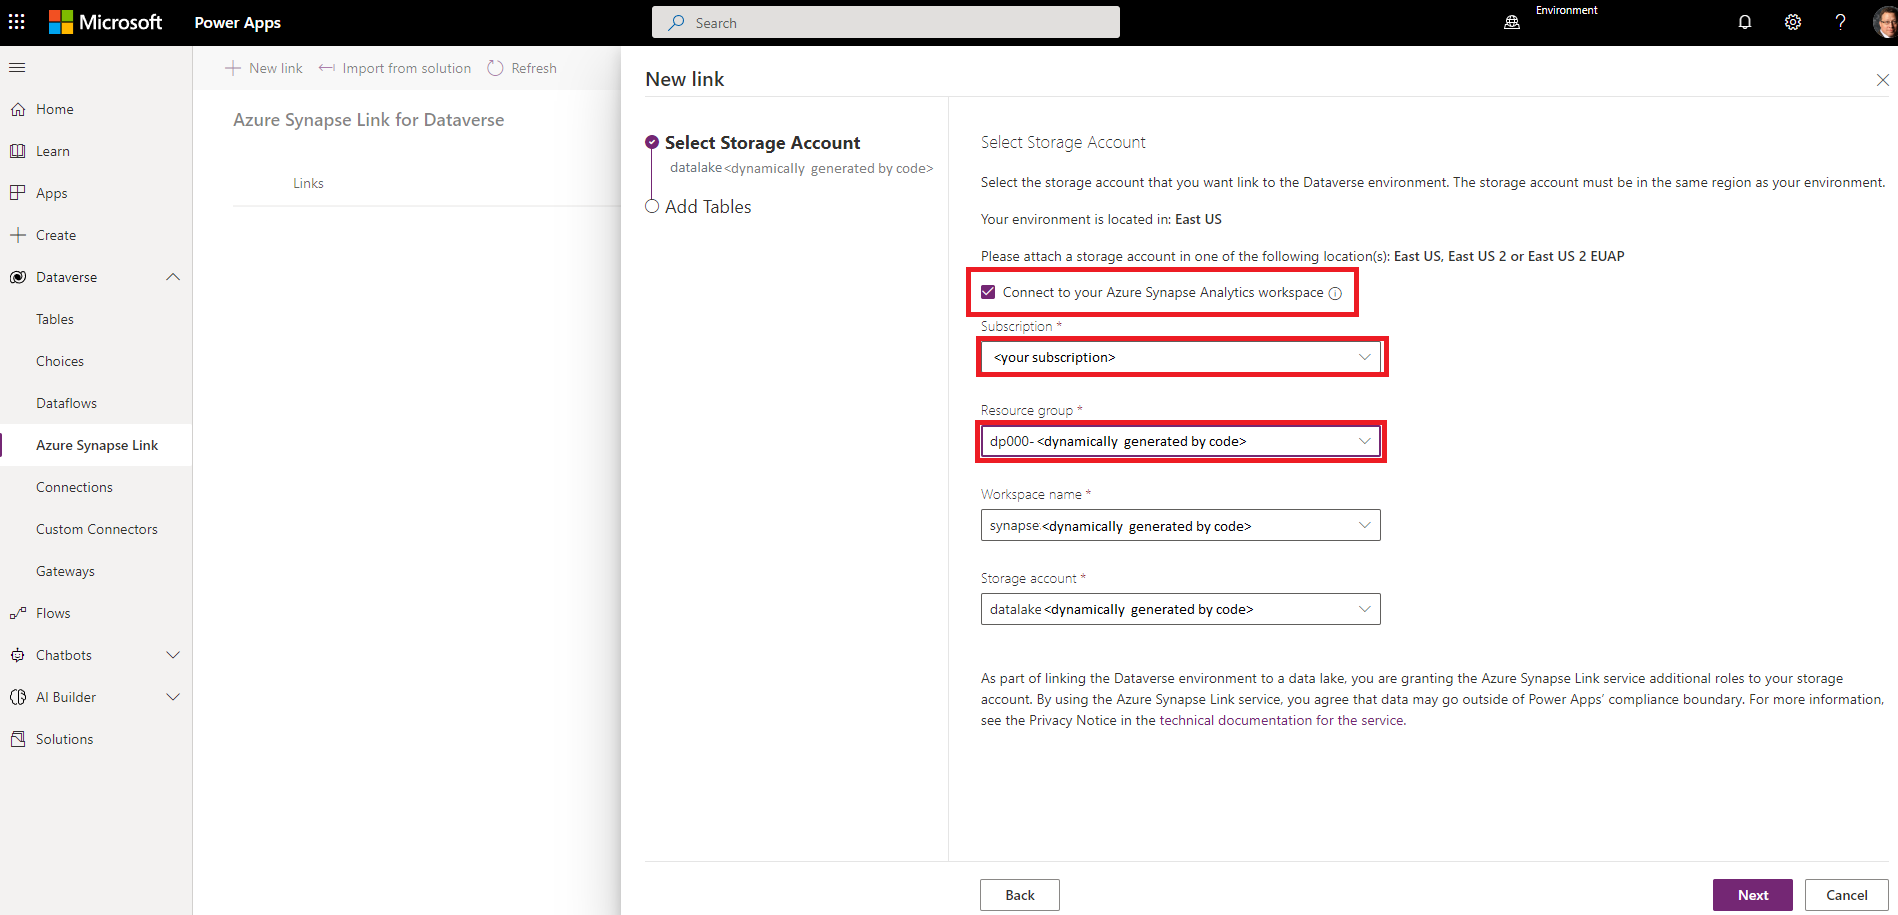
- select the button under Select Storage Account named Connect to your Azure Synapse Analytics Workspace.
- In the drop-down under Subscription, select the subscription you provisioned the Azure Resources.
- In the drop-down under Resource Group, select the resource group that starts with dp000-.
[!NOTE] You can refer to the powershell output for the full name of the randomly generated number.
- Once you select the Resource Group, you should see the Workspace name and Storage account populate automatically.
Create Dataverse Table
- Select dataverse then select new table.
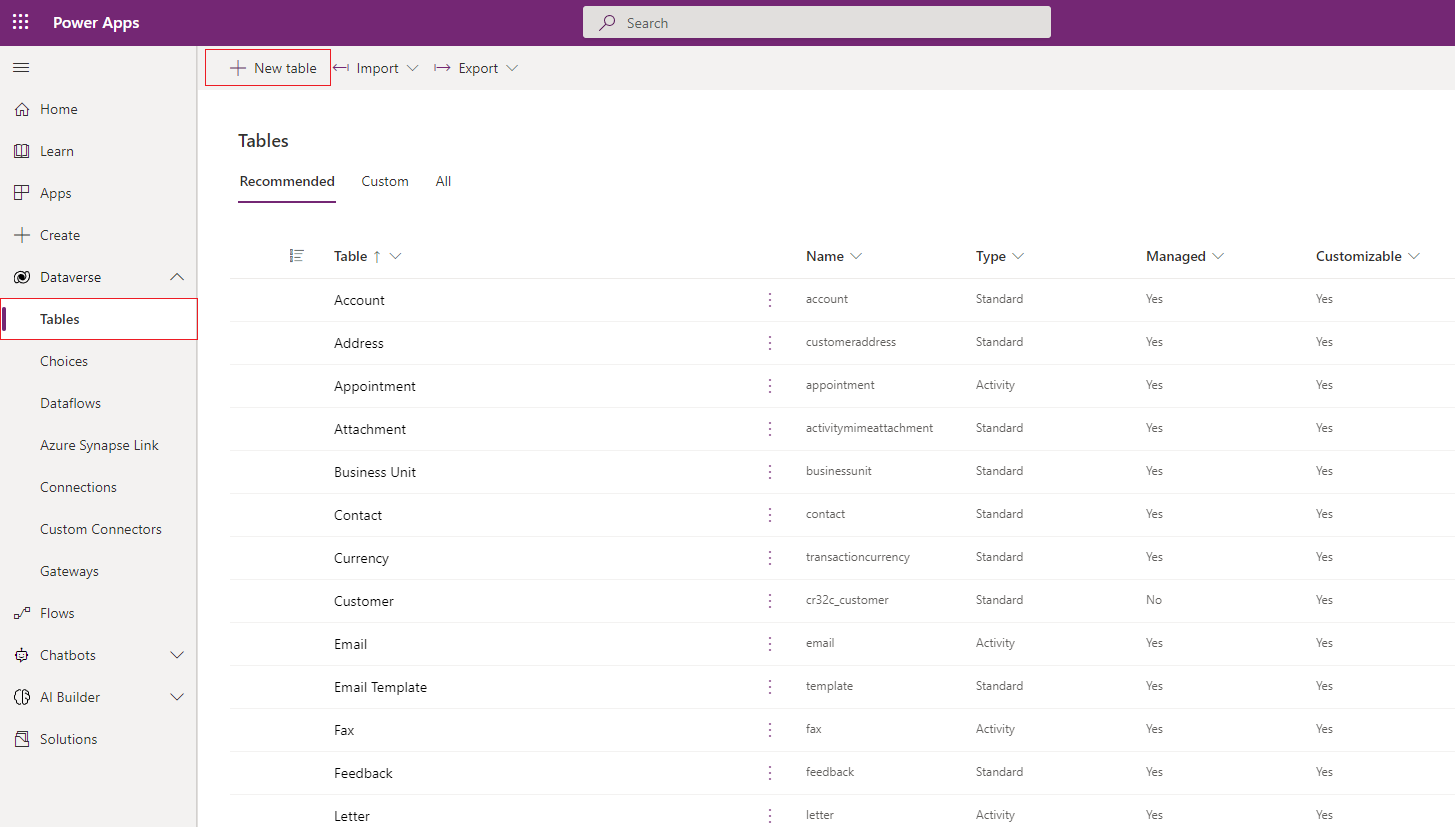
- This will bring up the blade, named new table.
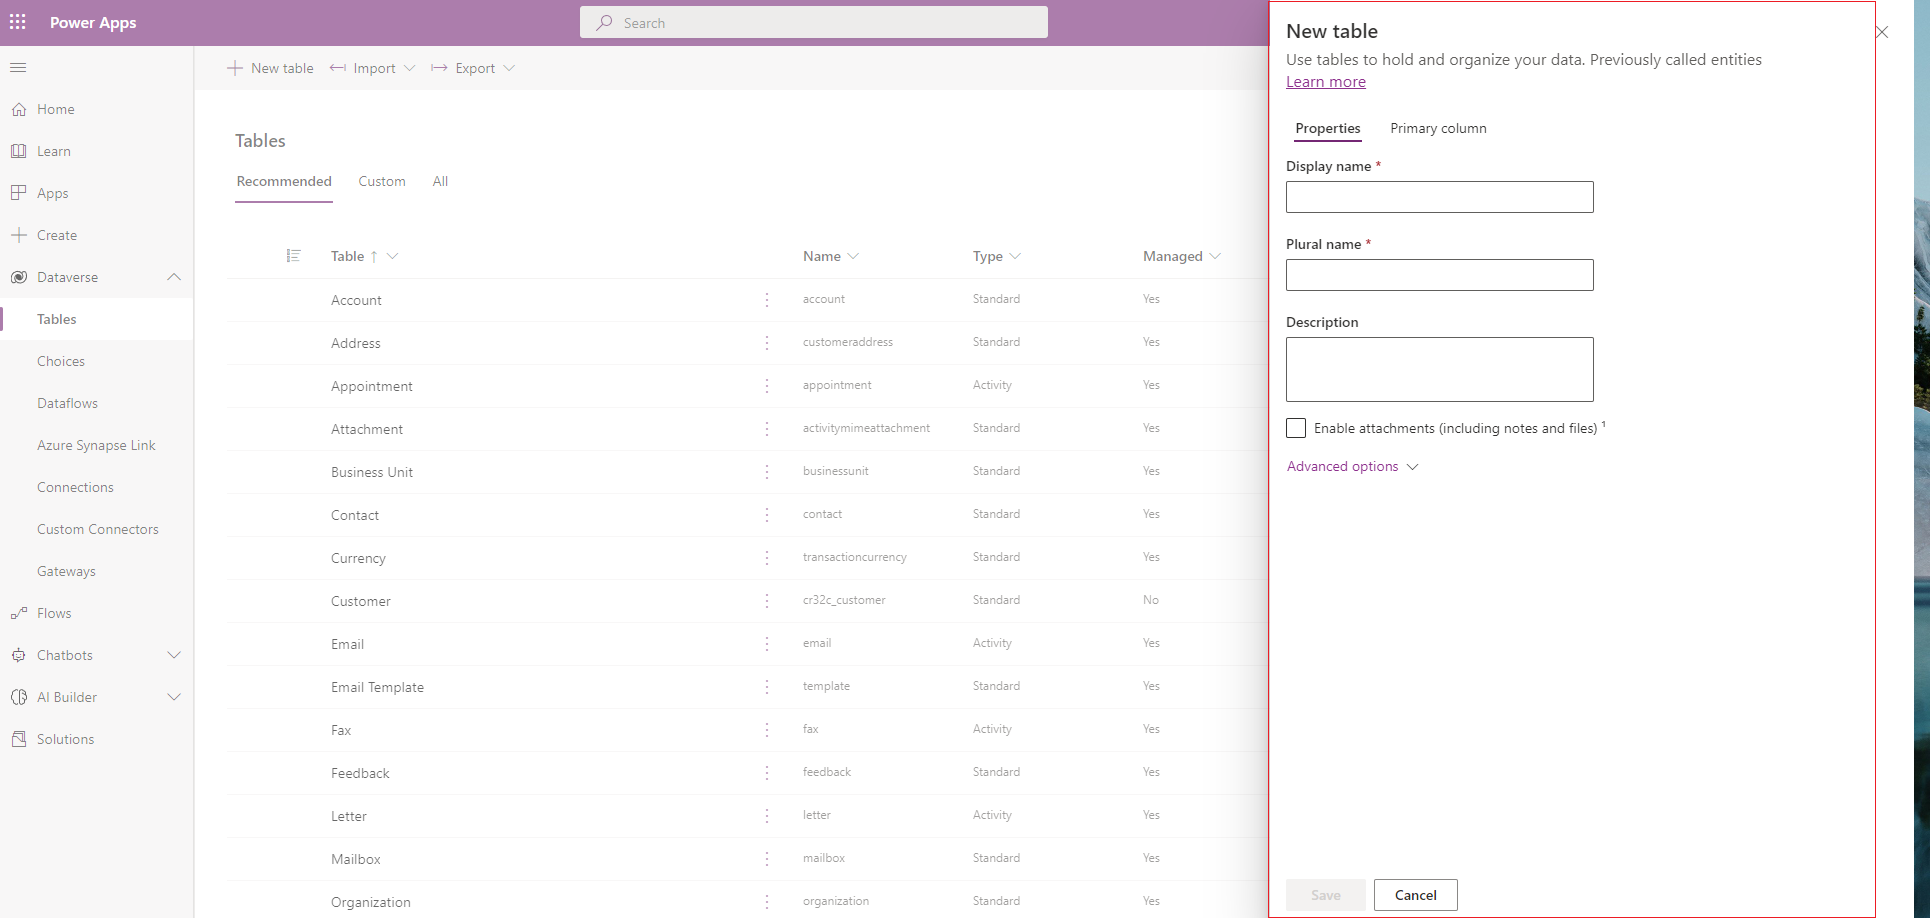
- Create a table named Customer and click Save
- One the table is saved you will be broght to the table properties screen.
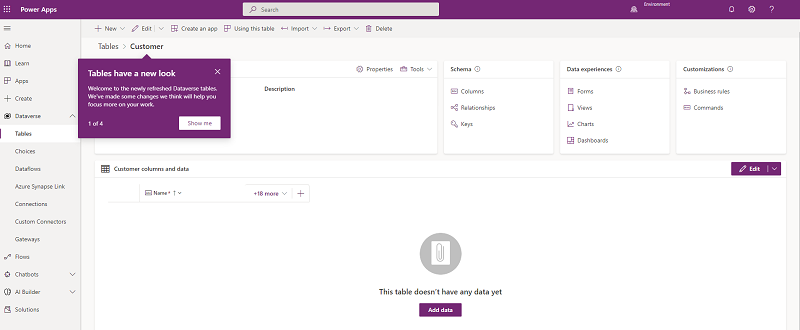
- Cick on the +NEW and create the following columns with their data types.
-
- CustomerID DataType: Autonumber
- Title, DataType: Single line of text.
- FirstName, DataTYpe: Single line of text.
- MiddleName, DataType: Single line of text.
- LastName, DataType: Single line of text.
- CompanyName, DataType: Single line of text.
- SalesPerson, Datatype: Single line of text.
- Email Address, DataType : Single line of text, Format: Email.
- Phone, DataType: Single line of text, Format: Phone Number.
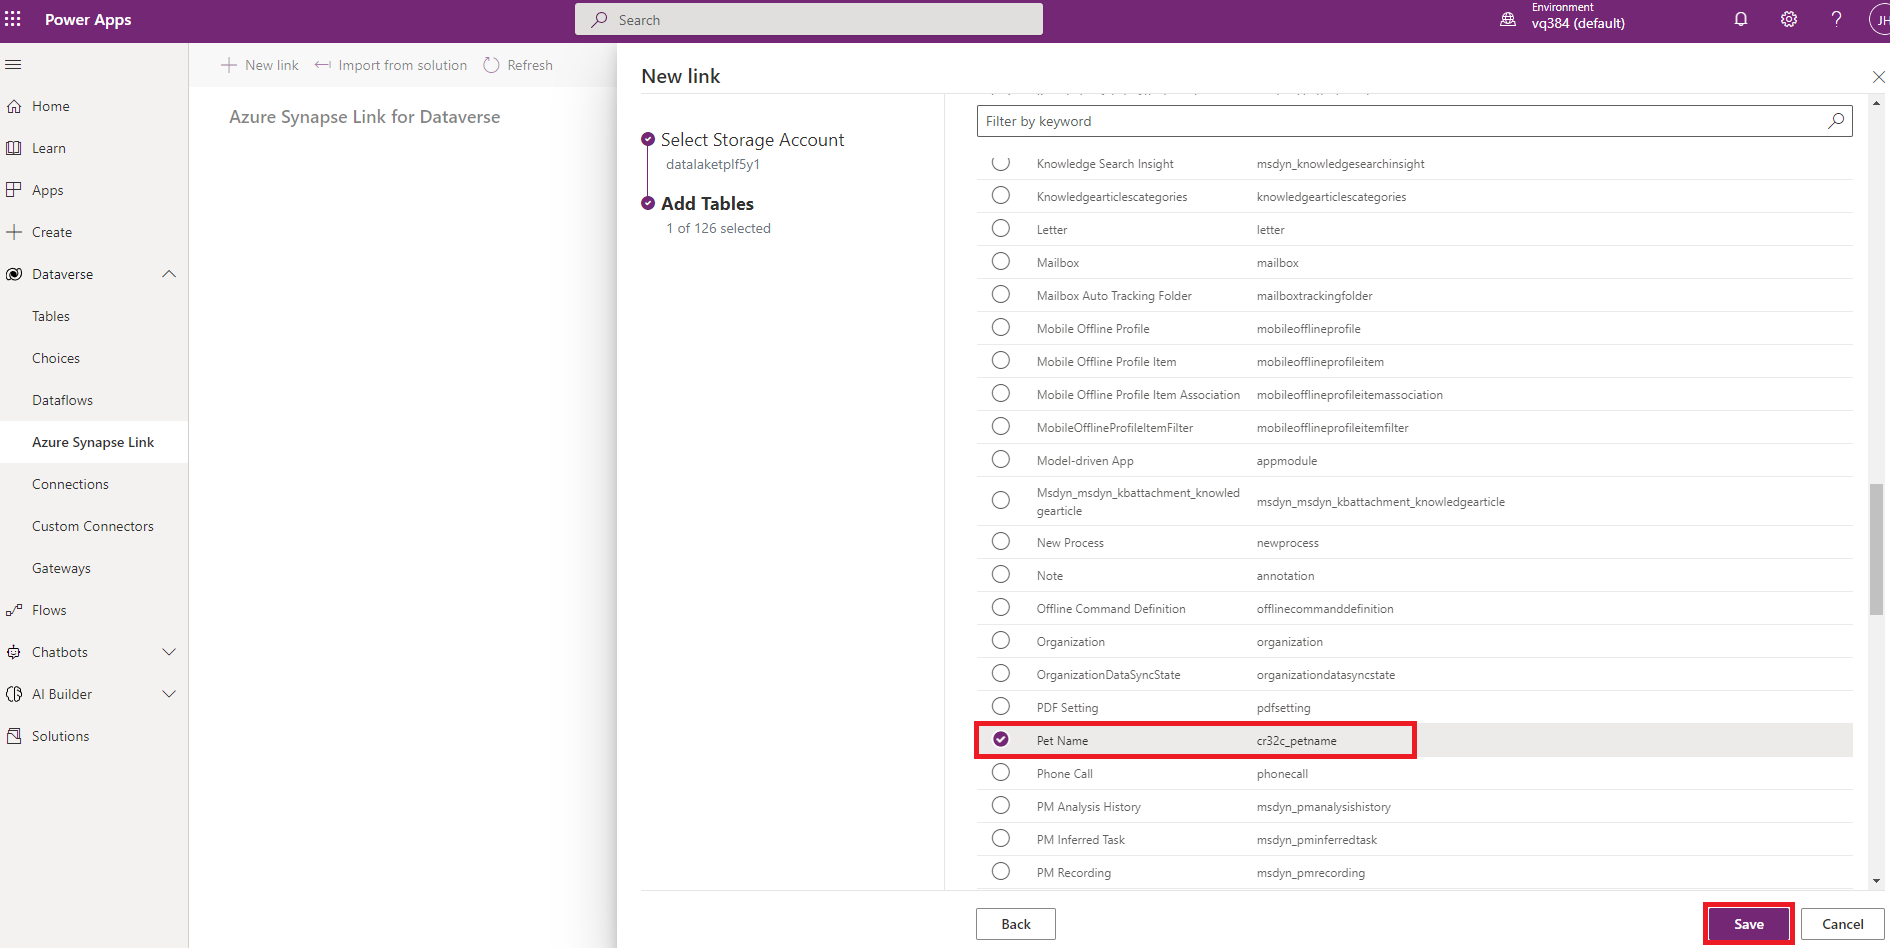
- The next step is to select the table to link, if you followed the directions from the pre-requesites, you will have a Pet Name table, select this table and then click Save
Query the Dataverse table in Synapse Analytics
- If not already done, Sign into the Azure portal.
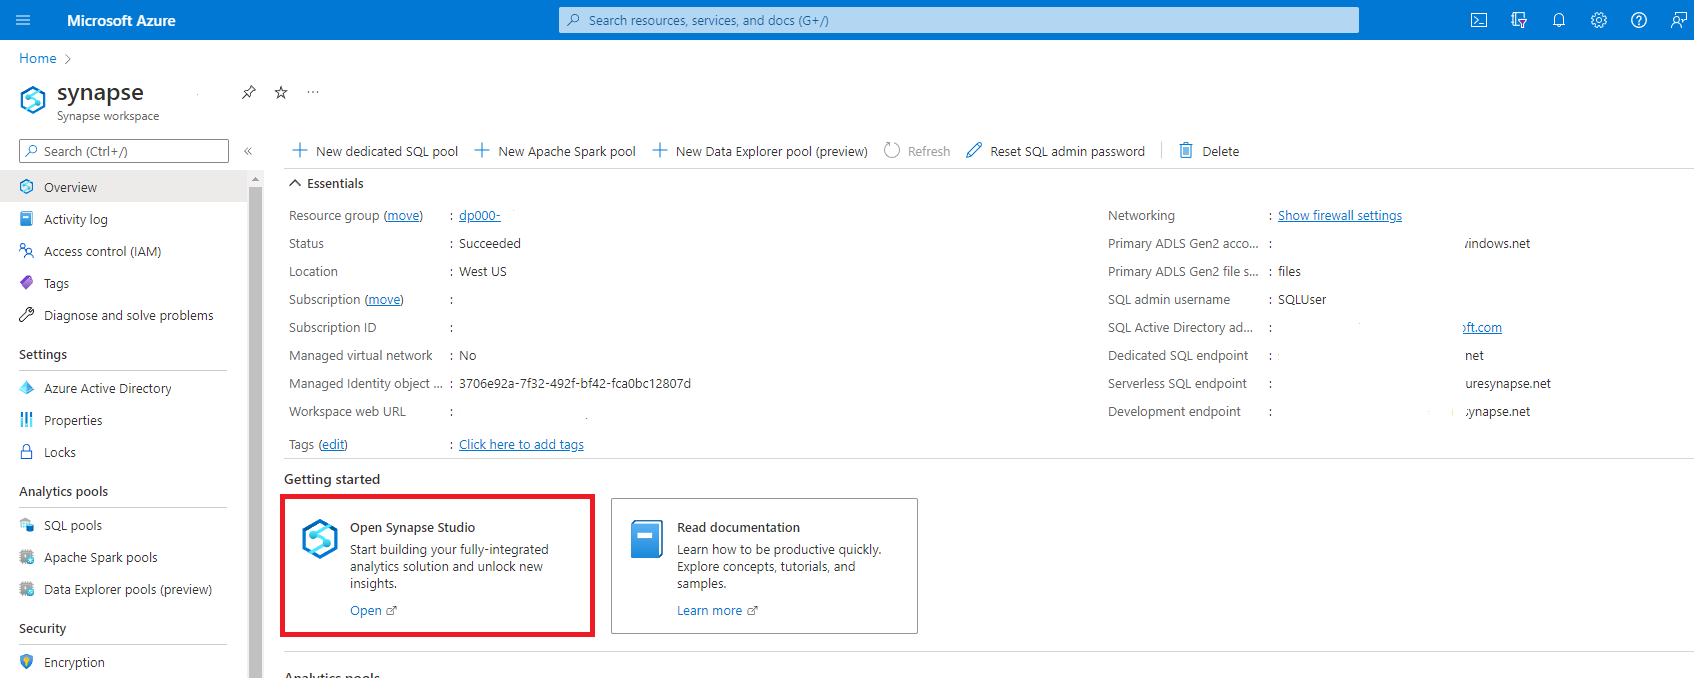
- Navigate to the resource group that you’ve been working with and select your Synapse instance in the Resource Group list.
[!NOTE] You will likely be prompted for your credentials which should be cached. Be sure to enter the credentials that you have used to set everything up.
- Select the Data icon in the left pane.
![]()
- In the Data blade, expand the Lake database.
- Expand the **dataverse_
** database. - Expand the tables which will display the dataverse tables that have been replicated to Synapse.
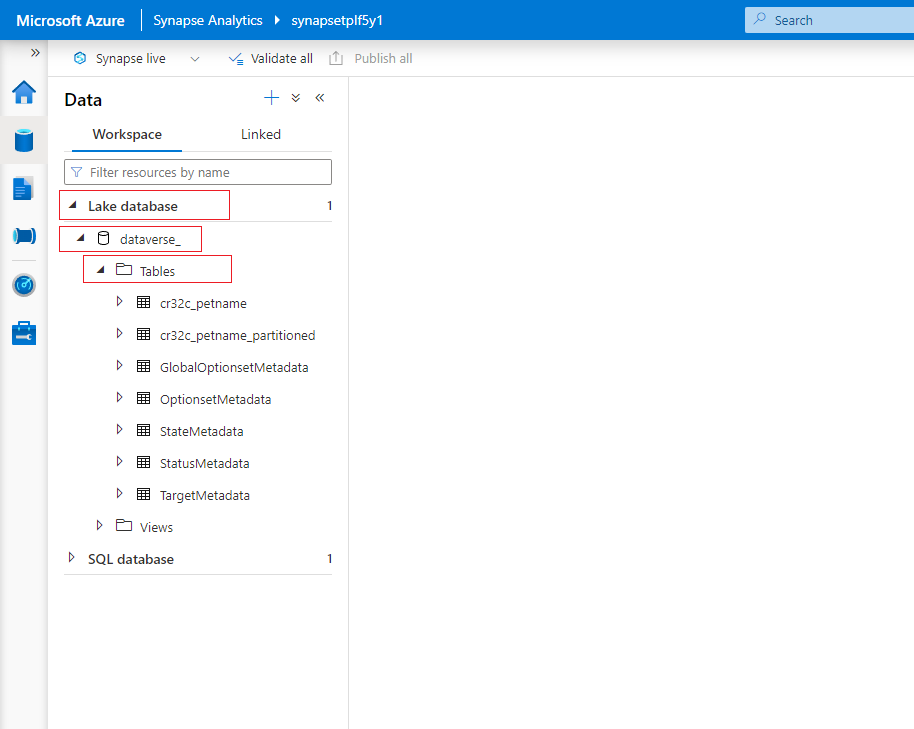
- By mousing over the
_petname table you will see an elipses (...) on the right-hand side - select New SQL Script, then Select TOP 100 rows
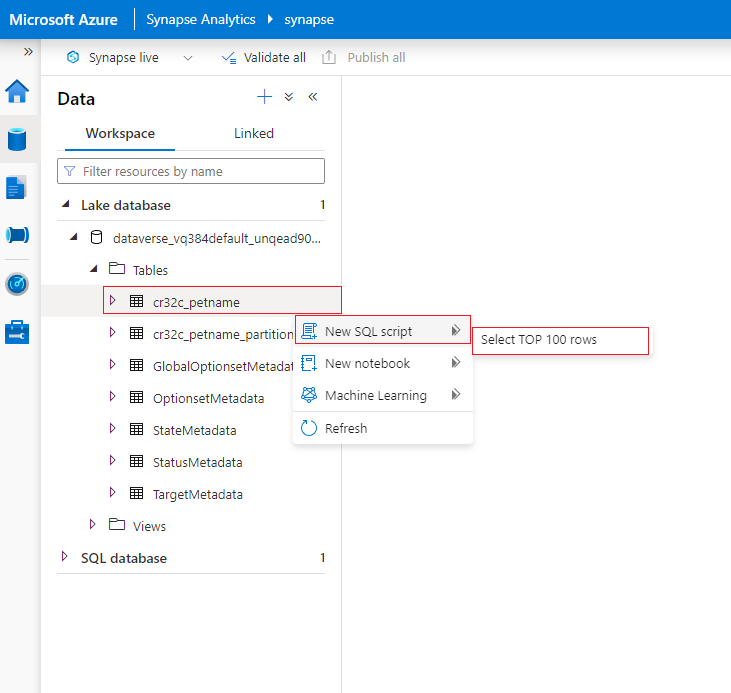
- Select Run.
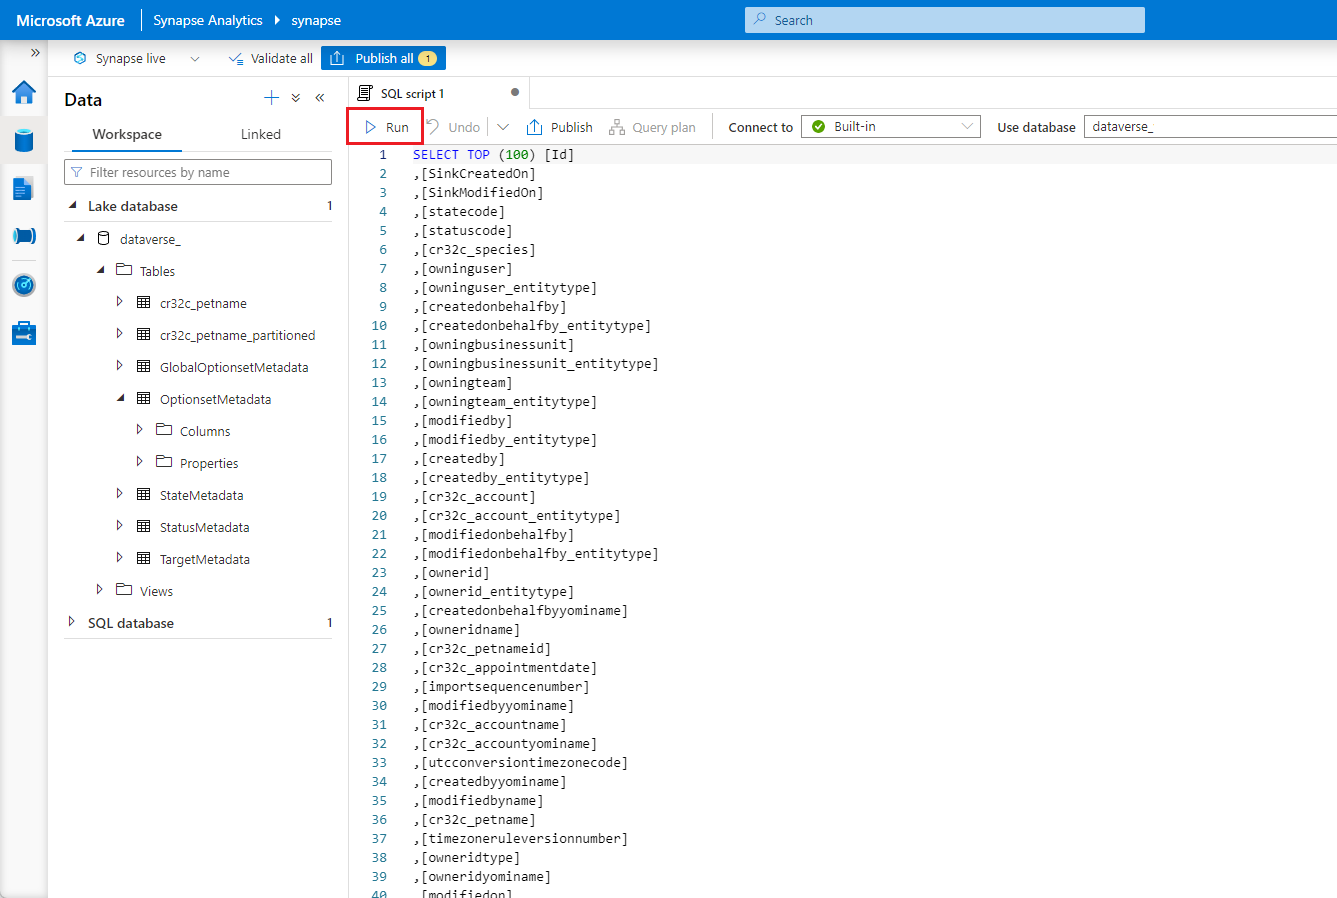
[!NOTE] You will see all of the records including auditing records for the table that you created in the Dataverse Creation Exercise.
Delete Azure resources
If you’ve finished exploring Azure Synapse Analytics, you should delete the resources you’ve created to avoid unnecessary Azure costs.
- Close the Synapse Studio browser tab and return to the Azure portal.
- On the Azure portal, on the Home page, select Resource groups.
- Select the dp000-xxxxxxx resource group that was created by the setup script at the beginning of this exercise.
- At the top of the Overview page for your resource group, select Delete resource group.
-
Enter the dp000-xxxxxxx resource group name to confirm you want to delete it, and select Delete.
After a few minutes, your resource group and the resources it contained will be deleted.