Use Activator in Fabric
Activator in Microsoft Fabric takes action based on what’s happening in your data. An Activator lets you monitor your data and create triggers to react to your data changes.
This lab takes approximately 30 minutes to complete.
Scenario
In this scenario, you’re a data analyst for a company that sells and ships a range of products. You’re responsible for the data of all shipments and sales to the city of Redmond. You want to create an alert rule that monitors the packages that are out for delivery. One category of products you ship is medical prescriptions that need to be refrigerated at a particular temperature during transit. You want to create an alert that sends an email to the shipping department if the temperature of a package containing a prescription is higher or lower than a certain threshold. The ideal temperature should be between 33 degrees and 41 degrees. Since the Activator events already contain a similar trigger, you create one specifically for the packages shipped to the city of Redmond. Let’s get started!
Create a workspace
Note: You need access to a Fabric paid or trial capacity to complete this exercise. For information about the free Fabric trial, see Fabric trial.
- Navigate to the Microsoft Fabric home page at
https://app.fabric.microsoft.com/home?experience=fabric-developerin a browser, and sign in with your Fabric credentials. - In the menu bar on the left, select Workspaces (the icon looks similar to 🗇).
- Create a new workspace with a name of your choice, selecting a licensing mode that includes Fabric capacity (Trial, Premium, or Fabric).
-
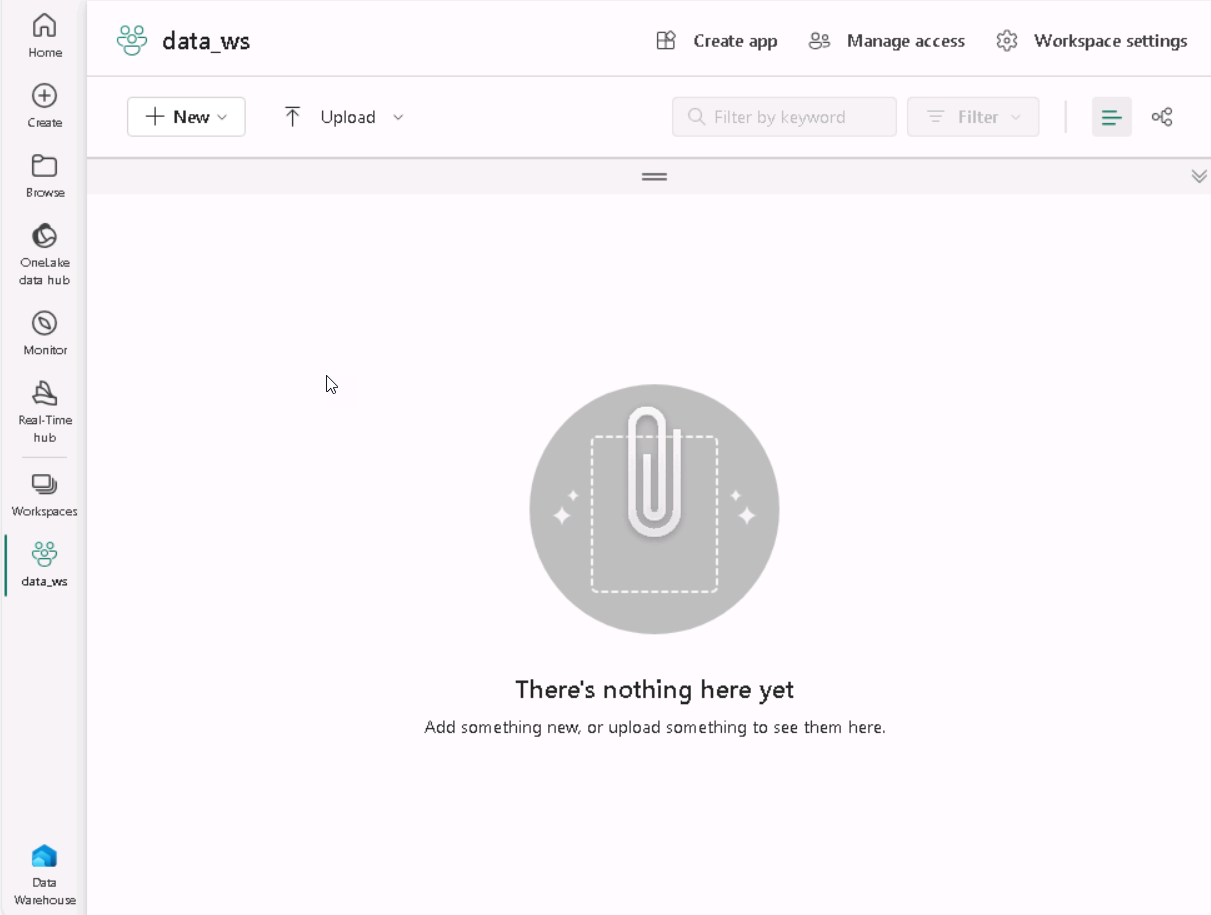
When your new workspace opens, it should be empty.
In this lab, you´ll use the Activator in Fabric to create triggers based on data changes. Fabric’s Activator conveniently provides a sample dataset that you can use to explore the Activator’s capabilities. You´ll use this sample data to analyze some real-time data streaming and create a trigger to send an email out when a condition is met.
Note: The Activator sample process generates some random data in the background. The more complex your conditions and filters are, the more time it takes to trigger them. If you don’t see any data in the graph, wait a few minutes and refresh the page. That said, you don’t need to wait for the data to be displayed in the graphs to continue with the lab.
Create an Activator
Next, create an Activator in the workspace you created:
-
On the menu bar on the left, select Create. In the New page, under the Real-Time Intelligence section, select Activator.
Note: If the Create option is not pinned to the sidebar, you need to select the ellipsis (…) option first.
After a minute or so, a new activator will be created:
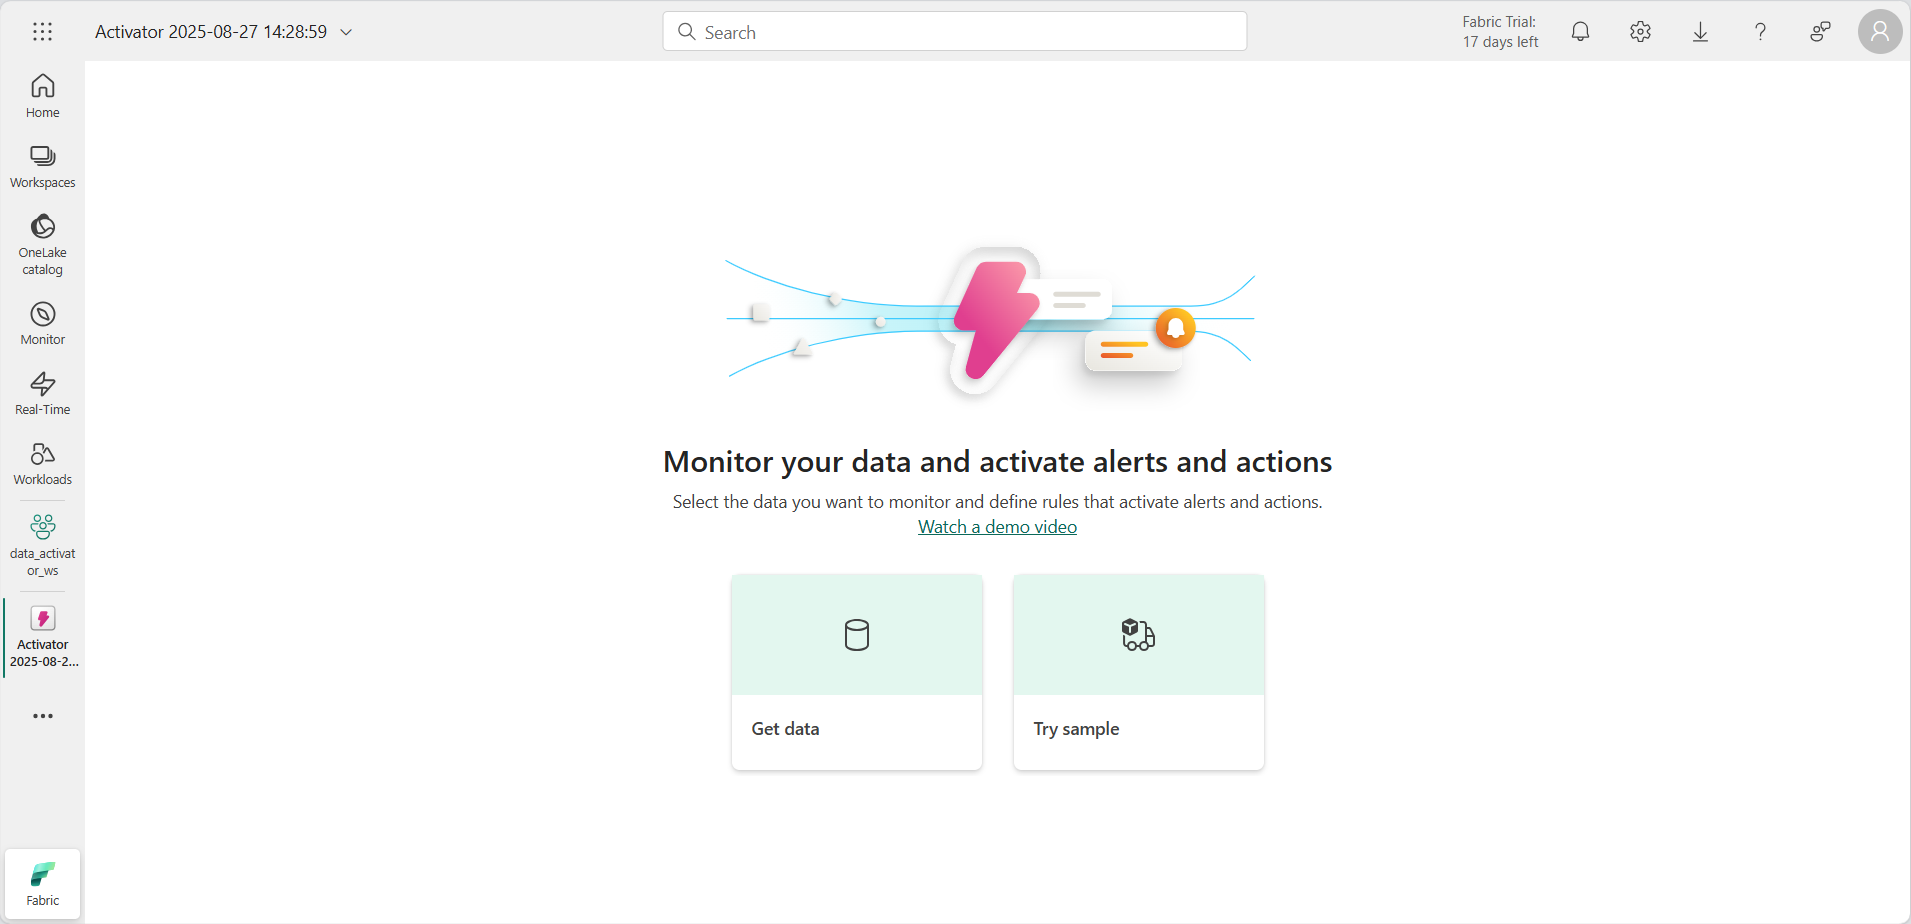
On a real production environment, you would use your own data. However, for this lab, you use the sample data provided by Activator.
-
Select the Try sample tile to populate your activator with sample data.
By default, the Activator is created with the name Activator YYYY-MM-DD hh:mm:ss. Since you may have multiple activators in your workspace, you should change the default name to a more descriptive one.
-
Select the pulldown besides the current Activator name on the upper left-hand corner and change the name to Contoso Shipping Activator for our example.
Our Activator project is now created and we can start navigating through its objects, properties and rules.
Get familiar with the Activator home screen
Let’s explore the eventstream data this sample is built on.
-
In the Explorer pane, scroll down and select the Package delivery events stream.
These events show the real-time status of packages that are in the process of being delivered.
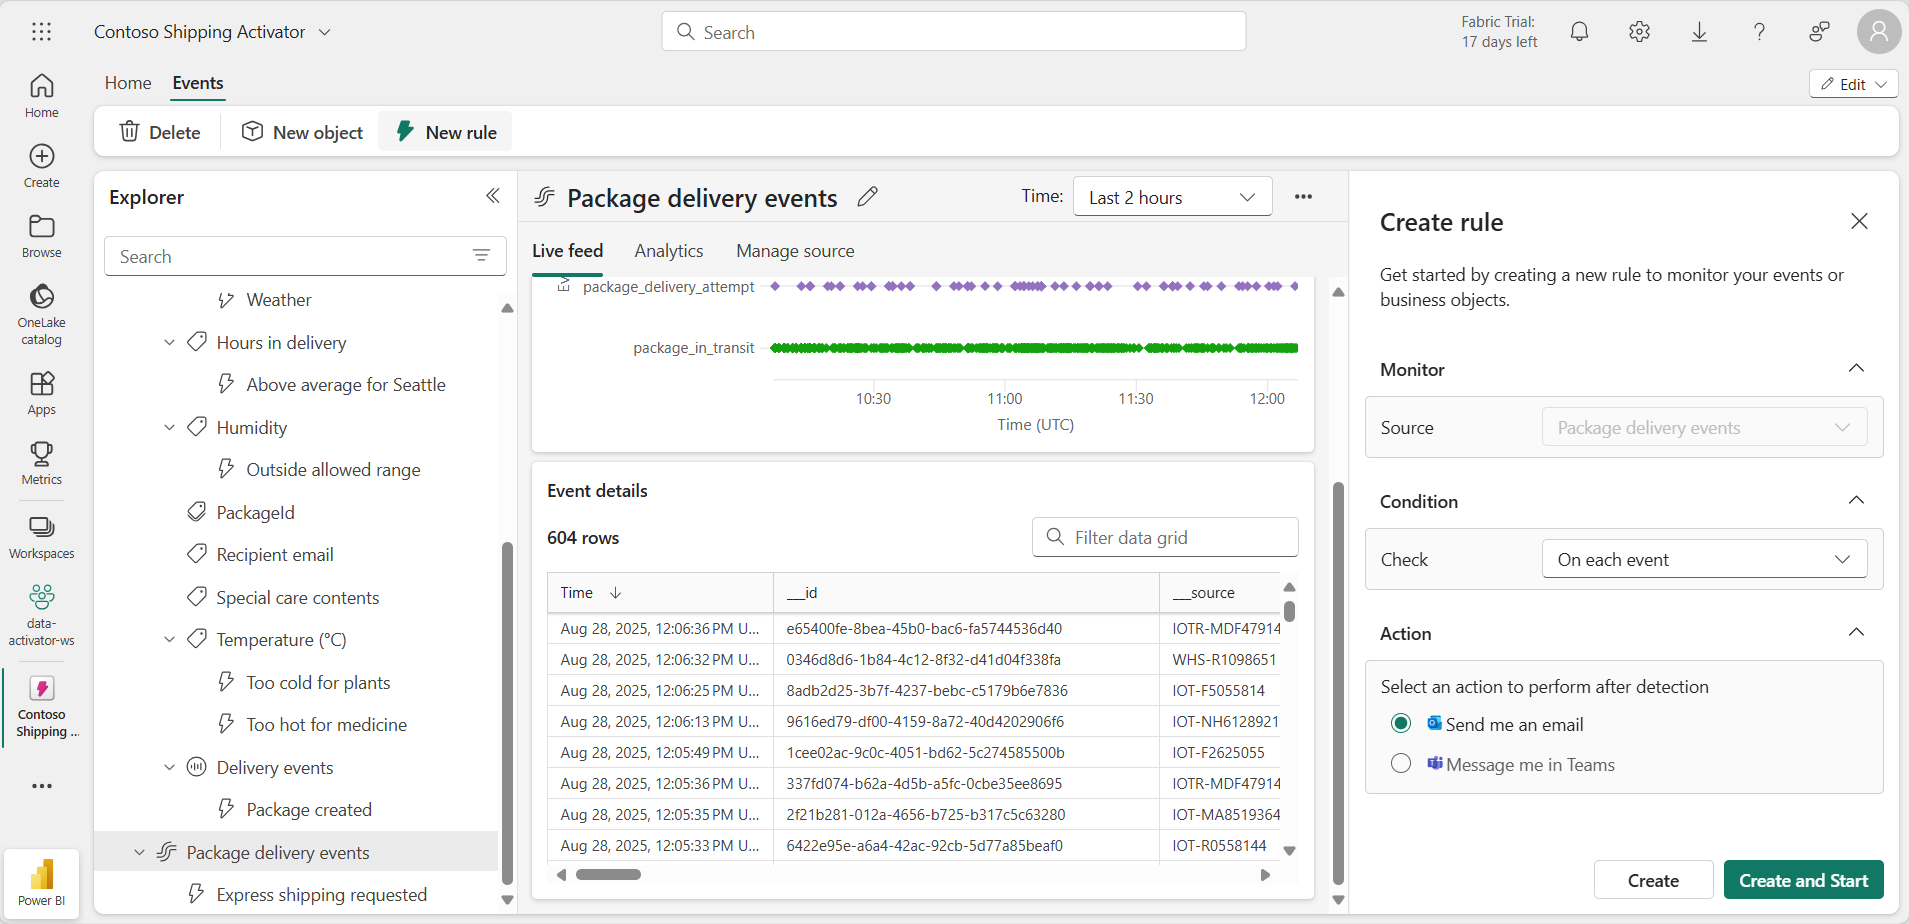
-
Review the data in the Event details live table. Each data point contains information about incoming events. You might have to scroll to see it all.
The Explorer pane displays objects that use data from eventstreams. These objects have properties from which rules can be created. In this example, Package is the object created from the Package delivery events eventstream.
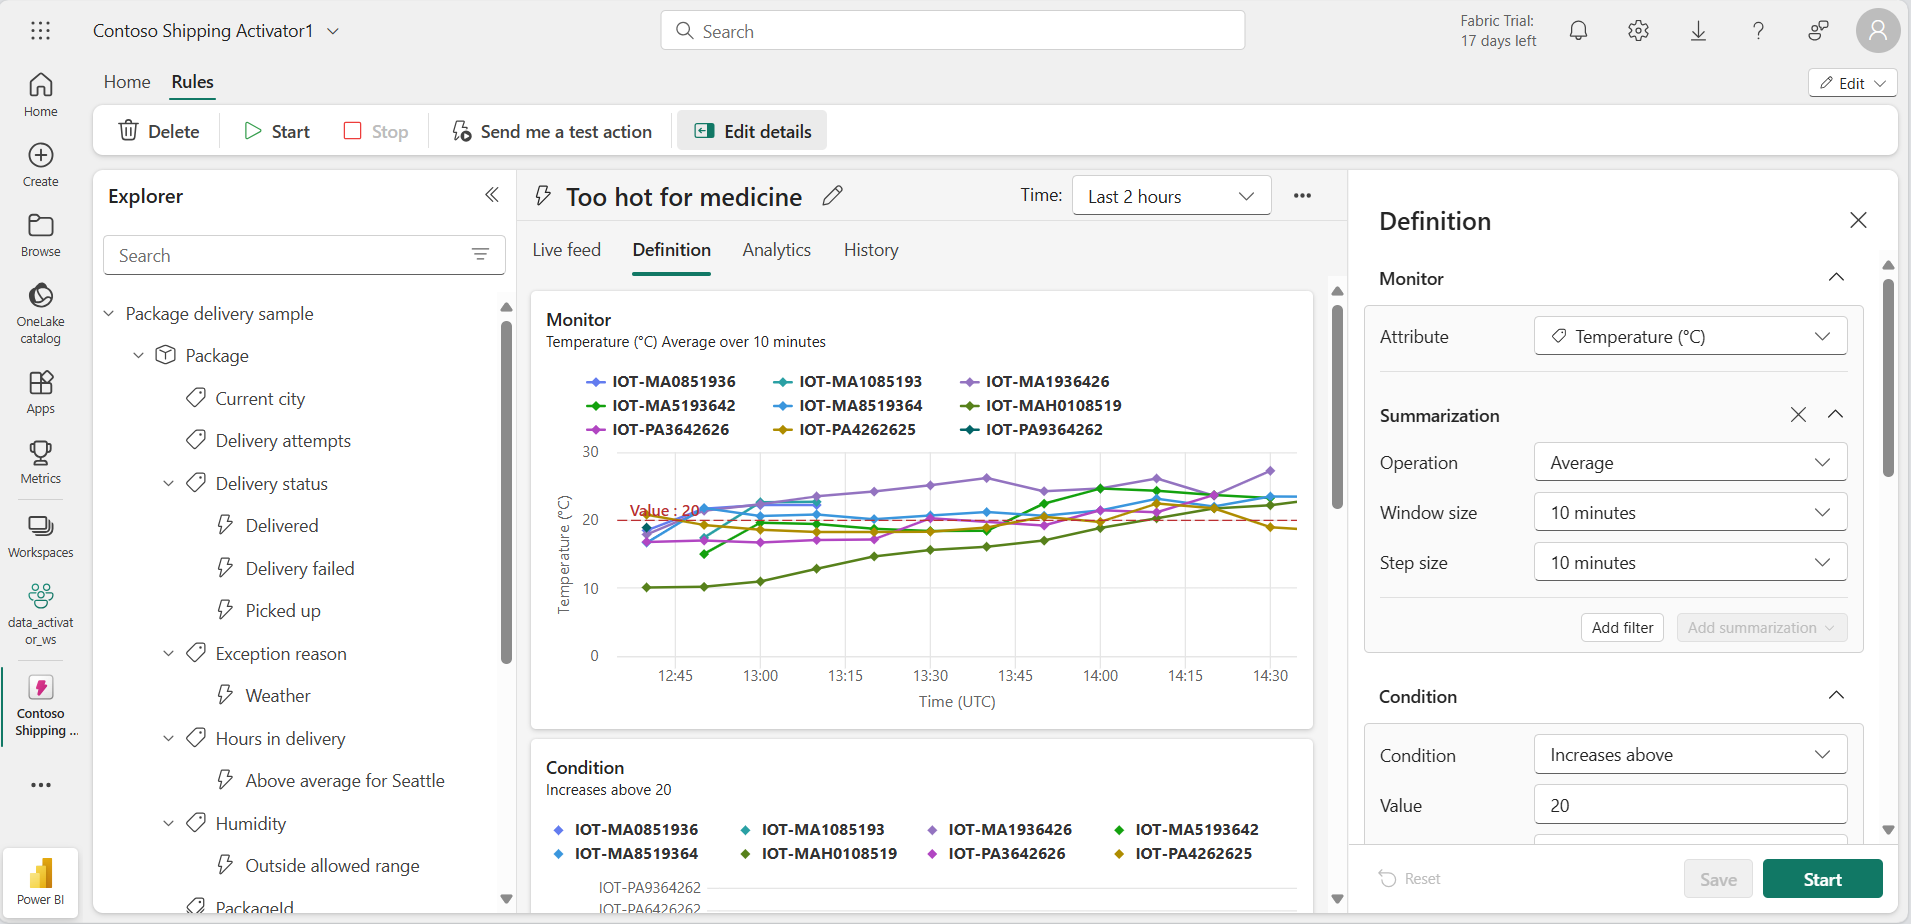
- In the Explorer pane, under the Temperature property, select the rule Too hot for medicine.
-
In the Definition pane, review how the rule works. In the Monitor section, the Temperature property is selected as attribute being monitored. The temperature values come from the Temperature column in the Event details table that we saw earlier in the eventstream.
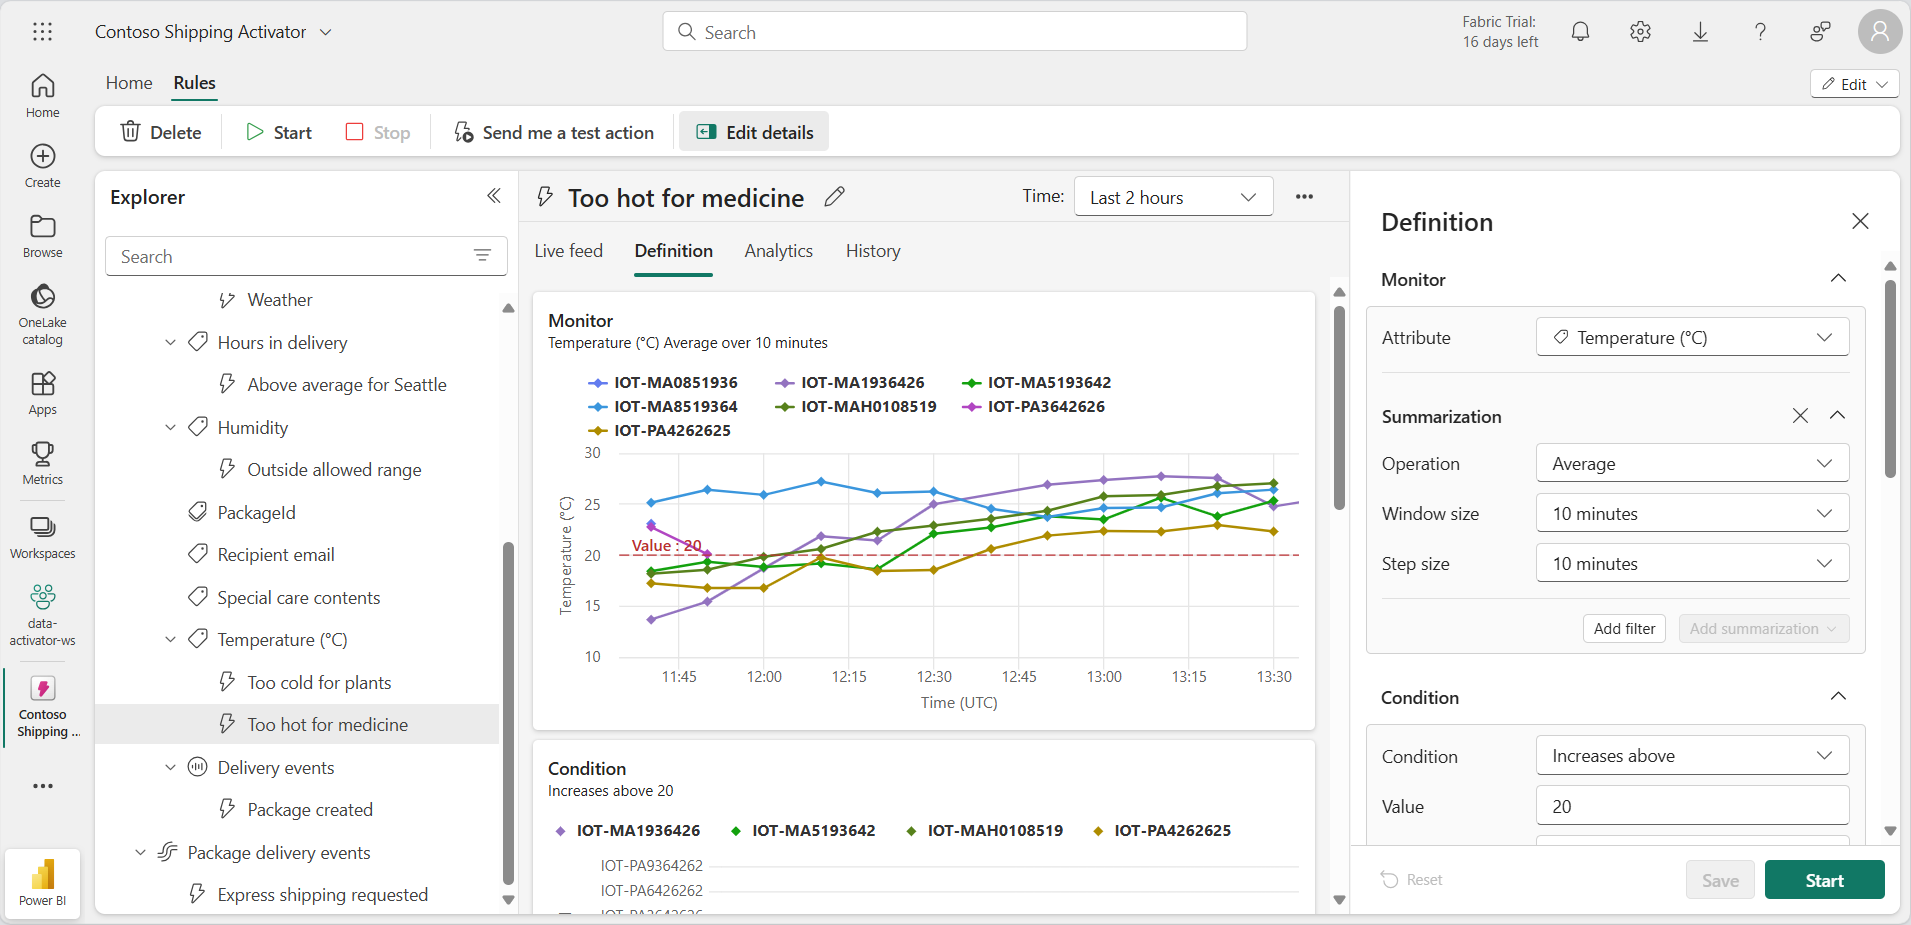
- In the Condition section, you see the rule condition to monitor temperatures that are higher than 20 degrees Celsius.
- In the Property filter section, you see a customized filter that ensures our rule applies only to packages containing medicine. In the eventstream table, the rule looks at the column named SpecialCare, here represented as the property Special care contents. In the Special care contents property, some of the packages have a value of Medicine.
- Lastly, we have the Action section. Our rule is set to send a Teams message if the condition is met. You can also set it to send an email instead.
- Select the action type that you prefer, verify that you are the recipient, and then select Send me a test action. You should receive the message set in the Message field with details about the trigger, such as activation time and package ID.
Create an object
In a real world scenario, there might not be a need to create a new object for this eventstream since the Activator sample already includes an object called Package. But for this lab, we create a new object to demonstrate how to create one. Let’s create a new object called Redmond Packages.
-
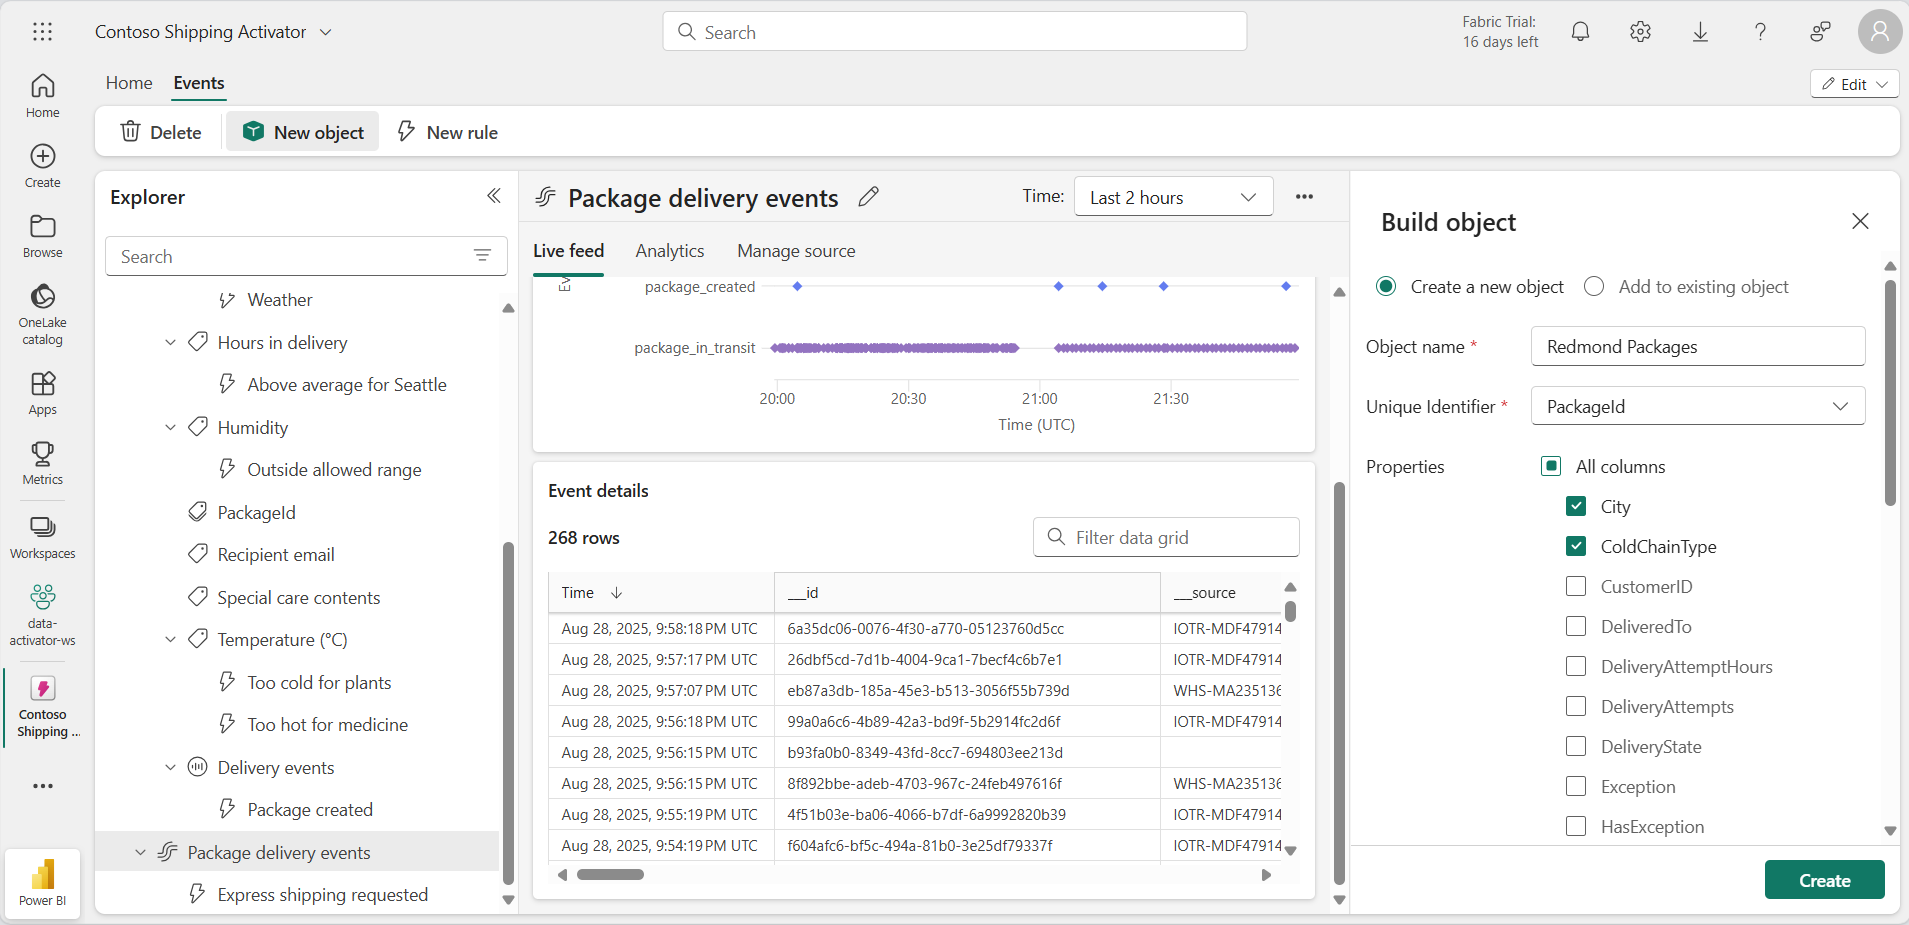
Select the Package delivery events eventstream, and then select New object on the ribbon.
- In the Build object pane to the right, enter the following values:
- Object name:
Redmond Packages - Unique Identifier: PackageId
- Properties: City, ColdChainType, SpecialCare, Temperature
- Object name:
-
Select Create.
In the Explorer pane, a new object called Redmond Packages has been added. Time to create your rule.
Create a rule
Let’s review what you want your rule to do: You want to create an alert rule that sends an email to the shipping department if the temperature of a package containing a prescription is higher or lower than a certain threshold. The ideal temperature should be below 20 degrees. Since the Package object already contains a similar rule, you´ll create one specifically for the packages shipped to the city of Redmond.
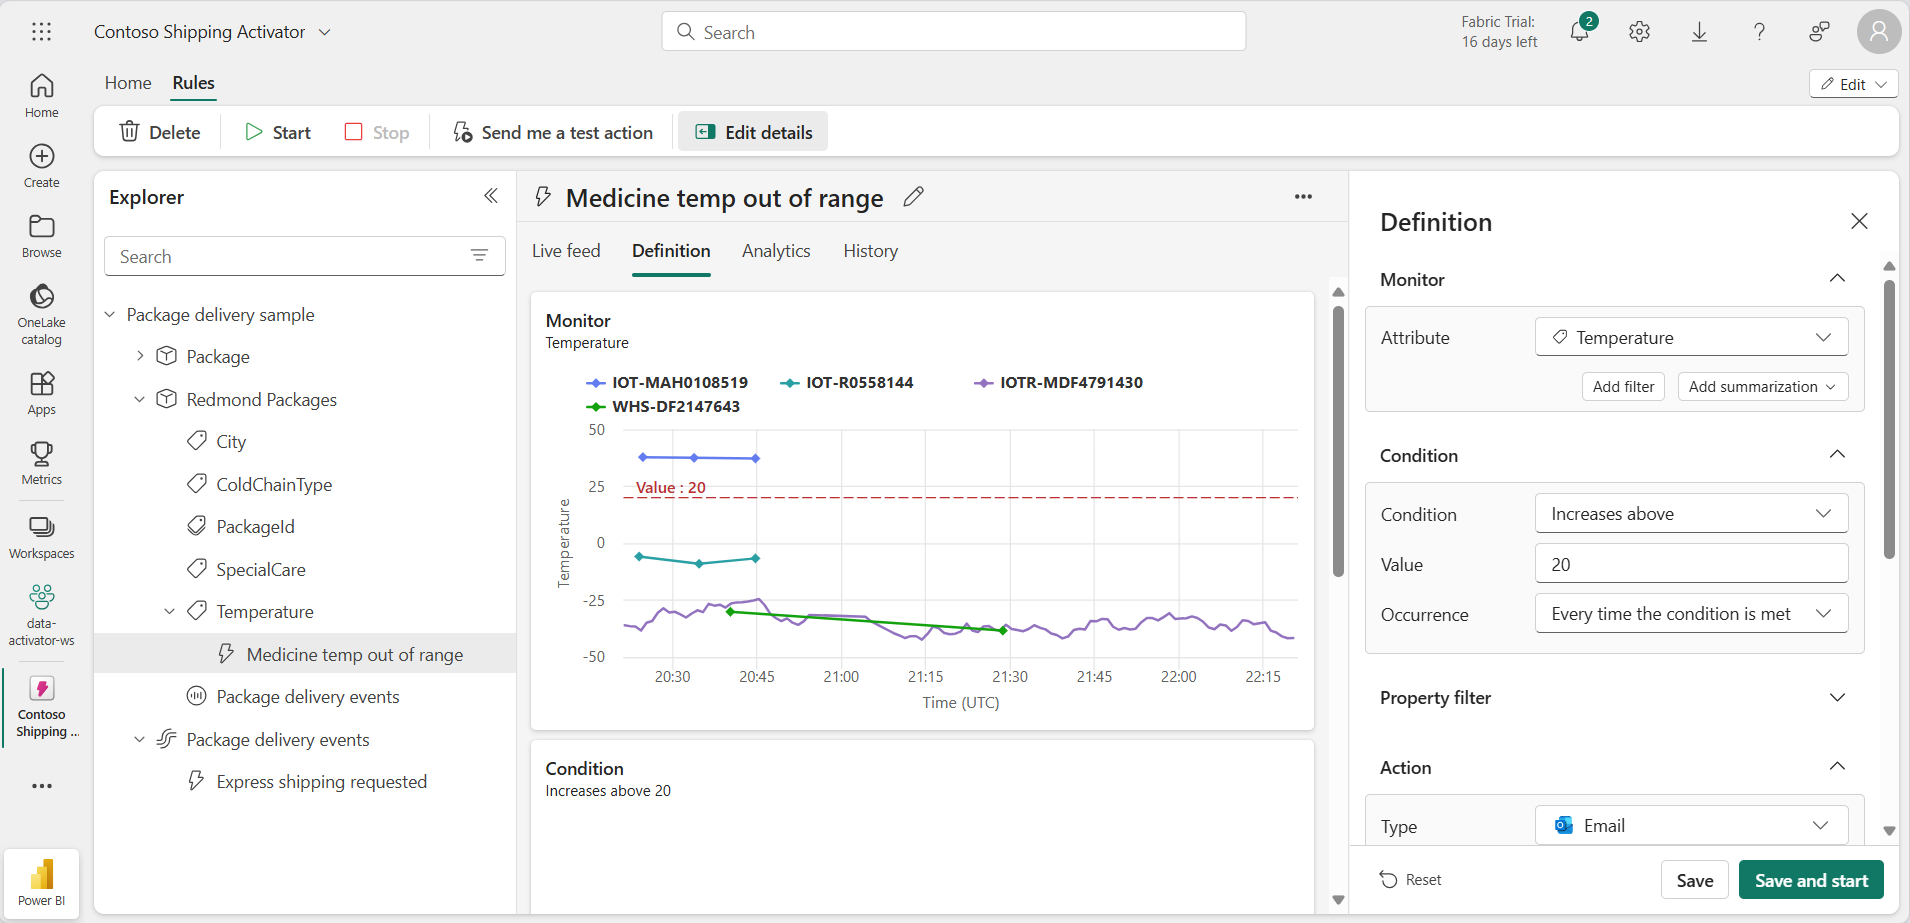
- Select the Temperature property within the Redmond Packages object and select the New Rule button on the ribbon, if not already selected.
- In the Create rule pane, enter the following values:
- Condition: Increases above
- Value:
20 - Occurrence: Every time the condition is met
- Action: Send me an email
- Select Create.
-
A new rule is created with the default name of Temperature alert. Change the name to Medicine temp out of range by selecting the pencil icon next to the rule’s name in the middle pane.
So far you´ve defined the property and condition you want the rule to fire on, but that still doesn’t include all the parameters you need. You still need to make sure that the trigger only fires for the city of Redmond and for the special care type of Medicine. Let’s go ahead and add a couple of filters for those conditions.
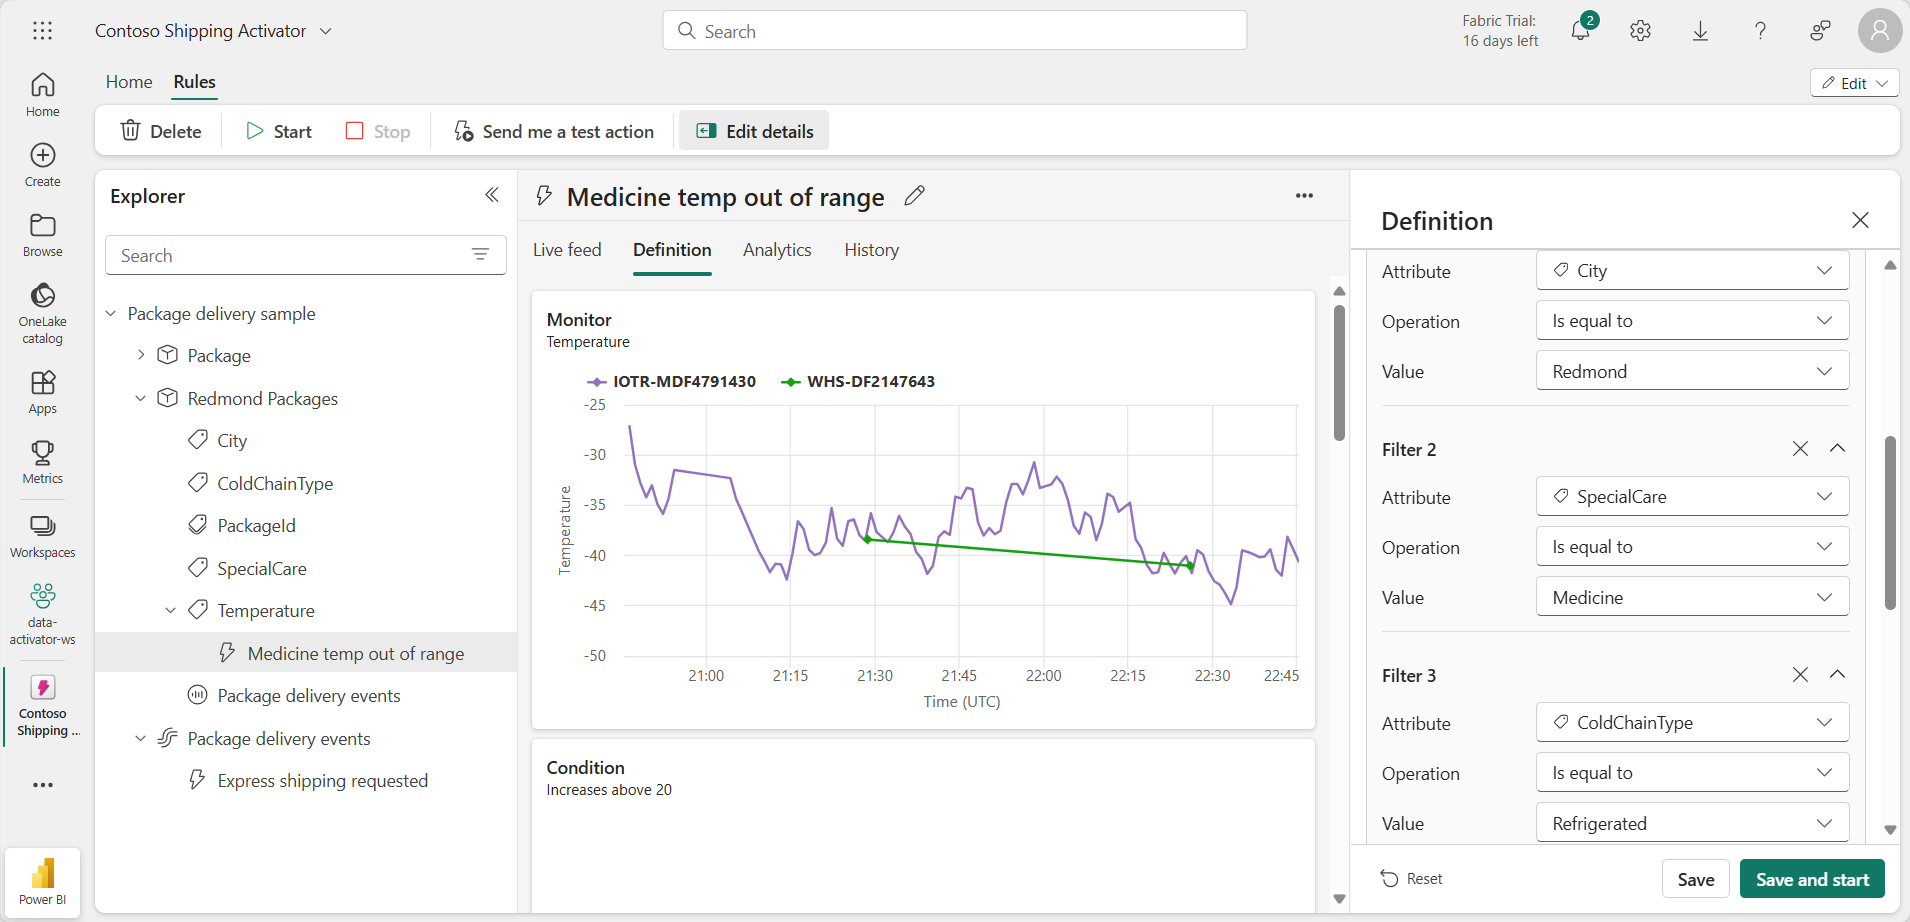
- In the Definition pane, expand the Property filter section.
- In the Filter 1 box, set the attribute to City, set the operation to Is equal to, and select Redmond as the value.
- Select Add filter, then add a new filter with the SpecialCare attribute, set it to Is equal to and enter Medicine as the value.
-
Let’s add one more filter just to make sure that the medicine is refrigerated. Select the Add filter button, set the ColdChainType attribute, set it to Is equal to and enter Refrigerated as the value.
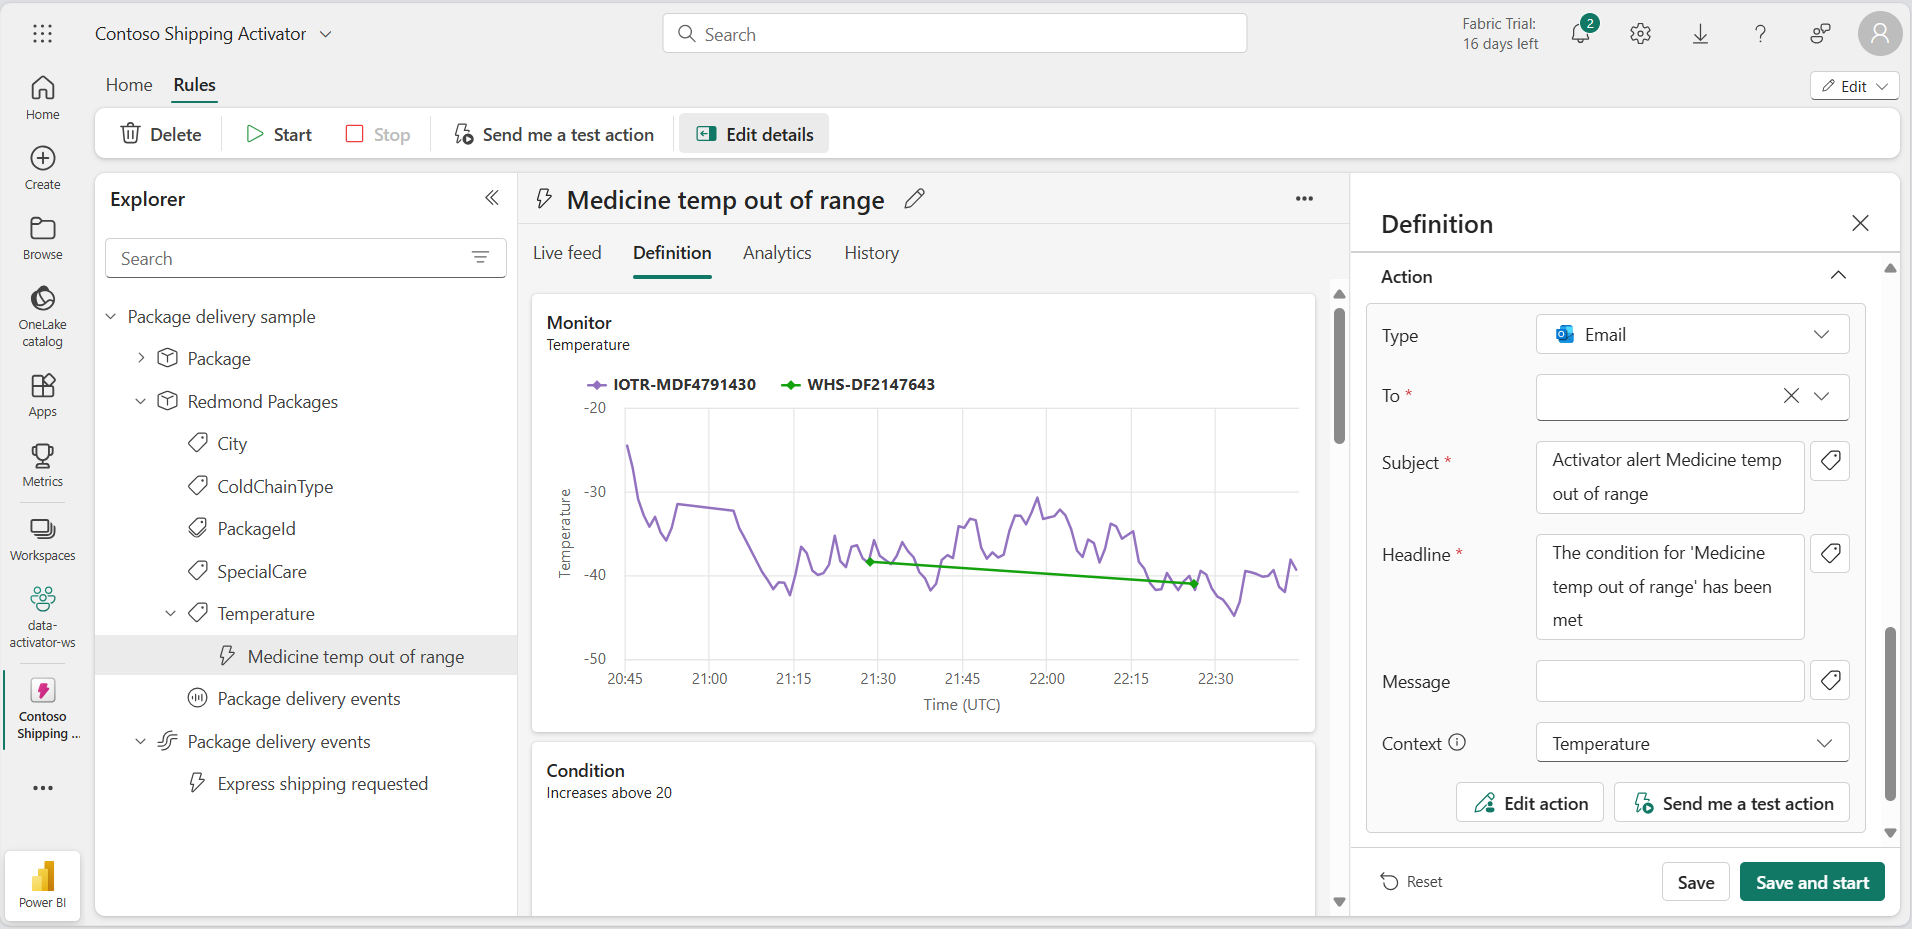
You’re almost there! You just need to define what action you want to take when the trigger fires. In this case, you want to send an email to the shipping department.
- In the Action section, enter the following values:
- Type: Email
- To: Your current user account should be selected by default, which should be fine for this lab.
- Subject: Redmond Medical Package outside acceptable temperature range
- Headline: Temperature too high
- Context: Select the Temperature property from the checkbox list.
-
Select Save and start.
You have now created and started a rule in your Activator. The rule should trigger several times every hour.
- Once you have verified that the rule works, you can turn it off using the Stop button on the ribbon.
Clean up resources
In this exercise, you have created an Activator with an alert rule. You should now be familiar with the Activator interface and how to create objects, properties, and rules.
If you’ve finished exploring your Activator, you can delete the workspace you created for this exercise.
- In the left navigation bar, select the icon for your workspace to view all of the items it contains.
- In the menu on the top toolbar, select Workspace settings.
- In the General section, select Remove this workspace.