Use Delta Tables in Apache Spark
Tables in a Microsoft Fabric Lakehouse are based on the open-source Delta Lake format. Delta Lake adds support for relational semantics for both batch and streaming data. In this exercise, you’ll create managed Delta tables using PySpark and SQL, explore table versioning, and work with streaming data.
This exercise should take approximately 45 minutes to complete
Create a workspace
Note: You need access to a Fabric paid or trial capacity to complete this exercise. For information about the free Fabric trial, see Fabric trial.
- Navigate to the Microsoft Fabric home page at
https://app.fabric.microsoft.com/home?experience=fabric-developerin a browser and sign in with your Fabric credentials. - In the menu bar on the left, select Workspaces (the icon looks similar to 🗇).
- Create a new workspace named dp_workspace, selecting a licensing mode in the Advanced section that includes Fabric capacity (Trial, Premium, or Fabric).
-
When your new workspace opens, it should be empty.

Create a lakehouse and upload files
Now that you have a workspace, it’s time to create a data lakehouse for your data.
-
In the workspace, select + New item and create a new Lakehouse named delta_lakehouse. Leave the Lakehouse schemas checkbox selected.
After a minute or so, a new lakehouse will be created:
-
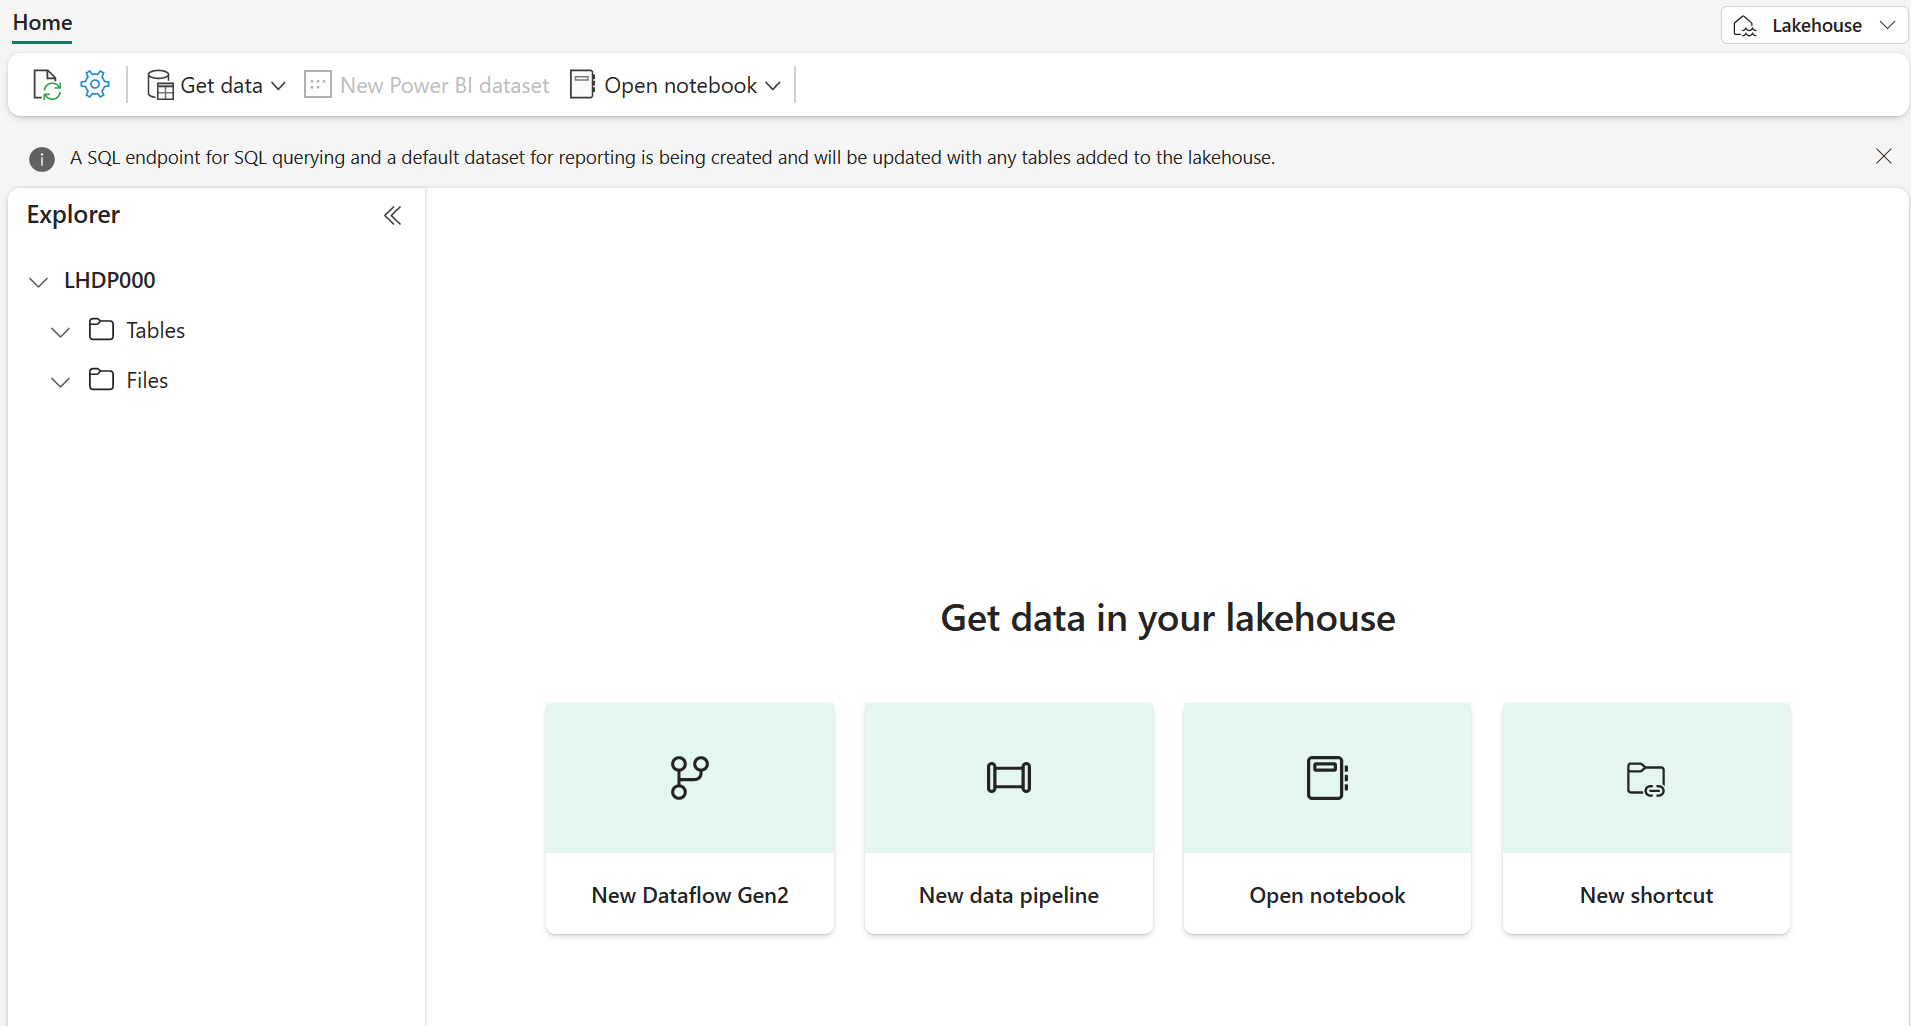
View the new lakehouse, and note that the Explorer pane on the left enables you to browse tables and files in the lakehouse:
You can now ingest data into the lakehouse. There are several ways to do this, but for now you’ll download a text file to your computer and then upload it to your lakehouse.
- Download the data file from
https://github.com/MicrosoftLearning/dp-data/raw/main/products.csv, saving it as products.csv. - Return to the web browser tab containing your lakehouse, and in the Explorer pane, next to the Files folder, select the … menu. Create a New subfolder called products. Naming must be all small letters.
- In the … menu for the products folder, upload the products.csv file from your computer.
-
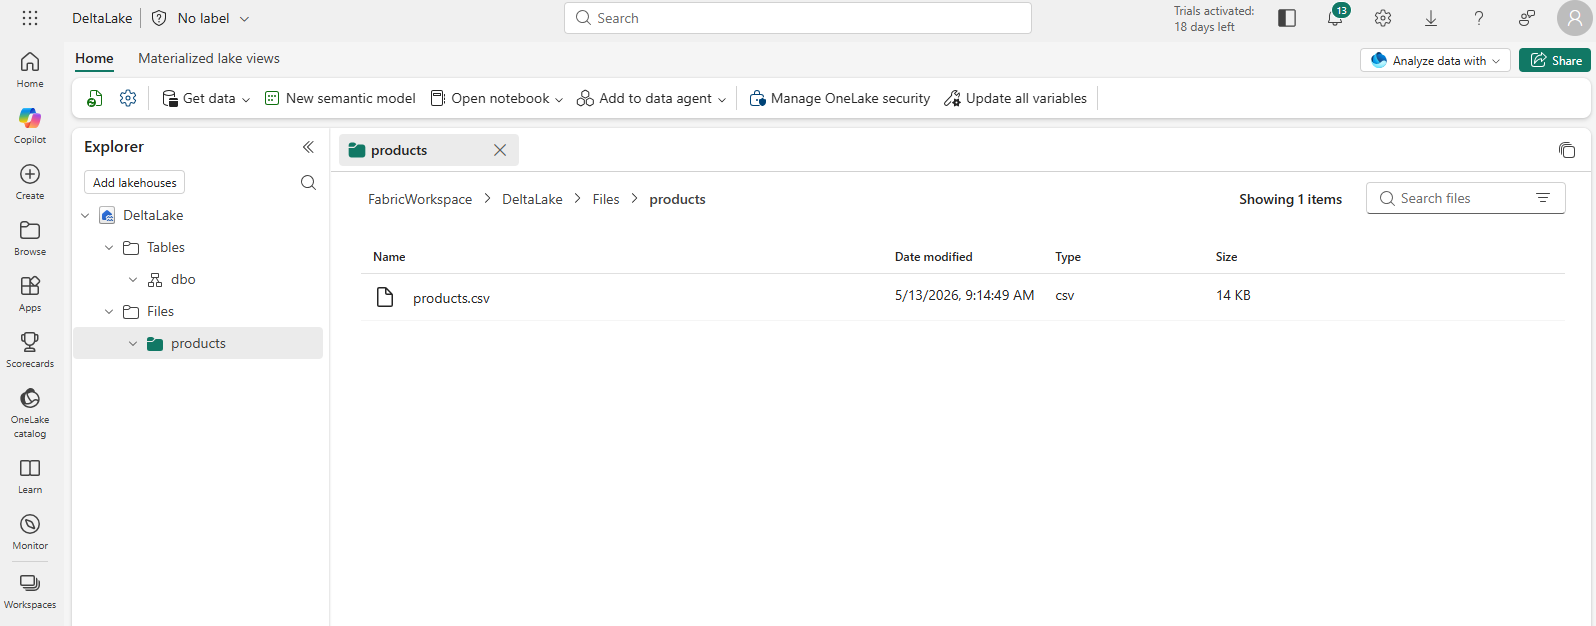
After the file has been uploaded, select the products folder to verify that the file has been uploaded, as shown here:
Explore data in a DataFrame
You can now create a Fabric notebook to work with your data. Notebooks provide an interactive environment where you can write and run code.
-
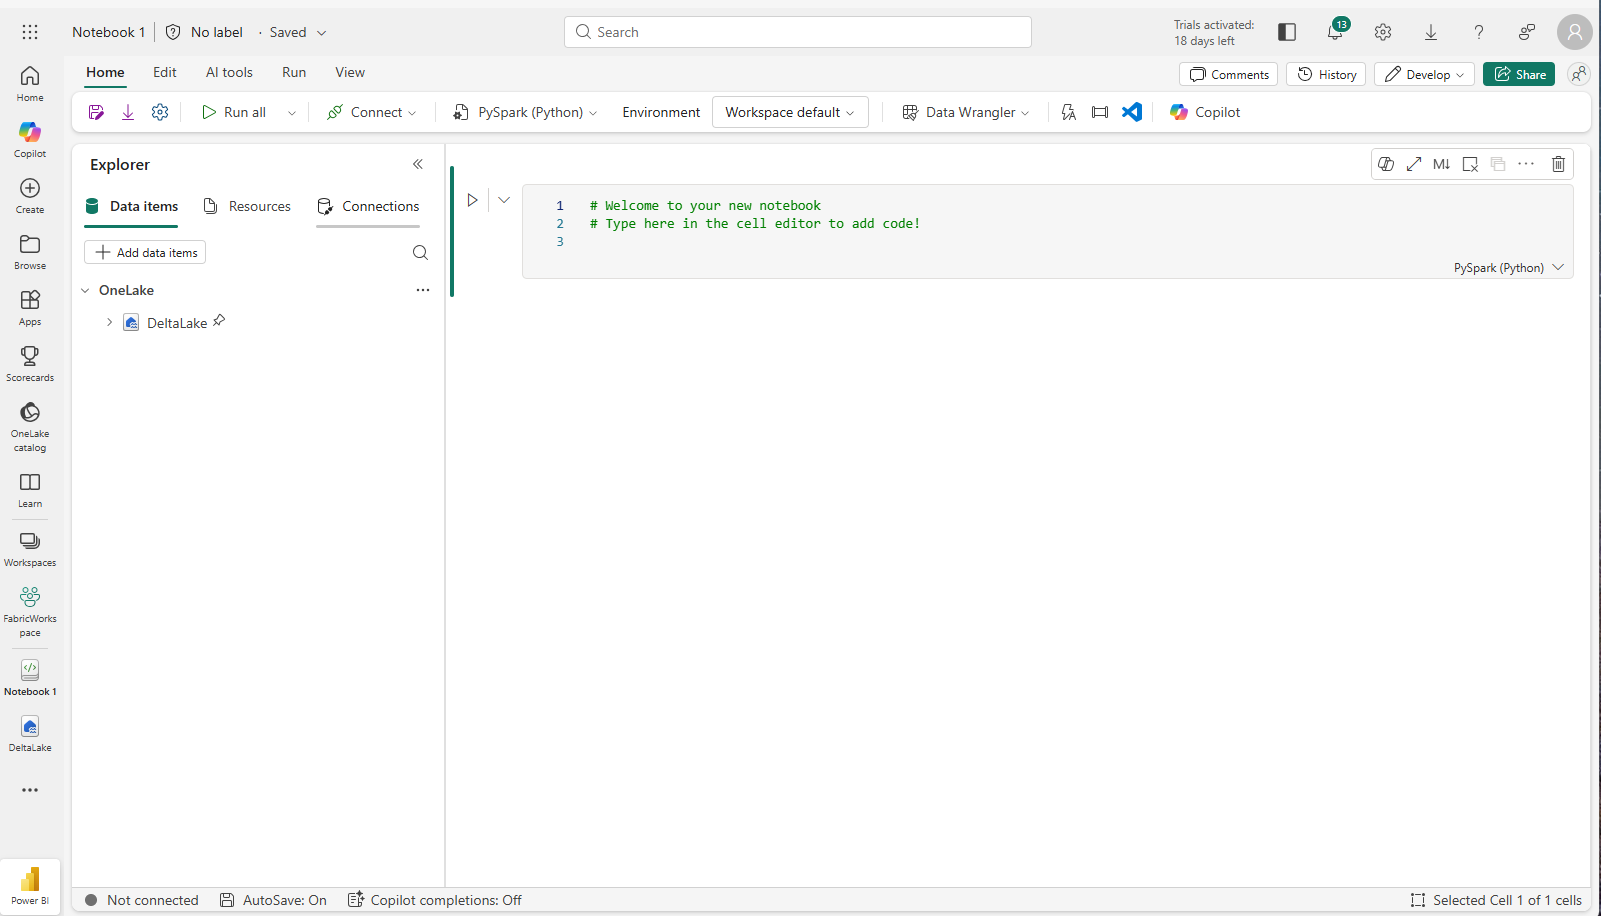
In the lakehouse, select Open notebook > New notebook.
A new notebook named Notebook 1 is created and opened.
- Fabric assigns a name to each notebook you create, such as Notebook 1, Notebook 2, etc. Click the name panel above the Home tab on the menu to change the name to something more descriptive.
- Select the first cell (which is currently a code cell), and then in the top-right tool bar, use the M↓ button to convert it to a markdown cell. The text contained in the cell will then be displayed as formatted text.
-
Use the 🖉 (Edit) button to switch the cell to editing mode, then modify the markdown as shown below.
# Delta Lake tables Use this notebook to explore Delta Lake functionality - Click anywhere in the notebook outside of the cell to stop editing it.
-
Add a new code cell, and add the following code to read the products data into a DataFrame using a defined schema:
[!TIP] To add a code cell, select + Code which appears when you hover the mouse above or below the current cell or its output. Alternatively, from the ribbon menu select Edit and + Add code cell below.
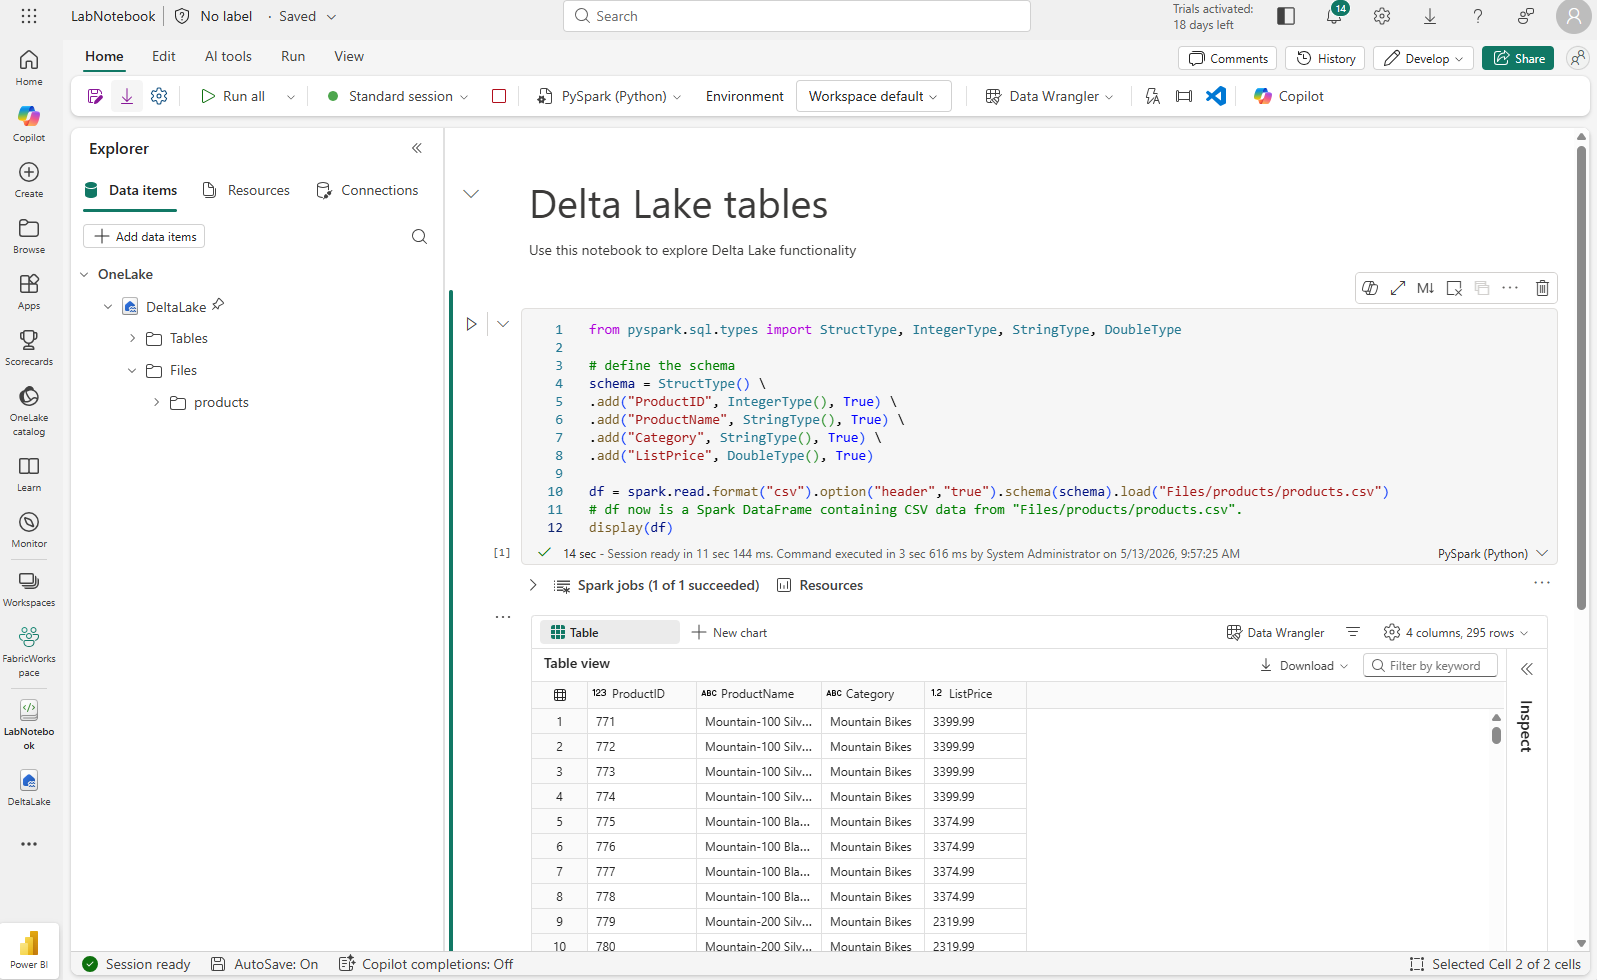
from pyspark.sql.types import StructType, IntegerType, StringType, DoubleType

# define the schema
schema = StructType() \
.add("ProductID", IntegerType(), True) \
.add("ProductName", StringType(), True) \
.add("Category", StringType(), True) \
.add("ListPrice", DoubleType(), True)

df = spark.read.format("csv").option("header","true").schema(schema).load("Files/products/products.csv")
# df now is a Spark DataFrame containing CSV data from "Files/products/products.csv".
display(df)
[!TIP] Hide or display the explorer panes by using the chevron « icon. This enables you to either focus on the notebook, or your files.
- Use the Run cell (▷) button on the left of the cell to run it.
[!NOTE] Since this is the first time you’ve run any code in this notebook, a Spark session must be started. This means that the first run can take a minute or so to complete. Subsequent runs will be quicker.
-
When the cell code has completed, review the output below the cell, which should look similar to this:
Create a Delta table
Now that you have the product data loaded into a DataFrame, you can persist it as a Delta table in the lakehouse. The quickest way to do this is to use the saveAsTable method.
-
Add a new code cell, enter the following code and then run the cell:
df.write.format("delta").saveAsTable("dbo.products_table") -
In the Explorer pane, Refresh the Tables folder and expand the Tables node to verify that the products_table table has been created.
[!NOTE] The triangle icon next to the file name indicates a Delta table.
Explore table versioning
Delta Lake automatically records every change to your table in a transaction log. You can use this log to view the history of changes and query previous versions of the data — a feature known as time travel.
To see this in action, let’s update some data and then explore what Delta Lake recorded.
-
Add a new code cell and run the following code to reduce the list price of mountain bikes by 10%:
%%sql UPDATE dbo.products_table SET ListPrice = ListPrice * 0.9 WHERE Category = 'Mountain Bikes'; -
Add another code cell and run the following code to view the table’s transaction history:
%%sql
DESCRIBE HISTORY dbo.products_table;
The results show each transaction recorded for the table — version 0 is the original write, version 1 is the update you just ran.
-
Add another code cell and run the following code to compare the original and updated prices for mountain bikes:
%%sql
SELECT
    o.ProductName,
    o.ListPrice AS OriginalPrice,
    u.ListPrice AS UpdatedPrice
FROM dbo.products_table VERSION AS OF 0 o
JOIN dbo.products_table u ON o.ProductID = u.ProductID
WHERE o.Category = 'Mountain Bikes'
ORDER BY o.ProductName;
Each row shows a mountain bike with its original and updated price in separate columns.
Analyze Delta table data with SQL queries
You can use SQL to run analytical queries against your Delta tables. A useful technique is to create a temporary view — a named query that exists for the duration of your session. You can reference it like a table, which keeps your subsequent queries shorter and more readable.
-
Add a new code cell, and run the following code to create a temporary view that summarizes product data by category:
%%sql CREATE OR REPLACE TEMPORARY VIEW products_view AS SELECT Category, COUNT(*) AS NumProducts, MIN(ListPrice) AS MinPrice, MAX(ListPrice) AS MaxPrice, AVG(ListPrice) AS AvgPrice FROM dp_workspace.delta_lakehouse.dbo.products_table GROUP BY Category; SELECT * FROM products_view ORDER BY Category; -
Add a new code cell, and run the following code to query the view for the top 10 categories by number of products — notice that you’re querying the view directly, without repeating the aggregation logic:
%%sql SELECT Category, NumProducts FROM products_view ORDER BY NumProducts DESC LIMIT 10; -
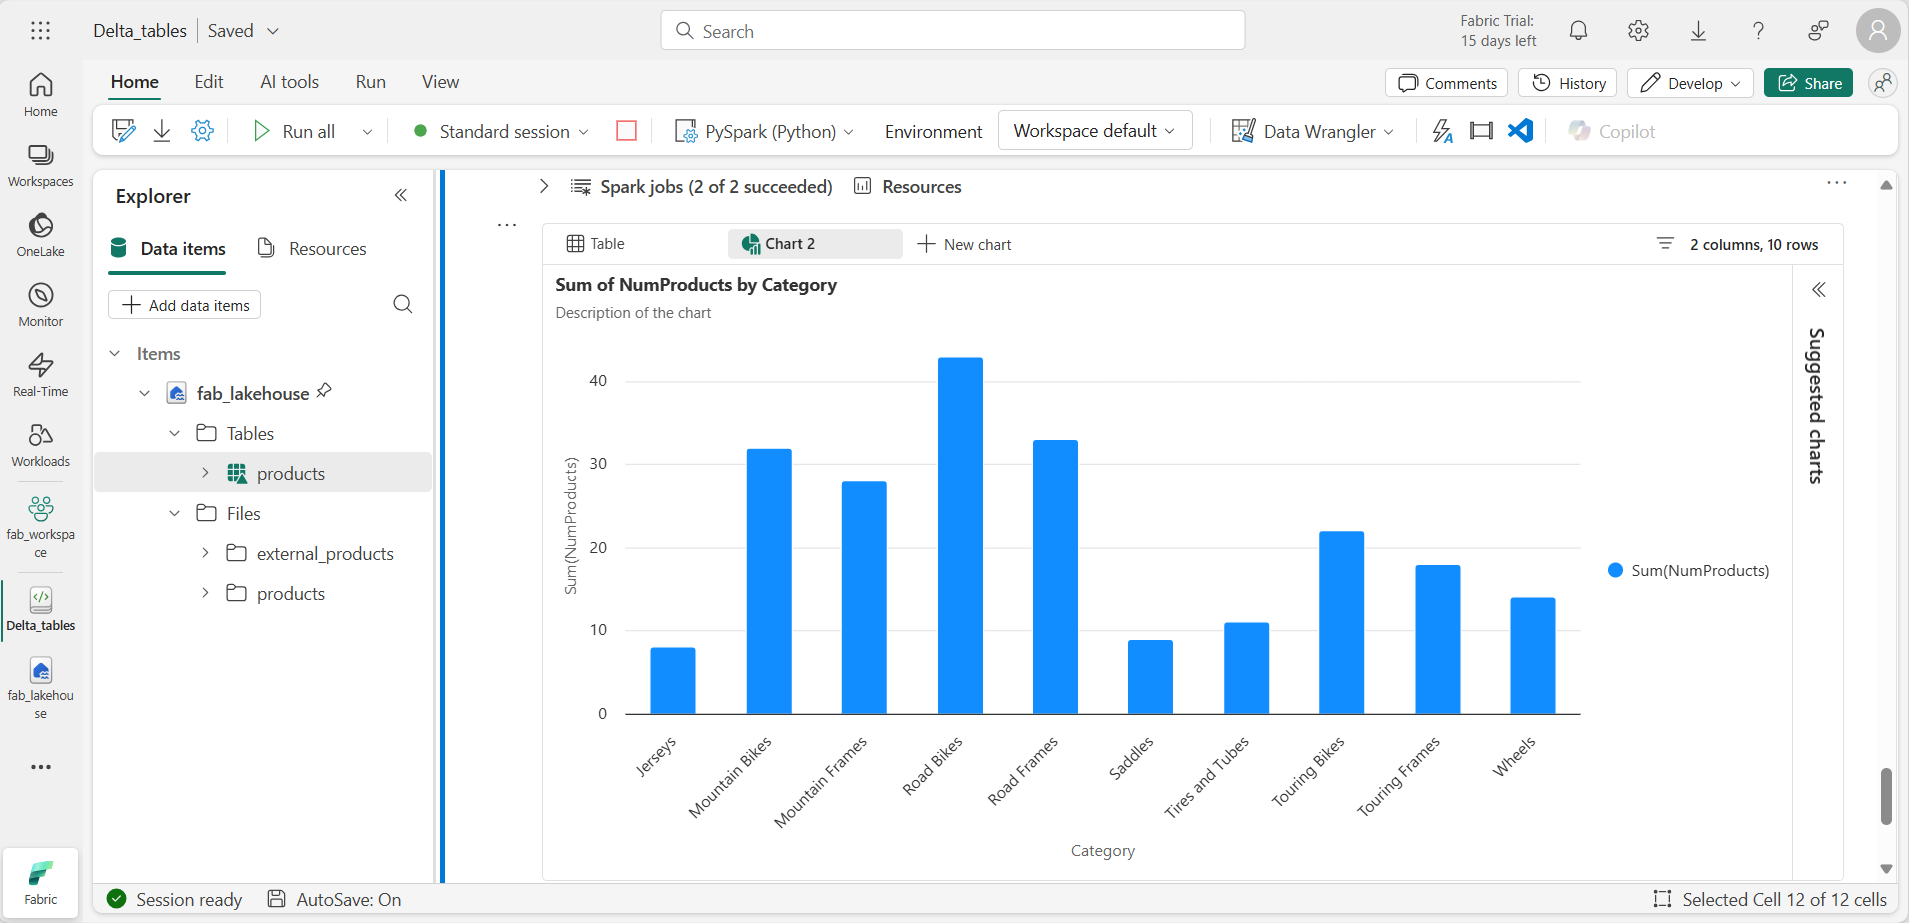
When the data is returned, select + New chart to display one of the suggested charts.
You can also query the view using PySpark, which is useful when you want to apply DataFrame operations or visualizations to your SQL results.
-
Add a new code cell, and run the following code:
from pyspark.sql.functions import col, desc

df_products = spark.sql("SELECT Category, MinPrice, MaxPrice, AvgPrice FROM products_view").orderBy(col("AvgPrice").desc())
display(df_products.limit(6))
Use Delta tables for streaming data
Delta Lake supports streaming data. Delta tables can be a sink or a source for data streams created using the Spark Structured Streaming API. In this example, you’ll use a Delta table as a sink for some streaming data in a simulated internet of things (IoT) scenario.
-
Add a new code cell and add the following code and run it:
from notebookutils import mssparkutils
from pyspark.sql.types import *
from pyspark.sql.functions import *

# Create a folder
inputPath = 'Files/data/'
mssparkutils.fs.mkdirs(inputPath)

# Create a stream that reads data from the folder, using a JSON schema
jsonSchema = StructType([
StructField("device", StringType(), False),
StructField("status", StringType(), False)
])
iotstream = spark.readStream.schema(jsonSchema).option("maxFilesPerTrigger", 1).json(inputPath)

# Write some event data to the folder
device_data = '''{"device":"Dev1","status":"ok"}
{"device":"Dev1","status":"ok"}
{"device":"Dev1","status":"ok"}
{"device":"Dev2","status":"error"}
{"device":"Dev1","status":"ok"}
{"device":"Dev1","status":"error"}
{"device":"Dev2","status":"ok"}
{"device":"Dev2","status":"error"}
{"device":"Dev1","status":"ok"}'''

mssparkutils.fs.put(inputPath + "data.txt", device_data, True)

print("Source stream created...")
Ensure the message Source stream created… is displayed. The code you just ran has created a streaming data source based on a folder to which some data has been saved, representing readings from hypothetical IoT devices.
-
In a new code cell, add and run the following code:
# Write the stream to a delta table
delta_stream_table_path = 'Tables/dbo/iotdevicedata'
checkpointpath = 'Files/delta/checkpoint'
deltastream = iotstream.writeStream.format("delta").option("checkpointLocation", checkpointpath).start(delta_stream_table_path)
print("Streaming to delta sink...")
This code writes the streaming device data in Delta format to a folder named iotdevicedata. Because the path for the folder location in the Tables folder, a table will automatically be created for it.
-
In a new code cell, add and run the following code:
%%sql
SELECT * FROM dbo.IotDeviceData;
This code queries the IotDeviceData table, which contains the device data from the streaming source.
-
In a new code cell, add and run the following code:
# Add more data to the source stream
more_data = '''{"device":"Dev1","status":"ok"}
{"device":"Dev1","status":"ok"}
{"device":"Dev1","status":"ok"}
{"device":"Dev1","status":"ok"}
{"device":"Dev1","status":"error"}
{"device":"Dev2","status":"error"}
{"device":"Dev1","status":"ok"}'''

mssparkutils.fs.put(inputPath + "more-data.txt", more_data, True)
This code writes more hypothetical device data to the streaming source.
-
Re-run the cell containing the following code:
%%sql
SELECT * FROM dbo.IotDeviceData;
This code queries the IotDeviceData table again, which should now include the additional data that was added to the streaming source.
-
In a new code cell, add code to stop the stream and run the cell:
deltastream.stop()
Clean up resources
In this exercise, you’ve learned how to work with Delta tables in Microsoft Fabric.
If you’ve finished exploring your lakehouse, you can delete the workspace you created for this exercise.
- In the bar on the left, select the icon for your workspace to view all of the items it contains.
- In the … menu on the toolbar, select Workspace settings.
- In the General section, select Remove this workspace.