Configure Pipelines as Code with YAML
Estimated time: 45 minutes
You will learn how to define build and release pipelines using YAML, allowing you to access the same pipeline features as those using the visual designer but with a markup file that can be managed like any other source file. This includes configuring CI/CD pipelines as code with YAML in Azure DevOps, adding continuous delivery stages, and implementing environment approvals.
This lab takes approximately 45 minutes to complete.
Before you start
You need:
- Microsoft Edge or an Azure DevOps supported browser
- Azure subscription: You need an active Azure subscription or can create a new one
- Azure DevOps organization: Create one at Create an organization or project collection if you don't have one
- Account permissions: You need a Microsoft account or Microsoft Entra account with:
- Owner role in the Azure subscription
- Global Administrator role in the Microsoft Entra tenant
- For details, see List Azure role assignments using the Azure portal and View and assign administrator roles in Azure Active Directory
Create and configure the team project
First, you'll create an Azure DevOps project for this lab.
-
In your browser, open your Azure DevOps organization
-
Select New Project
-
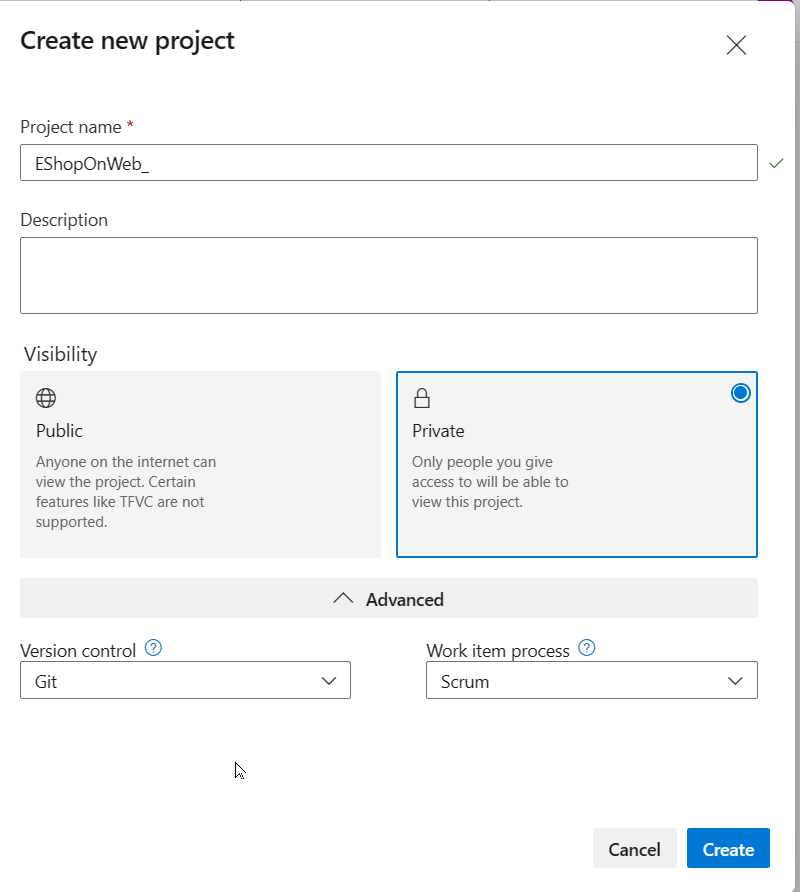
Give your project the name eShopOnWeb_MultiStageYAML
-
Leave other fields with defaults
-
Select Create
Import the eShopOnWeb Git Repository
Next, you'll import the sample repository that contains the application code.
- In your Azure DevOps organization, open the eShopOnWeb_MultiStageYAML project
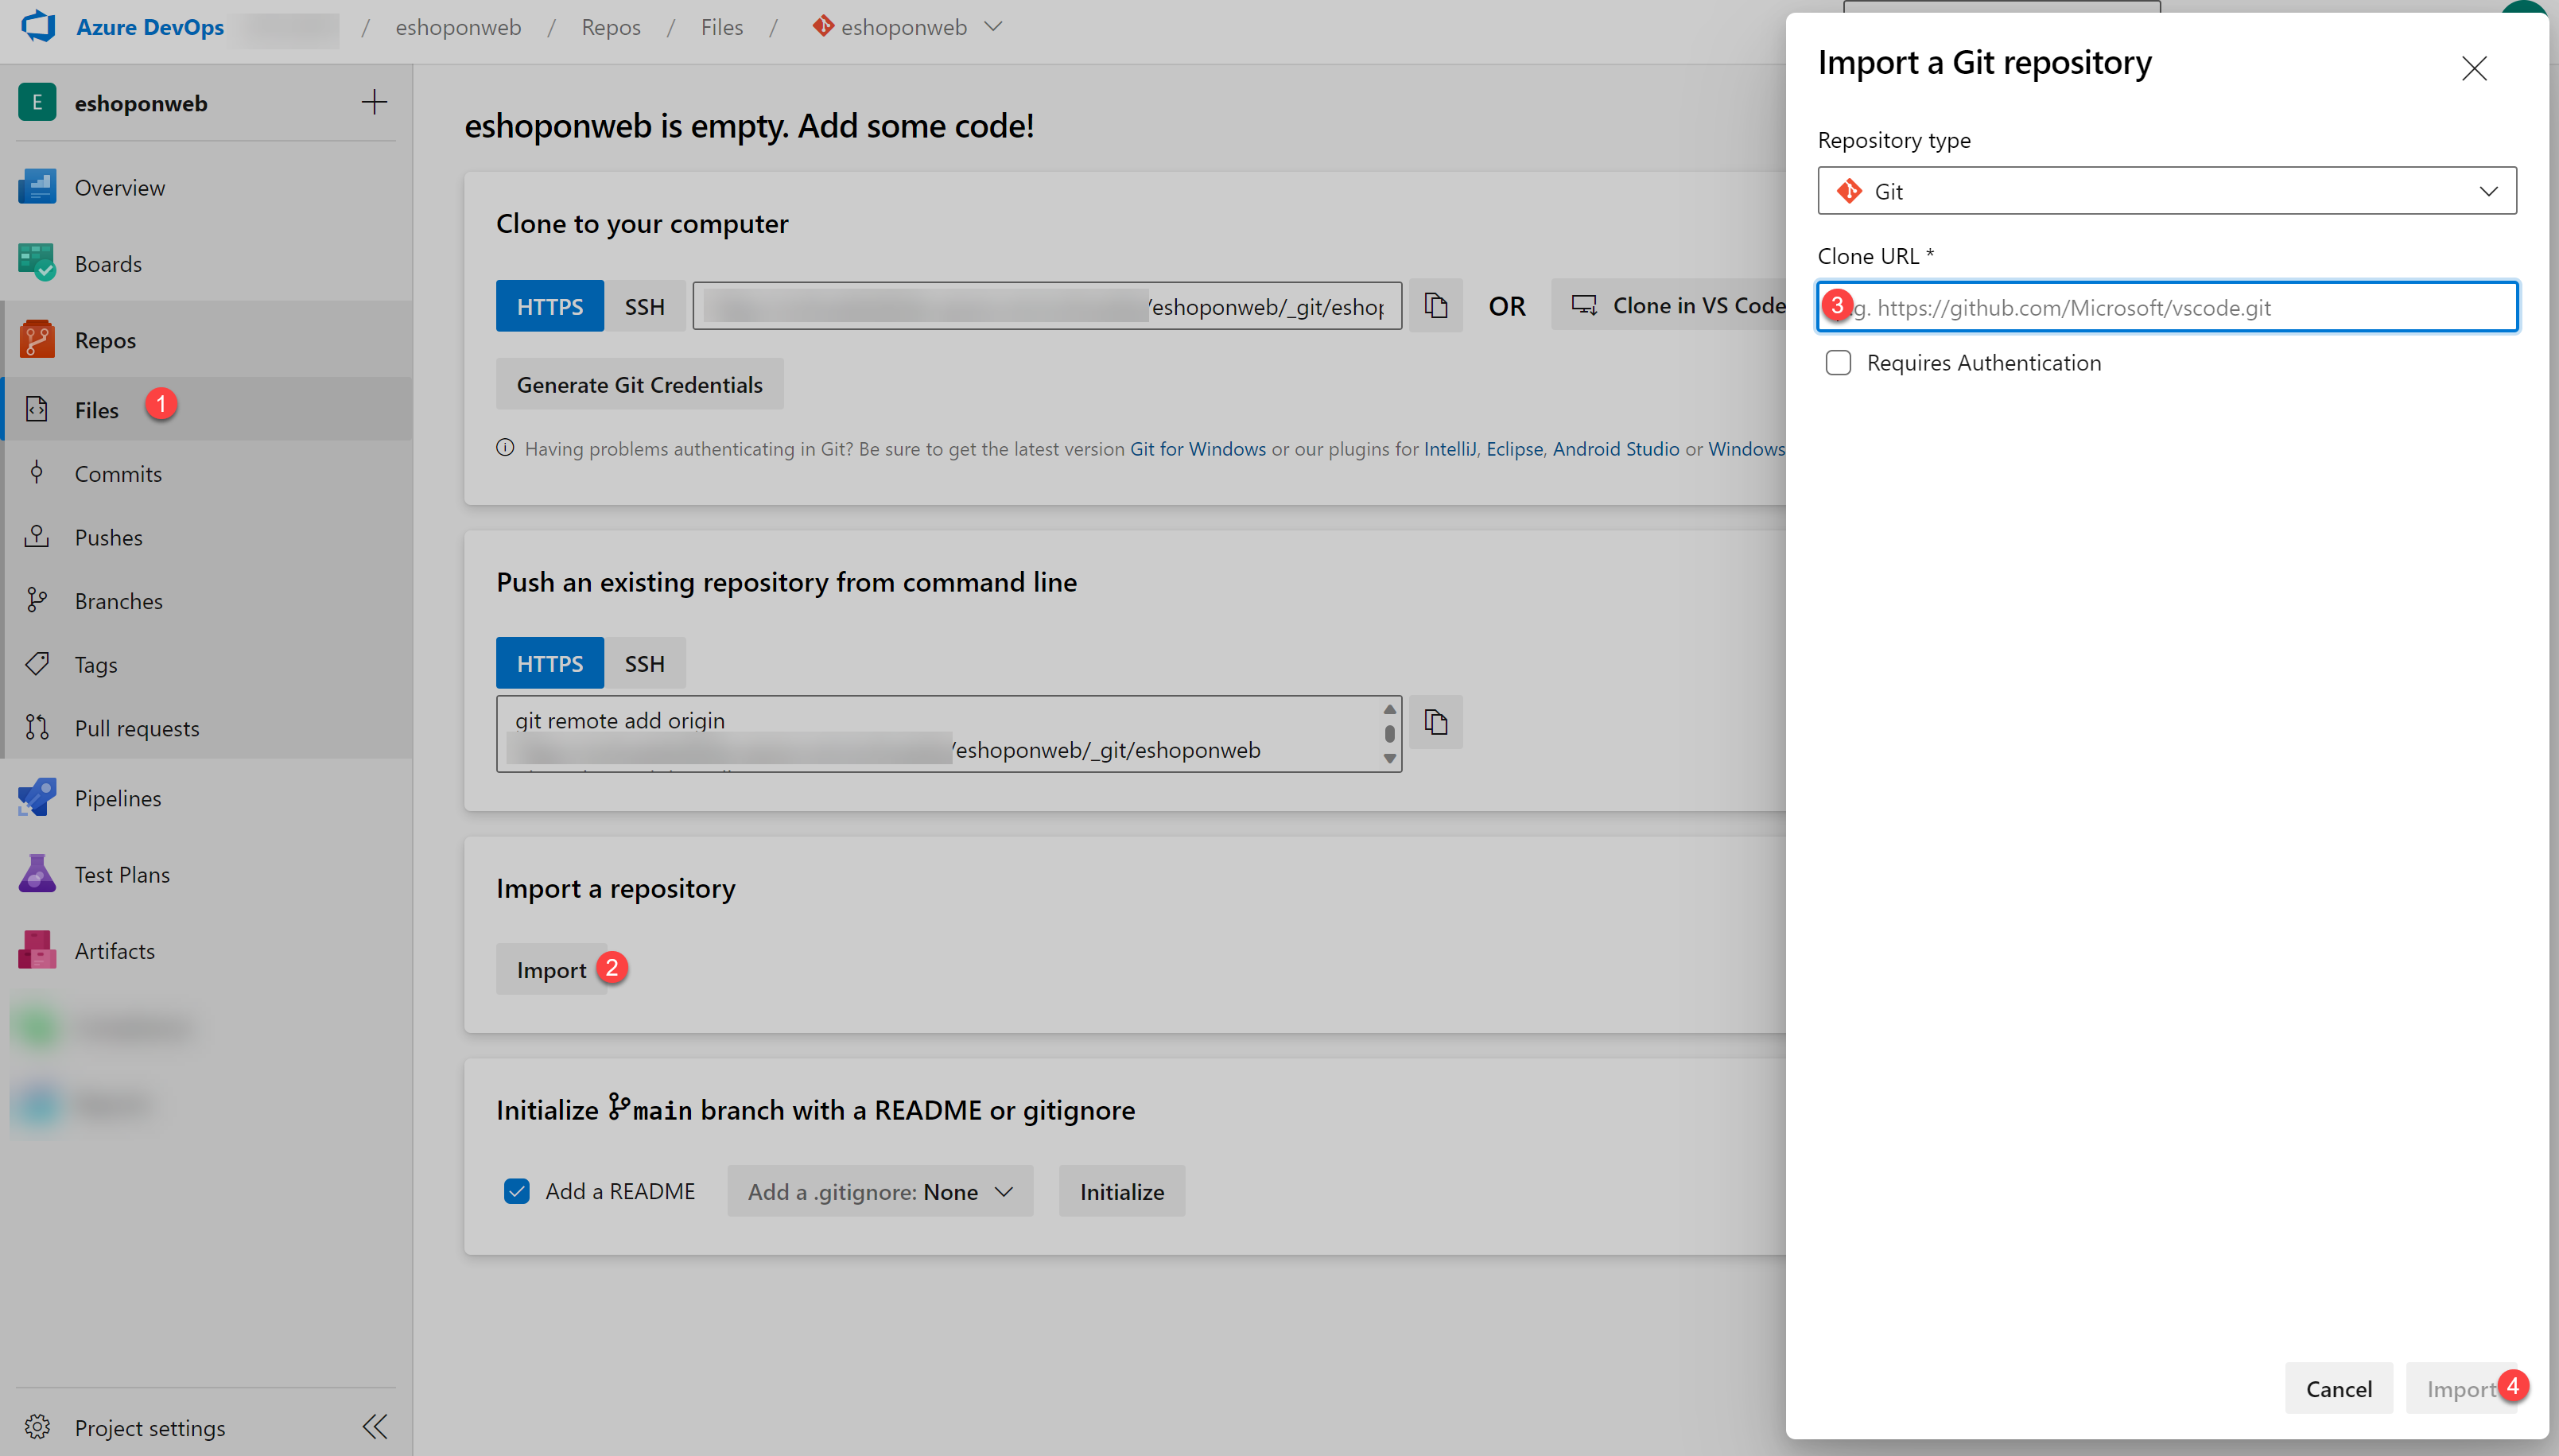
- Select Repos > Files
- Select Import a Repository
- Select Import
- In the Import a Git Repository window, paste this URL:
https://github.com/MicrosoftLearning/eShopOnWeb.git - Select Import
The repository is organized this way:
- .ado folder contains Azure DevOps YAML pipelines
- .devcontainer folder contains setup to develop using containers
- infra folder contains Bicep & ARM infrastructure as code templates
- .github folder contains YAML GitHub workflow definitions
- src folder contains the .NET 8 website used in the lab scenarios
- Go to Repos > Branches
- Hover on the main branch then select the ellipsis on the right
- Select Set as default branch
Note: If the main branch is already the default branch, this option will be grayed out. Continue with the instructions.
Create Azure resources
You'll create an Azure web app to deploy your application to.
- From your lab computer, navigate to the Azure Portal
- Sign in with the user account that has the Owner role in your Azure subscription
- In the Azure portal toolbar, select the Cloud Shell icon (to the right of the search box)
- If prompted to select either Bash or PowerShell, select Bash
Note: If this is your first time starting Cloud Shell and you see the "Getting started" pop-up, select "No storage account required" and your subscription, then select "Apply".
-
From the Bash prompt, run these commands to create a resource group (replace
<region>with your preferred Azure region like 'centralus', 'westeurope'):LOCATION='<region>' RESOURCEGROUPNAME='az400m03l07-RG' az group create --name $RESOURCEGROUPNAME --location $LOCATION -
Create a Windows App service plan:
SERVICEPLANNAME='az400m03l07-sp1'
az appservice plan create --resource-group $RESOURCEGROUPNAME --name $SERVICEPLANNAME --sku B3
Note: If you get an error about the subscription not being registered to use namespace 'Microsoft.Web', run:
az provider register --namespace Microsoft.Weband then retry the command.
-
Create a web app with a unique name:
WEBAPPNAME=eshoponWebYAML$RANDOM$RANDOM
az webapp create --resource-group $RESOURCEGROUPNAME --plan $SERVICEPLANNAME --name $WEBAPPNAME
Note: Record the name of the web app. You'll need it later in this lab.
- Close the Azure Cloud Shell, but leave the Azure Portal open
Configure CI/CD Pipelines as Code with YAML
Now you'll configure CI/CD pipelines using YAML definitions.
Add a YAML build definition
- Navigate to the Pipelines section in Azure DevOps
- In the Create your first Pipeline window, select Create pipeline
- On the Where is your code? pane, select Azure Repos Git (YAML)
- On the Select a repository pane, select eShopOnWeb_MultiStageYAML
- On the Configure your pipeline pane, scroll down and select Existing Azure Pipelines YAML File
- In the Selecting an existing YAML File blade, specify:
- Branch: main
- Path: .ado/eshoponweb-ci.yml
- Select Continue to save these settings
- From the Review your Pipeline YAML screen, select Run to start the Build Pipeline
- Wait for the Build Pipeline to complete successfully
Note: Each task from the YAML file is available for review, including any warnings and errors.
Add continuous delivery to the YAML definition
Now you'll add continuous delivery to enable automatic deployment.
-
On the pipeline run pane, select the ellipsis symbol (⋯) in the upper right corner
-
In the dropdown menu, select Edit pipeline
-
Navigate to the end of the file (line 56) and press Enter to add a new empty line
-
On line 57, add this content to define the Release stage:
- stage: Deploy displayName: Deploy to an Azure Web App jobs: - job: Deploy pool: vmImage: "windows-latest" steps: -
Set the cursor on a new line at the end of the YAML definition
-
In the list of tasks on the right side, search for and select Azure App Service Deploy
-
In the Azure App Service deploy pane, specify these settings and select Add:
- Azure subscription: Select your Azure subscription, select Authorize, and authenticate when prompted
- App Service name: Select the web app you deployed earlier
- Package or folder: Update to
$(Build.ArtifactStagingDirectory)/**/Web.zip - Open Application and Configuration Settings and in App settings add:
-UseOnlyInMemoryDatabase true -ASPNETCORE_ENVIRONMENT Development
The added code should look similar to this:
- task: AzureRmWebAppDeployment@4
  inputs:
    ConnectionType: "AzureRM"
    azureSubscription: "AZURE SUBSCRIPTION HERE (b999999abc-1234-987a-a1e0-27fb2ea7f9f4)"
    appType: "webApp"
    WebAppName: "eshoponWebYAML369825031"
    packageForLinux: "$(Build.ArtifactStagingDirectory)/**/Web.zip"
    AppSettings: "-UseOnlyInMemoryDatabase true -ASPNETCORE_ENVIRONMENT Development"
- Validate the task is listed as a child of the steps task. If not, select all lines from the added task and press Tab twice to indent it properly.
Note: By default, these two stages run independently. To make the build output available to the second stage, you need to add a task to download the deployment artifact.
- Place the cursor on the first line under the steps node of the deploy stage and press Enter to add a new empty line
- On the Tasks pane, search for and select Download build artifacts
- Specify these parameters:
- Download Artifacts produced by: Current Build
- Download Type: Specific Artifact
- Artifact Name: Website
- Destination Directory: $(Build.ArtifactStagingDirectory)
- Select Add
The added code should look like this:
- task: DownloadBuildArtifacts@1
  inputs:
    buildType: "current"
    downloadType: "single"
    artifactName: "Website"
    downloadPath: "$(Build.ArtifactStagingDirectory)"
- If the YAML indentation is off, press Tab twice to indent it properly
- Select Validate and save, then select Save again to commit the change to the main branch
- Navigate to Pipelines and select Pipelines again
- Open the eShopOnWeb_MultiStageYAML Pipeline and select Run pipeline
- Confirm the Run from the appearing pane
- Notice the 2 different stages: Build .Net Core Solution and Deploy to Azure Web App
- Wait for the pipeline to complete the Build Stage successfully
- When the Deploy Stage wants to start, you'll see a Permissions Needed prompt
- Select View
- From the Waiting for Review pane, select Permit
- Validate the message and confirm by selecting Permit
- Wait for the Deploy Stage to complete successfully
Review the deployed site
- Switch back to the Azure portal and navigate to your Azure web app
- On the Azure web app blade, select Overview
- On the overview blade, select Browse to open your site in a new browser tab
- Verify that the deployed site loads as expected, showing the eShopOnWeb E-commerce website
Configure Environment settings for approvals
YAML Pipelines don't have Release/Quality Gates like Classic Release Pipelines, but you can configure similar functionality using Environments.
Set up Pipeline Environments
- From your Azure DevOps Project eShopOnWeb_MultiStageYAML, navigate to Pipelines
- Under the Pipelines menu on the left, select Environments
- Select Create Environment
- In the New Environment pane, add the name approvals
- Under Resources, select None
- Select Create
- Once the environment is created, select the Approvals and Checks tab
- From Add your first check, select Approvals
- Add your Azure DevOps User Account Name to the approvers field
- Select Create
Update the YAML pipeline for approvals
-
Navigate to Repos, browse to the .ado folder, and select the eshoponweb-ci.yml file
-
Select the Edit button to switch to editing mode
-
Navigate to the start of the Deploy job (Line 60:
- job: Deploy) -
Add a new empty line right below and add:
environment: approvals -
Since environment is a deployment stage setting, change
- job: Deployto- deployment: Deploy -
Under the vmImage line, add a new empty line and paste this YAML snippet:
strategy: runOnce: deploy: -
Select the remaining snippet (from the steps onward) and use Tab to fix the indentation
The resulting YAML should look like this:
- stage: Deploy
  displayName: Deploy to an Azure Web App
  jobs:
    - deployment: Deploy
      environment: approvals
      pool:
        vmImage: "windows-latest"
      strategy:
        runOnce:
          deploy:
            steps:
              - task: DownloadBuildArtifacts@1
                inputs:
                  buildType: "current"
                  downloadType: "single"
                  artifactName: "Website"
                  downloadPath: "$(Build.ArtifactStagingDirectory)"
              - task: AzureRmWebAppDeployment@4
                inputs:
                  ConnectionType: "AzureRM"
                  azureSubscription: "AZURE SUBSCRIPTION HERE"
                  appType: "webApp"
                  WebAppName: "eshoponWebYAML369825031"
                  packageForLinux: "$(Build.ArtifactStagingDirectory)/**/Web.zip"
                  AppSettings: "-UseOnlyInMemoryDatabase true -ASPNETCORE_ENVIRONMENT Development"
- Select Commit and Commit again to save the changes
- Navigate to Pipelines > Pipelines and open the EshopOnWeb_MultiStageYAML Pipeline
- Select Run Pipeline to trigger a new run
- The Build Stage will complete as before
- For the Deploy Stage, you'll see Waiting (1 check in progress) and a message about needing approval
- Select the Review button
- From the Waiting for review pane, select Approve
- This allows the Deploy Stage to proceed and successfully deploy to the Azure Web App
Note: While this example only used approvals, other checks such as Azure Monitor, REST API, etc., can be used in a similar way.
Clean up resources
Remember to delete the resources created in the Azure portal to avoid unnecessary charges:
- In the Azure portal, navigate to the az400m03l07-RG resource group
- Select Delete resource group
- Type the resource group name to confirm deletion
- Select Delete
Summary
In this lab, you configured CI/CD pipelines as code with YAML in Azure DevOps. You learned how to:
- Define build and release pipelines using YAML
- Add continuous delivery stages to YAML pipelines
- Configure environments and approvals for deployment stages
- Deploy applications to Azure App Service using YAML pipelines
Many teams prefer YAML pipelines because they can be managed like any other source file, providing better version control and code review capabilities for your CI/CD processes.