Implement LLMOps with Azure Databricks
Azure Databricks provides a unified platform that streamlines the AI lifecycle, from data preparation to model serving and monitoring, optimizing the performance and efficiency of machine learning systems. It supports the development of generative AI applications, leveraging features like Unity Catalog for data governance, MLflow for model tracking, and Mosaic AI Model Serving for deploying LLMs.
This lab will take approximately 30 minutes to complete.
Note: The Azure Databricks user interface is subject to continual improvement. The user interface may have changed since the instructions in this exercise were written.
Before you start
You’ll need an Azure subscription in which you have administrative-level access.
Provision an Azure OpenAI resource
If you don’t already have one, provision an Azure OpenAI resource in your Azure subscription.
- Sign into the Azure portal at
https://portal.azure.com. - Create an Azure OpenAI resource with the following settings:
- Subscription: Select an Azure subscription that has been approved for access to the Azure OpenAI service
- Resource group: Choose or create a resource group
- Region: Make a random choice from any of the following regions*
- East US 2
- North Central US
- Sweden Central
- Switzerland West
- Name: A unique name of your choice
- Pricing tier: Standard S0
* Azure OpenAI resources are constrained by regional quotas. The listed regions include default quota for the model type(s) used in this exercise. Randomly choosing a region reduces the risk of a single region reaching its quota limit in scenarios where you are sharing a subscription with other users. In the event of a quota limit being reached later in the exercise, there’s a possibility you may need to create another resource in a different region.
-
Wait for deployment to complete. Then go to the deployed Azure OpenAI resource in the Azure portal.
-
In the left pane, under Resource Management, select Keys and Endpoint.
-
Copy the endpoint and one of the available keys as you will use it later in this exercise.
Deploy the required model
Azure provides a web-based portal named Microsoft Foundry, that you can use to deploy, manage, and explore models. You’ll start your exploration of Azure OpenAI by using Microsoft Foundry to deploy a model.
Note: As you use Microsoft Foundry, message boxes suggesting tasks for you to perform may be displayed. You can close these and follow the steps in this exercise.
-
In the Azure portal, on the Overview page for your Azure OpenAI resource, scroll down to the Get Started section and select the button to go to Microsoft Foundry.
-
In Microsoft Foundry, in the pane on the left, select the Deployments page and view your existing model deployments. If you don’t already have one, create a new deployment of the gpt-4o model with the following settings:
- Deployment name: gpt-4o
- Deployment type: Standard
- Model version: Use default version
- Tokens per minute rate limit: 10K*
- Content filter: Default
- Enable dynamic quota: Disabled
* A rate limit of 10,000 tokens per minute is more than adequate to complete this exercise while leaving capacity for other people using the same subscription.
Provision an Azure Databricks workspace
Tip: If you already have an Azure Databricks workspace, you can skip this procedure and use your existing workspace.
- Sign into the Azure portal at
https://portal.azure.com. - Create an Azure Databricks resource with the following settings:
- Subscription: Select the same Azure subscription that you used to create your Azure OpenAI resource
- Resource group: The same resource group where you created your Azure OpenAI resource
- Region: The same region where you created your Azure OpenAI resource
- Name: A unique name of your choice
- Pricing tier: Premium or Trial
- Select Review + create and wait for deployment to complete. Then go to the resource and launch the workspace.
Create a notebook
-
In the Azure portal, browse to the resource group where the Azure Databricks workspace was created.
-
Select your Azure Databricks Service resource.
-
In the Overview page for your workspace, use the Launch Workspace button to open your Azure Databricks workspace in a new browser tab; signing in if prompted.
Tip: As you use the Databricks Workspace portal, various tips and notifications may be displayed. Dismiss these and follow the instructions provided to complete the tasks in this exercise.
-
In the sidebar, use the (+) New link to create a Notebook. Select Serverless as the default compute.
-
In the first code cell, enter and run the following code to install the required libraries:
 %pip install openai mlflow
 dbutils.library.restartPython()
Log the LLM using MLflow
MLflow’s LLM tracking capabilities allow you to log parameters, metrics, predictions, and artifacts. Parameters include key-value pairs detailing input configurations, while metrics provide quantitative measures of performance. Predictions encompass both the input prompts and the model’s responses, stored as artifacts for easy retrieval. This structured logging helps in maintaining a detailed record of each interaction, facilitating better analysis and optimization of LLMs.
-
In a new cell, run the following code with the access information you copied at the beginning of this exercise to assign persistent environment variables for authentication when using Azure OpenAI resources:
import os os.environ["AZURE_OPENAI_API_KEY"] = "your_openai_api_key" os.environ["AZURE_OPENAI_ENDPOINT"] = "your_openai_endpoint" os.environ["AZURE_OPENAI_API_VERSION"] = "your_model_version_example: '2023-03-15-preview'" -
In a new cell, run the following code to initialize your Azure OpenAI client:
import os from openai import AzureOpenAI client = AzureOpenAI( azure_endpoint = os.getenv("AZURE_OPENAI_ENDPOINT"), api_key = os.getenv("AZURE_OPENAI_API_KEY"), api_version = os.getenv("AZURE_OPENAI_API_VERSION") ) -
In a new cell, run the following code to initialize MLflow tracking and log the model:
 import mlflow
 from openai import AzureOpenAI

 system_prompt = "Assistant is a large language model trained by OpenAI."

 mlflow.openai.autolog()

 with mlflow.start_run():

     response = client.chat.completions.create(
         model="gpt-4o",
         messages=[
             {"role": "system", "content": system_prompt},
             {"role": "user", "content": "Tell me a joke about animals."},
         ],
     )

     print(response.choices[0].message.content)
     mlflow.log_param("completion_tokens", response.usage.completion_tokens)
 mlflow.end_run()
The cell above will start an experiment in your workspace and register the traces of each chat completion iteration, keeping track of the inputs, outputs and metadata of each run.
Monitor the model
After running the last cell, MLflow Trace UI will automatically be displayed together with the cell’s output. You can also see it by selecting Experiments in the left sidebar, and then opening your notebook’s experiment run:
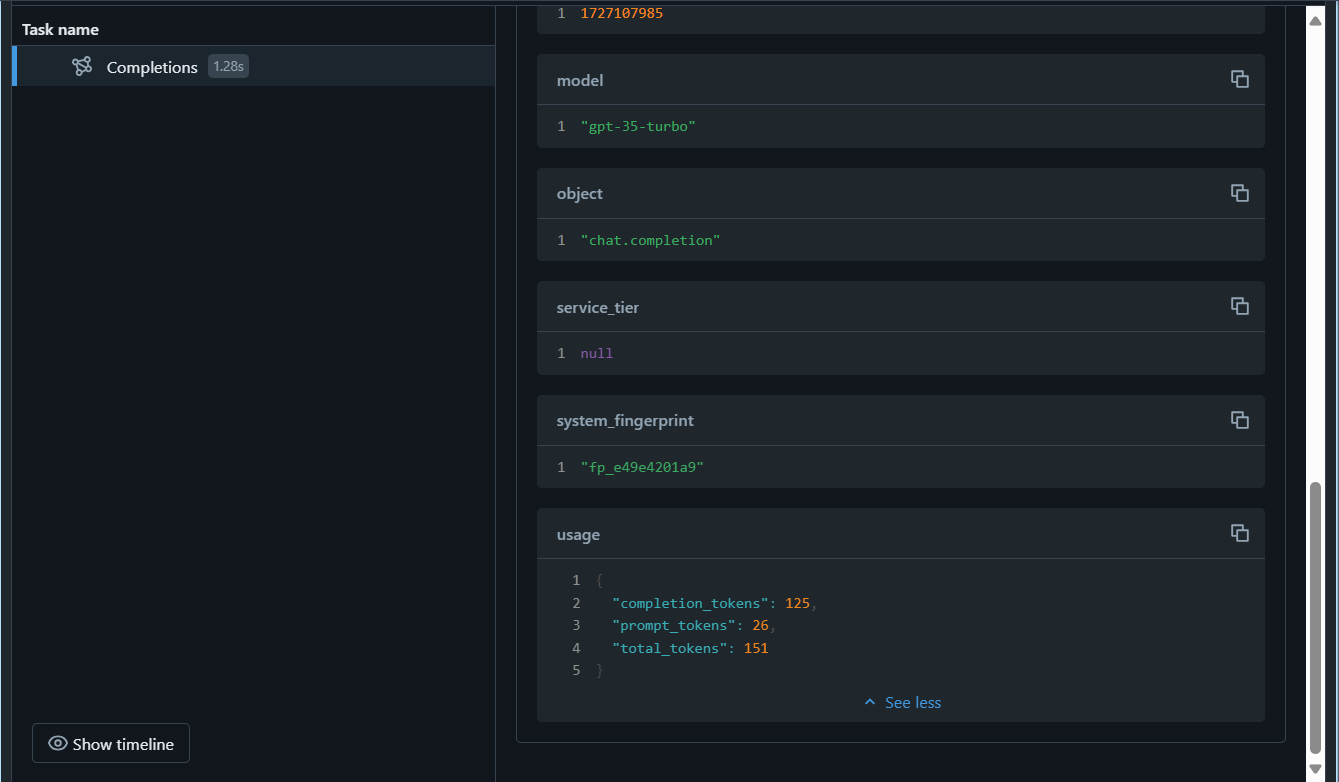
The command mlflow.openai.autolog() will log the traces of each run by default, but you can also log additional parameters with mlflow.log_param() that can later be used to monitor the model. Once you start monitoring the model, you can compare the traces from different runs to detect data drift. Look for significant changes in the input data distributions, model predictions, or performance metrics over time. You can also use statistical tests or visualization tools to aid in this analysis.
Clean up
When you’re done with your Azure OpenAI resource, remember to delete the deployment or the entire resource in the Azure portal at https://portal.azure.com.
If you’ve finished exploring Azure Databricks, you can delete the resources you’ve created to avoid unnecessary Azure costs and free up capacity in your subscription.