Retrieval Augmented Generation using Azure Databricks
Retrieval Augmented Generation (RAG) is a cutting-edge approach in AI that enhances large language models by integrating external knowledge sources. Azure Databricks offers a robust platform for developing RAG applications, allowing for the transformation of unstructured data into a format suitable for retrieval and response generation. This process involves a series of steps including understanding the user’s query, retrieving relevant data, and generating a response using a language model. The framework provided by Azure Databricks supports rapid iteration and deployment of RAG applications, ensuring high-quality, domain-specific responses that can include up-to-date information and proprietary knowledge.
This lab will take approximately 40 minutes to complete.
Note: The Azure Databricks user interface is subject to continual improvement. The user interface may have changed since the instructions in this exercise were written.
Before you start
You’ll need an Azure subscription in which you have administrative-level access.
Provision an Azure Databricks workspace
Tip: If you already have an Azure Databricks workspace, you can skip this procedure and use your existing workspace.
This exercise includes a script to provision a new Azure Databricks workspace. The script attempts to create a Premium tier Azure Databricks workspace resource in a region in which your Azure subscription has sufficient quota for the compute cores required in this exercise; and assumes your user account has sufficient permissions in the subscription to create an Azure Databricks workspace resource. If the script fails due to insufficient quota or permissions, you can try to create an Azure Databricks workspace interactively in the Azure portal.
- In a web browser, sign into the Azure portal at
https://portal.azure.com. -
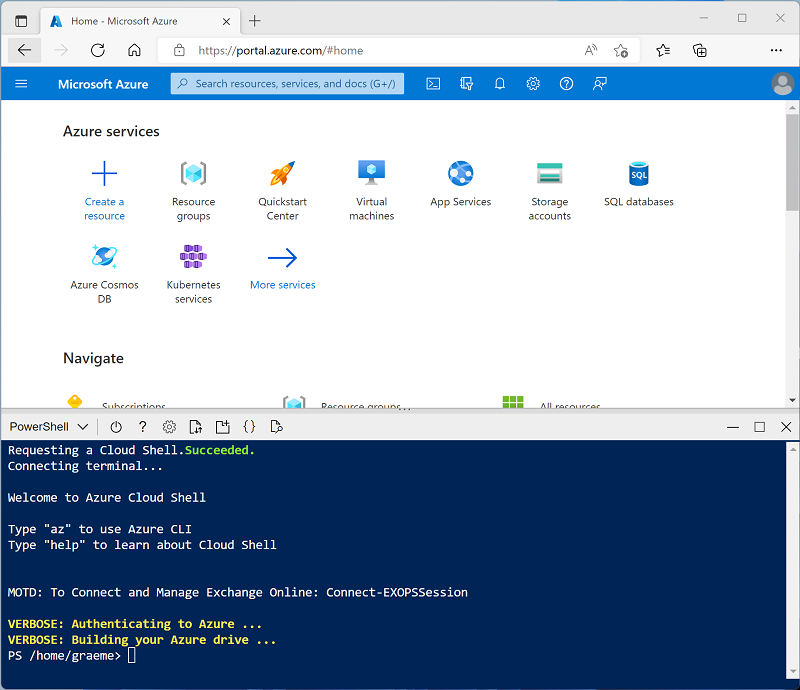
Use the [>_] button to the right of the search bar at the top of the page to create a new Cloud Shell in the Azure portal, selecting a PowerShell environment. The cloud shell provides a command line interface in a pane at the bottom of the Azure portal, as shown here:
Note: If you have previously created a cloud shell that uses a Bash environment, switch it to PowerShell.
-
Note that you can resize the cloud shell by dragging the separator bar at the top of the pane, or by using the —, ⤢, and X icons at the top right of the pane to minimize, maximize, and close the pane. For more information about using the Azure Cloud Shell, see the Azure Cloud Shell documentation.
-
In the PowerShell pane, enter the following commands to clone this repo:
rm -r mslearn-databricks -f git clone https://github.com/MicrosoftLearning/mslearn-databricks -
After the repo has been cloned, enter the following command to run the setup-serverless.ps1 script, which provisions an Azure Databricks workspace in an available region:
./mslearn-databricks/setup-serverless.ps1 -
If prompted, choose which subscription you want to use (this will only happen if you have access to multiple Azure subscriptions).
- Wait for the script to complete - this typically takes around 5 minutes, but in some cases may take longer.
Create a notebook and install required libraries
-
In the Azure portal, browse to the msl-xxxxxxx resource group that was created by the script (or the resource group containing your existing Azure Databricks workspace).
-
Select your Azure Databricks Service resource (named databricks-xxxxxxx if you used the setup script to create it).
-
In the Overview page for your workspace, use the Launch Workspace button to open your Azure Databricks workspace in a new browser tab; signing in if prompted.
Tip: As you use the Databricks Workspace portal, various tips and notifications may be displayed. Dismiss these and follow the instructions provided to complete the tasks in this exercise.
-
In the sidebar, use the (+) New link to create a Notebook. Select Serverless as the default compute.
-
In the first code cell, enter and run the following code to install the required libraries:
%pip install transformers==4.53.0 databricks-vectorsearch==0.56 torch
dbutils.library.restartPython()
Ingest data
-
In a new cell of the notebook, enter the following SQL query to create a new volume that will be used to store this exercise’s data within your default catalog:
%sql CREATE VOLUME <catalog_name>.default.RAG_lab; - Replace
<catalog_name>with the name of your workspace, as Azure Databricks automatically creates a default catalog with that name. - Use the ▸ Run Cell menu option at the left of the cell to run it. Then wait for the Spark job run by the code to complete.
-
In a new cell, run the following code which uses a shell command to download data from GitHub into your Unity catalog.
%sh wget -O /Volumes/<catalog_name>/default/RAG_lab/enwiki-latest-pages-articles.xml https://github.com/MicrosoftLearning/mslearn-databricks/raw/main/data/enwiki-latest-pages-articles.xml -
In a new cell, run the following code to create a dataframe from the raw data:
from pyspark.sql import SparkSession # Create a Spark session spark = SparkSession.builder \ .appName("RAG-DataPrep") \ .getOrCreate() # Read the XML file raw_df = spark.read.format("xml") \ .option("rowTag", "page") \ .load("/Volumes/<catalog_name>/default/RAG_lab/enwiki-latest-pages-articles.xml") # Show the DataFrame raw_df.show(5) # Print the schema of the DataFrame raw_df.printSchema() -
In a new cell, run the following code, replacing
<catalog_name>with your Unity catalog’s name, to clean and preprocess the data to extract the relevant text fields:from pyspark.sql.functions import col clean_df = raw_df.select(col("title"), col("revision.text._VALUE").alias("text")) clean_df = clean_df.na.drop() clean_df.write.format("delta").mode("overwrite").saveAsTable("<catalog_name>.default.wiki_pages") clean_df.show(5)If you open the Catalog (CTRL + Alt + C) explorer and refresh its pane, you will see the Delta table created in your default Unity catalog.
Generate embeddings and implement vector search
Databricks’ Mosaic AI Vector Search is a vector database solution integrated within the Azure Databricks Platform. It optimizes the storage and retrieval of embeddings utilizing the Hierarchical Navigable Small World (HNSW) algorithm. It allows for efficient nearest neighbor searches, and its hybrid keyword-similarity search capability provides more relevant results by combining vector-based and keyword-based search techniques.
-
In a new cell, run the following SQL query to enable the Change Data Feed feature in the source table before creating a delta sync index.
%sql ALTER TABLE <catalog_name>.default.wiki_pages SET TBLPROPERTIES (delta.enableChangeDataFeed = true) -
In a new cell, run the following code to create the vector search index.
from databricks.vector_search.client import VectorSearchClient client = VectorSearchClient() client.create_endpoint( name="vector_search_endpoint", endpoint_type="STANDARD" ) index = client.create_delta_sync_index( endpoint_name="vector_search_endpoint", source_table_name="<catalog_name>.default.wiki_pages", index_name="<catalog_name>.default.wiki_index", pipeline_type="TRIGGERED", primary_key="title", embedding_source_column="text", embedding_model_endpoint_name="databricks-gte-large-en" )Note: Creating the vector search endpoint and index may take several minutes. Wait for the operation to complete before proceeding.
If you open the Catalog (CTRL + Alt + C) explorer and refresh the its pane, you will see the index created in your default Unity catalog.
Note: Before running the next code cell, verify that both the endpoint and index are online:
- In the left sidebar, select Compute, then select the Vector Search tab to verify the endpoint status is Online.
- Right-click the index in the Catalog pane and select Open in Catalog Explorer. Wait until the index status is Online (this may take 5-10 minutes).
- If you encounter errors, the index may need additional time to sync. You can manually trigger a sync by running:
index.sync()
-
In a new cell, run the following code to search for relevant documents based on a query vector.
results_dict=index.similarity_search(
    query_text="Anthropology fields",
    columns=["title", "text"],
    num_results=1
)

display(results_dict)
Verify that the output finds the corresponding Wiki page related to the query prompt.
Augment prompts with retrieved data
Now we can enchance the capabilities of large language models by providing them with additional context from external data sources. By doing so, the models can generate more accurate and contextually relevant responses.
-
In a new cell, run the following code to combine the retrieved data with the user’s query to create a rich prompt for the LLM.
# Convert the dictionary to a DataFrame results = spark.createDataFrame([results_dict['result']['data_array'][0]]) from transformers import pipeline # Load the summarization model summarizer = pipeline("summarization", model="facebook/bart-large-cnn", framework="pt") # Extract the string values from the DataFrame column (serverless-compatible) text_data = [row["_2"] for row in results.select("_2").collect()] # Pass the extracted text data to the summarizer function summary = summarizer(text_data, max_length=512, min_length=100, do_sample=True) def augment_prompt(query_text): context = " ".join([item['summary_text'] for item in summary]) return f"Query: {query_text}\nContext: {context}" prompt = augment_prompt("Explain the significance of Anthropology") print(prompt) -
In a new cell, run the following code to use an LLM to generate responses.
from transformers import GPT2LMHeadModel, GPT2Tokenizer

tokenizer = GPT2Tokenizer.from_pretrained("gpt2")
model = GPT2LMHeadModel.from_pretrained("gpt2")

inputs = tokenizer(prompt, return_tensors="pt")
outputs = model.generate(
    inputs["input_ids"],
    max_length=300,
    num_return_sequences=1,
    repetition_penalty=2.0,
    top_k=50,
    top_p=0.95,
    temperature=0.7,
    do_sample=True
)
response = tokenizer.decode(outputs[0], skip_special_tokens=True)

print(response)
Clean up
If you’ve finished exploring Azure Databricks, you can delete the resources you’ve created to avoid unnecessary Azure costs and free up capacity in your subscription.