Deploy agent to Microsoft Teams
Scenario
In this exercise, you will:
- Deploy an agent to the Microsoft Teams channel
This exercise will take approximately 10 minutes to complete.
What you will learn
- How to deploy an agent to Microsoft Teams
High-level lab steps
- Publish
- Deploy agent to Microsoft Teams
Prerequisites
- Must have completed Lab: Use Generative AI in Microsoft Copilot Studio
Exercise 1 - Publish the agent
Task 1.1 - Publish the latest content
-
Navigate to the Microsoft Copilot Studio portal
https://copilotstudio.microsoft.comand ensure you are in the appropriate environment. -
Select Agents from the left navigation pane.
-
Select the agent you created in the earlier lab.
-
Select Publish and select Publish again.
Exercise 2 - Channels
With your agent published, you can make your agent available to users in Teams. This way you, your teammates, and your broader organization can interact with it.
Task 2.1 - Microsoft Teams channel
-
With your agent open in Microsoft Copilot Studio, select the Channels tab.
-
Select the Teams and Microsoft 365 Copilot tile.
-
Deselect Make agent available in Microsoft 365 Copilot.
-
Select Add channel.
-
Select See agent in Teams
-
Select Cancel in the dialog box for This site is trying to open Microsoft Teams.
-
In the pop-up, select Cancel and select Use the web app instead.
-
Select Add to add the agent to Teams.
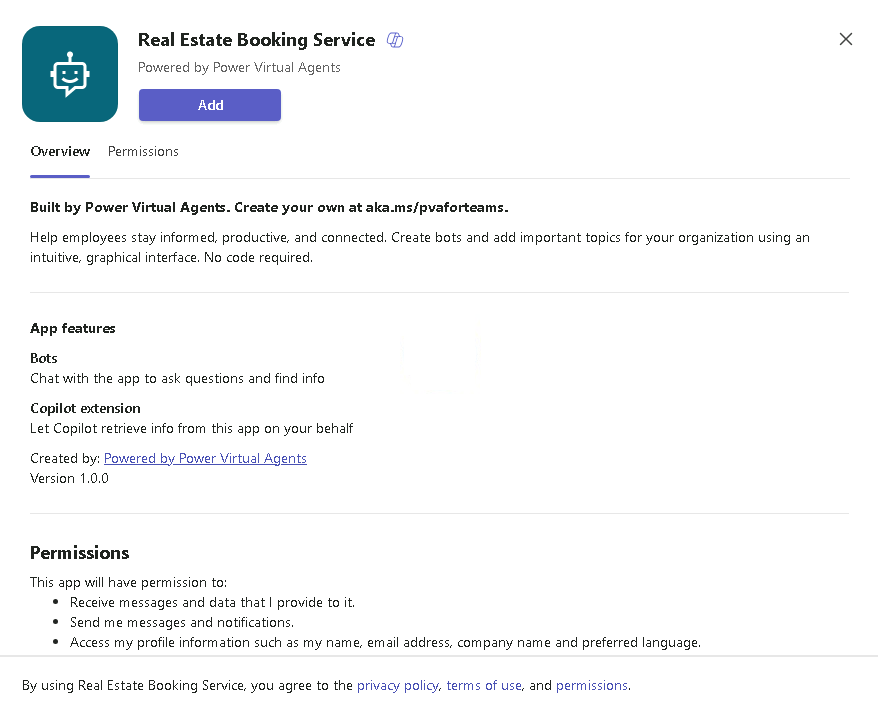
-
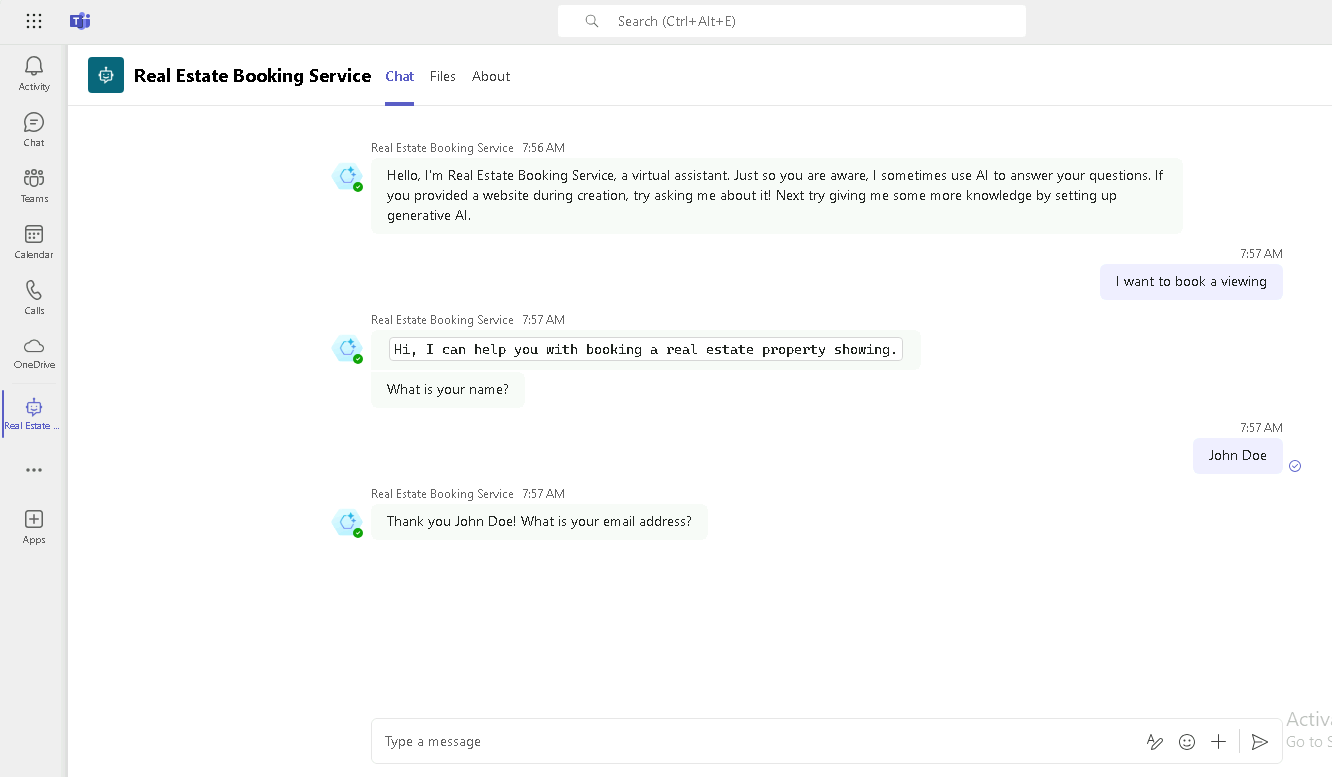
Select Open and wait for the agent to load in Teams.
-
Test the agent.
In this lab, you deployed your agent to Microsoft Teams. Congratulations on completing your labs!