Manage topics
Scenario
In this exercise, you will:
- Manage existing topics
- Create and edit topics using Copilot
- Create a topic manually and add trigger phrases
This exercise will take approximately 30 minutes to complete.
What you will learn
- How topics complement generative AI responses
- When topics are used to enforce structured conversations
- How to create and refine topics using natural language
High-level lab steps
- Review and disable unnecessary topics
- Create a topic using Copilot
- Edit topic content using natural language
- Test topic behavior with generative AI enabled
Prerequisites
- Must have completed Lab: Build an initial agent
Key concept: Topics and generative AI
When generative AI is enabled, the agent may answer questions dynamically without triggering a topic. This is expected behavior.
Topics are used when you need to:
- Collect required information step by step
- Control the order of questions
- Store responses in variables
- Ensure predictable outcomes
In later labs, you will use topics together with nodes, entities, and tools to enforce your agent’s behavior.
Detailed steps
Exercise 1 - Review and disable topics
In this exercise, you will review existing topics and disable one that is not required.
Task 1.1 – Disable topics
-
Navigate to the Microsoft Copilot Studio portal
https://copilotstudio.microsoft.comand ensure you are in the appropriate environment. -
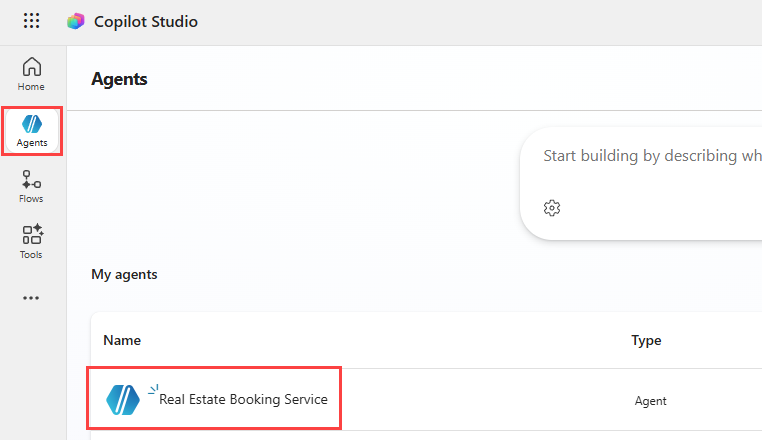
Select Agents from the left navigation pane.
-
Select the Real Estate Booking Service agent you created in the previous lab.
-
Select the Topics tab.
-
Locate the Start Over topic.
-
Toggle Enabled to Off for the Start Over topic.
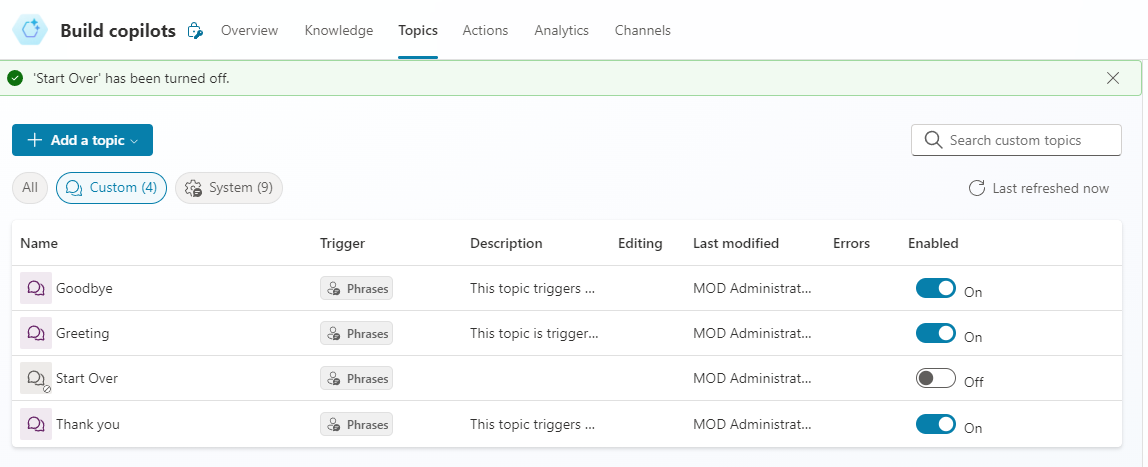
Disabling unused topics helps reduce ambiguity when multiple topics or generative responses could handle the same request.
Exercise 2 - Create topics with natural language
In this exercise, you will use Copilot to create a topic from a description. This allows generative AI to draft the initial structure, which you can then refine.
Task 2.1 – Add a topic from description
-
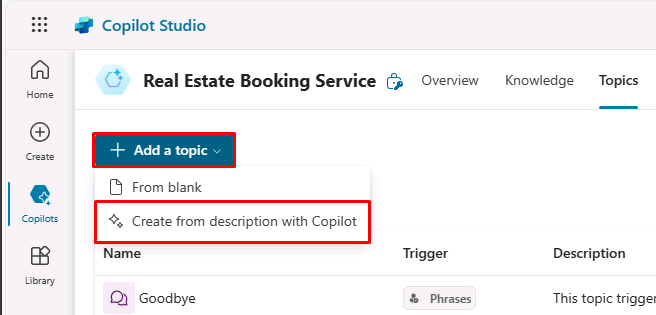
Select + Add a topic and select Add from description with Copilot. A new window appears.

-
In the Name your topic text box, enter
Customer Details. -
In the Create a topic to… text box, enter
Ask the customer for their name and email address. -
Select Create.
-
Select Save.
Task 2.2 – Edit topic content using natural language
-
If the Test your agent pane is open, close the pane.
-
If the Edit with Copilot pane is not shown on the right side of the Customer Details pane, select the Copilot icon in the upper part of the authoring canvas.

-
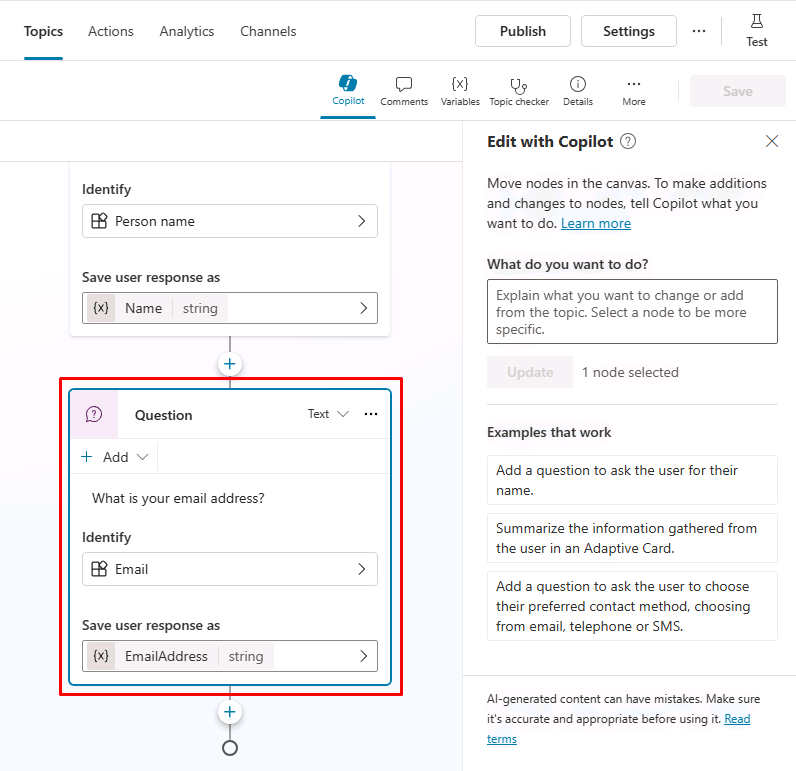
Select the second Question node What is your email address?
-
In the Edit with Copilot panel, in the What do you want to do? field, enter the following text:
Change "What is your email address?" to say thank you to the Name variable from the previous node and then proceed to ask the email address question. -
Select Update.
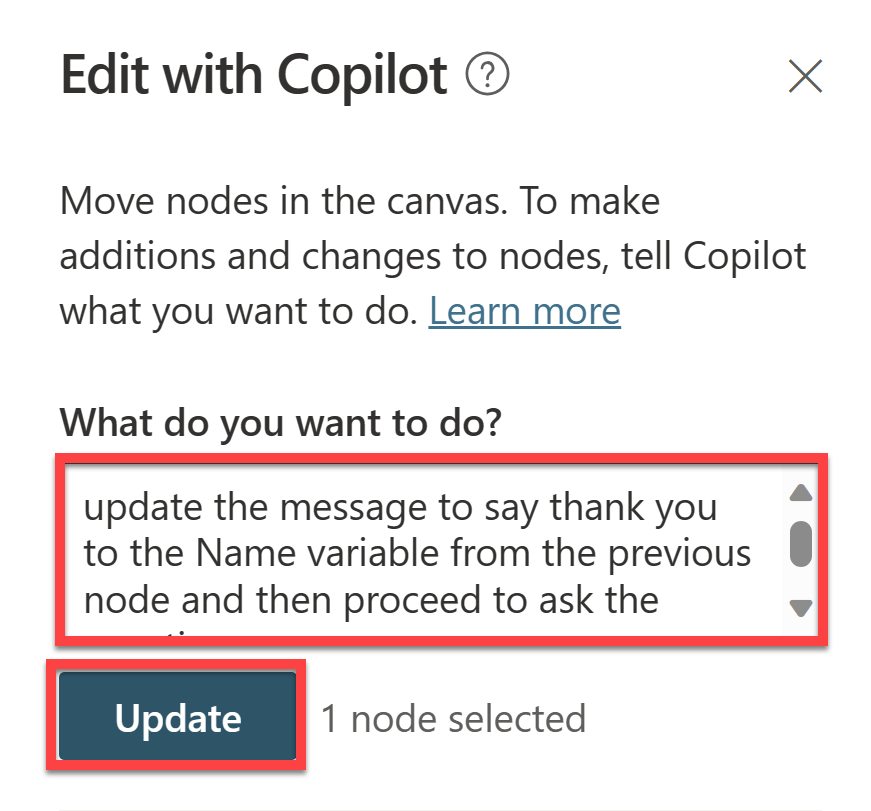
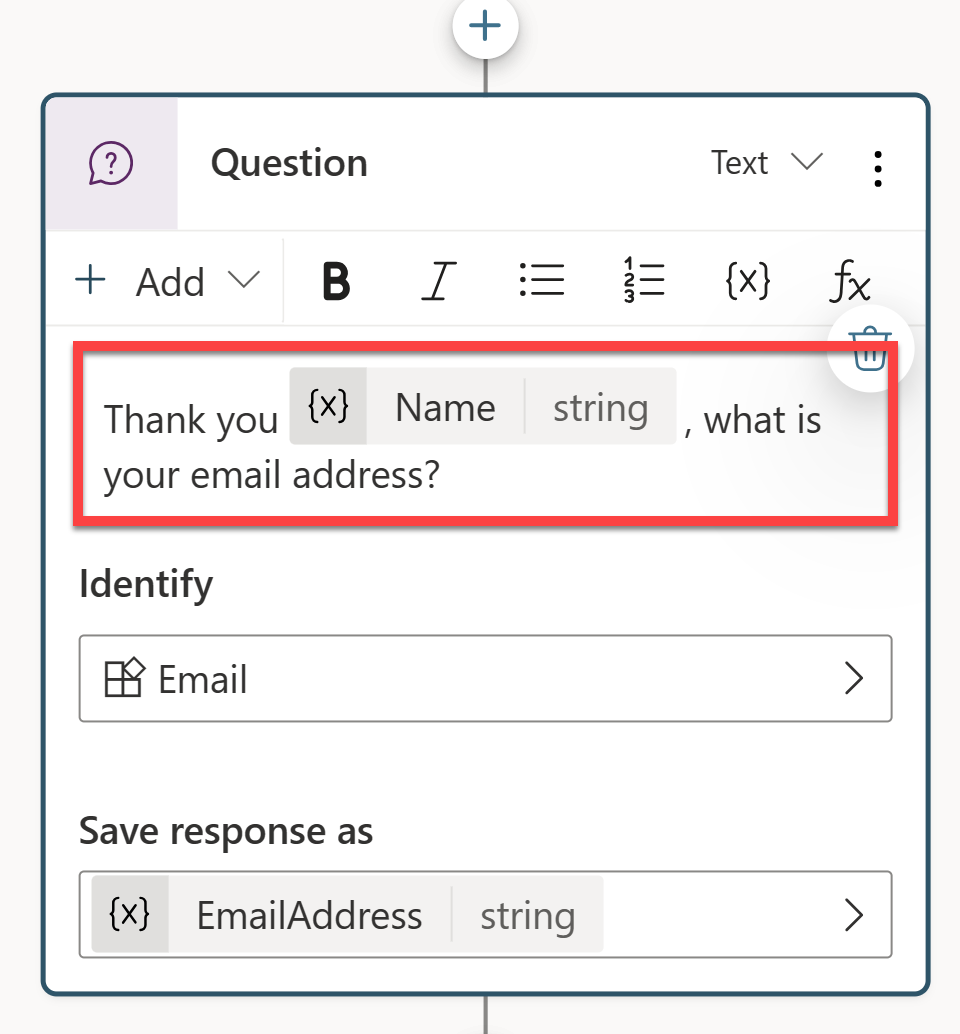
Note: The message should be updated to include the Name variable from the prior node, and should look similar to the screenshot above. If Edit with copilot did not update the question node correctly, select Undo, and retry with a different prompt.
-
Select Save.
Task 2.3 – Add a summary using natural language
In addition to adding updating existing nodes, you can use Copilot to add new ones.
-
Click an empty area on the authoring canvas so no node is selected.
-
In the Edit with Copilot panel, in the What do you want to do? field, enter the following text:
Summarize the information collected in an adaptive card -
Select Update.
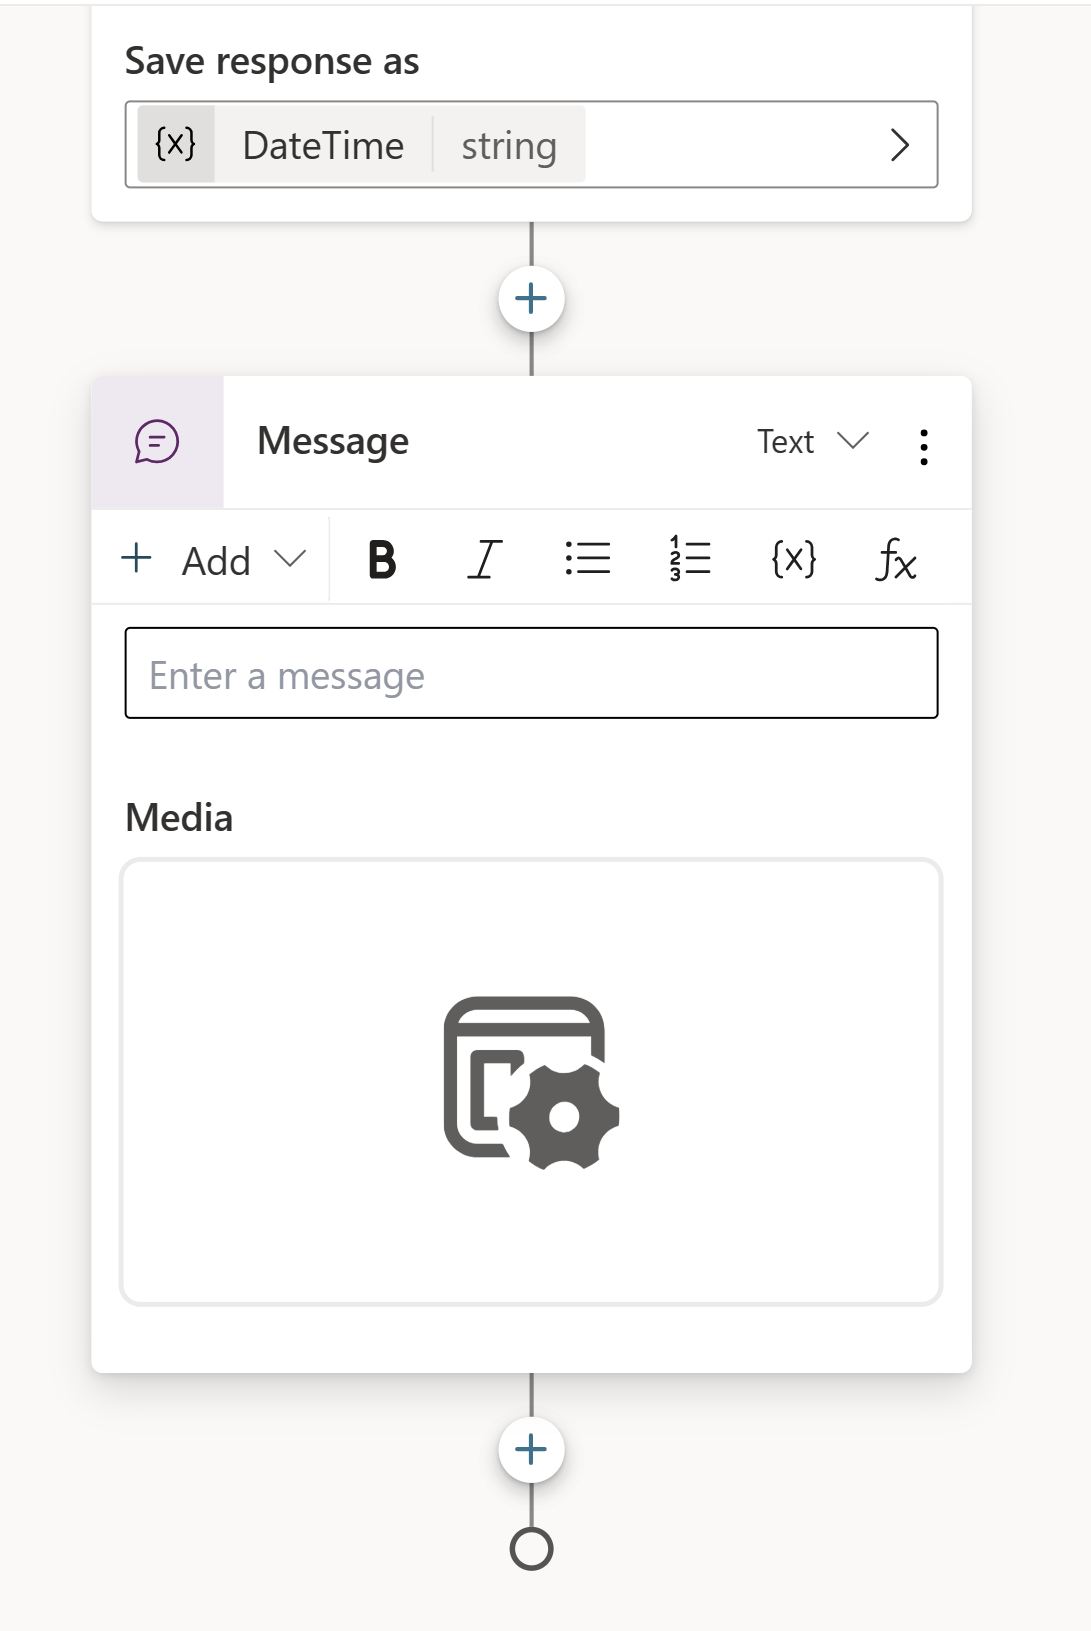
A message node with an Adaptive Card is added to the end of the topic.
-
Select the Media box in the Adaptive Card. The Adaptive Card properties should appear on the right of the page.
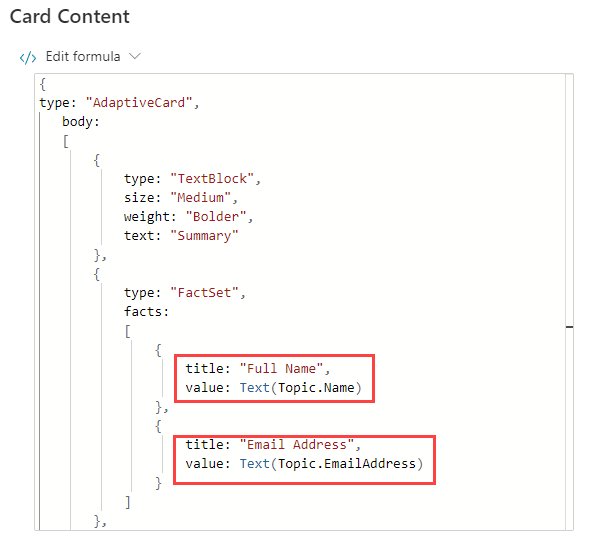
Your Adaptive Card formula should look similar to the one above. If it doesn’t, then you can paste in the formula below:
{ type: "AdaptiveCard", body: [ { type: "TextBlock", size: "Medium", weight: "Bolder", text: "Summary" }, { type: "FactSet", facts: [ { title: "Full Name", value: Text(Topic.Name) }, { title: "Email Address", value: Text(Topic.EmailAddress) } ] }, { type: "TextBlock", text: "Thank you for providing the information." } ] } -
Make sure that no node is selected by selecting the empty space in the authoring canvas.
-
Select the Copilot icon to reopen the Edit with Copilot pane.
-
In the What do you want to do? field, enter the following text:
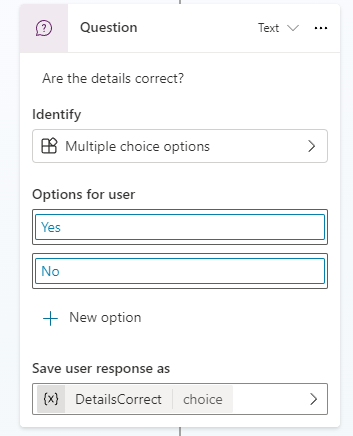
Add a new multiple choice question to prompt the user if the details are correct with two options Yes or No -
Select Update.
-
A new question node is added to the end of the topic with options for the user to select.
-
Select Save.
In later labs, you will use this response to control branching logic and enforce predictable behavior.
Exercise 3 - Test the topic
-
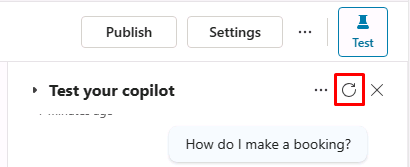
To reopen the Test pane, select the Test icon in the upper-right of the page.
-
Select the Start new test session icon at the top of the testing panel.
-
In the text box, enter
Customer information. -
Provide a name and email address when prompted.
-
Select Yes when asked to confirm the details.
-
Select Save
Observe how the agent uses the topic to control the conversation, collects required information step by step, and temporarily overrides free-form generative responses.