Create agents with Copilot Studio
Scenario
In this exercise, you will:
- Create an agent from a template
- Create and name an agent
- Define how the agent should behave using instructions
- Add a public website as a knowledge source
- Publish the agent and test with the Demo website
This exercise will take approximately 45 minutes to complete.
What you will learn
- How to create an agent from a template
- How to create an agent using natural language
- How agent instructions influence generative behavior
- How Generative AI answers use configured knowledge sources
- How to publish an agent to the Demo website
High-level lab steps
- Create an agent from a template
- Create an agent using Copilot
- Define agent behavior using instructions
- Add Generative AI knowledge sources
- Publish the agent
Prerequisites
- Have a Microsoft Entra ID account
- Have a Copilot Studio license or have signed up for a free trial.
- Have access to a Power Platform environment and a solution where you can create agents and related assets.
- You can use:
- the environment and Lab Exercises solution created in the ILT Setup lab, or
- your own existing environment and solution.
- If you do not already have an environment and solution prepared, complete the steps in the ILT Setup lab before continuing.
[!IMPORTANT] You may notice a new Copilot Studio experience that is currently in preview. These labs use the current Copilot Studio interface, so some steps and screenshots may not match the preview experience. To follow the lab instructions successfully, use the current Copilot Studio UI throughout these exercises.
Key concept: Agent components and behavior
When generative orchestration is enabled, the agent can use instructions, knowledge, topics, and tools to generate responses dynamically.
Exercise 1 - Create an agent from a template
In this exercise, you will create an agent by using a template, and then test the agent.
Task 1.1 – Create an agent from the Safe Travels template
-
In the Copilot Studio home page
https://copilotstudio.microsoft.com/, select Agents in the left-hand navigation. -
At the top of the page, verify that you are working in the environment you want to use for this exercise.
-
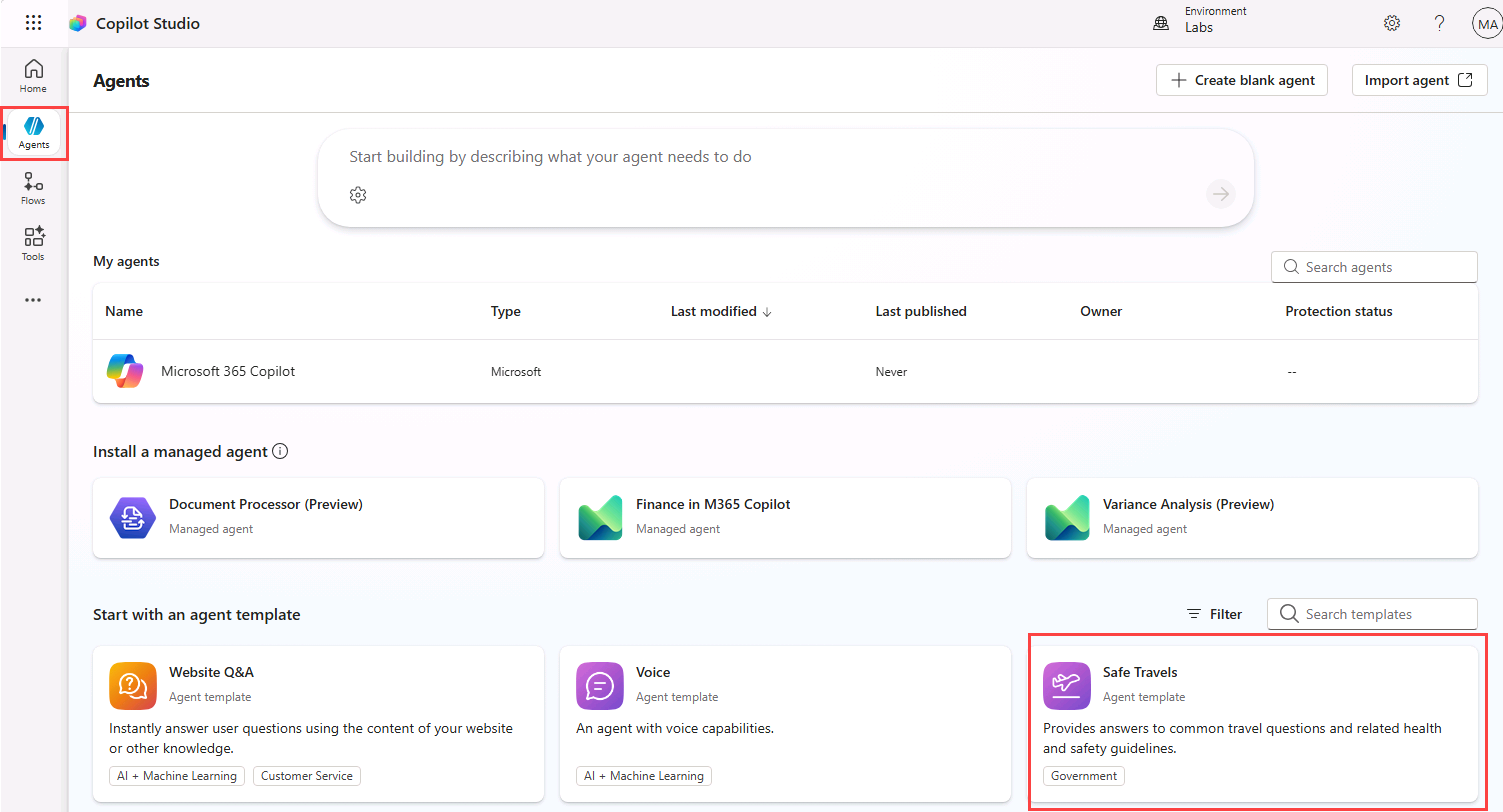
Under Start with an agent template section, select the Safe Travels template.
-
In the upper-right of the page, select the ellipses (…) and select Edit advanced settings.
-
Validate that the selected Solution is Lab Exercises and the Schema name prefix is fab and select Cancel.
-
In the upper-right of the page, select Create.
-
In the Overview tab, review the name, description, and agent instructions.
-
Select the Knowledge tab and review the public website that has been added as a knowledge source.
-
In the upper-right of the page, select the Settings button.
-
Note that Orchestration is set to No - Use classic orchestration, limiting responses to the content and behavior defined in your agent’s topics.
-
In the upper-right of the Settings page, select X to close settings.
-
Select the Topics tab and select the System filter.
-
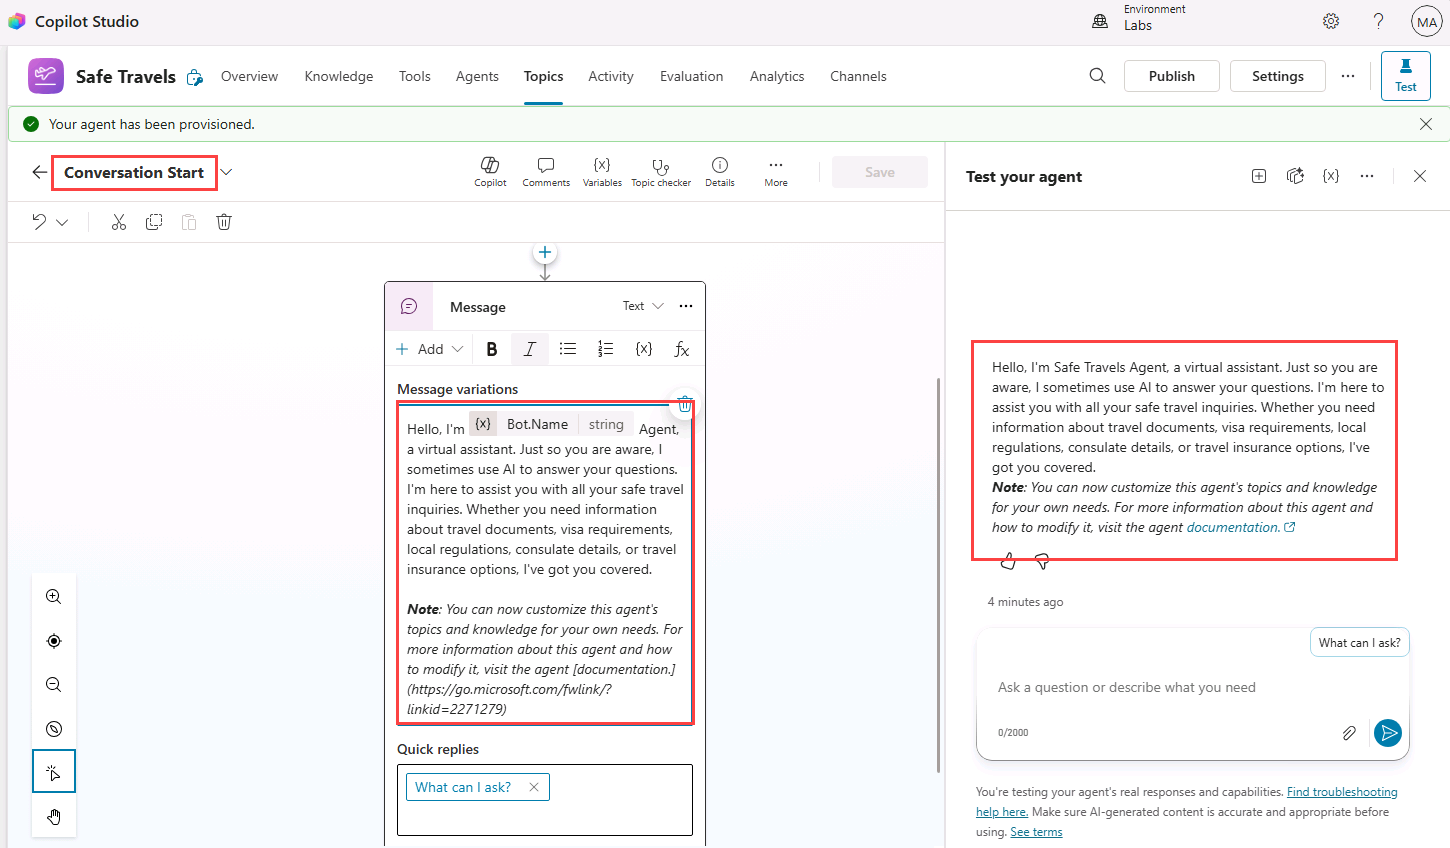
Select the Conversational Start topic. Review the contents of the Message node. Note that the contents of the message are displayed in the Test pane.
-
In the drop-down in the upper-left of the page that is showing Conversation Start, select the custom What can I ask topic.
Task 1.2 – Test the agent
-
If the Test pane is not visible, select the Test icon in the upper-right of the page.
-
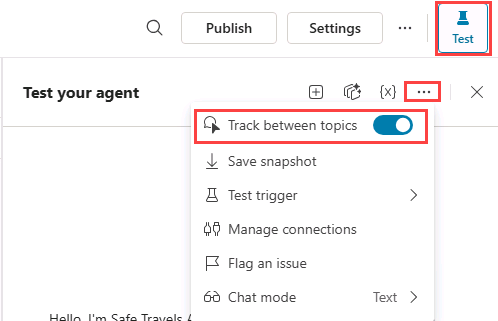
In the Test pane, select the ellipses (…) next to the variables {x} icon, and toggle Track between topics to On.
-
Enter the following prompt:
HelloThe Greeting topic should be selected and the response is provided from the message node in the Greeting topic.
-
At the top of the Test pane, select the Start new test session icon +.
-
Enter the following prompt:
What can I ask?The What Can I Ask topic should be triggered and present several prompt options to continue the conversation.
-
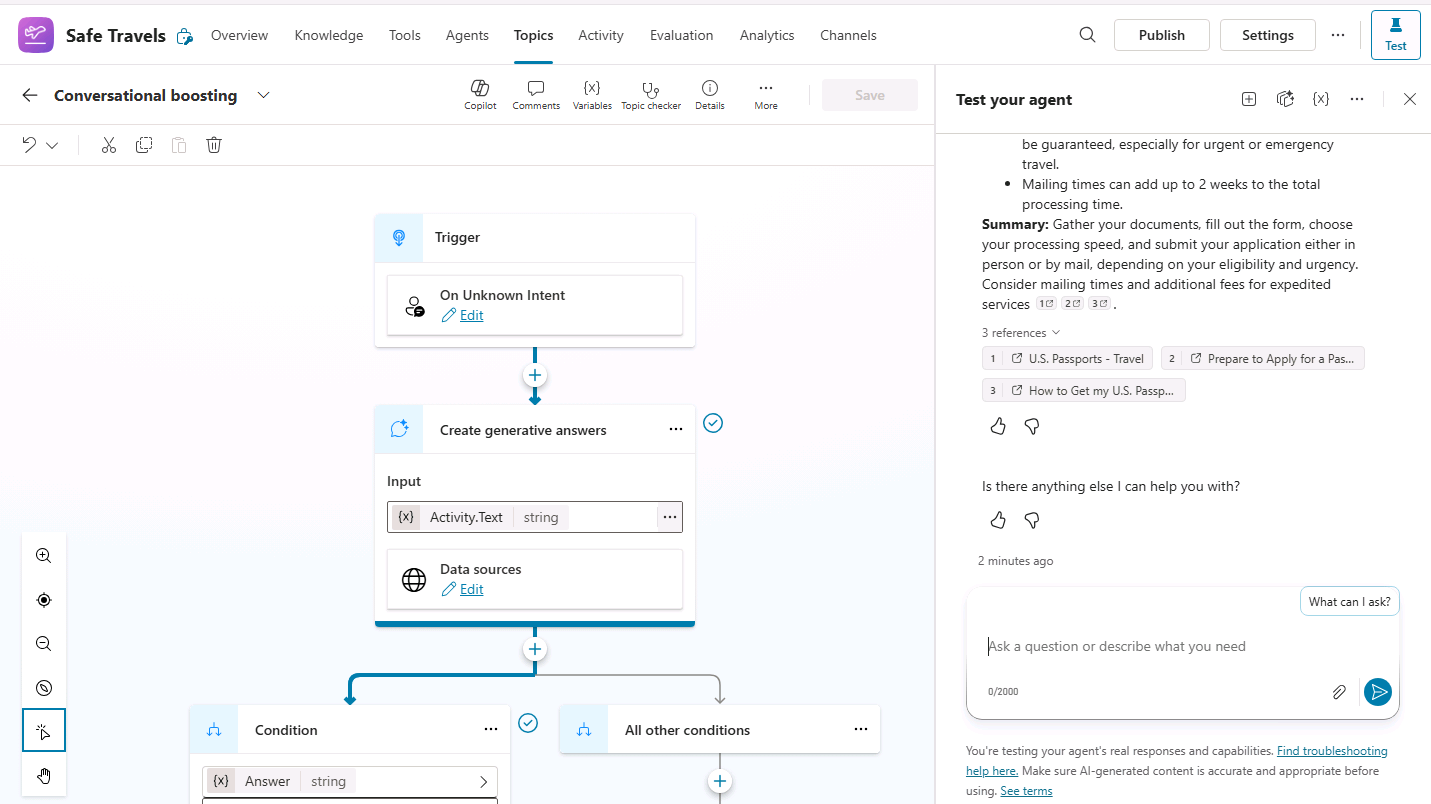
Select the How do I get a passport? option.
The response should be generated using the configured knowledge source and may reference the Conversational boosting system topic.
-
Enter the following prompt:
What is Copilot Studio?The Fallback topic should be selected, and agent should ask you to try rephrasing.
-
Repeat the same prompt twice more. Depending on your environment and orchestration behavior, the agent may trigger the Fallback or Escalate system topics.
-
Select Agents in the left-hand navigation. The Safe Travels agent should be listed.
Exercise 2 - Create an agent using Copilot
In this exercise, you will create a new agent using natural language to answer questions about government benefits.
Task 2.1 – Create an agent to answer questions about government benefits
-
In the Copilot Studio home page
https://copilotstudio.microsoft.com/, verify that you are in the environment that you created. -
Select Agents in the left-hand navigation.
-
In the bottom-left of the Start building by describing what your agent needs to do text box, select the Agent Settings icon, which is displayed as a Cog image.

-
Leave English (United States) set as the primary language for the agent.
-
In the Solution drop-down, select Lab Exercises.
-
Enter
govbenefitsagentfor the Schema name. -
Select Update.
-
In the Start building by describing what your agent needs to do text box, Enter the following prompt:
You are an agent that assists with questions related to claiming US government benefits. -
Select the Send icon.
Your agent will be created.
Once your agent has been provisioned, you may proceed with configuring your agent.
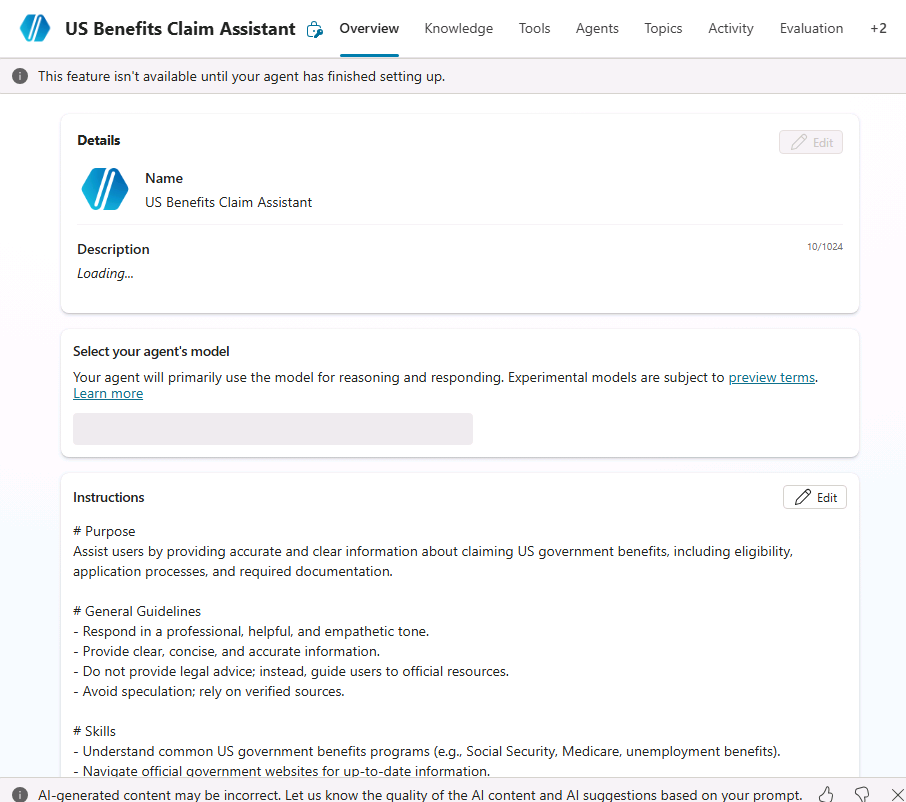
Task 2.2 – Configure the Overview tab
-
Select the Overview tab for the agent.
-
In the Details section, select Edit.
-
In the Name text box, enter
US Benefits Assistant. -
In the Description text box, enter
Helps users with questions related to US government benefit programs. -
Select Save.
-
In the Select your agent’s model section, select GPT-5 Auto (Preview), if available. Otherwise, select the default recommended GPT model.
-
In the Instructions section, select Edit.
-
Under # General Guidelines in the agent instructions, add the following:
- Do not provide legal advice. -
Select Save.
[!NOTE] Agent instructions guide how the agent should behave, but they do not strictly enforce behavior. In later labs, you will learn how to change behavior by using topics, knowledge, and generative answers with restricted knowledge sources.
-
In the Suggested prompts section, select Add suggested prompts.
-
For Title, enter
Health. -
For Prompt, enter
What health assistance programs are available for me?. -
Select Save.
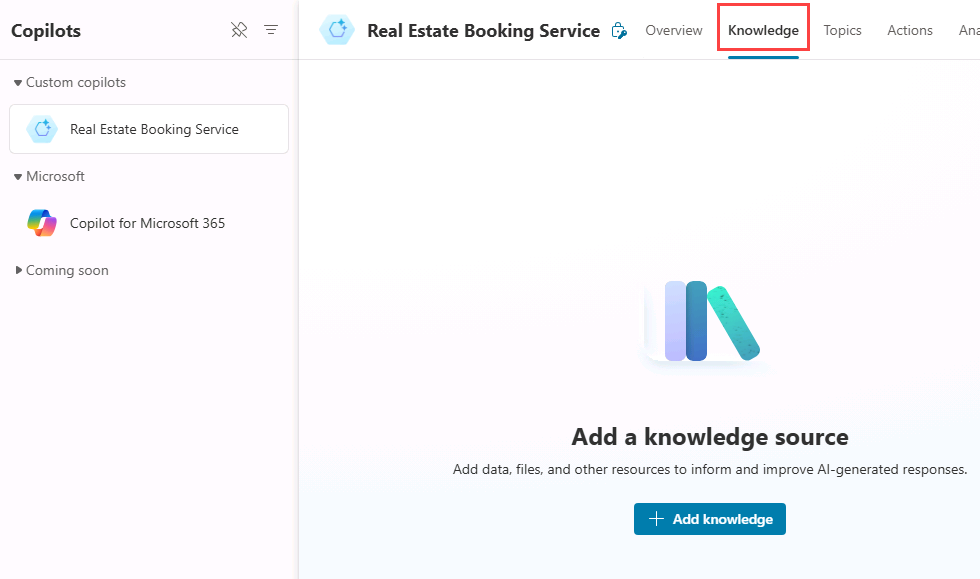
Task 2.3 – Add a public website as a knowledge source
-
Select the Knowledge tab.
-
Select + Add knowledge.
-
Select Public websites.
-
In the Public website link text box, enter
https://www.usa.gov/benefits. This official government public website has details on benefits programs that could be useful for your agent. -
Select Add.
-
For Name, enter
Government benefits. -
For Description, enter
This knowledge source contains information on government programs that may help you pay for food, housing, health care, and other basic living expenses.. -
Select Add to agent.
[!NOTE] Public website indexing may take several minutes. If responses are incomplete, wait a few minutes and test the agent again.
Task 2.4 – Agent settings
-
In the upper-right of the page, select the Settings button.
-
Note that Orchestration is set to Yes - Responses will be dynamic, using available tools and knowledge as appropriate.
-
In the Responses section, enter the following:
- For process related answer respond with a single sentence. - For data-related answers respond with bullet points. -
In the Knowledge section, set Allow ungrounded responses to Off.
-
In the Knowledge section, set Use information from the Web to On.
-
Select Save
-
In the left-hand side of the Settings page, select Security.
-
Select Authentication.
-
Select No authentication for this lab scenario to simplify testing in the Demo website channel.
-
Select Save and select Save again.
-
In the upper-right of the Settings page, select X to close settings.
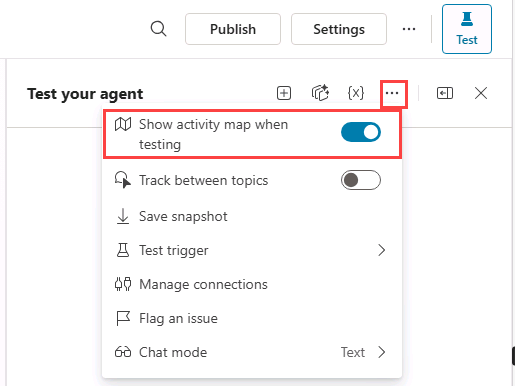
Task 2.5 – Test the agent
-
If the Test pane is not visible, select the Test icon in the upper-right of the page.
-
In the Test pane, select the ellipses (…) next to the variables {x} icon, and toggle Show activity map when testing to On and Track between topics to Off.
-
At the top of the Test pane, select the Start new test session icon +.
-
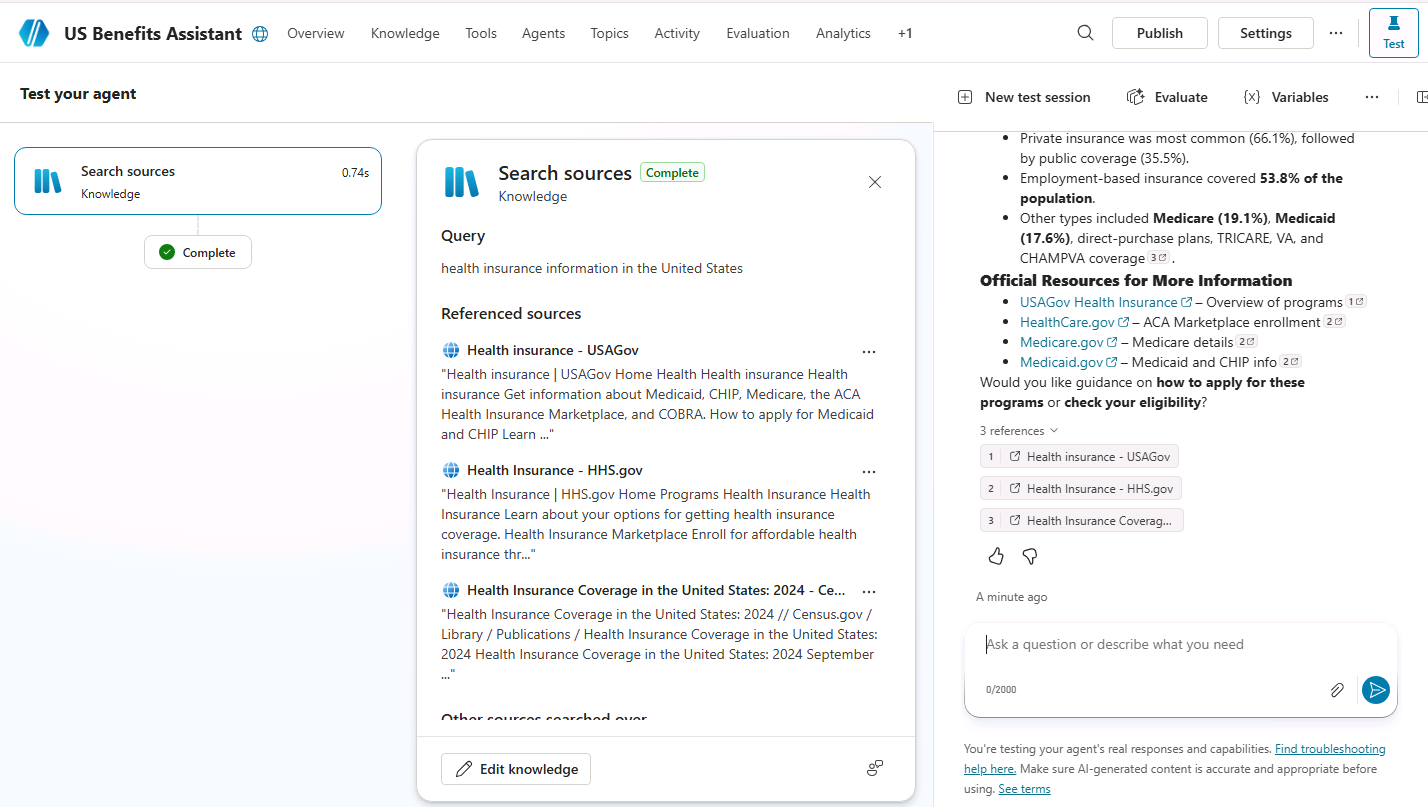
Enter the following prompt:
What health insurance information is available?The Activity map should be displayed, showing that knowledge sources were used to generate the response.
-
Close the Test pane.
Task 2.6 – Publish the agent to the Demo website
-
In the action bar of the agent, select the Publish button and select Publish again.
-
Select the Channels tab.
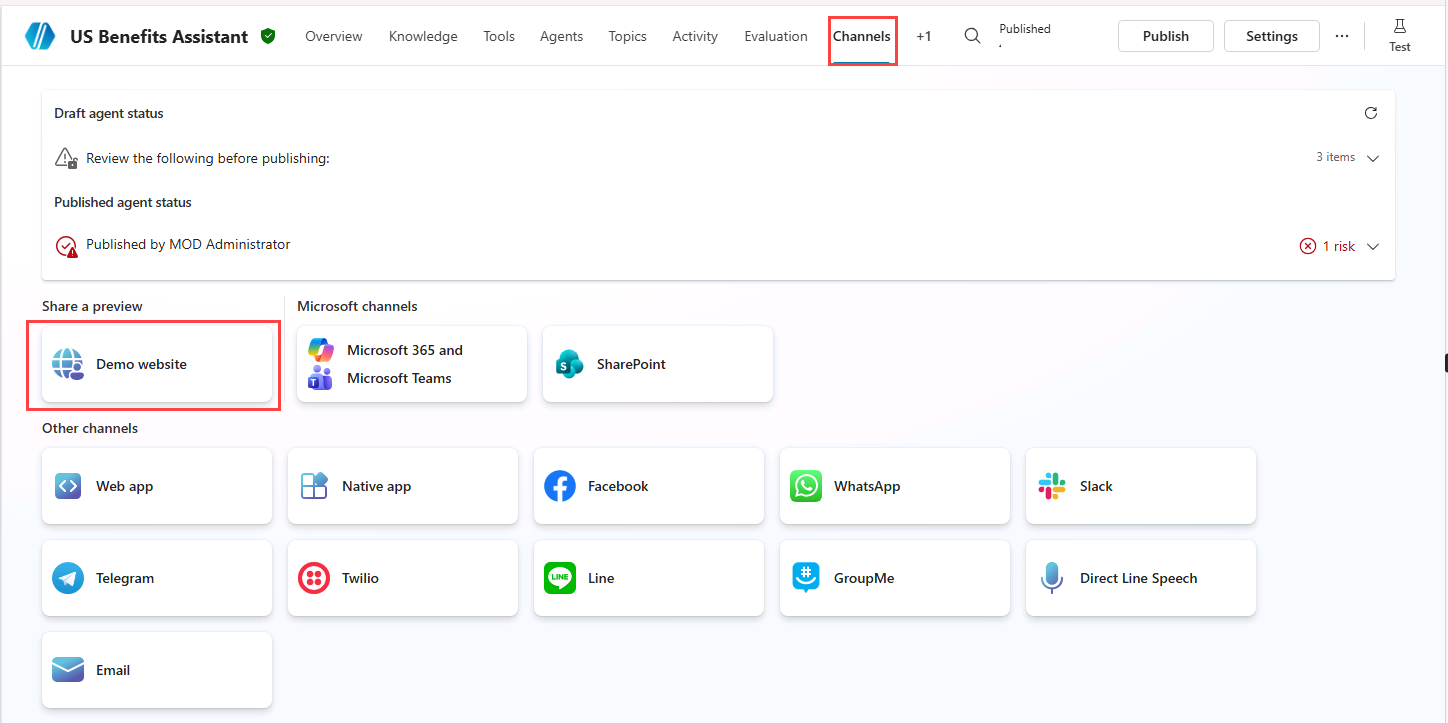
-
Select the Demo website channel. This channel is useful for quickly testing and previewing your agent experience.
-
In the Demo Website pane, enter the following settings:
- Welcome message:
Ask me about government benefit programs -
Conversation starters:
 "Hello"
 "What programs am I entitled to?"
 "What is social security?"
- Welcome message:
-
Select Save.
-
Select Open demo website.
-
Enter the following prompt:
What welfare and assistance can I claim for?The response should reference information from the configured knowledge source and may include citations or source references.
-
Try a few more questions and view the responses from your agent. It will have limited functionality, but should be able to provide relevant answers to questions about benefits.
Summary
In this lab, you created an agent and defined its expected behavior using instructions. You also added a public website as a knowledge source and tested your agent with questions that the knowledge source could help answer. Later labs will show how to use topics, knowledge, and tools to further control agent behavior.