Prepare for an AI development project
In this exercise, you use Microsoft Foundry portal to create a project, ready to build an AI solution.
This exercise takes approximately 30 minutes.
Note: Some of the technologies used in this exercise are in preview or in active development. You may experience some unexpected behavior, warnings, or errors.
Prerequisites
Before starting this exercise, ensure you have:
- An active Azure subscription
- Visual Studio Code installed
- Python version 3.13.xx installed*
- Git installed and configured
- Azure CLI installed
* Python 3.14 is available, but some dependencies are not yet compiled for that release. The lab has been successfully tested with Python 3.13.12.
Create a Microsoft Foundry project
Microsoft Foundry uses projects to organize models, resources, data, and other assets used to develop an AI solution.
-
In a web browser, open the Microsoft Foundry portal at
https://ai.azure.comto start building; signing in using your Azure credentials. Close any tips or quick start panes that are opened the first time you sign in. - If it is not already enabled, in the tool bar at the top of the page, enable the New Foundry option. Then, create a new project with a unique name; expanding the Advanced options area to specify the following settings for your project:
- Foundry resource: Use the default name for your resource (usually {project_name}-resource)
- Subscription: Your Azure subscription
- Resource group: Create or select a resource group
- Region: Select any of the AI Foundry recommended regions in this list
Tip: Make a note of the region you selected. You’ll need it later!
-
Select Create. Wait for your project to be created.
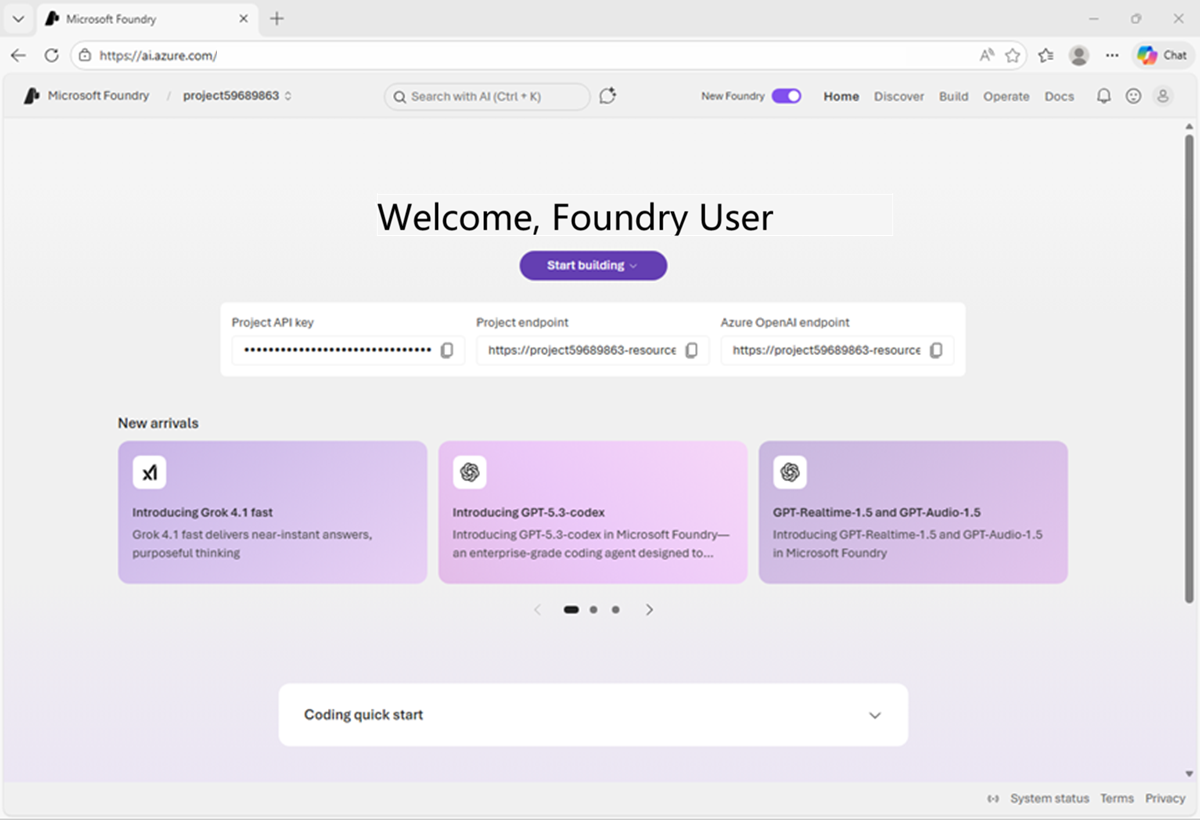
When it is ready, the project home page will open.
Deploy and test a model
At the core of any generative AI project, there’s at least one generative AI model.
-
Now you’re ready to explore models. On the Discover page, select the Models tab to view the Microsoft Foundry model catalog.
-
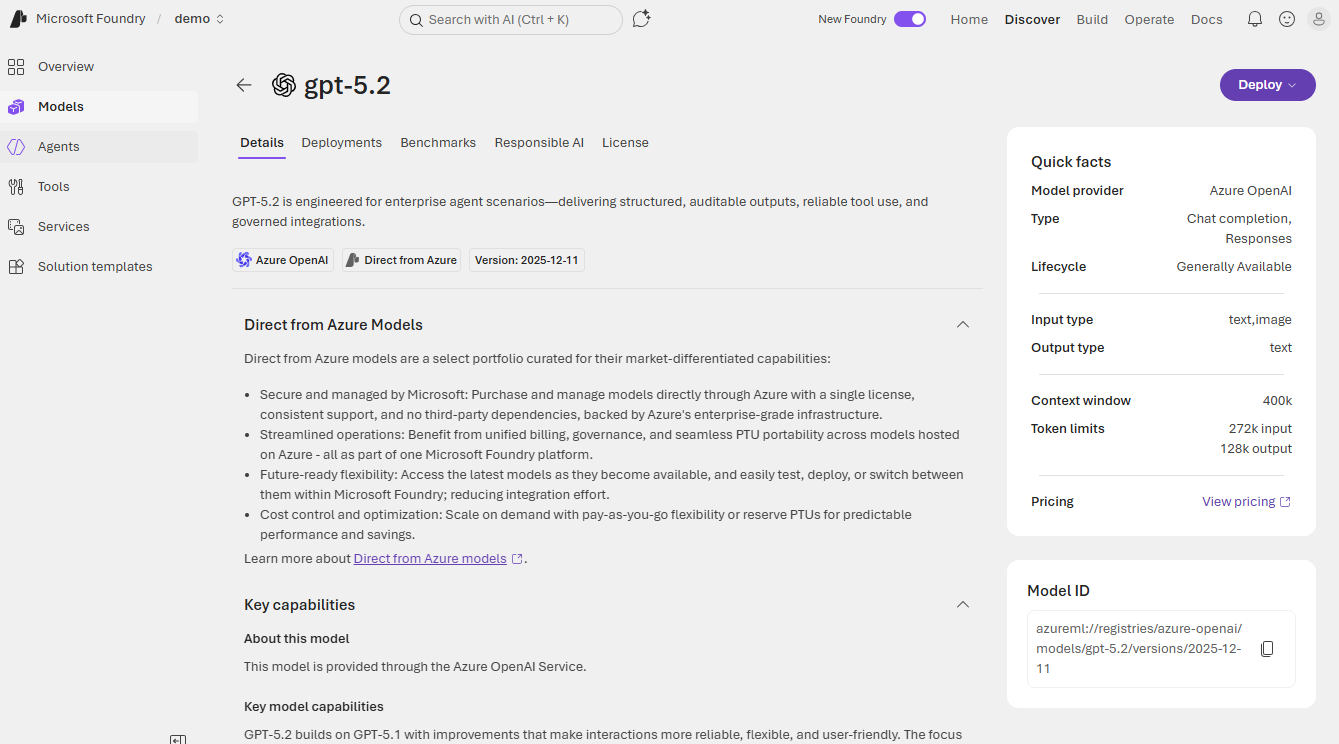
Search for the
gpt-5.2model, and then select it in the search results to view its model card.Model cards provide information about models to help you understand their capabilities and limitations, and determine if they are suitable for your requirements.
-
Select Deploy with the default settings to create a deployment of the model.
Model deployments enable you to work with a model in your project.
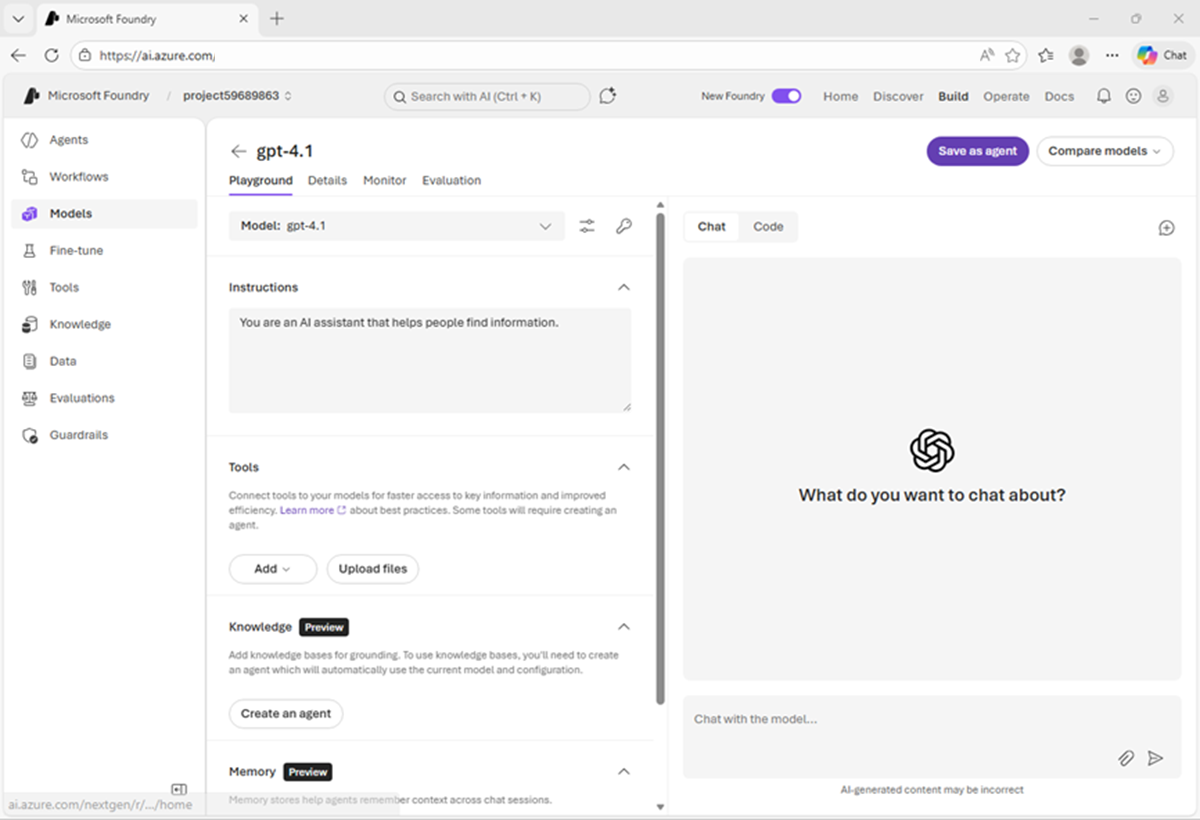
When the model has been deployed, the model playground will open automatically so you can test your model:
-
In the Instructions box, enter the following instructions:
You are an AI assistant that can provide information and advice about AI software development. -
In the chat window, enter a query such as
Describe three key considerations for working with Large Language Models for AI application development.and view the response:Hopefully the model provided some key considerations for you to think about!
View Foundry Azure resource and project endpoints
-
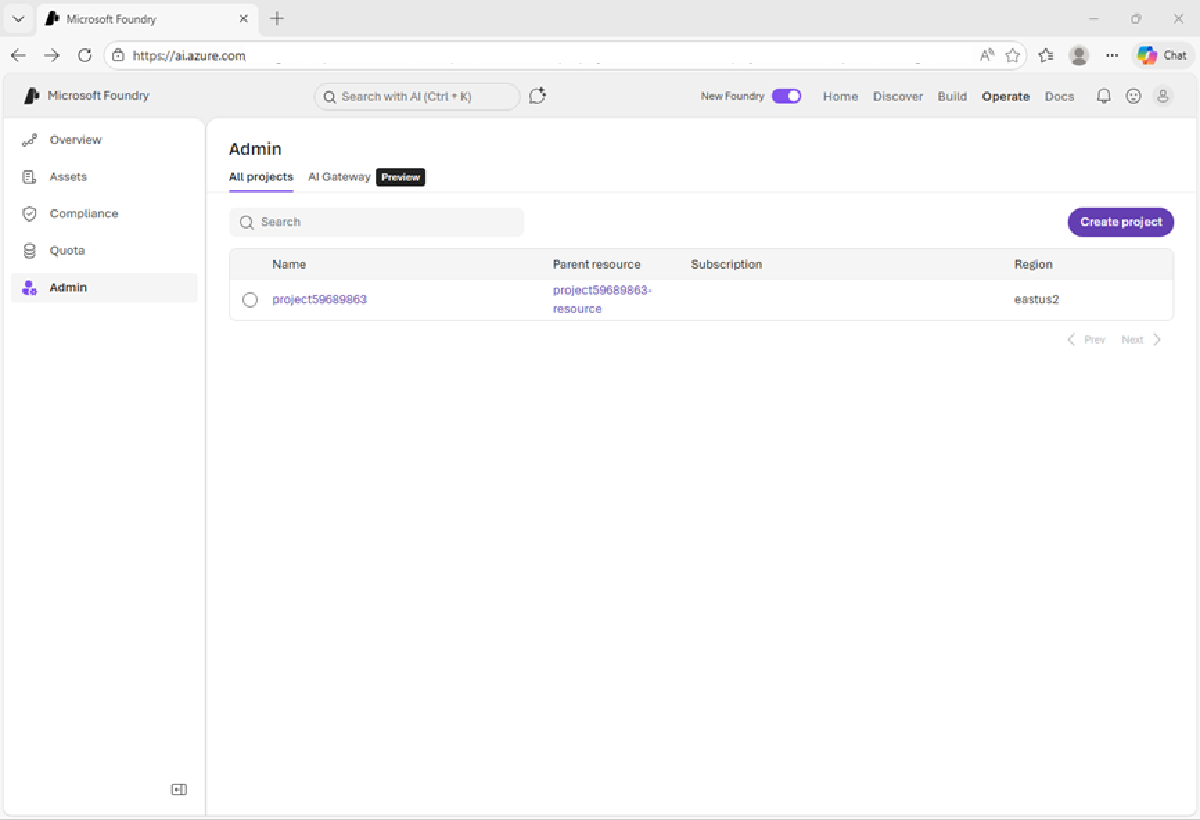
In the Foundry portal, in the top menu bar, select Operate.
The operation center is where you can monitor your projects, view alerts, monitor agent performance and quotas, and manage resources.

-
In the left navigation pane, select the Admin page to view details.
- The resource level relates to the Foundry resource that was created in Azure to support your project. This resource includes connections to Foundry Services and models; and provides a central place to manage user access to AI development projects.
- The project level relates to your individual project, where you can add and manage project-specific resources. A resource can support multiple projects (the first one created is the resource’s default project).
-
Select the link to the Parent resource associated with the project.
The resource configuration details should be displayed.
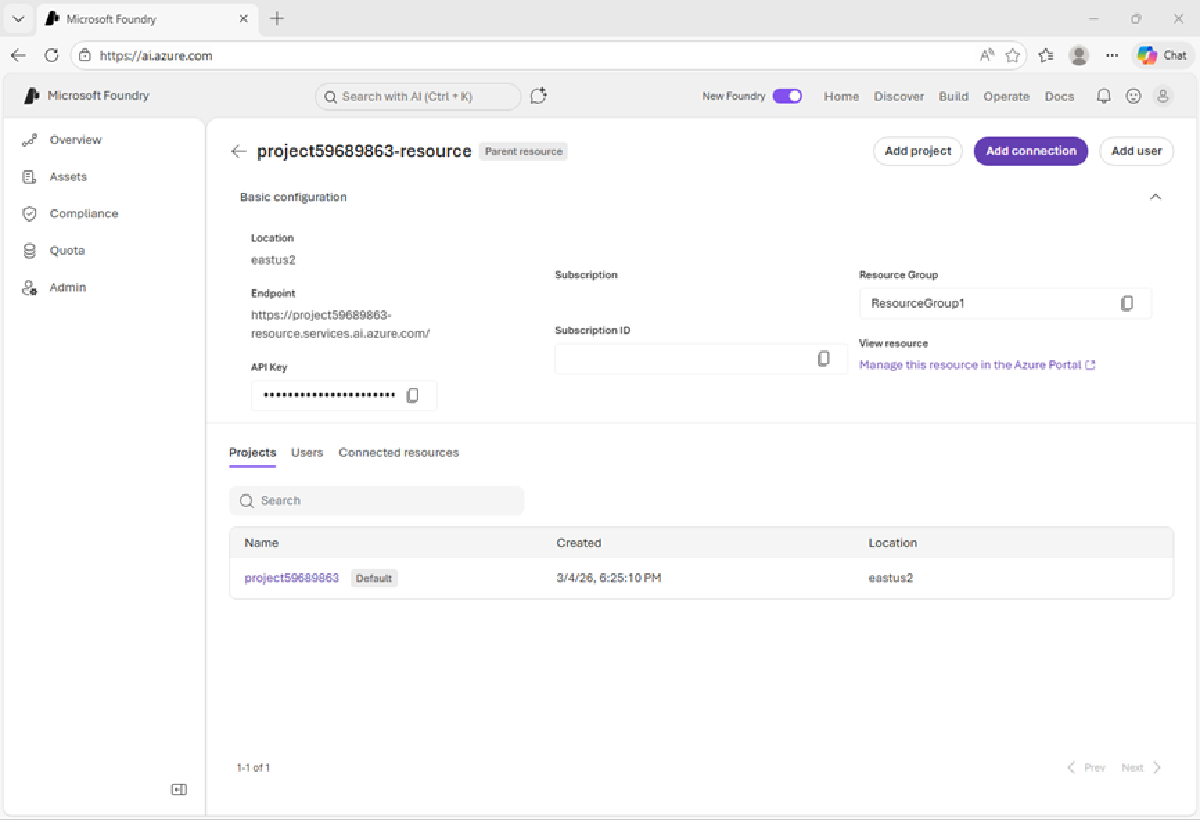
Note that the Foundry resource has an endpoint, through which client applications can access resource-level functionality (such as Foundry Tools that are shared across all projects in the resource).
- In the top menu bar, select Home to return to the project home page.
-
Note the key, project endpoint, and Azure OpenAI endpoint.
This information is used to connect to your project-level resouces from client applications.
- The key is used for key-based authentication to models and tools (though in most production scenarios you should consider using Microsoft Entra ID authentication based on authenticated user and application identities).
- The project endpoint is used to access models provided directly in Foundry (including OpenAI models) using the OpenAI Responses API, and to access Foundry-specific APIs (such as the Foundry Agent service).
- The OpenAI endpoint is used to access models using OpenAI APIs, including the Chat Completions API and the Responses API.
Install the Foundry Toolkit extension for Visual Studio Code
As a developer, you may spend some time working in the Foundry portal; but you’re also likely to spend a lot of time in Visual Studio Code. The Foundry Toolkit extension provides a convenient way to work with Foundry project resources without leaving the development environment.
- Start Visual Studio Code
- In the navigation bar on the left, view the Extensions page.
-
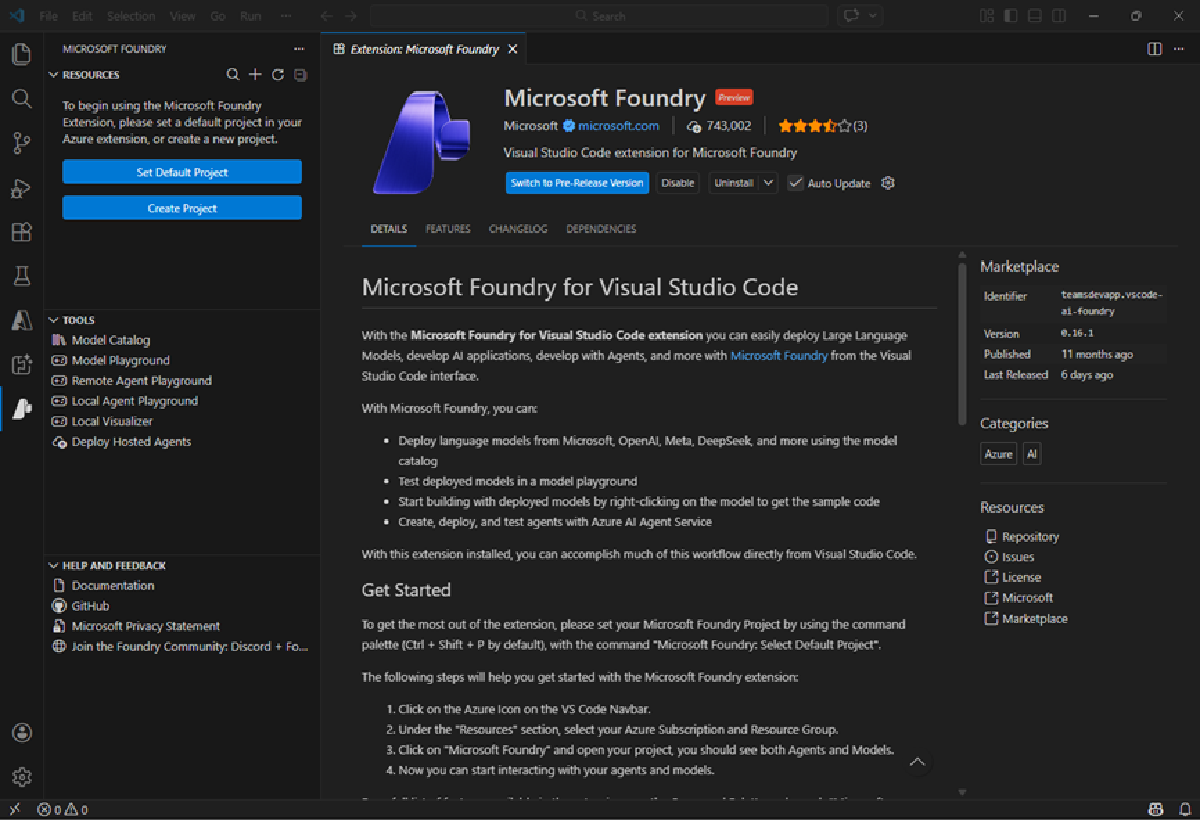
Search the extensions marketplace for
Foundry Toolkit, and install the Foundry Toolkit for VS Code extension.The extension may take a minute or so to install.
-
After installing the extension, select the Foundry Toolkit page in the left navigation bar; and wait for it to load.
-
In the Foundry Toolkit pane, expand Microsoft Foundry Resources and set the default project by connecting to Azure (signing in with your credentials) and selecting the Foundry project you created previously.
-
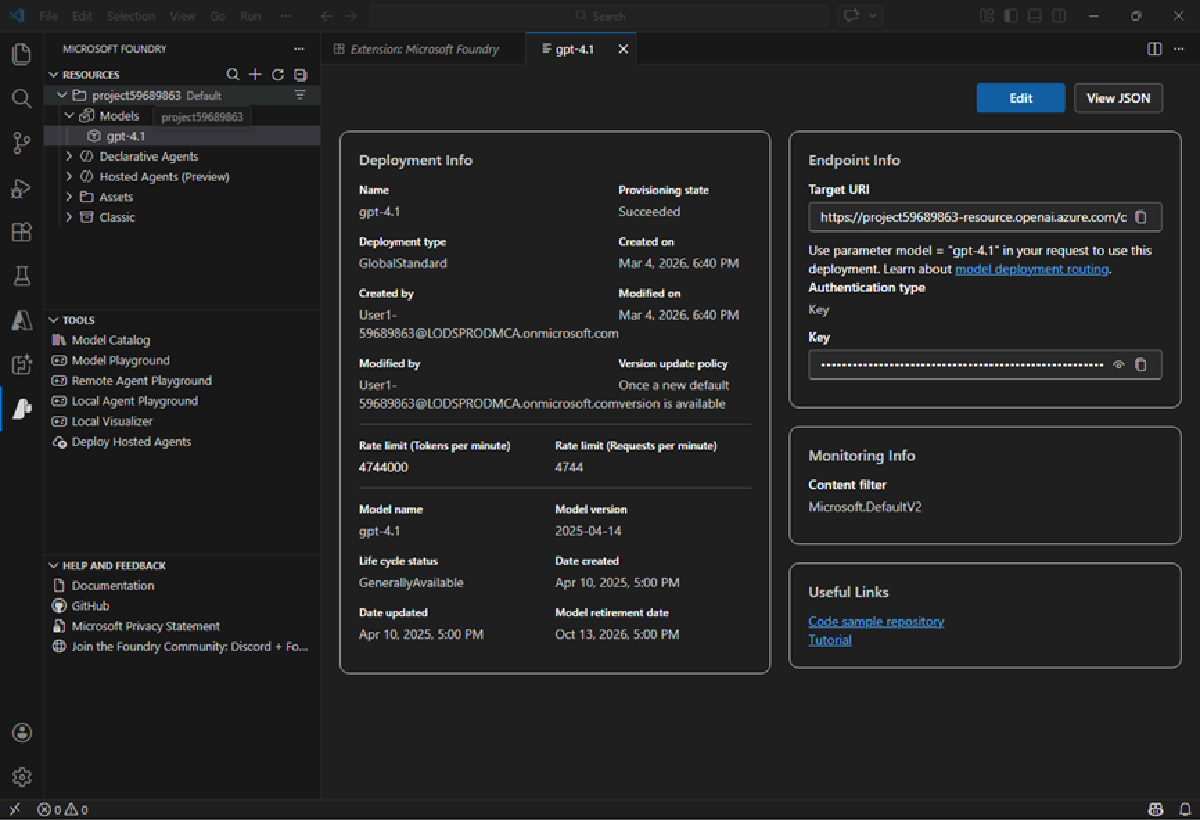
After setting the default project, expand the project, expand Models, and select the gpt-5.2 model you deployed previously.
You can view the model deployment details here.
-
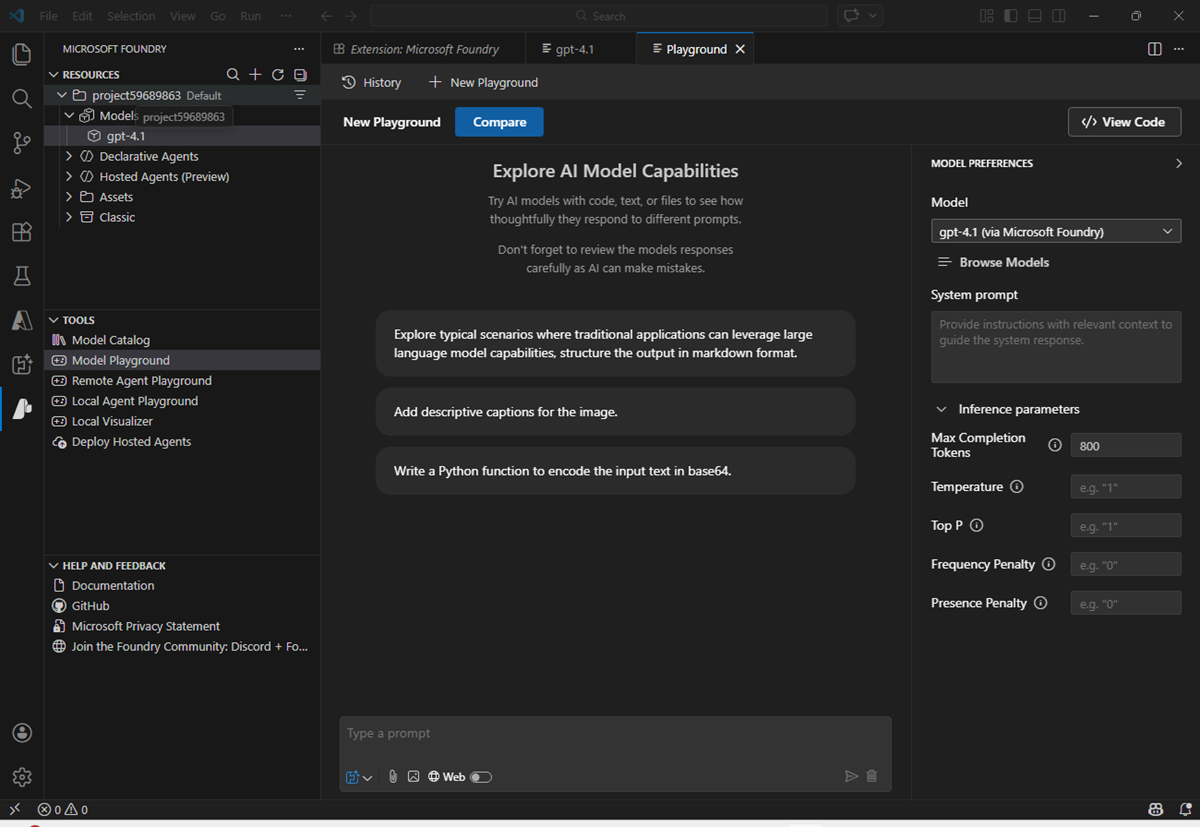
In the Foundry Toolkit pane, in the Developer Tools section, expand Build and select Model playground. Then select the gpt-5.2 model (if it is not already selected).
An interactive playground in which you can test the model is opened in Visual Studio Code.
Summary
In this exercise, you’ve created a Microsoft Foundry and explored it in the Foundry portal. You’ve also explored the Foundry Toolkit extension in Visual Studio Code, which provides a convenient way for developers to work with Foundry projects and their assets.
Clean up
If you’ve finished exploring Foundry portal, you should delete the resources you have created in this exercise to avoid incurring unnecessary Azure costs.
- In the Azure portal at
https://portal.azure.com, view the contents of the resource group where you deployed the resources used in this exercise. - On the toolbar, select Delete resource group.
- Enter the resource group name and confirm that you want to delete it.