mslearn-ai-semantic-kernel
Run prompts with Semantic Kernel (deprecated)
In this exercise, you’ll use Semantic Kernel to create an AI assistant that suggests suitable roles based on a user’s skills and interests, identifies missing skills for a target role, and recommends courses to close the skill gap. You’ll deploy a chat completion model in Azure AI Foundry and create a Semantic Kernel client app that builds and runs prompt templates.
This exercise takes approximately 15 minutes to complete.
Deploy a chat completion model
-
In a web browser, open the Azure AI Foundry portal at
https://ai.azure.comand sign in using your Azure credentials. Close any tips or quick start panes that are opened the first time you sign in, and if necessary use the Azure AI Foundry logo at the top left to navigate to the home page, which looks similar to the following image (close the Help pane if it’s open):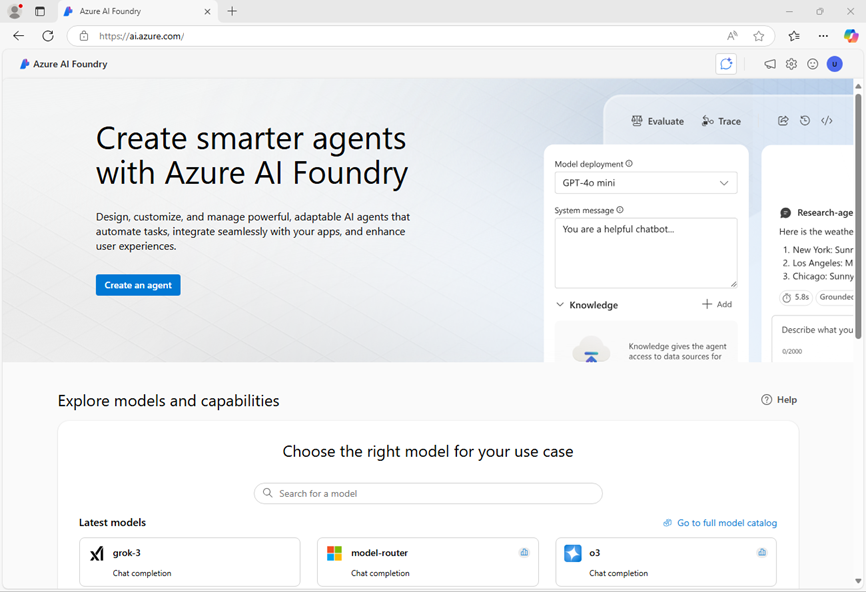
- In the home page, in the Explore models and capabilities section, search for the
gpt-4omodel; which we’ll use in our project. - In the search results, select the gpt-4o model to see its details, and then at the top of the page for the model, select Use this model.
- When prompted to create a project, enter a valid name for your project and expand Advanced options.
- Select Customize and specify the following settings for your hub:
- Azure AI Foundry resource: A valid name for your Azure AI Foundry resource
- Subscription: Your Azure subscription
- Resource group: Create or select a resource group
- Region: Select any AI Services supported location*
* Some Azure AI resources are constrained by regional model quotas. In the event of a quota limit being exceeded later in the exercise, there’s a possibility you may need to create another resource in a different region.
- Select Create and wait for your project, including the gpt-4o model deployment you selected, to be created.
- When your project is created, the chat playground will be opened automatically.
-
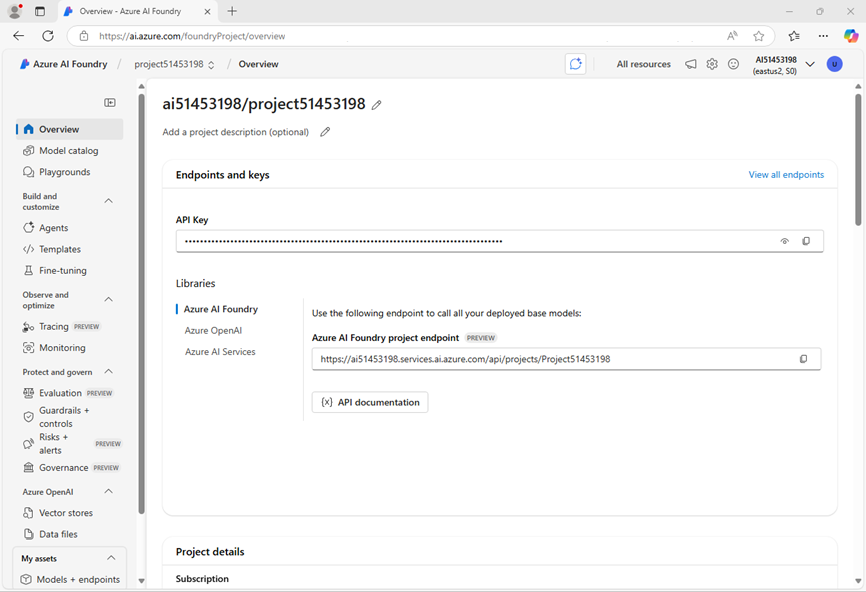
In the navigation pane on the left, select Overview to see the main page for your project; which looks like this:
Note: If an *Insufficient permissions** error is displayed, use the Fix me button to resolve it.
-
Under the Libraries section of the overview page, select Azure OpenAI
You’ll use the data here in the next task to build your kernel. Remember to keep your keys private and secure!
Create an AI client app
Now that you deployed a model, you’re ready to create a Semantic Kernel client app that builds and runs prompt templates. Some code is provided for you in a GitHub repository.
Prepare the environment
-
Open a new browser tab (keeping the Azure AI Foundry portal open in the existing tab). Then in the new tab, browse to the Azure portal at
https://portal.azure.com; signing in with your Azure credentials if prompted.Close any welcome notifications to see the Azure portal home page.
-
Use the [>_] button to the right of the search bar at the top of the page to create a new Cloud Shell in the Azure portal, selecting a PowerShell environment with no storage in your subscription.
The cloud shell provides a command-line interface in a pane at the bottom of the Azure portal. You can resize or maximize this pane to make it easier to work in.
Note: If you have previously created a cloud shell that uses a Bash environment, switch it to PowerShell.
-
In the cloud shell toolbar, in the Settings menu, select Go to Classic version (this is required to use the code editor).
Ensure you've switched to the classic version of the cloud shell before continuing.
-
In the cloud shell pane, enter the following commands to clone the GitHub repo containing the code files for this exercise (type the command, or copy it to the clipboard and then right-click in the command line and paste as plain text):
rm -r mslearn-ai-semantic-kernel -f git clone https://github.com/MicrosoftLearning/mslearn-ai-semantic-kernel mslearn-ai-semantic-kernelTip: As you paste commands into the cloudshell, the output may take up a large amount of the screen buffer. You can clear the screen by entering the
clscommand to make it easier to focus on each task. -
After the repo has been cloned, navigate to the folder containing the application code files:
Note: Follow the steps for your chosen programming language.
Python
cd mslearn-ai-semantic-kernel/Labfiles/02-run-prompts/PythonC#
cd mslearn-ai-semantic-kernel/Labfiles/02-run-prompts/C-sharp -
In the cloud shell command line pane, enter the following command to install the libraries you’ll use:
Python
 python -m venv labenv
 ./labenv/bin/Activate.ps1
 pip install python-dotenv semantic-kernel[azure]
C#
dotnet add package Microsoft.SemanticKernel dotnet add package Microsoft.SemanticKernel.PromptTemplates.Handlebars -
Enter the following command to edit the configuration file that has been provided:
Python
code .envC#
code appsettings.jsonThe file should open in a code editor.
-
In the code file, replace the your_azure_openai_endpoint and your_azure_openai_key placeholders with the Azure OpenAI endpoint and API key for your project (copied from the project Overview page in the Azure AI Foundry portal), and replace the your_deployment_name placeholder with the name you assigned to your gpt-4o model.
-
After you replace the placeholders, in the code editor, use the CTRL+S command or Right-click > Save to save your changes and then use the CTRL+Q command or Right-click > Quit to close the code editor while keeping the cloud shell command line open.
Now you’re ready to begin the exercise. Good luck!
Create a Semantic Kernel prompt template
Now you create a prompt template that instructs the AI to suggest suitable roles for a user in json format. The prompt template will provide the expected output format and the user input.
Tip: As you add code, be sure to maintain the correct indentation.
-
Enter the following command to edit the code file that has been provided:
Python
code prompts.pyC#
code Program.cs -
Add the following code under the comment Create a kernel with Azure OpenAI chat completion:
Python
 # Create a kernel with Azure OpenAI chat completion
 kernel = Kernel()
 chat_completion = AzureChatCompletion(
     api_key=api_key,
     endpoint=endpoint,
     deployment_name=deployment_name
 )
 kernel.add_service(chat_completion)
C#
// Create a kernel with Azure OpenAI chat completion var builder = Kernel.CreateBuilder(); builder.AddAzureOpenAIChatCompletion(deploymentName, endpoint, apiKey); var kernel = builder.Build(); var chatCompletionService = kernel.GetRequiredService<IChatCompletionService>(); -
Add the following code under the comment Create the chat history
Python
 # Create the chat history
 chat_history = ChatHistory()
C#
// Create the chat history var chatHistory = new ChatHistory(); -
Locate the comment Get the reply from the chat completion service and add the following code:
Python
 # Get the reply from the chat completion service
 reply = await chat_completion.get_chat_message_content(
     chat_history=chat_history,
     kernel=kernel,
     settings=AzureChatPromptExecutionSettings()
 )
 print("Assistant:", reply)
 chat_history.add_assistant_message(str(reply))
C#
 // Get the reply from the chat completion service
 ChatMessageContent reply = await chatCompletionService.GetChatMessageContentAsync(
     chatHistory,
     kernel: kernel
 );
 Console.WriteLine("Assistant: " + reply.ToString());
 chatHistory.AddAssistantMessage(reply.ToString());
This code retrieves the reply from the LLM, outputs it to the console, and appends it to the chat history.
-
Locae the comment Create a semantic kernel prompt template and add the following code:
Python
 # Create a semantic kernel prompt template
 sk_prompt_template = KernelPromptTemplate(
     prompt_template_config=PromptTemplateConfig(
         template="""
         You are a helpful career advisor. Based on the users's skills and interest, suggest up to 5 suitable roles.
         Return the output as JSON in the following format:
         "Role Recommendations":
         {
         "recommendedRoles": [],
         "industries": [],
         "estimatedSalaryRange": ""
         }

         My skills are: {{skills}}. My interests are: {{interests}}. What are some roles that would be suitable for me?
         """,
         name="recommend_roles_prompt",
         template_format="semantic-kernel",
     )
 )
C#
// Create a semantic kernel prompt template var skTemplateFactory = new KernelPromptTemplateFactory(); var skPromptTemplate = skTemplateFactory.Create(new PromptTemplateConfig( """ You are a helpful career advisor. Based on the users's skills and interest, suggest up to 5 suitable roles. Return the output as JSON in the following format: "Role Recommendations": { "recommendedRoles": [], "industries": [], "estimatedSalaryRange": "" } My skills are: {{$skills}}. My interests are: {{$interests}}. What are some roles that would be suitable for me? """ )); -
Add the following code under the comment Render the Semantic Kernel prompt with arguments:
Python
 # Render the Semantic Kernel prompt with arguments
 sk_rendered_prompt = await sk_prompt_template.render(
     kernel,
     KernelArguments(
         skills="Software Engineering, C#, Python, Drawing, Guitar, Dance",
         interests="Education, Psychology, Programming, Helping Others"
     )
 )
C#
// Render the Semantic Kernel prompt with arguments var skRenderedPrompt = await skPromptTemplate.RenderAsync( kernel, new KernelArguments { ["skills"] = "Software Engineering, C#, Python, Drawing, Guitar, Dance", ["interests"] = "Education, Psychology, Programming, Helping Others" } ); -
Add the following code under the comment Add the prompt to the chat history and get the reply:
Python
 # Add the Semantic Kernel prompt to the chat history and get the reply
 chat_history.add_user_message(sk_rendered_prompt)
 await get_reply()
C#
 // Add the Semantic Kernel prompt to the chat history and get the reply
 chatHistory.AddUserMessage(skRenderedPrompt);
 await GetReply();
Create a Handlebars prompt template
Now you create a prompt that identifies the user’s missing skills for a role and recommends courses to close the gap. Let’s get started!
-
Add the following code under the comment Create a handlebars template
Python
 # Create a handlebars template
 hb_prompt_template = HandlebarsPromptTemplate(
     prompt_template_config=PromptTemplateConfig(
         template="""
         <message role="system">
         Instructions: You are a career advisor. Analyze the skill gap between
         the user's current skills and the requirements of the target role.
         </message>
         <message role="user">Target Role: {{targetRole}}</message>
         <message role="user">Current Skills: {{currentSkills}}</message>

         <message role="assistant">
         "Skill Gap Analysis":
         {
             "missingSkills": [],
             "coursesToTake": [],
             "certificationSuggestions": []
         }
         </message>
         """,
         name="missing_skills_prompt",
         template_format="handlebars",
     )
 )
C#
// Create a handlebars template var hbTemplateFactory = new HandlebarsPromptTemplateFactory(); var hbPromptTemplate = hbTemplateFactory.Create(new PromptTemplateConfig() { TemplateFormat = "handlebars", Name = "MissingSkillsPrompt", Template = """ <message role="system"> Instructions: You are a career advisor. Analyze the skill gap between the user's current skills and the requirements of the target role. </message> <message role="user">Target Role: {{targetRole}}</message> <message role="user">Current Skills: {{currentSkills}}</message> <message role="assistant"> "Skill Gap Analysis": { "missingSkills": [], "coursesToTake": [], "certificationSuggestions": [] } </message> """ } ); -
Add the following code under the comment Render the Handlebars prompt with arguments:
Python
 # Render the Handlebars prompt with arguments
 hb_rendered_prompt = await hb_prompt_template.render(
     kernel,
     KernelArguments(
         targetRole="Game Developer",
         currentSkills="Software Engineering, C#, Python, Drawing, Guitar, Dance"
     )
 )
C#
// Render the Handlebars prompt with arguments var hbRenderedPrompt = await hbPromptTemplate.RenderAsync( kernel, new KernelArguments { ["targetRole"] = "Game Developer", ["currentSkills"] = "Software Engineering, C#, Python, Drawing, Guitar, Dance" } ); -
Add the following code under the comment Add the Handlebars prompt to the chat history and get the reply:
Python
 # Add the Handlebars prompt to the chat history and get the reply
 chat_history.add_user_message(hb_rendered_prompt)
 await get_reply()
C#
 // Add the Handlebars prompt to the chat history and get the reply
 chatHistory.AddUserMessage(hbRenderedPrompt);
 await GetReply();
Accept a follow-up prompt from the user
-
Add the following code under the comment Get a follow-up prompt from the user:
Python
 # Get a follow-up prompt from the user
 print("Assistant: How can I help you?")
 user_input = input("User: ")
C#
// Get a follow-up prompt from the user Console.WriteLine("Assistant: How can I help you?"); Console.Write("User: "); string input = Console.ReadLine()!; -
Add the following code under the comment Add the user input to the chat history and get the reply:
Python
 # Add the user input to the chat history and get the reply
 chat_history.add_user_message(user_input)
 await get_reply()
C#
// Add the user input to the chat history and get the reply chatHistory.AddUserMessage(input); await GetReply(); -
After you’ve updated the code, use the CTRL+S command to save your changes.
-
In the cloud shell command-line pane beneath the code editor, enter the following command to run the code:
Python
python prompts.pyC#
dotnet runYou should see output similar to the following:
Assistant: "Role Recommendations": { "recommendedRoles": [ "Educational Software Developer", "Psychology-Based Game Designer", "Learning Management System Specialist", "Technology Trainer/Instructor", "Creative Programmer for Arts-Based Applications" ], "industries": [ "Education Technology", "Game Development and Psychology", "Software Development", "Corporate Training", "Creative Arts Technology" ], "estimatedSalaryRange": "$55,000 - $120,000 per year (depending on experience and role)" } (omitted...) Assistant: How can I help you? -
Enter a follow-up question such as
How long will it take to gain the required skills?You should see output similar to the following:
"Skill Acquisition Estimate":
 {
     "estimatedTime": {
         "Unity/Unreal Engine proficiency": "3-6 months (focused learning and project-based practice)",
         "Game mechanics and physics programming": "2-4 months (depending on your familiarity with algorithms and physics concepts)",
         "3D modeling/animation skills": "4-6 months (if learning beginner-to-intermediate-level modeling tools like Blender or Maya)",
         "Level design and storytelling techniques": "2-3 months (with regular game project work and creative design exercises)",
         "Version control systems like Git": "1 month (trial-and-error practice with collaborative coding workflows)"
     },
     "totalEstimatedTime": "9-18 months (if pursued part-time with a consistent learning schedule)"
 }
Now you successfully invoked prompts and prompt templates on your AI model using the Semantic Kernel SDK. Great work!
Summary
In this exercise, you used the Semantic Kernel SDK and Azure OpenAI to create an AI assistant that can help users find suitable roles and identify missing skills. Great work!
Clean up
If you’ve finished exploring Azure OpenAI and Semantic Kernel, you should delete the resources you have created in this exercise to avoid incurring unnecessary Azure costs.
- Return to the browser tab containing the Azure portal (or re-open the Azure portal at
https://portal.azure.comin a new browser tab) and view the contents of the resource group where you deployed the resources used in this exercise. - On the toolbar, select Delete resource group.
- Enter the resource group name and confirm that you want to delete it.