Explore an Azure AI Search index (UI)
Let’s imagine you work for Fourth Coffee, a national coffee chain. You’re asked to help build a knowledge mining solution that makes it easy to search for insights about customer experiences. You decide to build an Azure AI Search index using data extracted from customer reviews.
In this lab you’ll:
- Create Azure resources
- Extract data from a data source
- Enrich data with AI skills
- Use Azure’s indexer in the Azure portal
- Query your search index
- Review results saved to a Knowledge Store
Azure resources needed
The solution you’ll create for Fourth Coffee requires the following resources in your Azure subscription:
- An Azure AI Search resource, which will manage indexing and querying.
-
An Azure AI services resource, which provides AI services for skills that your search solution can use to enrich the data in the data source with AI-generated insights.
Note Your Azure AI Search and Azure AI services resources must be in the same location!
- A Storage account with blob containers, which will store raw documents and other collections of tables, objects, or files.
Create an Azure AI Search resource
-
Sign into the Azure portal.
-
Click the + Create a resource button, search for Azure AI Search, and create a Azure AI Search resource with the following settings:
- Subscription: Your Azure subscription.
- Resource group: Select or create a resource group with a unique name.
- Service name: A unique name.
- Location: Choose any available region. If in eastern US, use “East US 2”.
- Pricing tier: Basic
-
Select Review + create, and after you see the response Validation Success, select Create.
-
After deployment completes, select Go to resource. On the Azure AI Search overview page, you can add indexes, import data, and search created indexes.
Create an Azure AI services resource
You’ll need to provision an Azure AI services resource that’s in the same location as your Azure AI Search resource. Your search solution will use this resource to enrich the data in the datastore with AI-generated insights.
- Return to the home page of the Azure portal. Click the +Create a resource button and search for Azure AI services. Select create an Azure AI services plan. You will be taken to a page to create an Azure AI services resource. Configure it with the following settings:
- Subscription: Your Azure subscription.
- Resource group: The same resource group as your Azure AI Search resource.
- Region: The same location as your Azure AI Search resource.
- Name: A unique name.
- Pricing tier: Standard S0
- By checking this box I acknowledge that I have read and understood all the terms below: Selected
-
Select Review + create. After you see the response Validation Passed, select Create.
- Wait for deployment to complete, then view the deployment details.
Create a storage account
-
Return to the home page of the Azure portal, and then select the + Create a resource button.
- Search for storage account, and create a Storage account resource with the following settings:
- Subscription: Your Azure subscription.
- Resource group: The same resource group as your Azure AI Search and Azure AI services resources.
- Storage account name: A unique name.
- Location: Choose any available location.
- Performance: Standard
- Redundancy: Locally redundant storage (LRS)
-
Click Review and then click Create. Wait for deployment to complete, and then go to the deployed resource.
- In the Azure Storage account you created, in the left-hand menu pane, select Configuration (under Settings).
- Change the setting for Allow Blob anonymous access to Enabled and then select Save.
Upload Documents to Azure Storage
-
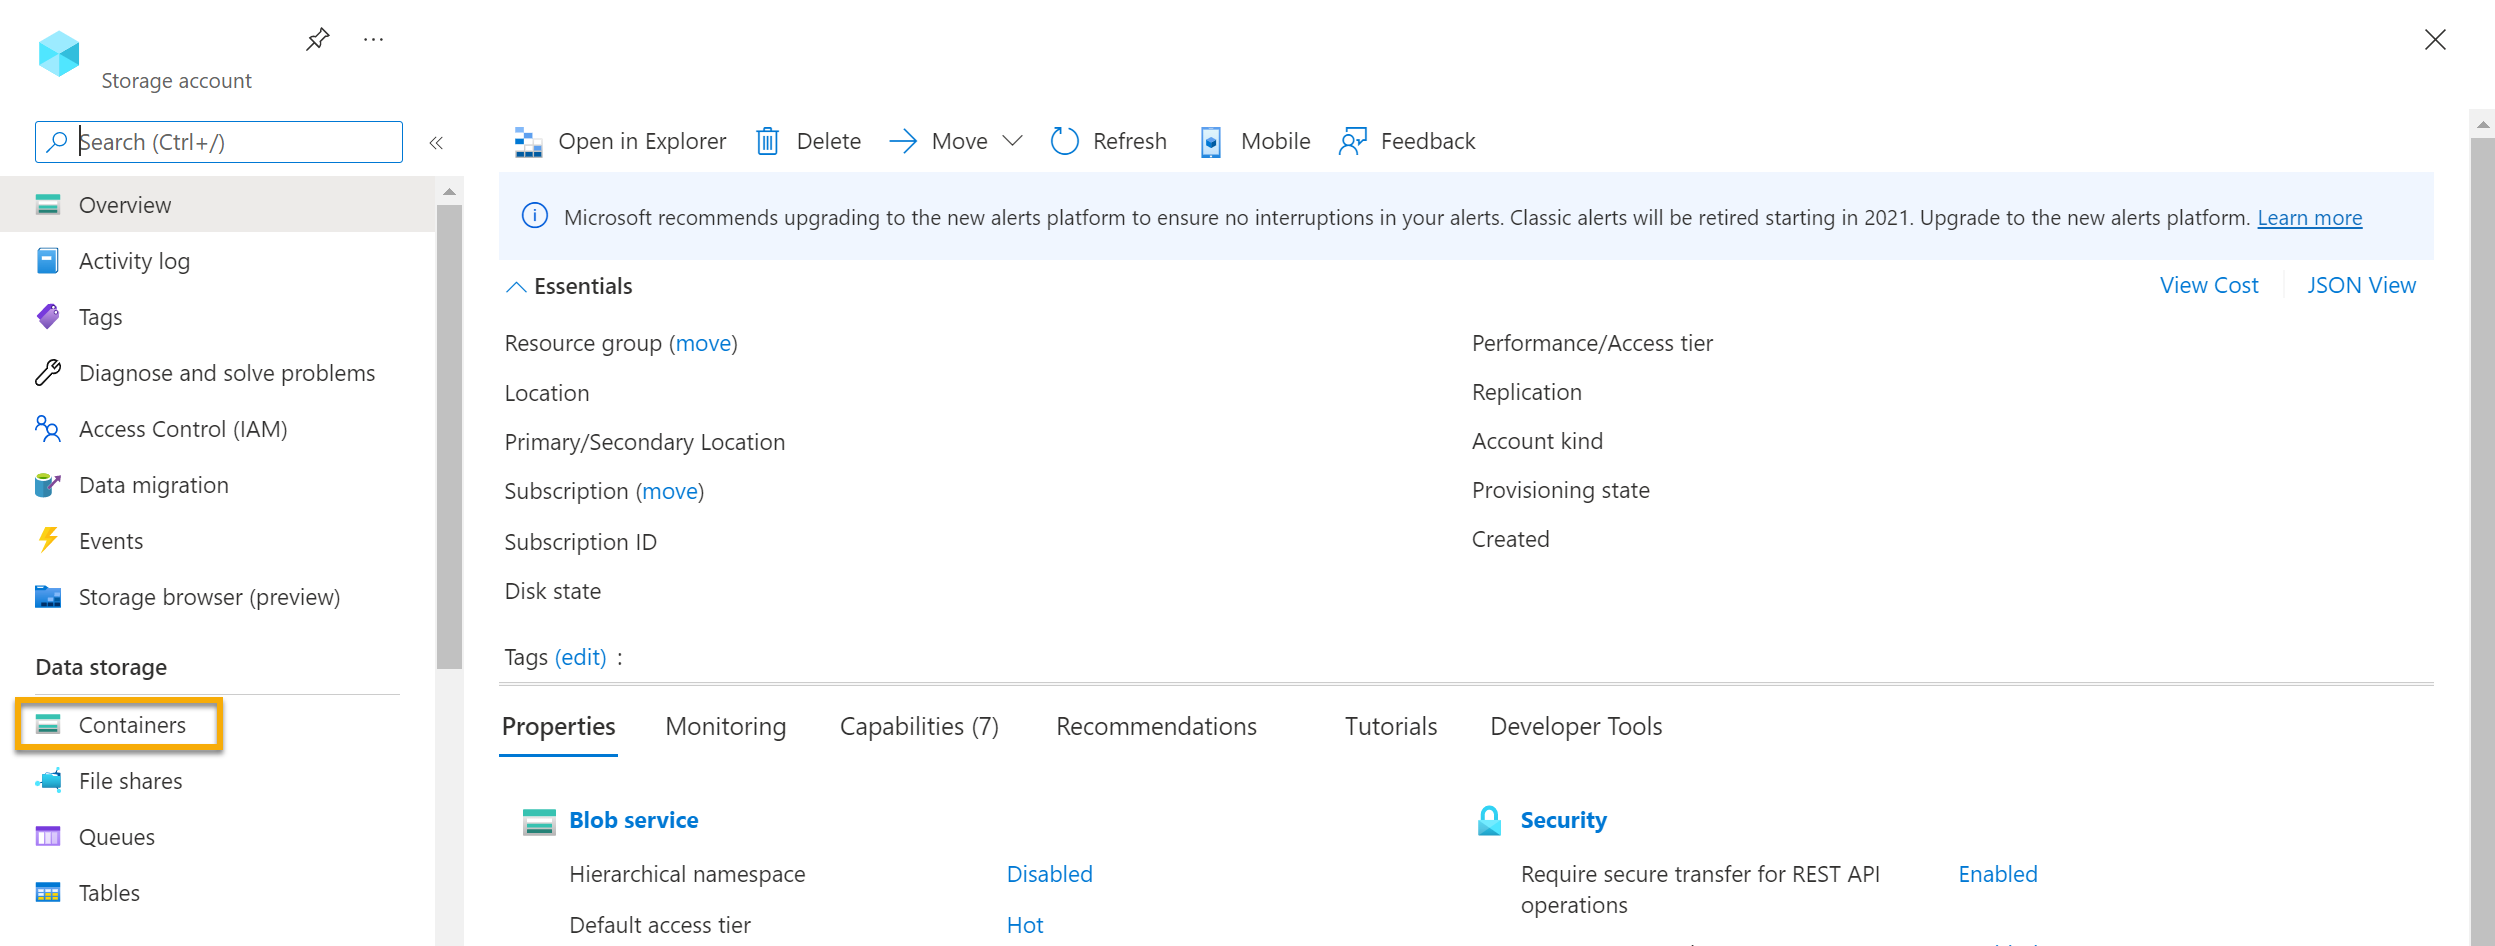
In the left-hand menu pane, select Containers.
-
Select + Container. A pane on your right-hand side opens.
- Enter the following settings, and click Create:
- Name: coffee-reviews
- Public access level: Container (anonymous read access for containers and blobs)
- Advanced: no changes.
-
In a new browser tab, download the zipped coffee reviews from
https://aka.ms/mslearn-coffee-reviews, and extract the files to the reviews folder. -
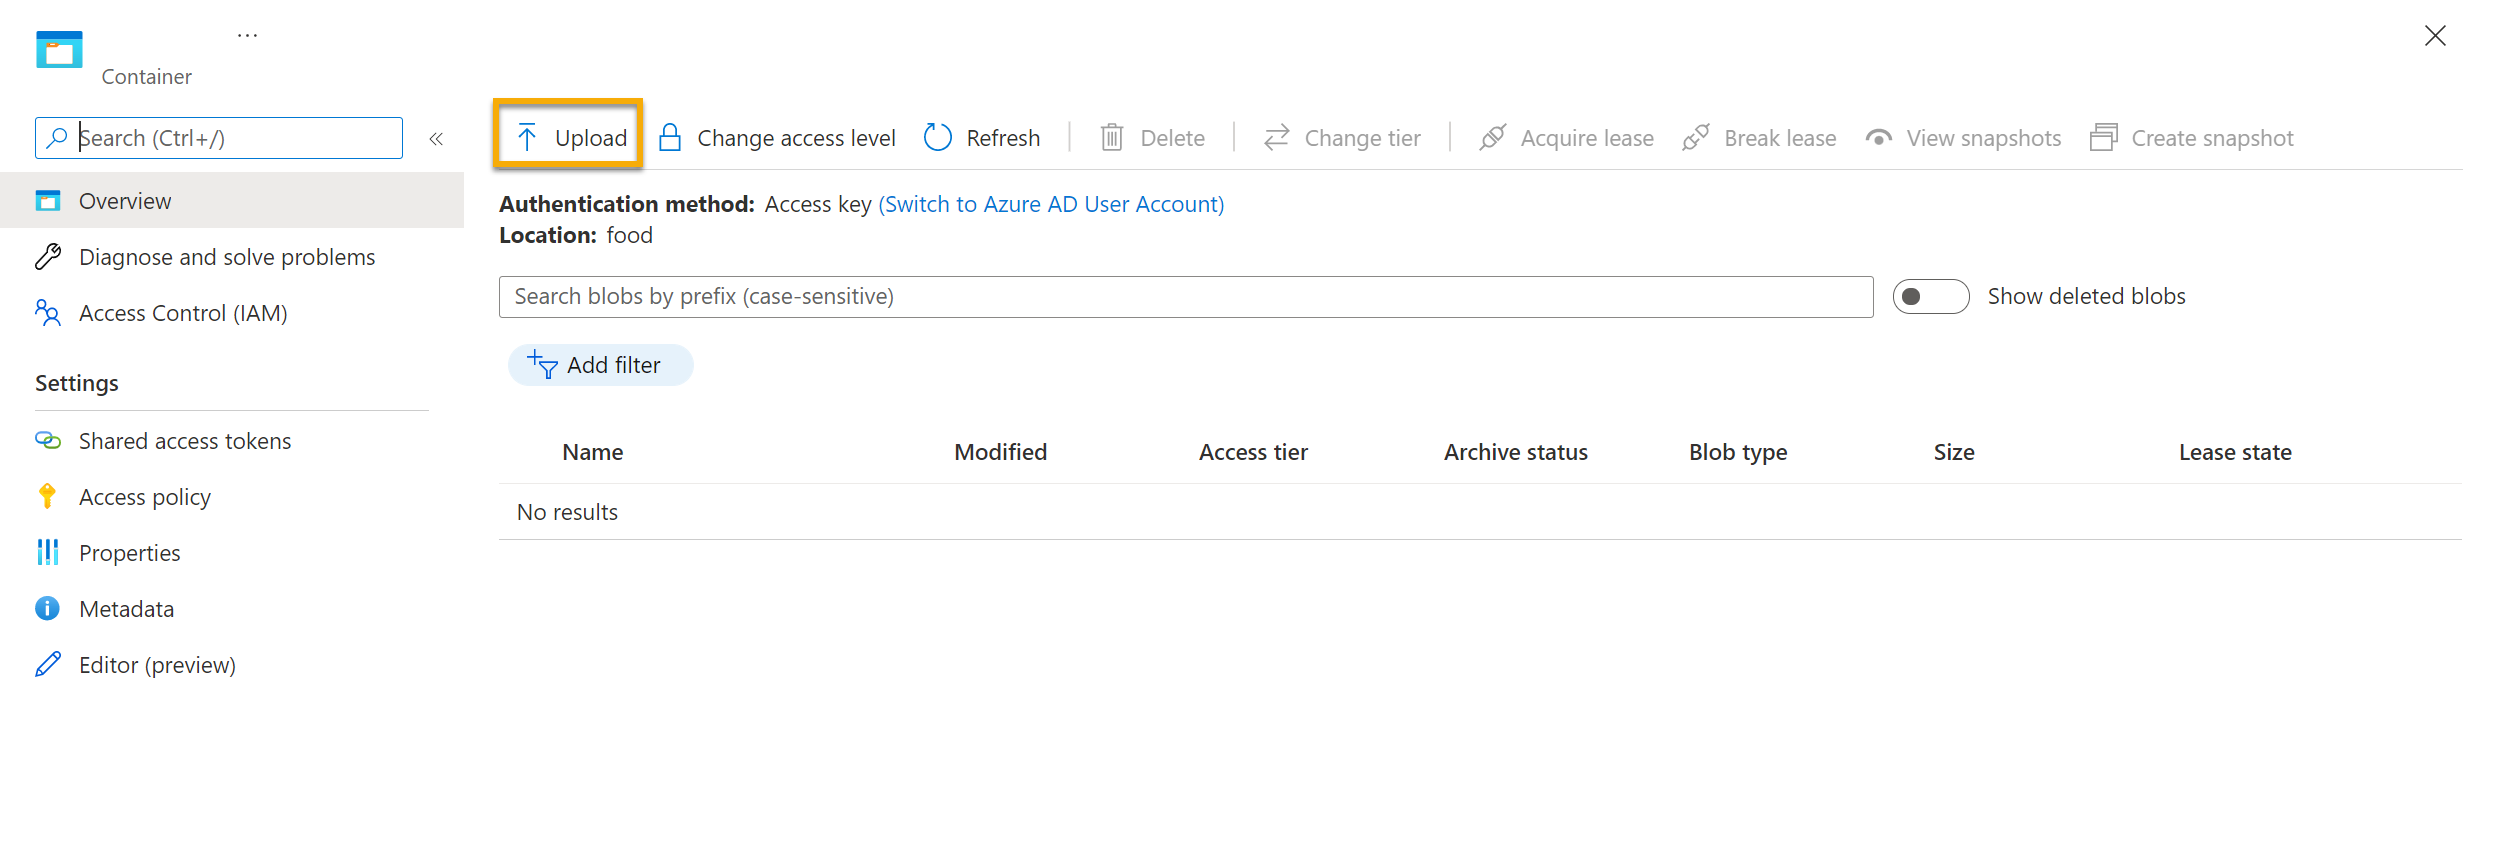
In the Azure portal, select your coffee-reviews container. In the container, select Upload.
-
In the Upload blob pane, select Select a file.
-
In the Explorer window, select all the files in the reviews folder, select Open, and then select Upload.
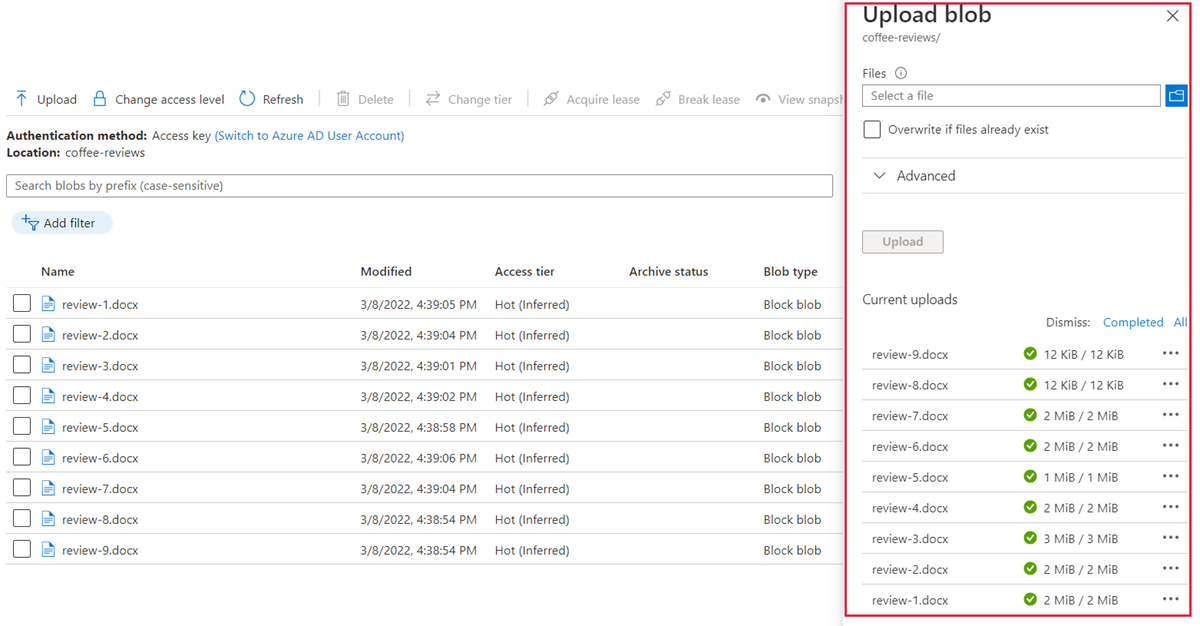
- After the upload is complete, you can close the Upload blob pane. Your documents are now in your coffee-reviews storage container.
Index the documents
After you have the documents in storage, you can use Azure AI Search to extract insights from the documents. The Azure portal provides an Import data wizard. With this wizard, you can automatically create an index and indexer for supported data sources. You’ll use the wizard to create an index, and import your search documents from storage into the Azure AI Search index.
-
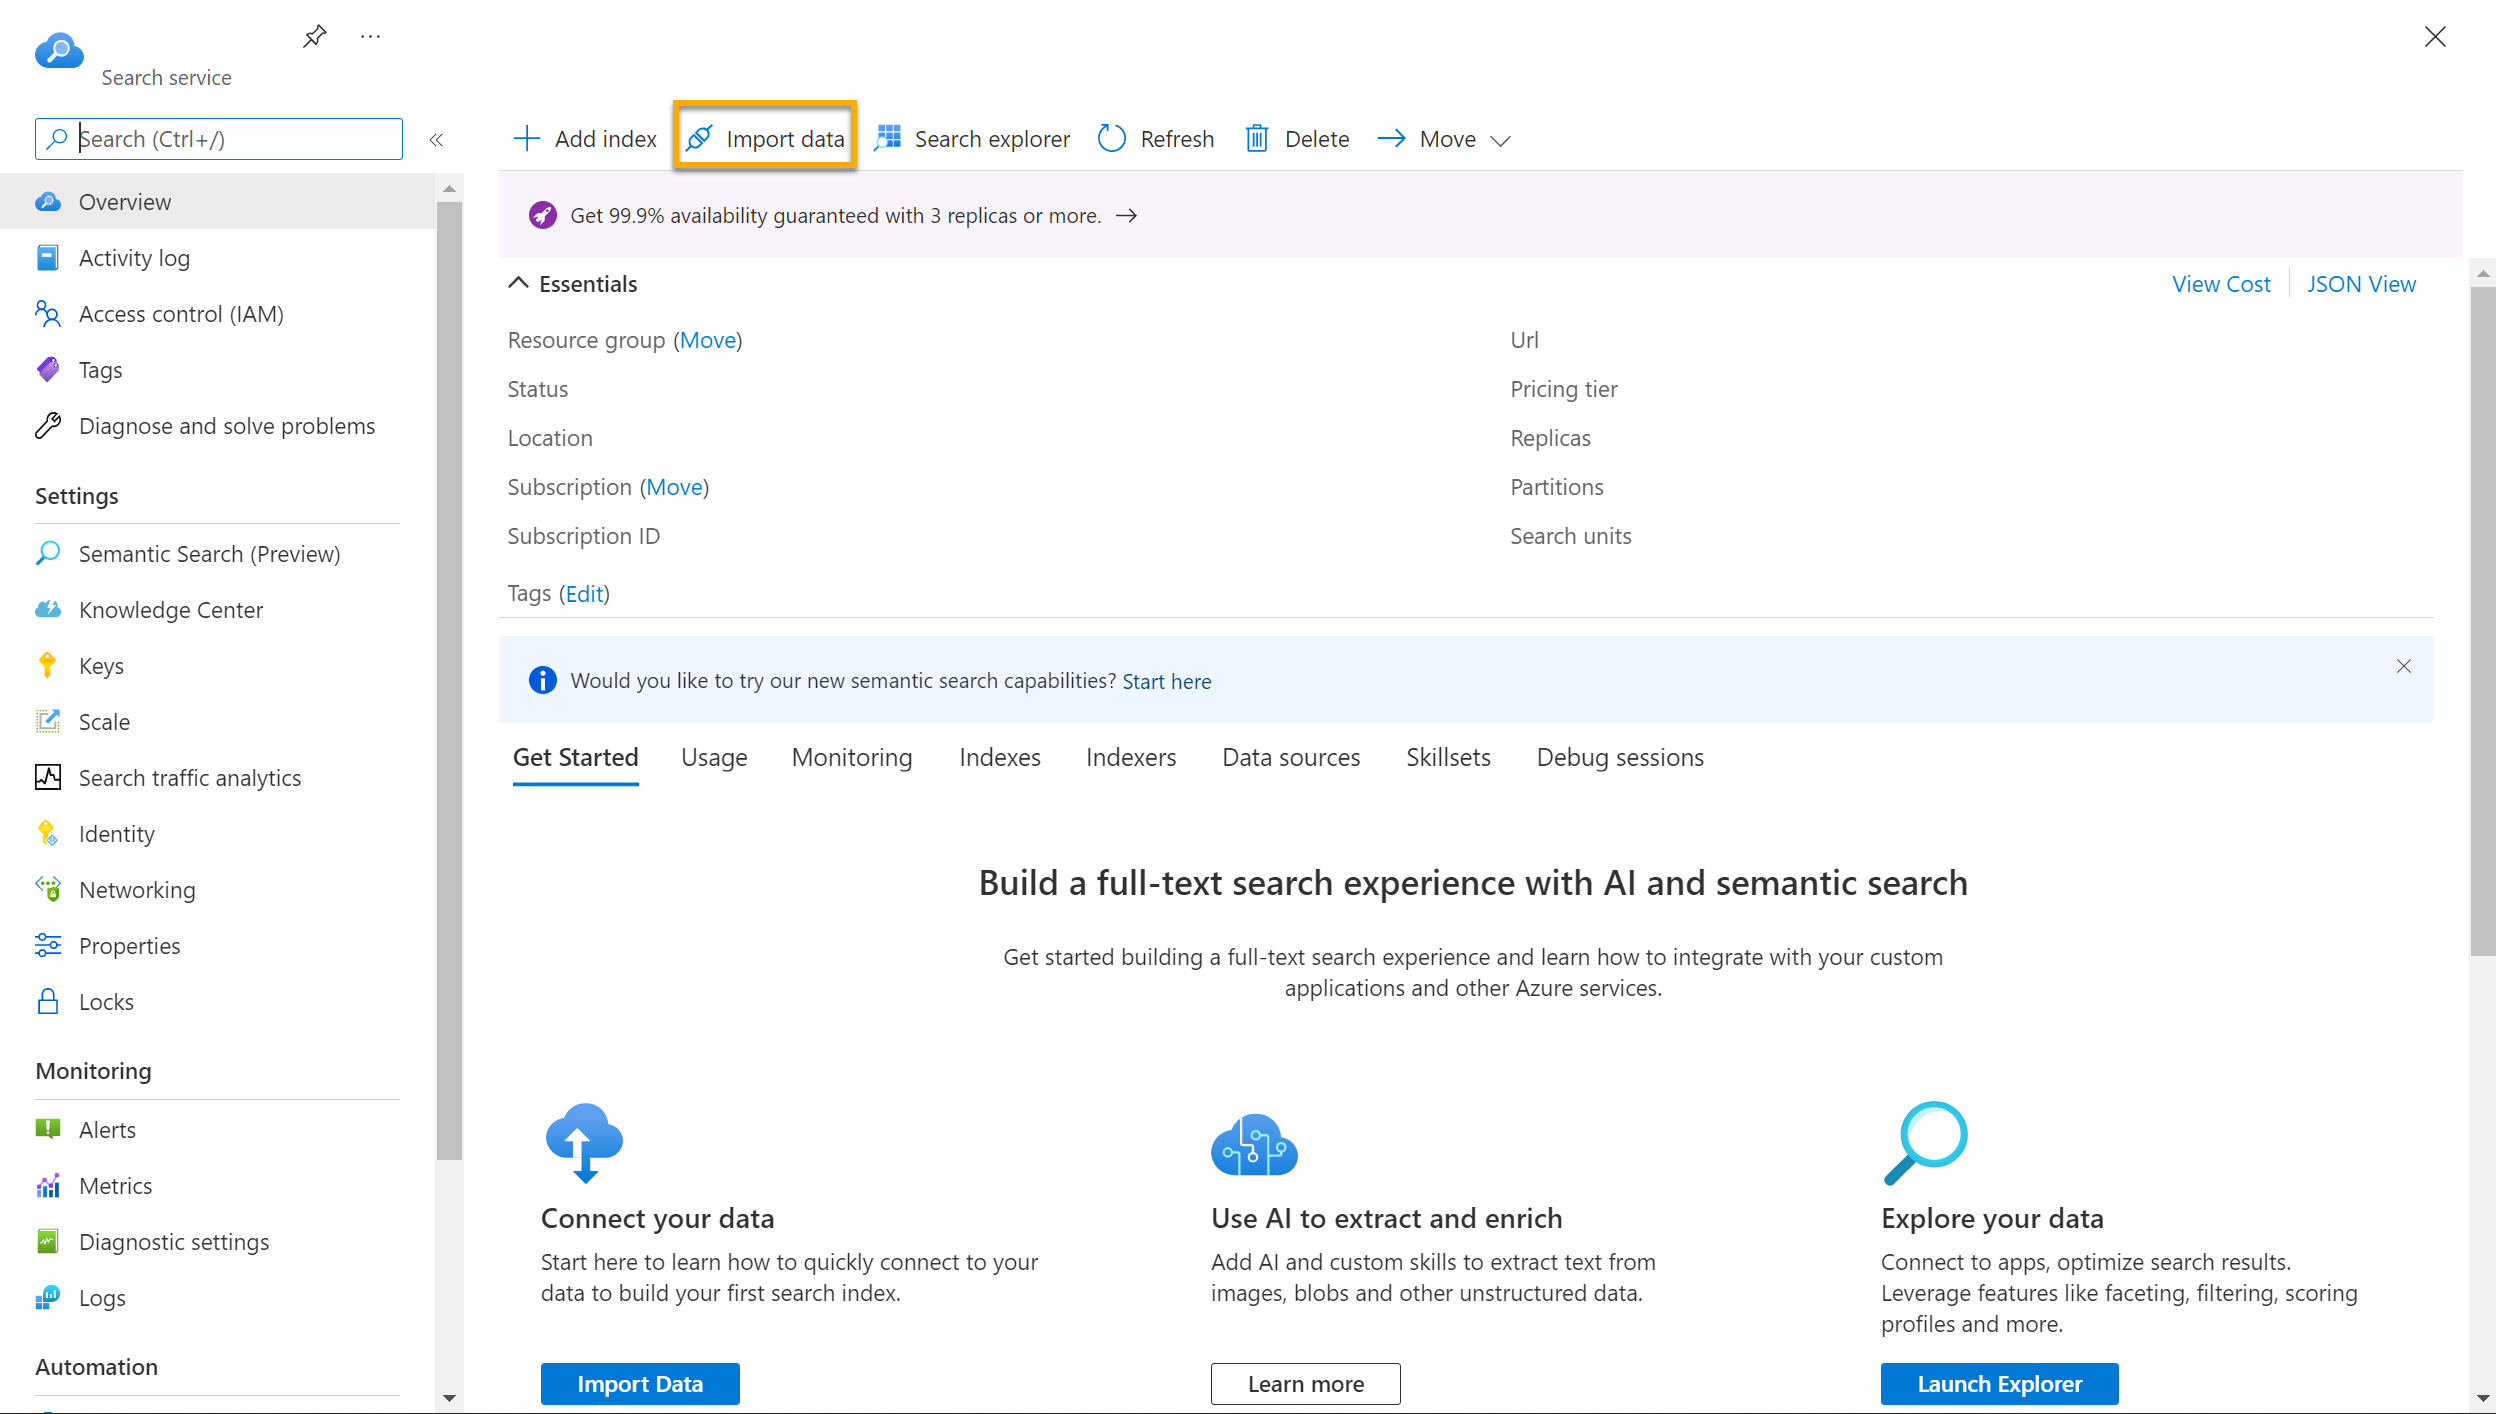
In the Azure portal, browse to your Azure AI Search resource. On the Overview page, select Import data.
- On the Connect to your data page, in the Data Source list, select Azure Blob Storage. Complete the data store details with the following values:
- Data Source: Azure Blob Storage
- Data source name: coffee-customer-data
- Data to extract: Content and metadata
- Parsing mode: Default
- Connection string: *Select Choose an existing connection. Select your storage account, select the coffee-reviews container, and then click Select.
- Managed identity authentication: None
- Container name: this setting is auto-populated after you choose an existing connection.
- Blob folder: Leave this blank.
- Description: Reviews for Fourth Coffee shops.
-
Select Next: Add cognitive skills (Optional).
-
In the Attach AI Services section, select your Azure AI services resource.
- In the Add enrichments section:
- Change the Skillset name to coffee-skillset.
- Select the checkbox Enable OCR and merge all text into merged_content field.
Note It’s important to select Enable OCR to see all of the enriched field options.
- Ensure that the Source data field is set to merged_content.
- Change the Enrichment granularity level to Pages (5000 character chunks).
- Don’t select Enable incremental enrichment
-
Select the following enriched fields:
Cognitive Skill Parameter Field name Extract location names locations Extract key phrases keyphrases Detect sentiment sentiment Generate tags from images imageTags Generate captions from images imageCaption
- Under Save enrichments to a knowledge store, select:
- Image projections
- Documents
- Pages
- Key phrases
- Entities
- Image details
- Image references
Note A warning asking for a Storage Account Connection String appears.
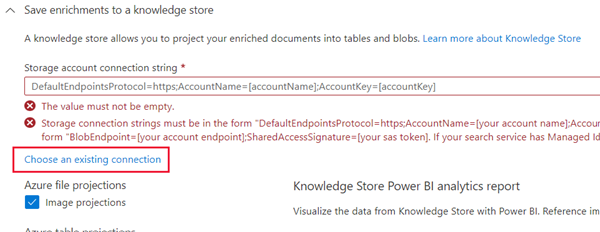
- Select Choose an existing connection. Choose the storage account you created earlier.
- Click on + Container to create a new container called knowledge-store with the privacy level set to Private, and select Create.
- Select the knowledge-store container, and then click Select at the bottom of the screen.
-
Select Azure blob projections: Document. A setting for Container name with the knowledge-store container auto-populated displays. Don’t change the container name.
-
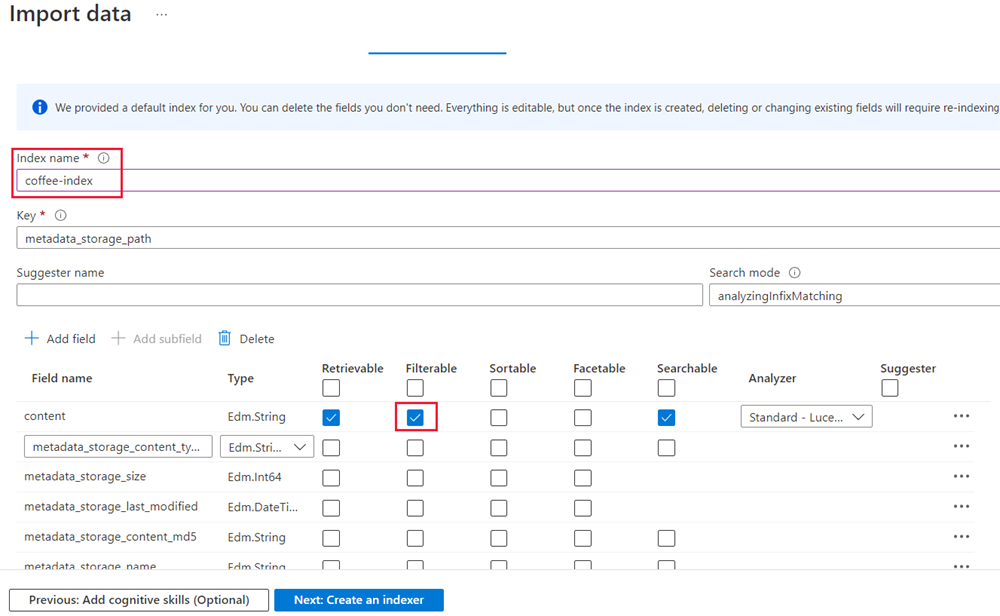
Select Next: Customize target index. Change the Index name to coffee-index.
-
Ensure that the Key is set to metadata_storage_path. Leave Suggester name blank and Search mode autopopulated.
-
Review the index fields’ default settings. Select filterable for all the fields that are already selected by default. The field names that need to be marked filterable include: content, locations, keyphrases, sentiment, merged_content, text, layoutText, imageTags, imageCaption.
-
Select Next: Create an indexer.
-
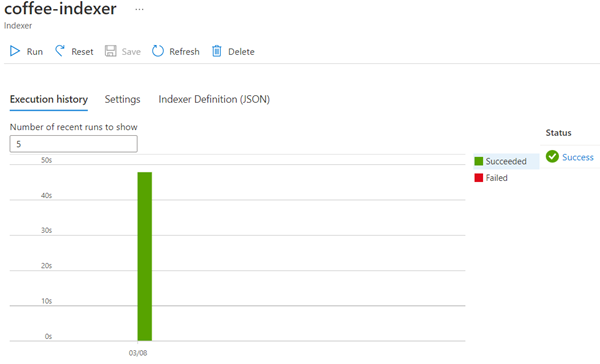
Change the Indexer name to coffee-indexer.
-
Leave the Schedule set to Once.
- Select Submit to create the data source, skillset, index, and indexer. The indexer is run automatically and runs the indexing pipeline, which:
- Extracts the document metadata fields and content from the data source.
- Runs the skillset of cognitive skills to generate more enriched fields.
- Maps the extracted fields to the index.
-
Return to your Azure AI Search resource page. On the left pane, under Search Management, select Indexers. Select the newly created coffee-indexer. Wait a minute, and select ↻ Refresh until the Status indicates success.
-
Select the indexer name to see more details.
Query the index
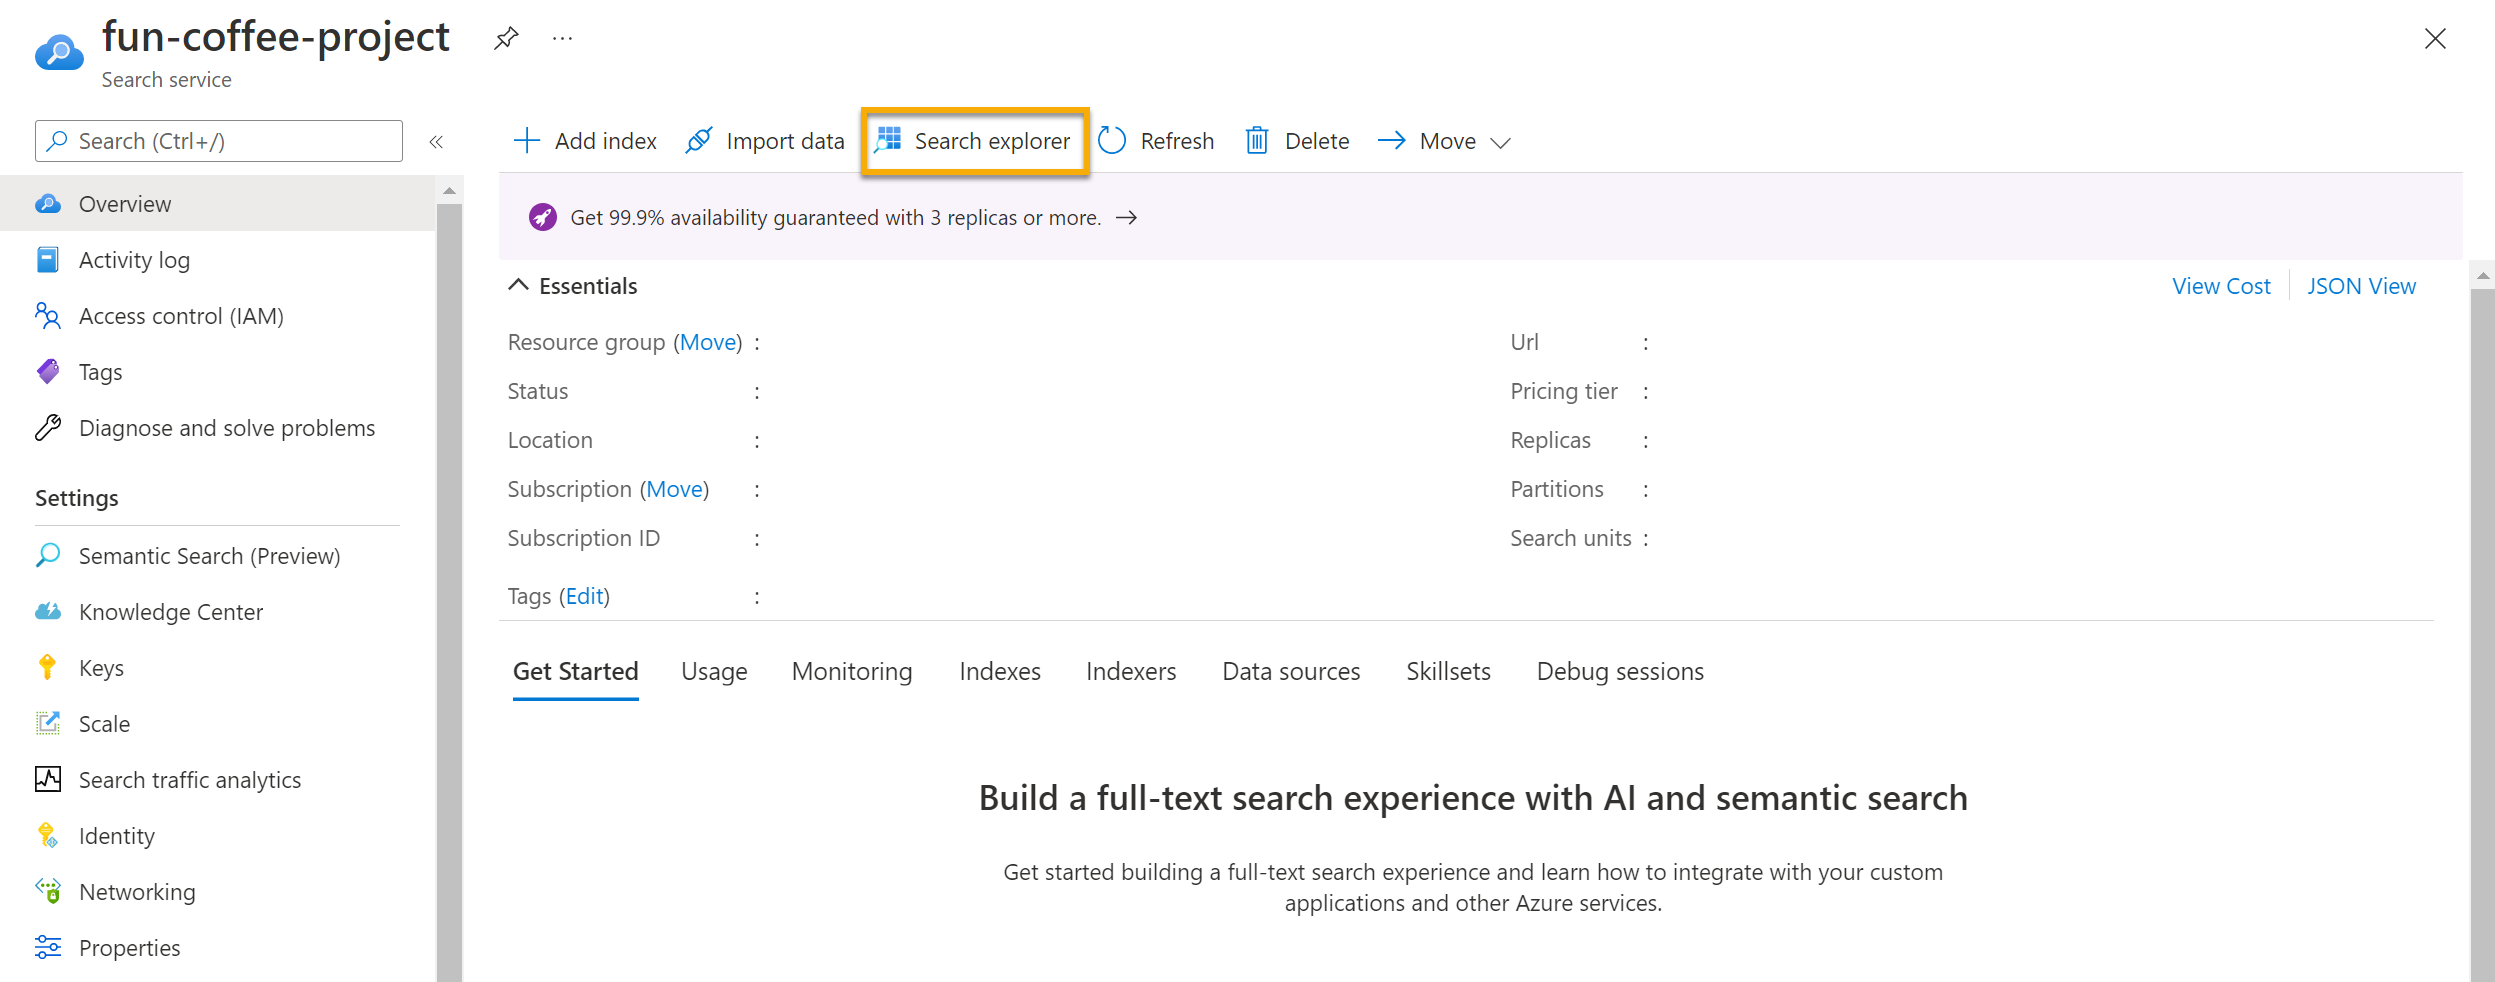
Use the Search explorer to write and test queries. Search explorer is a tool built into the Azure portal that gives you an easy way to validate the quality of your search index. You can use Search explorer to write queries and review results in JSON.
-
In your Search service’s Overview page, select Search explorer at the top of the screen.
-
Notice how the index selected is the coffee-index you created. Below the index selected, change the view to JSON view.
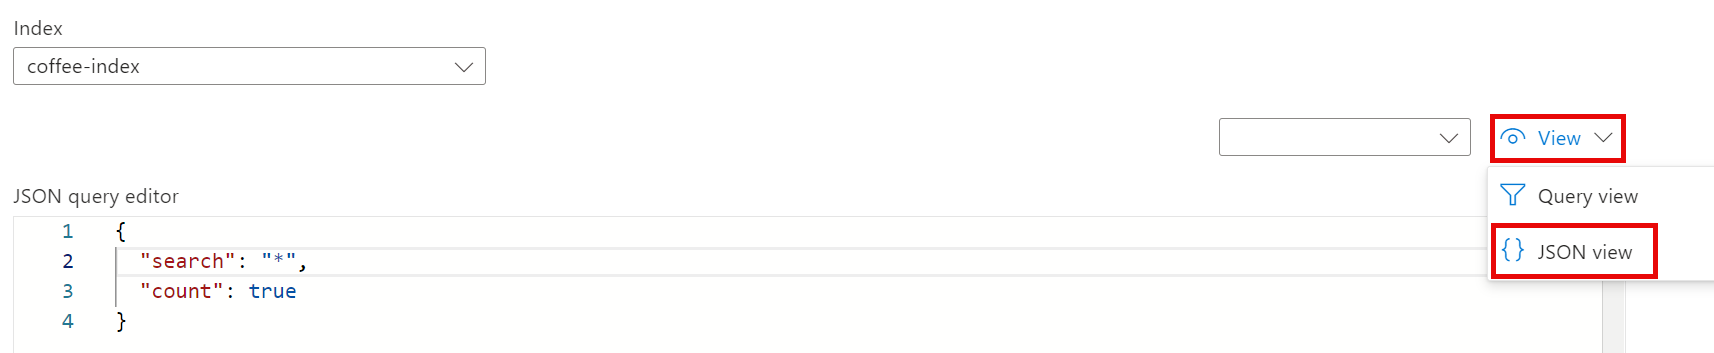
In the JSON query editor field, copy and paste:
{
    "search": "*",
    "count": true
}
-
Select Search. The search query returns all the documents in the search index, including a count of all the documents in the @odata.count field. The search index should return a JSON document containing your search results.
- Now let’s filter by location. In the JSON query editor field, copy and paste:
{ "search": "locations:'Chicago'", "count": true } -
Select Search. The query searches all the documents in the index and filters for reviews with a Chicago location. You should see
3in the@odata.countfield. - Now let’s filter by sentiment. In the JSON query editor field, copy and paste:
{ "search": "sentiment:'negative'", "count": true } -
Select Search. The query searches all the documents in the index and filters for reviews with a negative sentiment. You should see
1in the@odata.countfield.Note See how the results are sorted by
@search.score. This is the score assigned by the search engine to show how closely the results match the given query. - One of the problems we might want to solve for is why there might be certain reviews. Let’s take a look at the key phrases associated with the negative review. What do you think might be the cause of the review?
Review the knowledge store
Let’s see the power of the knowledge store in action. When you ran the Import data wizard, you also created a knowledge store. Inside the knowledge store, you’ll find the enriched data extracted by AI skills persists in the form of projections and tables.
-
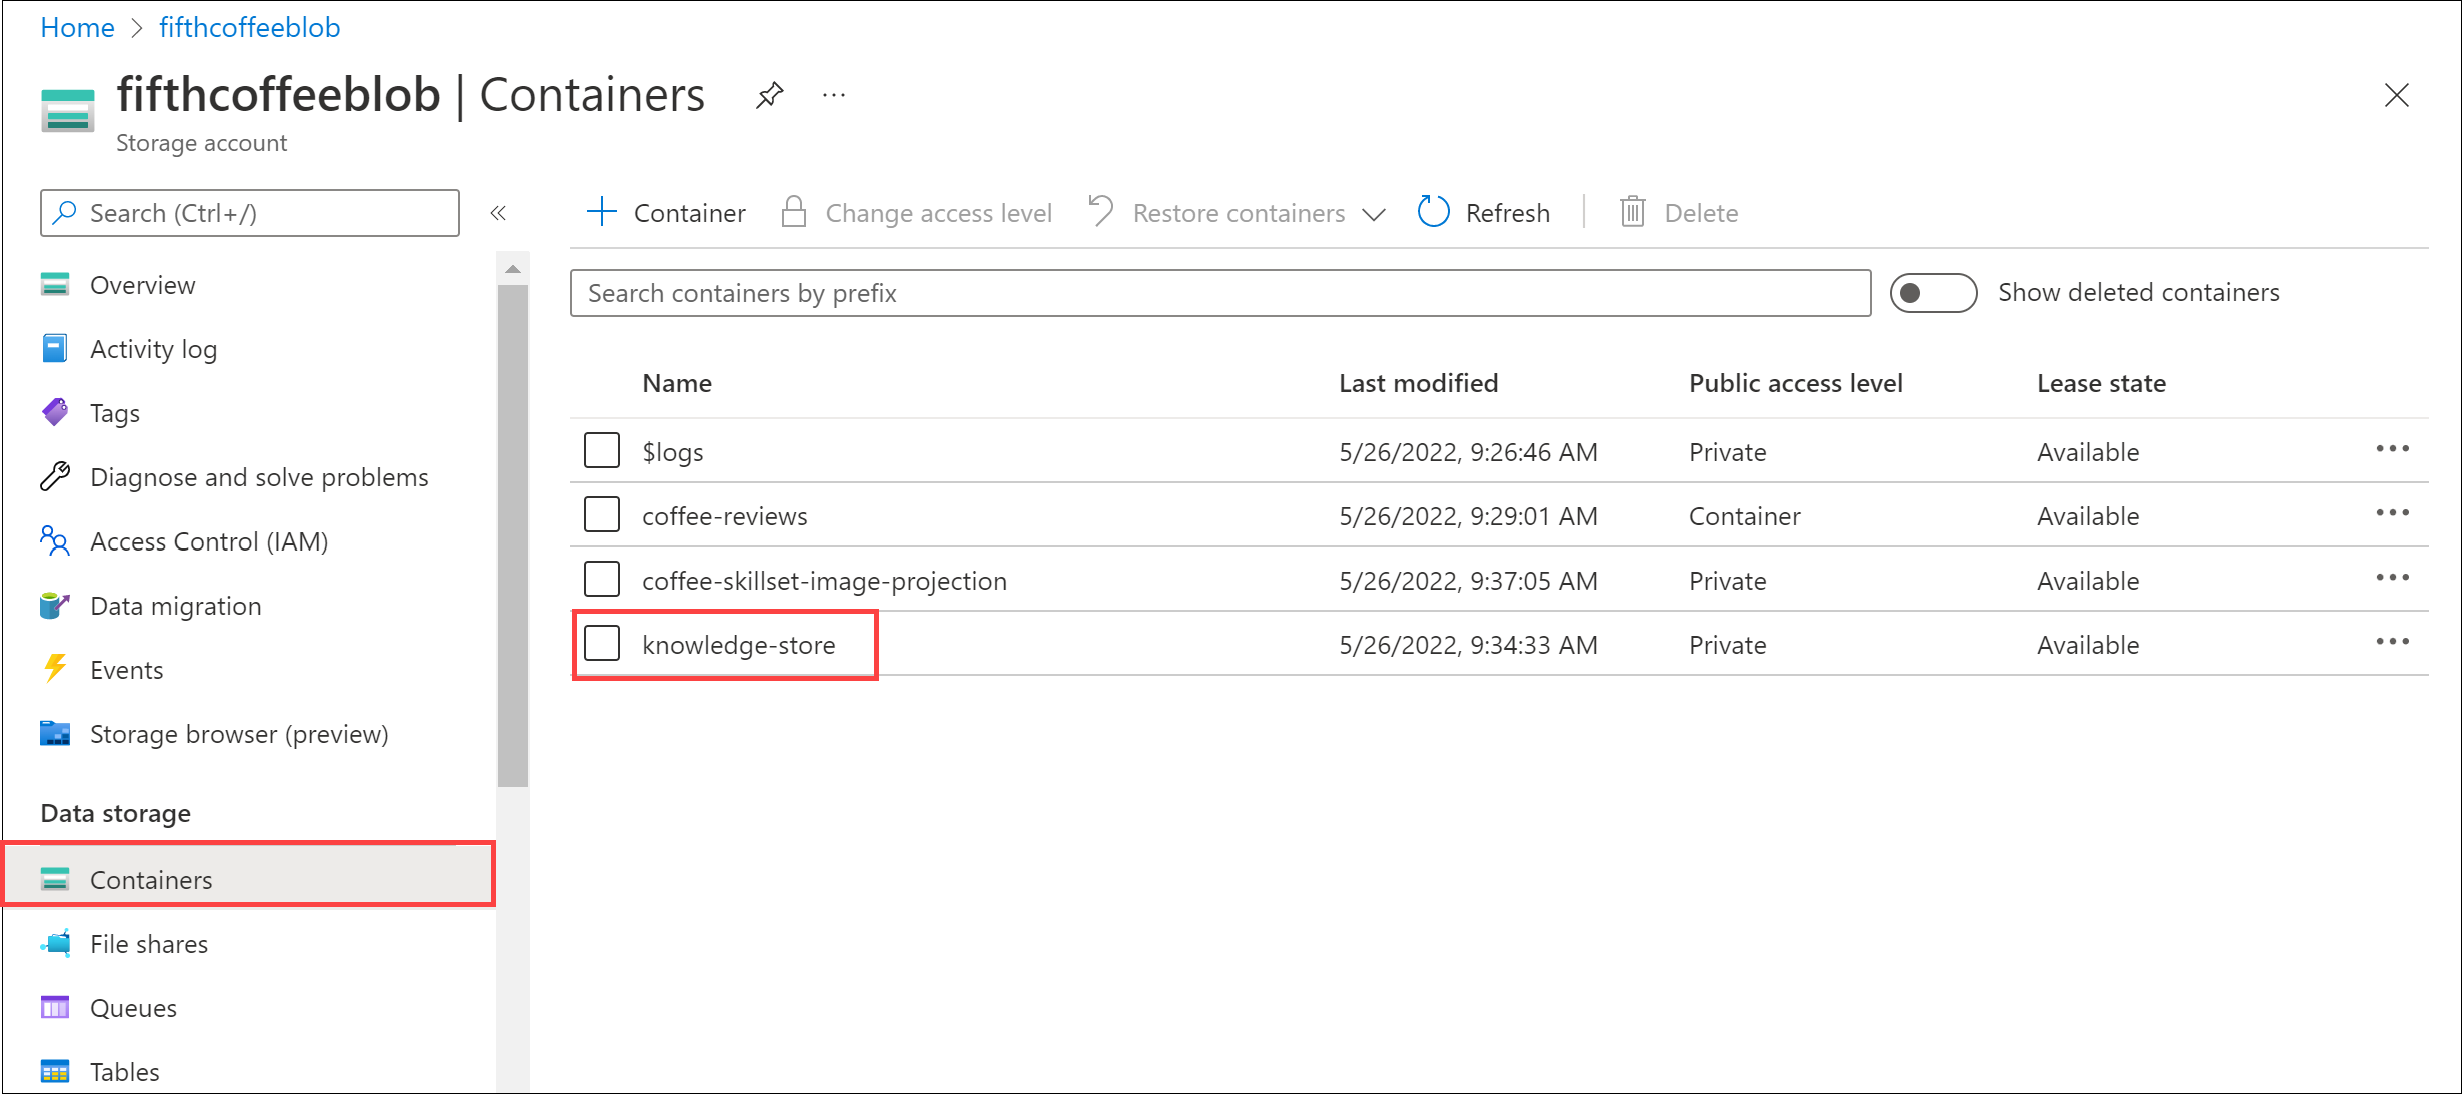
In the Azure portal, navigate back to your Azure storage account.
-
In the left-hand menu pane, select Containers. Select the knowledge-store container.
-
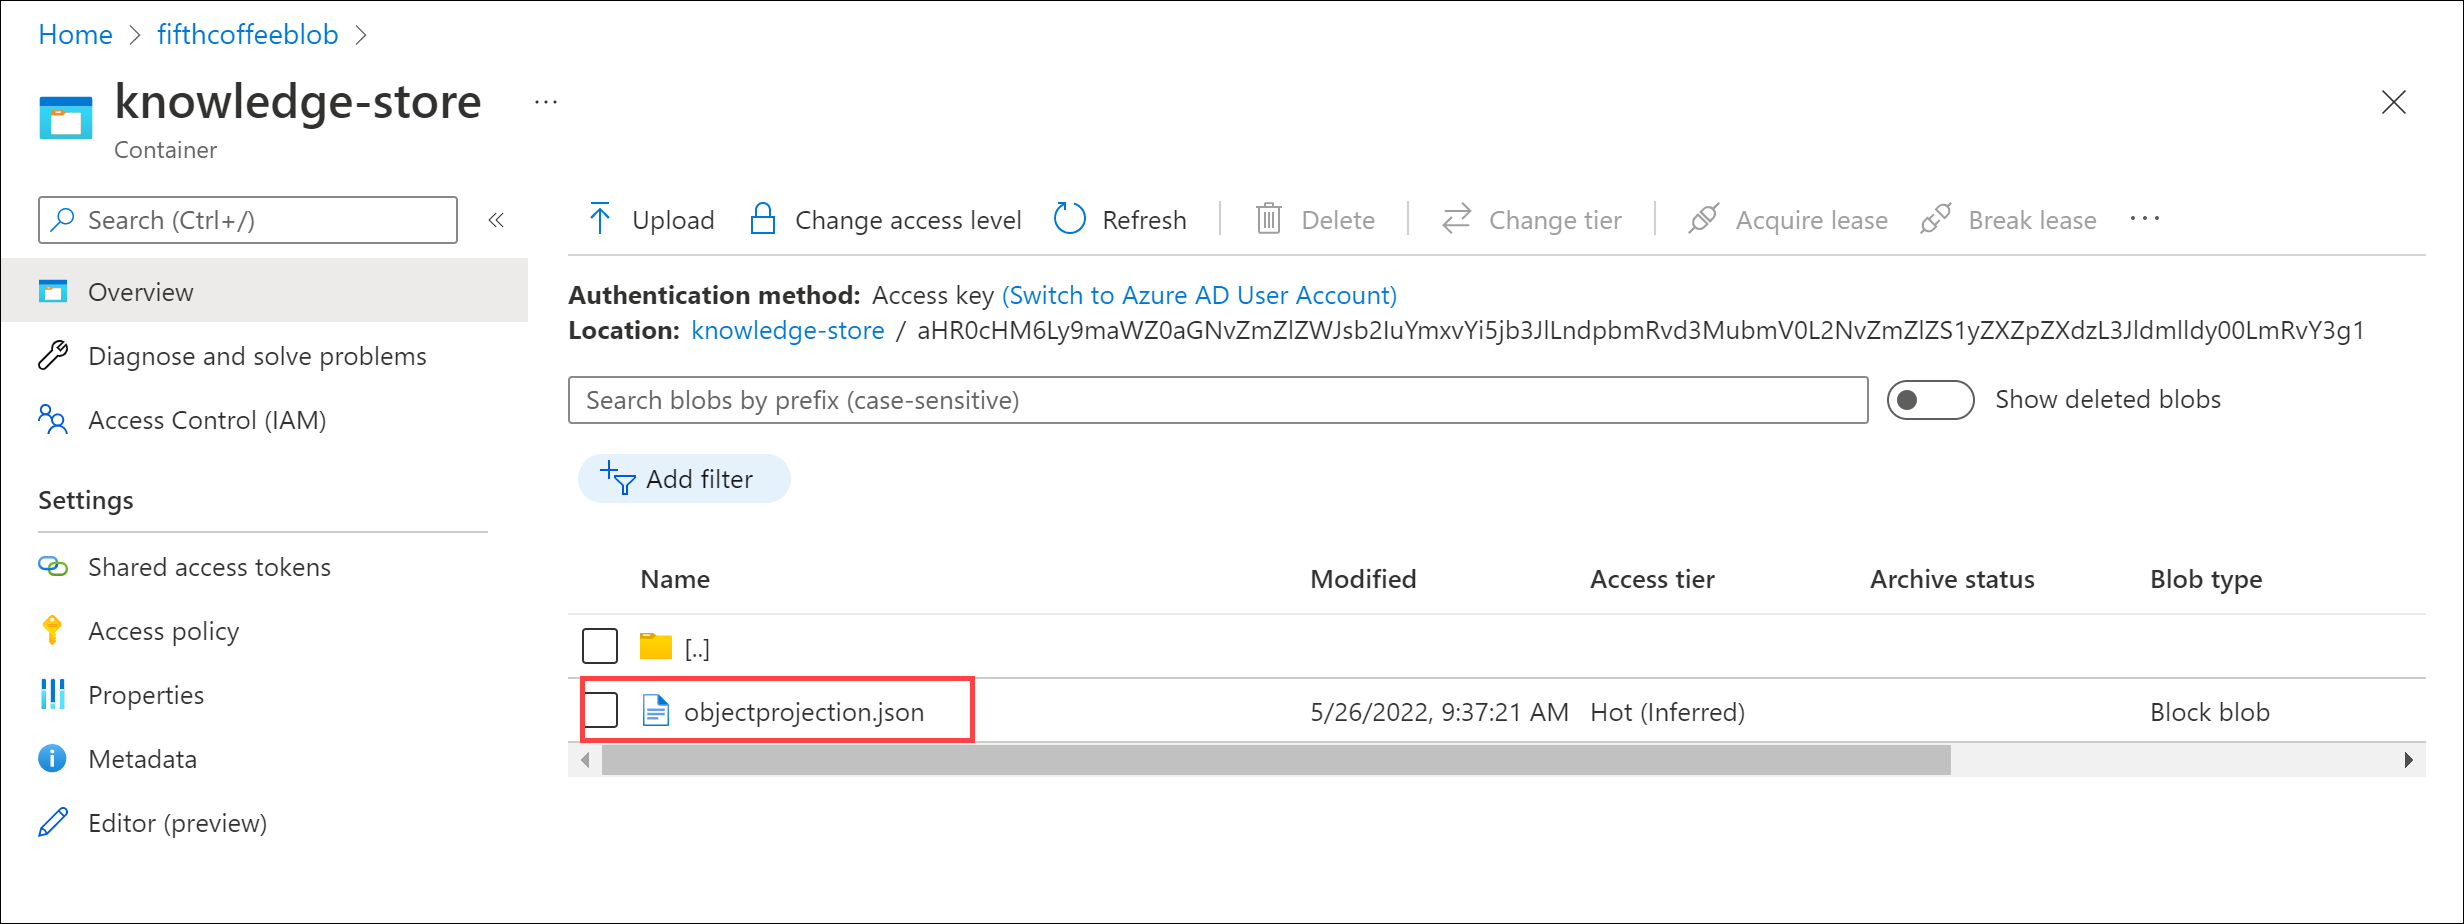
You will see a list of folders. There is one folder for all of the metadata for each review document. Select any of the folders. Within the folder, click the objectprojection.json file.
-
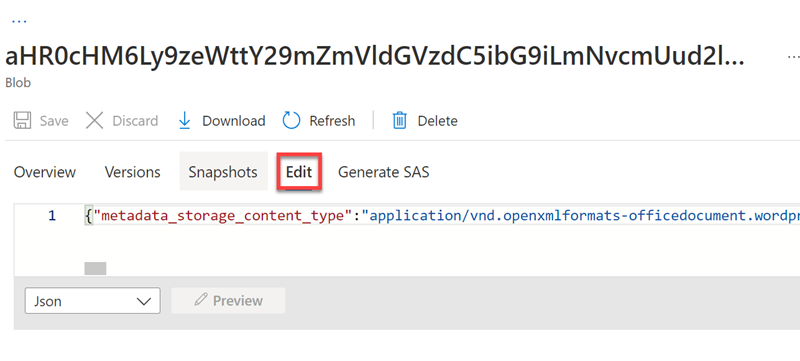
Select Edit to see the JSON produced for one of the documents from your Azure data store.
-
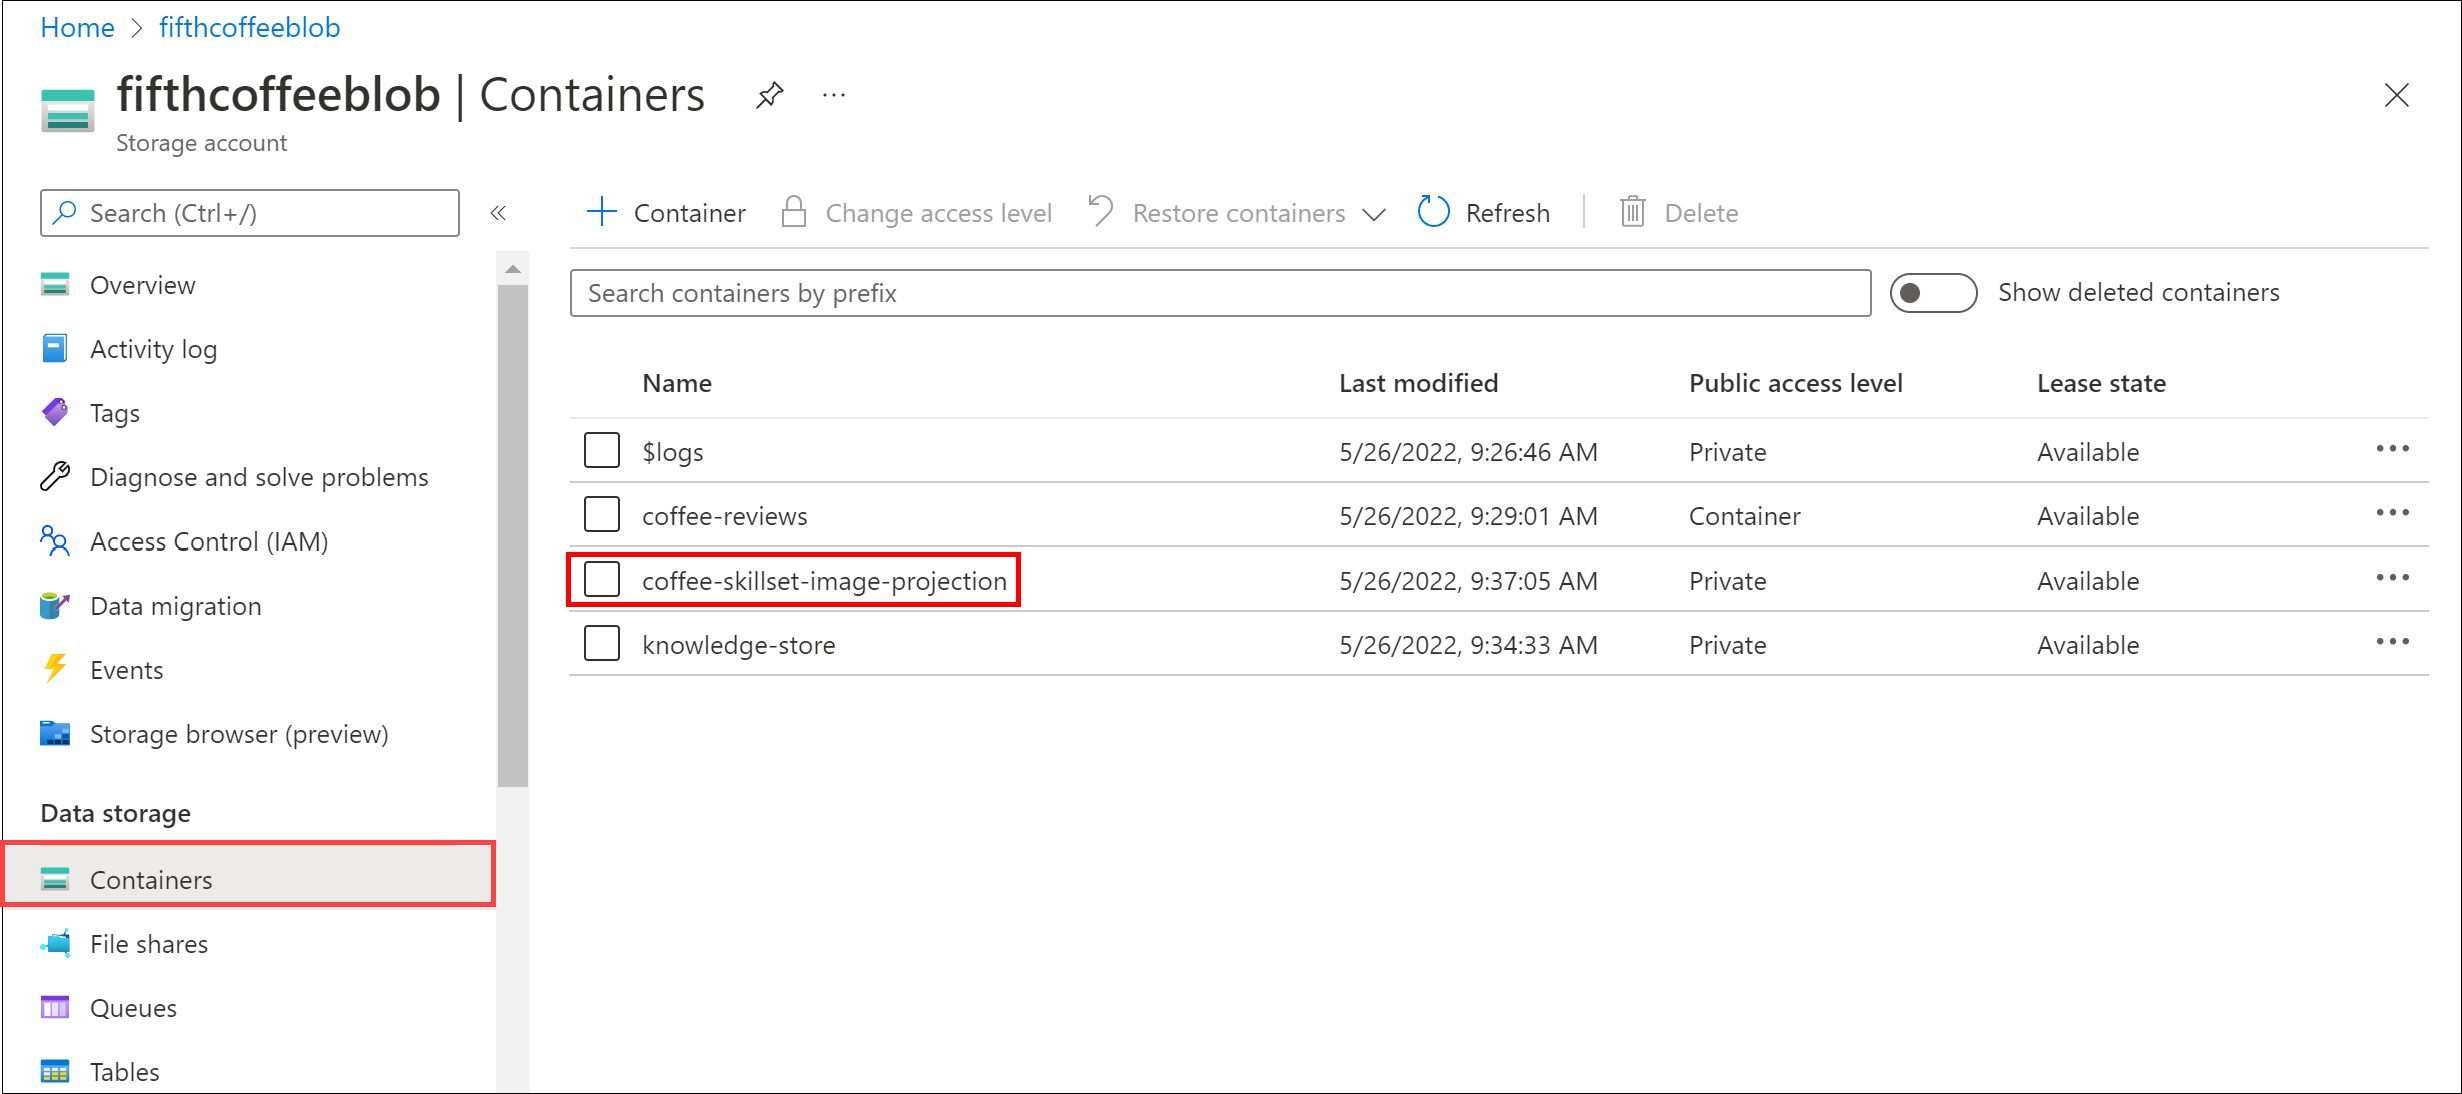
Select the storage blob breadcrumb at the top left of the screen to return to the Storage account Containers.
-
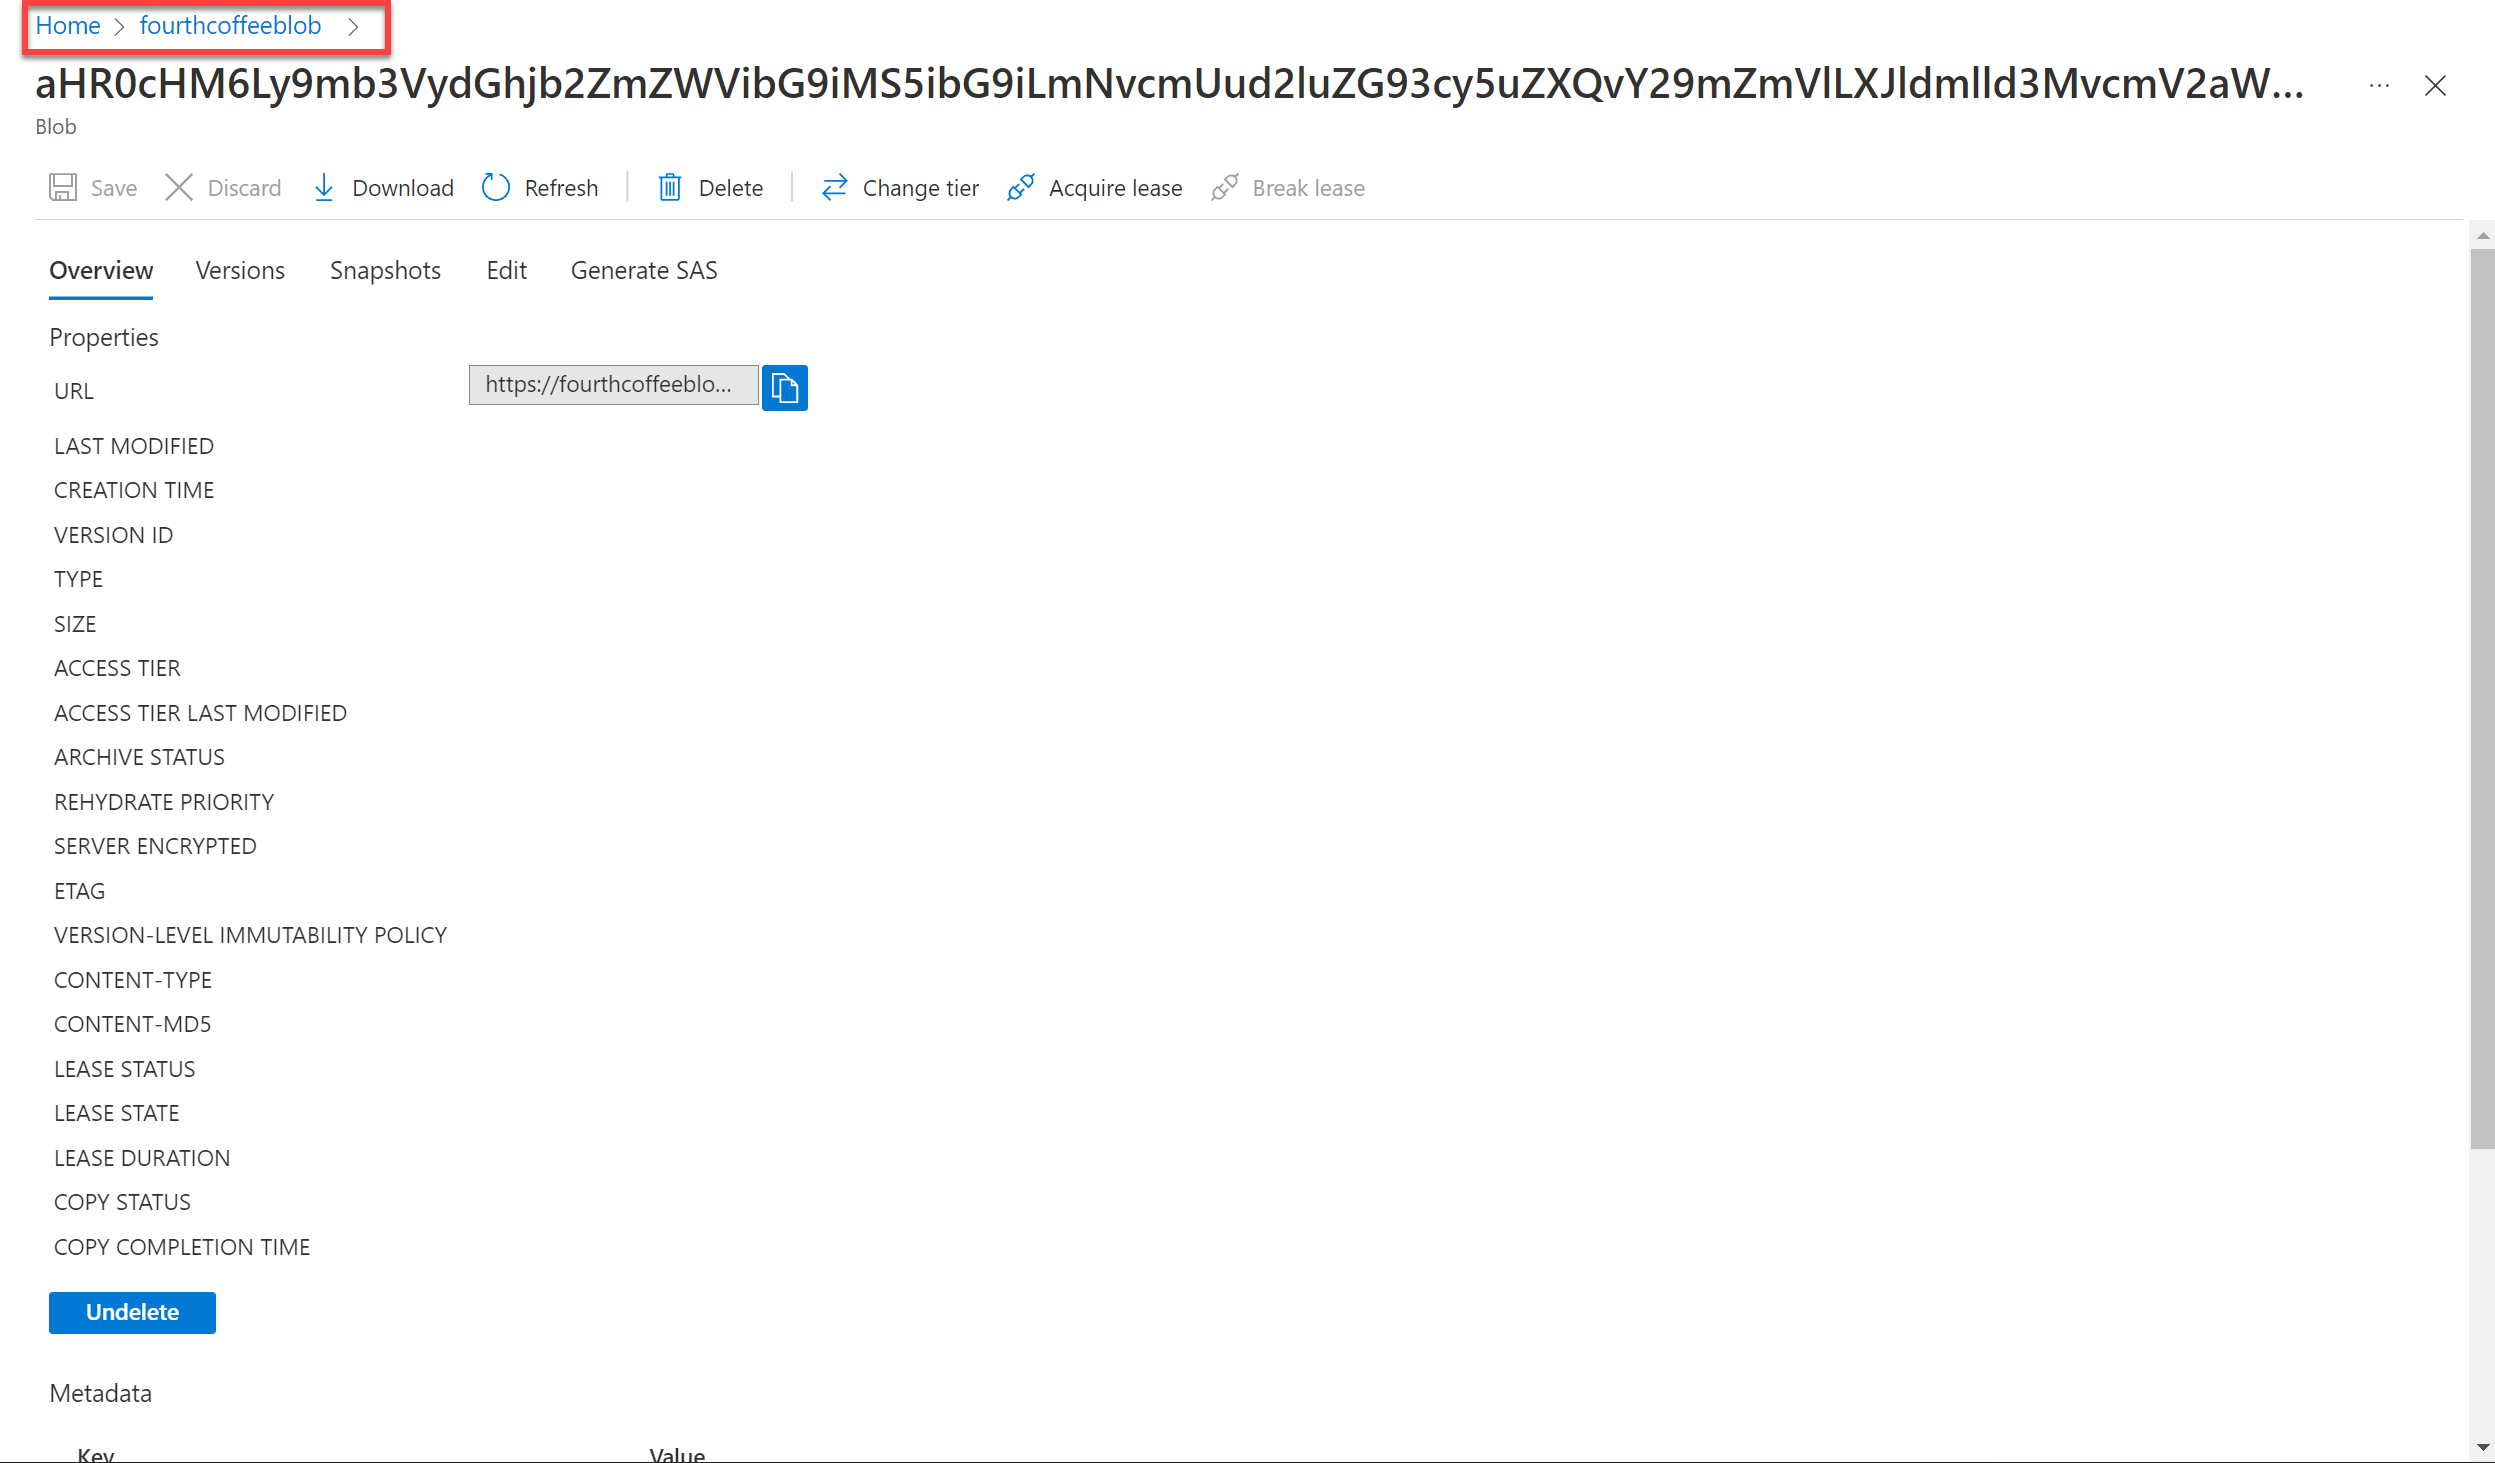
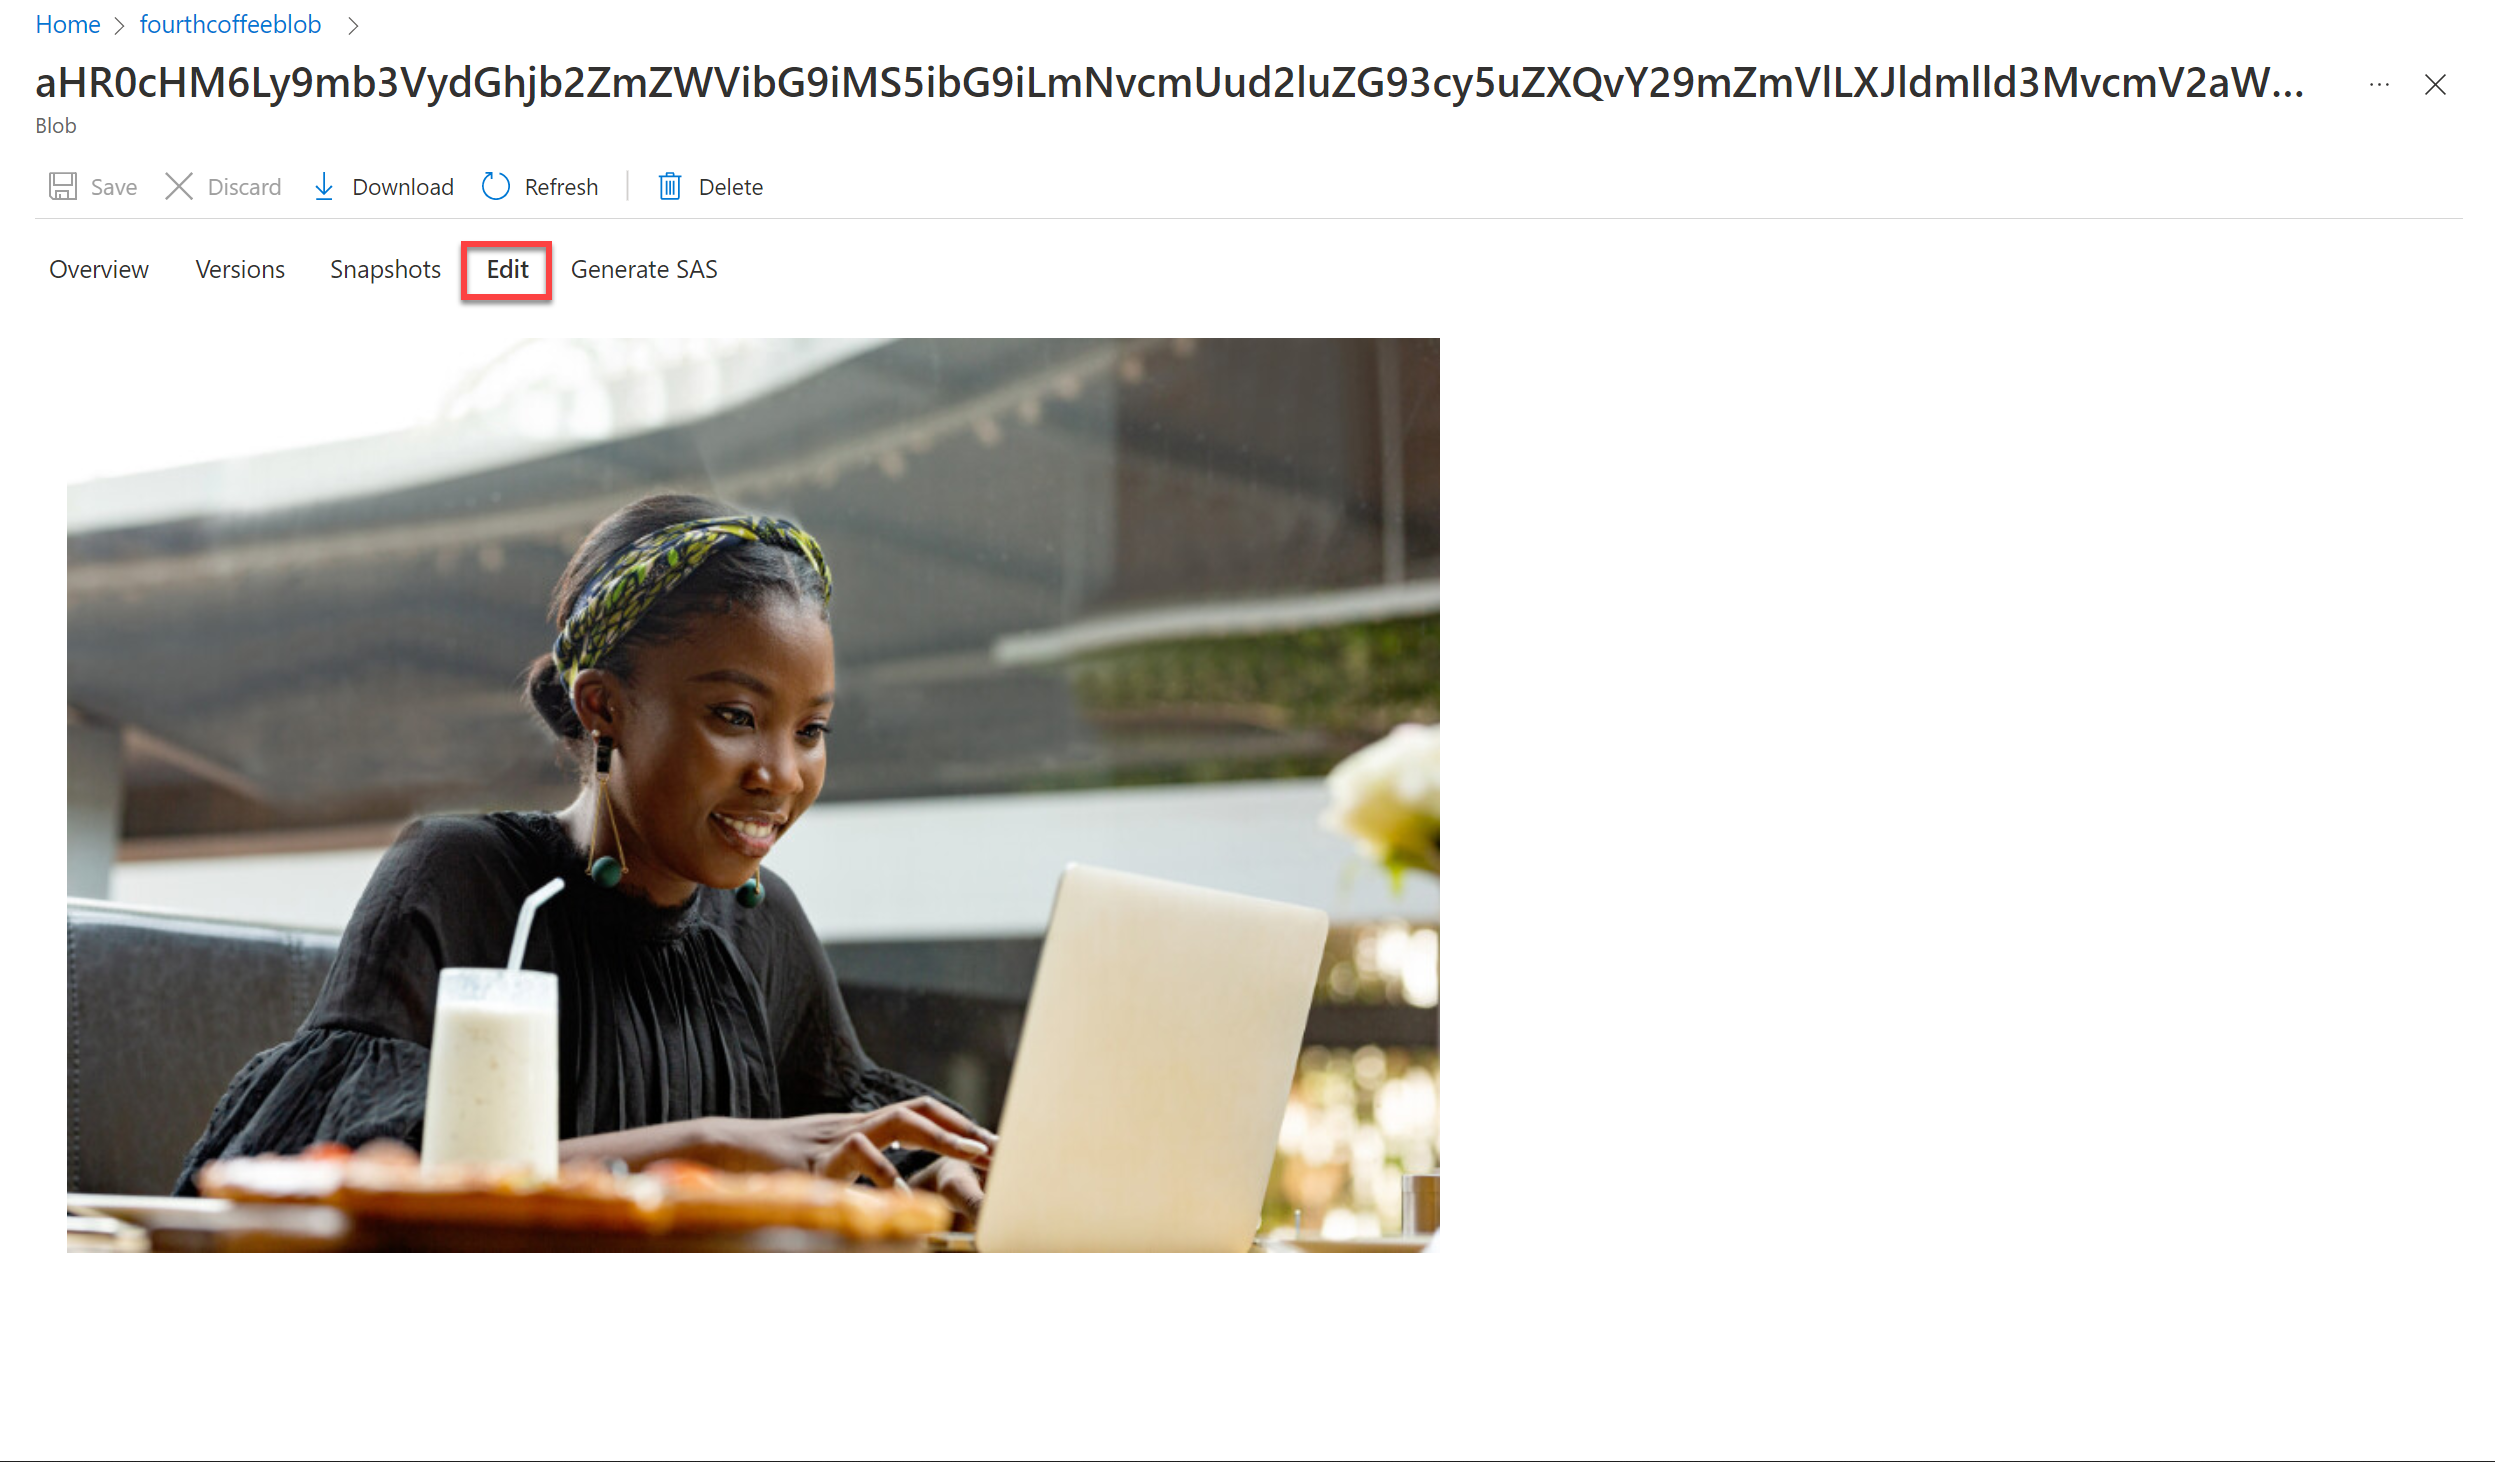
In the Containers, select the container coffee-skillset-image-projection. Select any of the items.
-
Select any of the .jpg files. Select Edit to see the image stored from the document. Notice how all the images from the documents are stored in this manner.
-
Select the storage blob breadcrumb at the top left of the screen to return to the Storage account Containers.
-
Select Storage browser on the left-hand panel, and select Tables. There’s a table for each entity in the index. Select the table coffeeSkillsetKeyPhrases.
Look at the key phrases the knowledge store was able to capture from the content in the reviews. Many of the fields are keys, so you can link the tables like a relational database. The last field shows the key phrases that were extracted by the skillset.
Learn more
This simple search index only some of the capabilities of the Azure AI Search service. To learn more about what you can do with this service, see the Azure AI Search service page.