Get started with computer vision in Microsoft Foundry
In this exercise, you’ll use generative AI models in Microsoft Foundry to work with visual data.
This exercise should take approximately 30 minutes to complete.
Create a Microsoft Foundry project
Microsoft Foundry uses projects to organize models, resources, data, and other assets used to develop an AI solution.
- In a web browser, open Microsoft Foundry at
https://ai.azure.comto start building; signing in using your Azure credentials. - If it isn’t already enabled, in the tool bar the top of the page, enable the New Foundry option. Then, if prompted, create a new project with a unique name; expanding the Advanced options area to specify the following settings for your project:
- Foundry resource: Enter a valid name for your AI Foundry resource.
- Subscription: Your Azure subscription
- Resource group: Create or select a resource group
- Region: Select any of the AI Foundry recommended regions in this list
Note: Depending on your permissions in the Azure subscription, you may need to clear the option to set up recommended resources.
-
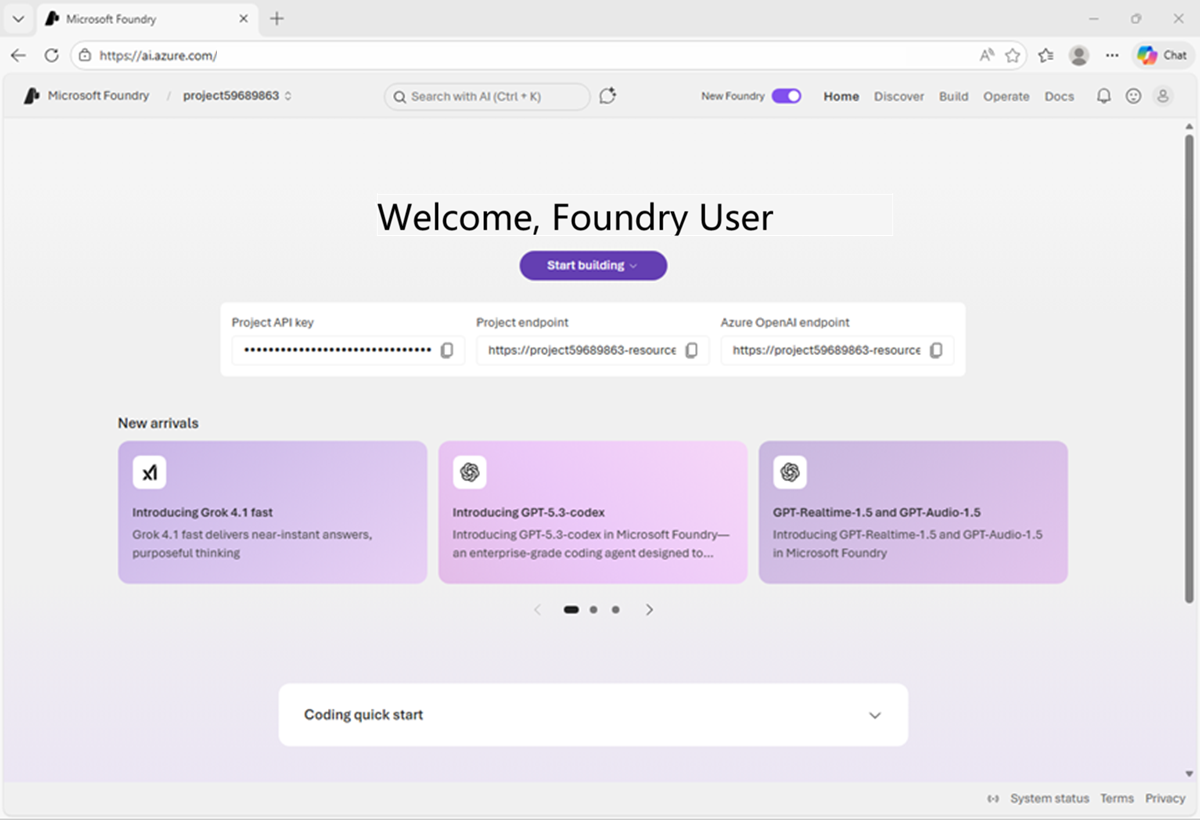
Wait for your project to be created. It may take a few minutes. After creating or selecting a project in the new Foundry portal, it should open in a page similar to the following image:
Use a generative AI model to analyze images
Computer vision models enable AI systems to interpret image-based data, such as photographs, videos, and other visual elements. In this exercise, you’ll explore how the developer of an AI agent to help aspiring chefs could use a vision-enabled model to interpret images of ingredients and suggest relevant recipes.
- In a new browser tab, download images.zip
https://microsoftlearning.github.io/mslearn-ai-fundamentals/data/images.zipto your local computer. - Extract the downloaded archive in a local folder to see the files it contains. These files are the images you’ll use AI to analyze.
- Return to the browser tab containing your Microsoft Foundry project.
- On the Discover page, select the Models tab to view the Microsoft Foundry model catalog.
-
Search for and deploy the
gpt-5-minimodel using the default settings. Deployment may take a minute or so.Tip: Model deployments are subject to regional quotas. If you don’t have enough quota to deploy the model in your project’s region, you can use a different model - such as gpt-5.1. Alternatively, you can create a new project in a different region.
-
When the model has been deployed, view the model playground page that is opened, in which you can chat with the model.
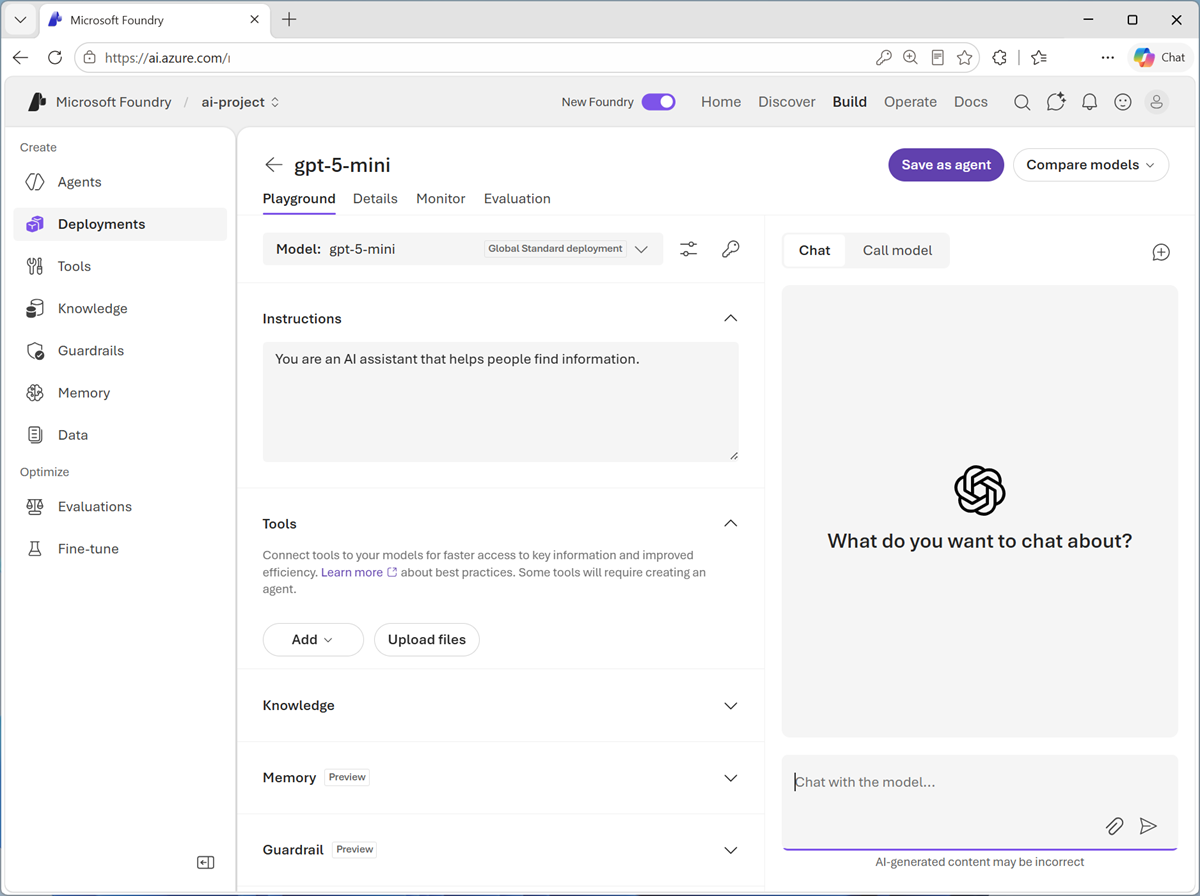
- Use the button at the bottom of the left navigation pane to hide it and give yourself more room to work with.
- In the pane on the left, set the Instructions to
You are an AI cooking assistant who helps chefs with recipes. -
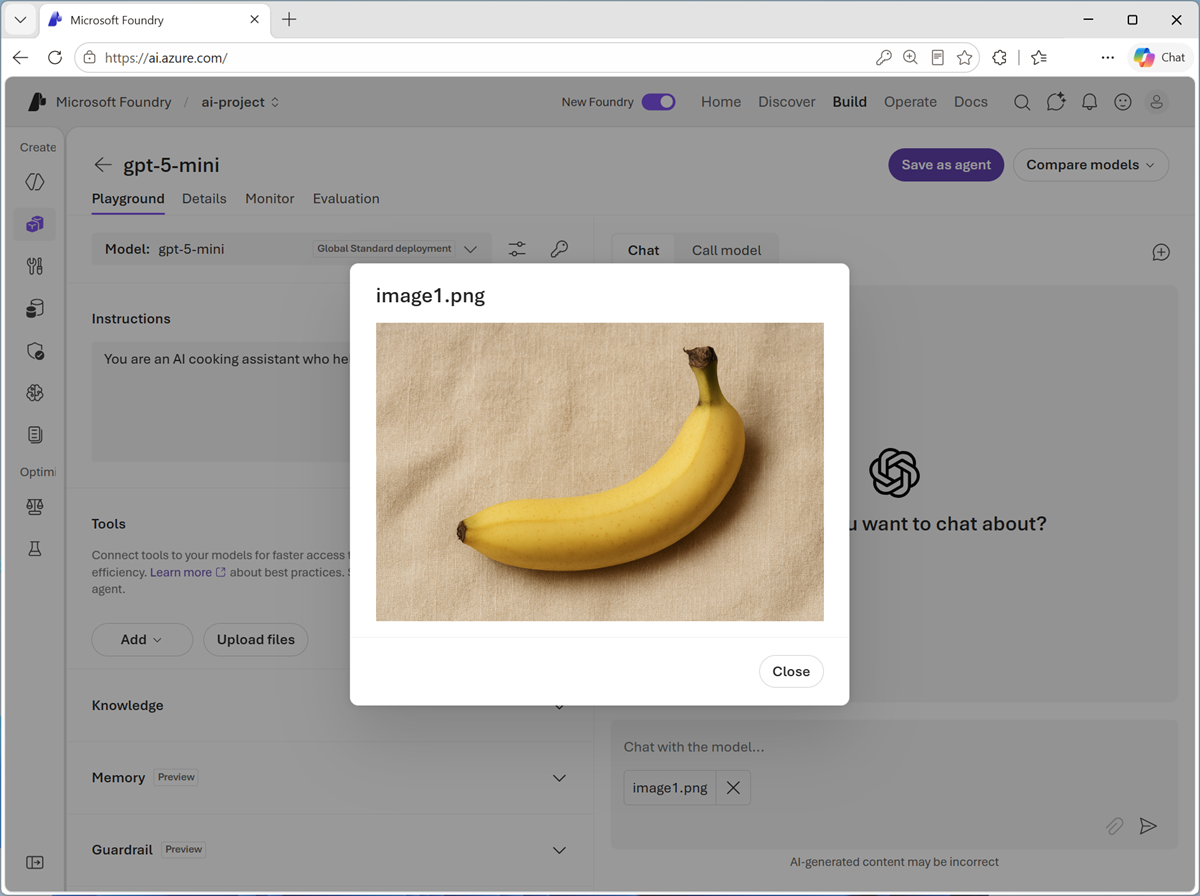
In the chat pane, use the Upload image button to select one of the images you extracted on your computer. The image is added to the prompt area.
You can select the image you have added to view it.
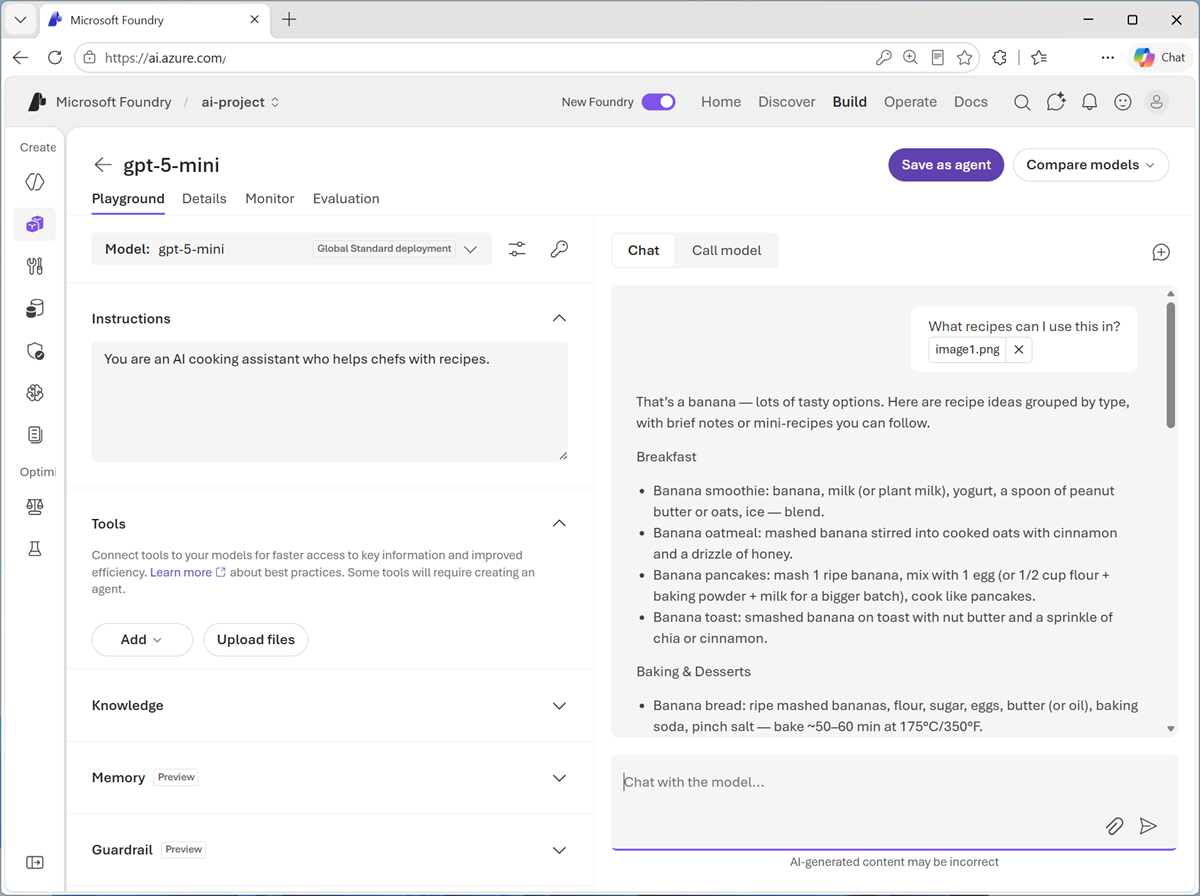
- Enter prompt text like
What recipes can I use this in?and submit the prompt, which contains both the uploaded image and the text. -
Review the response, which should include relevant recipe suggestions for the image you uploaded.
- Submit prompts that include the other images, such as
How should I cook this?orWhat desserts could I make with this?
View code
To develop a client app or agent that can use the model to interpret images, you can use the OpenAI Responses API.
- In the Chat pane, select the Call model tab to view sample code.
- Select the following code options:
- Language: Python
- Authentication: Key authentication
The default sample code includes only a text-based prompt. To submit a prompt that analyzes an image, you can modify the input parameter to include both text and image content, as shown here:
from openai import OpenAI endpoint = "https://your-project-resource.openai.azure.com/openai/v1/" deployment_name = "gpt-5-mini" api_key = "<your-api-key>" client = OpenAI( base_url=endpoint, api_key=api_key ) response = client.responses.create( model=deployment_name, input=[{ "role": "user", "content": [ {"type": "input_text", "text": "what's in this image?"}, {"type": "input_image", "image_url": "https://an-online-image.jpg"}, ], }], ) print(f"answer: {response.output[0]}")Tip: If you are using a work or school account to sign into Azure, and you have sufficient permissions in the Azure subscription, you can open the sample code in VS Code for Web to experiment with image-based input content. You can obtain the key for your service in the Code tab of the model playground (above the sample code) and you can use the image orange.jpg at
https://microsoftlearning.github.io/mslearn-ai-fundamentals/data/orange.jpg. To learn more about using rhe OpenAI API to analyze images, see the OpenAI documentation.
Use a generative AI model to create new images
So far you’ve explored the ability of a generative AI model to process visual input. Now let’s suppose we want some appropriate images on a web site to support the AI chef agent. Let’s see how a model can generate visual output.
Note: This task requires a subscription that has access to image-generation models.
- Use the “back” arrow next to the gpt-5-mini header (or select the Models page in the navigation pane) to view the model deployments in your project.
- Select Deploy a base model to open the model catalog.
-
In the Collections drop-down list, select Direct from Azure, and in the Inference tasks drop-down list, select Text to image. Then view the available models for image generation.

Note: The available models in your subscription may vary. Additionally, the ability to deploy models depends on regional availabilty and quota.
-
Select an available text-to-image model, such as gpt-image-1-mini or FLUX.2-pro, and deploy it.
If one of these models is unavailable in your subscription or region, deploy another text-to-image model that’s available.
- When the model has been deployed, it opens in the image playground.
-
Enter a prompt describing a desired image; for example,
A chef preparing a meal.Then review the generated image.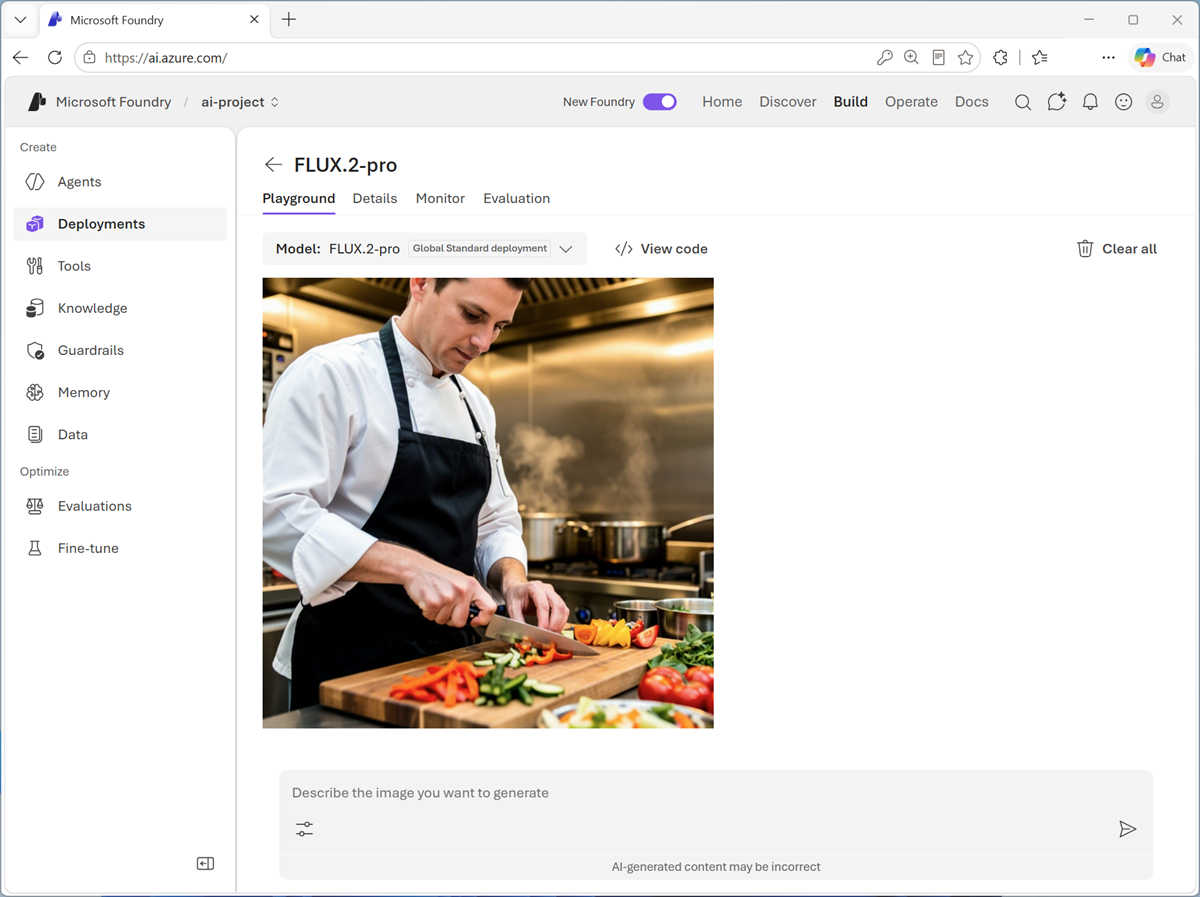
View code
If you want to develop a client app or agent that generates images using your model, you can use the OpenAI API.
Note: Model availability and playground features can vary. Some image-generation models might not show a View code or equivalent option. If your selected model doesn’t include code samples, you can still complete the exercise by generating an image in the playground, or use another deployed text-to-image model that does expose code samples.
- If your deployed model includes code samples, in the Chat pane, select View code to view sample code.
- Select the following code options:
- Language: Python
- SDK: OpenAI SDK
- Authentication: Key authentication
The default sample code should look similar to this:
 import base64
 from openai import OpenAI

 endpoint = "https://your-project-resource.openai.azure.com/openai/v1/"
 deployment_name = "your-text-to-image-model-deployment"
 api_key = "<your-api-key>"

 client = OpenAI(
     base_url=endpoint,
     api_key=api_key
 )

 img = client.images.generate(
     model=deployment_name,
     prompt="A cute baby polar bear",
     n=1,
     size="1024x1024",
 )

 image_bytes = base64.b64decode(img.data[0].b64_json)
 with open("output.png", "wb") as f:
     f.write(image_bytes)
Use a generative AI model to create video (if available)
Note: This task requires a subscription that has access to video-generation models.
In addition to static images, you may want to include video content on the AI Chef agent web site.
- Use the “back” arrow next to the image-generation model header (or select the Models page in the navigation pane) to view the model deployments in your project.
- Select Deploy a base model to open the model catalog.
-
In the Collections drop-down list, select Direct from Azure, and in the Inference tasks drop-down list, select Video generation. Then view the available models for video generation.

Note: The available models in your subscription may vary. Additionally, the ability to deploy models depends on regional availabilty and quota.
-
Select the Sora-2 model and deploy it.
If the Sora-2 model is available in your subscription, you may need to request access to the latest available model.
- When the model has been deployed, it opens in the video playground.
-
Enter a prompt describing a desired video; for example,
A chef in a busy kitchen.Then review the generated video.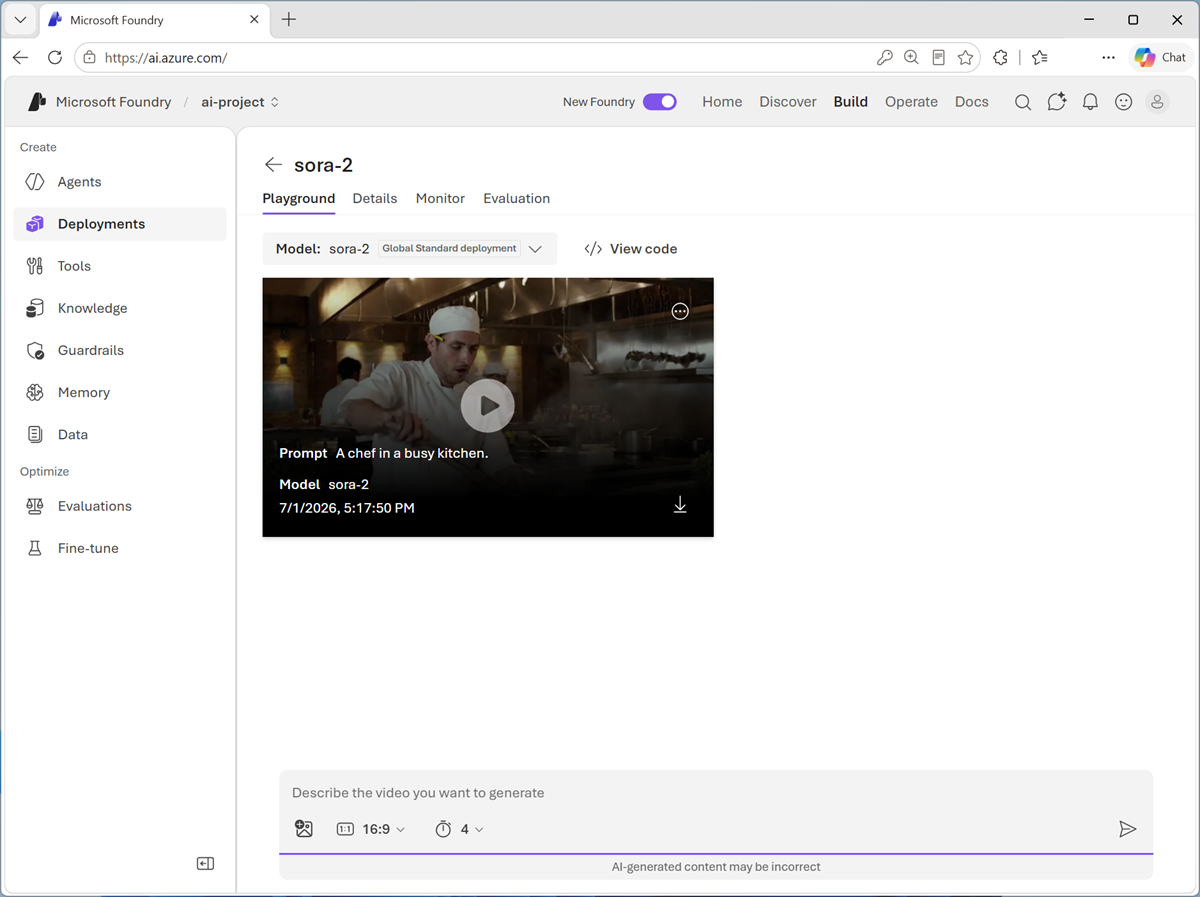
View code
If you want to develop a client app or agent that generates videos using your model, you can use the REST API.
-
In the Chat pane, select View Code to view sample code.
The default sample code uses the curl command to call the REST endpoint, and should look similar to this:
 curl -X POST "https://your-project-resource.openai.azure.com/openai/v1/video/generations/jobs" \
 -H "Content-Type: application/json" \
 -H "Authorization: Bearer $AZURE_API_KEY" \
 -d '{
     "prompt" : "A video of a cat",
      "height" : "1080",
      "width" : "1080",
      "n_seconds" : "5",
      "n_variants" : "1",
     "model": "sora"
     }'
Summary
in this exercise, you explored the use of vision-enabled models in Microsoft Foundry, including models that can accept vision data as input, models that can generate static images based on text descriptions, and models that can generate video.
Ask Anton
If you have questions about some of the topics covered in this exercise, Ask Anton is a generative AI-based agent that you can ask about AI concepts and Microsoft Foundry. Open the app at https://aka.ms/azk-anton and use the Configure button to enter your Foundry project and model details.
Ask Anton is not a supported Microsoft product or a component of Microsoft Learn or AI Skills Navigator. Just an example of an AI agent for you to explore as you learn about what’s possible with AI.
If you do check out Ask Anton, we’d love you to tell us about your experience!
Clean up
If you’ve finished working with Microsoft Foundry, delete the resources you created in this exercise to avoid incurring unnecessary Azure costs.
- Open the Azure portal at https://portal.azure.com and select the resource group that contains the resources you created.
- Select Delete resource group and then enter the resource group name to confirm. The resource group is then deleted.