Get started with speech in Microsoft Foundry
Speech-capable AI agents enable users to interact conversationally - using spoken command and questions that generate vocal responses.
In this exercise, use Azure Speech in Microsoft Foundry Tools to create a speech-capable agent. You’ll use Azure Speech Voice Live, a service used to build real-time voice-based agents.
Tip: Speech input works best in a quiet environment with a microphone or headset.
This exercise takes approximately 25 minutes.
Create a Microsoft Foundry project
Microsoft Foundry uses projects to organize models, resources, data, and other assets used to develop an AI solution.
-
In a web browser, open Microsoft Foundry at
https://ai.azure.comto start building; signing in using your Azure credentials. - If it isn’t already enabled, in the tool bar the top of the page, enable the New Foundry option. Then, if prompted, create a new project with a unique name; expanding the Advanced options area to specify the following settings for your project:
- Foundry resource: Enter a valid name for your AI Foundry resource.
- Subscription: Your Azure subscription
- Resource group: Create or select a resource group
- Region: Select any of the AI Foundry recommended regions in this list
Note: Depending on your permissions in the Azure subscription, you may need to clear the option to set up recommended resources.
-
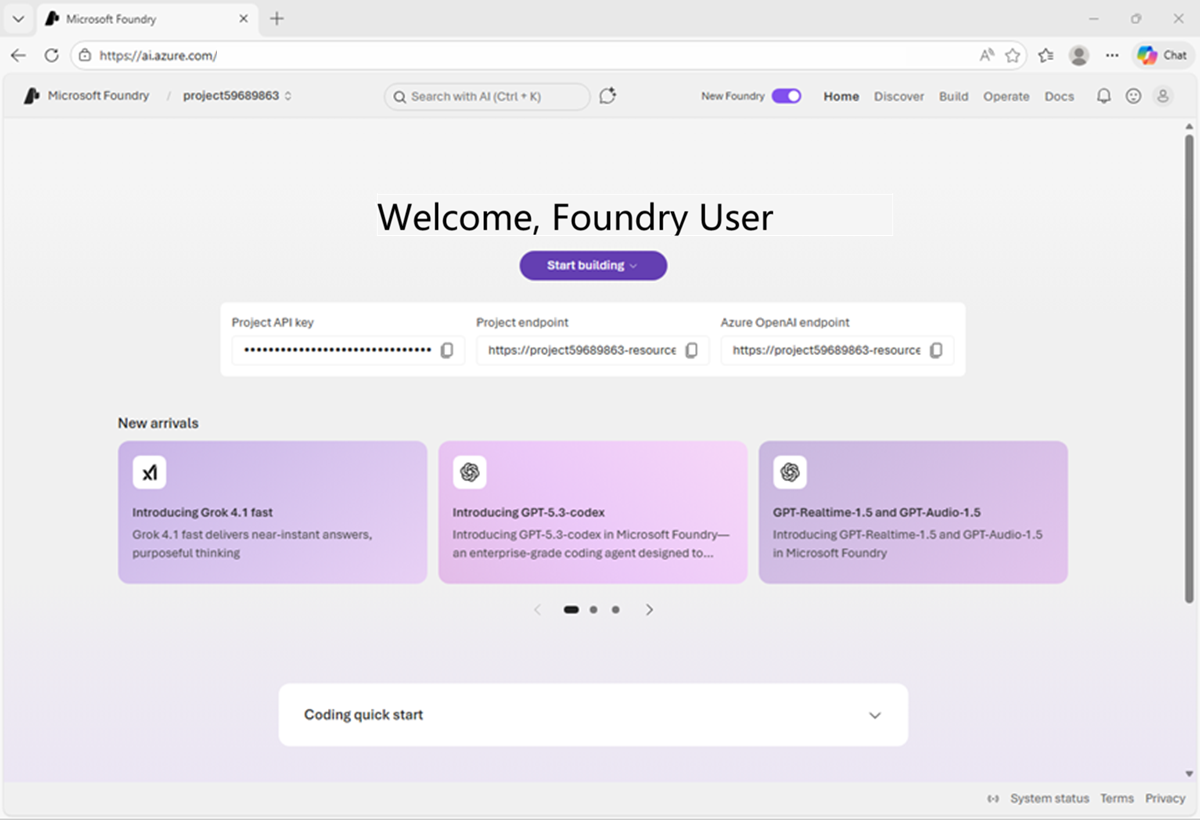
Select Create. Wait for your project to be created. After creating or selecting a project in the new Foundry portal, it should open in a page similar to the following image:
Create an agent
Now let’s create an agent.
-
On the Home page, in the Build an agent tile, select Start building (or on the Build page, select the Agents tab); and create a new agent named
speech-agent.When ready, your agent opens in the agent playground.
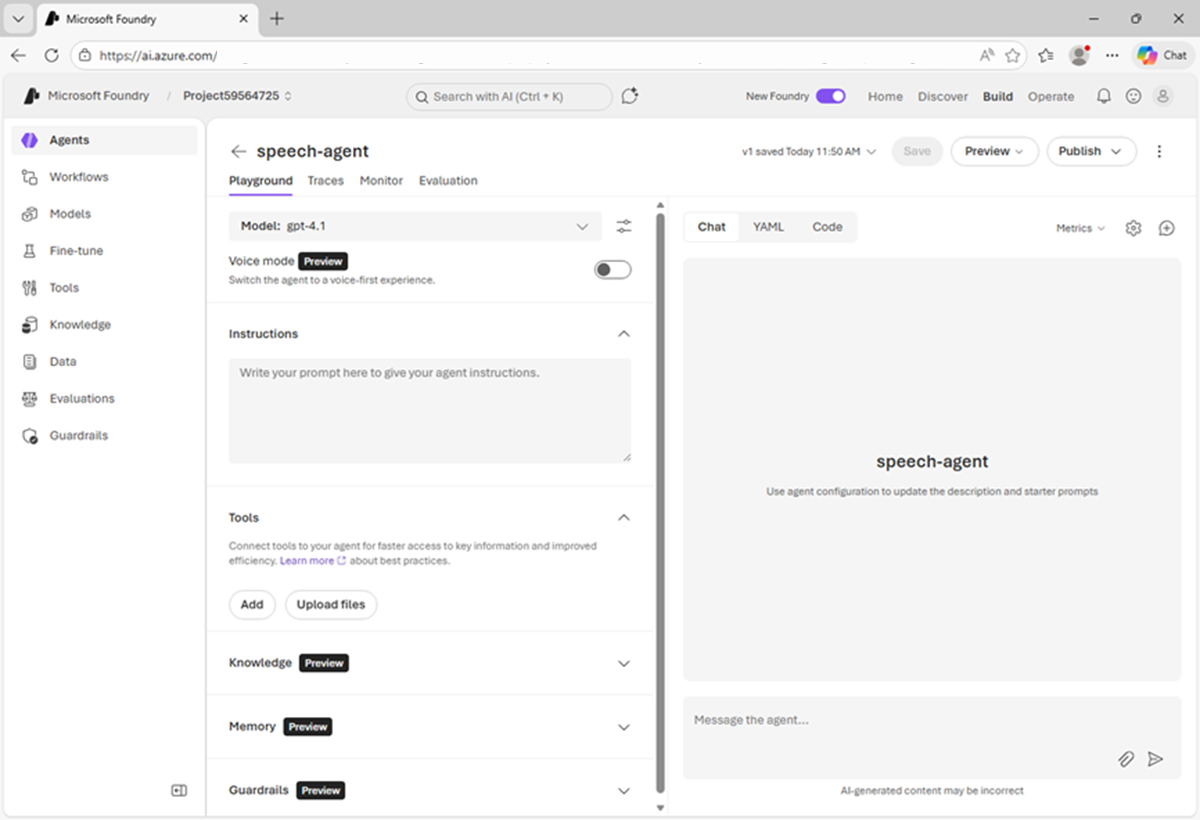
- In the model drop-down list, ensure that a model has been deployed and selected for your agent.
-
Assign your agent the following Instructions:
You are an AI agent that provides information about AI and related topics. You answer questions concisely and precisely. - Use the Save button to save the changes.
-
Test the agent by entering the following prompt in the Chat pane:
What can you help me with?The agent should respond with an appropriate answer based on its instructions.
Configure Azure Speech Voice live
Enabling speech mode for a Foundry agent integrates Azure Speech Voice Live - adding speech capabilities to the agent.
-
In the pane on the left, under the model selection list, enable Voice mode.
If the Configuration pane doesn’t open automatically, use the “cog” icon above the chat interface to open it.
- In the Configuration pane, under Voice mode, review the default speech input and output configuration. You can try different voices, previewing them until you decide which one to use.
- Close the Configuration pane and use the Save button to save the agent.
Use speech to interact with the agent
Now you’re ready to chat with the agent.
-
In the Chat pane, use the Start session button to start a conversation with the agent. If prompted, allow access to the system microphone.
The agent will start a speech session, and listen for your prompt.
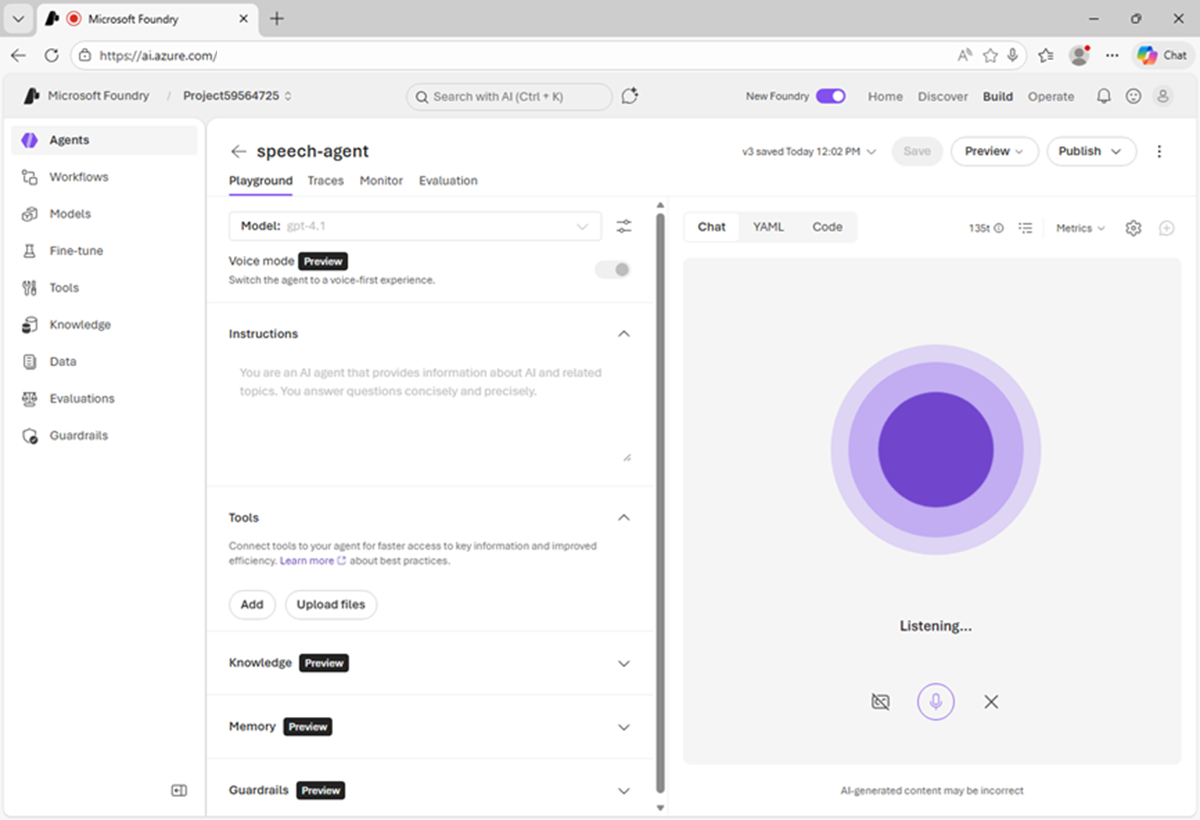
-
When the app status is Listening…, say something like
"How does speech recognition work?"and wait for a response. -
Verify that the app status changes to Processing…. The app will process the spoken input.
Tip: The processing speed may be so fast that you do not actually see the status before it changes back to Speaking.
-
When the status changes to Speaking…, the app uses text-to-speech to vocalize the response from the model. To see the original prompt and the response as text, select the cc button on the bottom of the chat screen.
Tip: The follow-on prompt is submitted just by speaking. You can even interrupt the agent to keep the interaction focused on what you need done. You can also use the Stop generation button in the chat pane to stop long-running responses. The button will end the conversation. You will need to start a new conversation to continue using the agent.
- To continue the conversation, just ask another question, such as
"How does speech synthesis work?", and review the response. - When you have finished chatting with the agent, use the X icon to end the session. A transcript of the conversation will be displayed.
View client code
To use your agent in a custom application, you need to write code that uses the Azure Speech Voice Live SDK to handle streaming audio input and output.
- Select Call agent at the top of the chat screen to view sample code for an agent client.
- Review the code; noting that it handles:
- Connectivity to your project to access the agent.
- Audio streaming for input and output.
- Use of audio devices, such as microphones and speakers.
Summary
In this exercise, you explored the Azure Speech Voice Live tool in Microsoft Foundry, and how to use it to build a conversational agent. Azure Speech includes multiple speech capabilities that you can use to build AI applications and agents that transcribe speech, or generate spoken output from text.
Ask Anton
If you have questions about some of the topics covered in this exercise, Ask Anton is a generative AI-based agent that you can ask about AI concepts and Microsoft Foundry. Open the app at https://aka.ms/azk-anton and use the Configure button to enter your Foundry project and model details.
Ask Anton is not a supported Microsoft product or a component of Microsoft Learn or AI Skills Navigator. Just an example of an AI agent for you to explore as you learn about what’s possible with AI.
If you do check out Ask Anton, we’d love you to tell us about your experience!
Clean up
If you have finished exploring Microsoft Foundry, delete any resources that you no longer need. This avoids accruing any unnecessary costs.
- Open the Azure portal at https://portal.azure.com and select the resource group that contains the resources you created.
- Select Delete resource group and then enter the resource group name to confirm. The resource group is then deleted.