Explore speech in Microsoft Foundry (deprecated)
Note: This exercise is deprecated, and will be deleted soon. Consider completing the replacement exercise at https://go.microsoft.com/fwlink/?linkid=2347368.
Azure Speech transcribes speech into text, and turns text into audible speech. You might use Speech to create an application that can transcribe meeting notes or generate text from the recording of interviews, or to support an interactive AI assistant that can respond to spoken commands and queries.
In this exercise, you will use Azure Speech in Foundry, Microsoft’s platform for creating intelligent applications, to explore core Azure Speech capabilities.
This exercise takes approximately 10 minutes.
Navigate Microsoft Foundry
-
In a web browser, open Microsoft Foundry at
https://ai.azure.comand sign in using your Azure credentials. Close any tips or quick start panes that are opened the first time you sign in, and if necessary use the Foundry logo at the top left to navigate to the home page, which looks similar to the following image (close the Help pane if it’s open):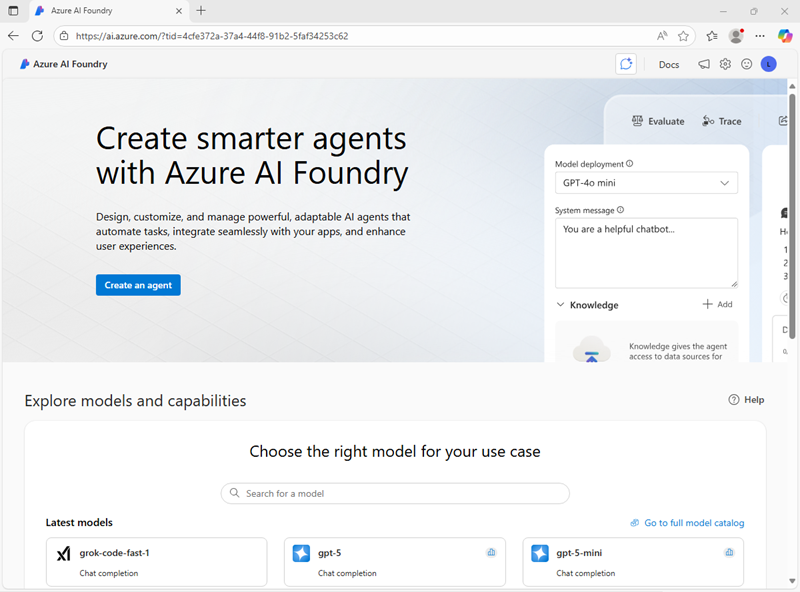
-
Scroll down to the bottom of the home page and select Explore Azure AI services.
-
On the Azure AI services page, select the Speech tile. You will be taken to the Azure-AI-Speech page.
Explore speech to text in Foundry
Let’s try out speech to text in Foundry.
-
In a new browser tab, download speech.zip from
https://aka.ms/mslearn-speech-filesin a new browser tab. After downloading the file, extract it to a local folder. -
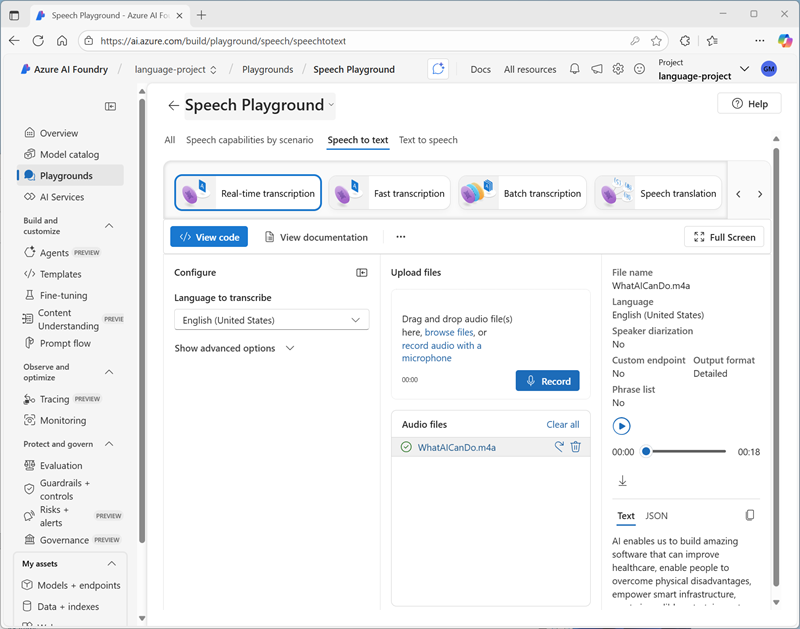
Back in Foundry, on the Azure-AI-Speech page, select Real-time transcription.
-
Under Upload files, select Browse files and upload WhatAICanDo.m4a from the folder to downloaded and extracted.
The Speech service transcribes and displays the text in real time. If you have audio on your computer, you can listen to the recording as the text is being transcribed.
-
Review the output.
Tip: To see the full output, you may need to minimize the Configure pane. To minimize, select the icon to the right of the Configure heading.
In the output, under Text, you can see the audio transcibed into text.
Explore text to speech in Foundry
Now let’s see how Azure Speech can generate audible speech from text.
- In the Speech playground, select the Voice gallery.
- View the available voices, and select one (such as Ava Multilingual).
-
In the Voice details pane, select the Try it out tab. Then enter some text (for example,
The rain in Spain stays mainly in the plain) and use the Play button to synthesize speech from the text.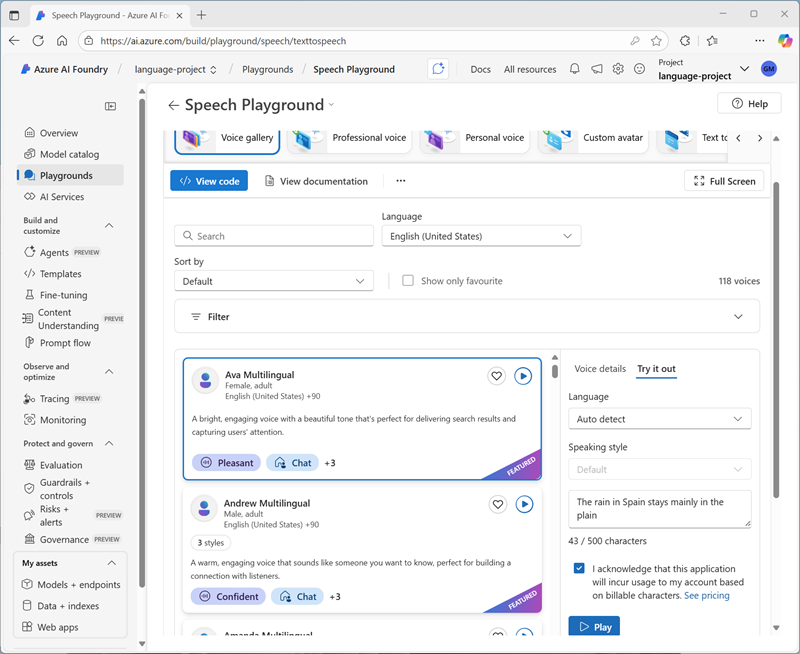
The text is spoken using the selected voice. You can try other voices to compare the spoken output.
Clean up
If you don’t intend to do more exercises, delete any resources that you no longer need. This avoids accruing any unnecessary costs.
- Open the Azure portal and select the resource group that contains the resource you created.
- Select Delete resource group and then enter the resource group name to confirm. The resource group is then deleted.
Learn more
This exercise demonstrated one of the many capabilities of the Speech service. To learn more about what you can do with this service, see the Speech page.