Connect to remote agents with A2A protocol (deprecated)
In this exercise, you’ll use Azure AI Agent Service with the A2A protocol to create simple remote agents that interact with one another. These agents will assist technical writers with preparing their developer blog posts. A title agent will generate a headline, and an outline agent will use the title to develop a concise outline for the article. Let’s get started
Tip: The code used in this exercise is based on the for Microsoft Foundry SDK for Python. You can develop similar solutions using the SDKs for Microsoft .NET, JavaScript, and Java. Refer to Microsoft Foundry SDK client libraries for details.
This exercise should take approximately 30 minutes to complete.
Note: Some of the technologies used in this exercise are in preview or in active development. You may experience some unexpected behavior, warnings, or errors.
Create a Foundry project
Let’s start by creating a Foundry project.
-
In a web browser, open the Foundry portal at
https://ai.azure.comand sign in using your Azure credentials. Close any tips or quick start panes that are opened the first time you sign in, and if necessary use the Foundry logo at the top left to navigate to the home page, which looks similar to the following image (close the Help pane if it’s open):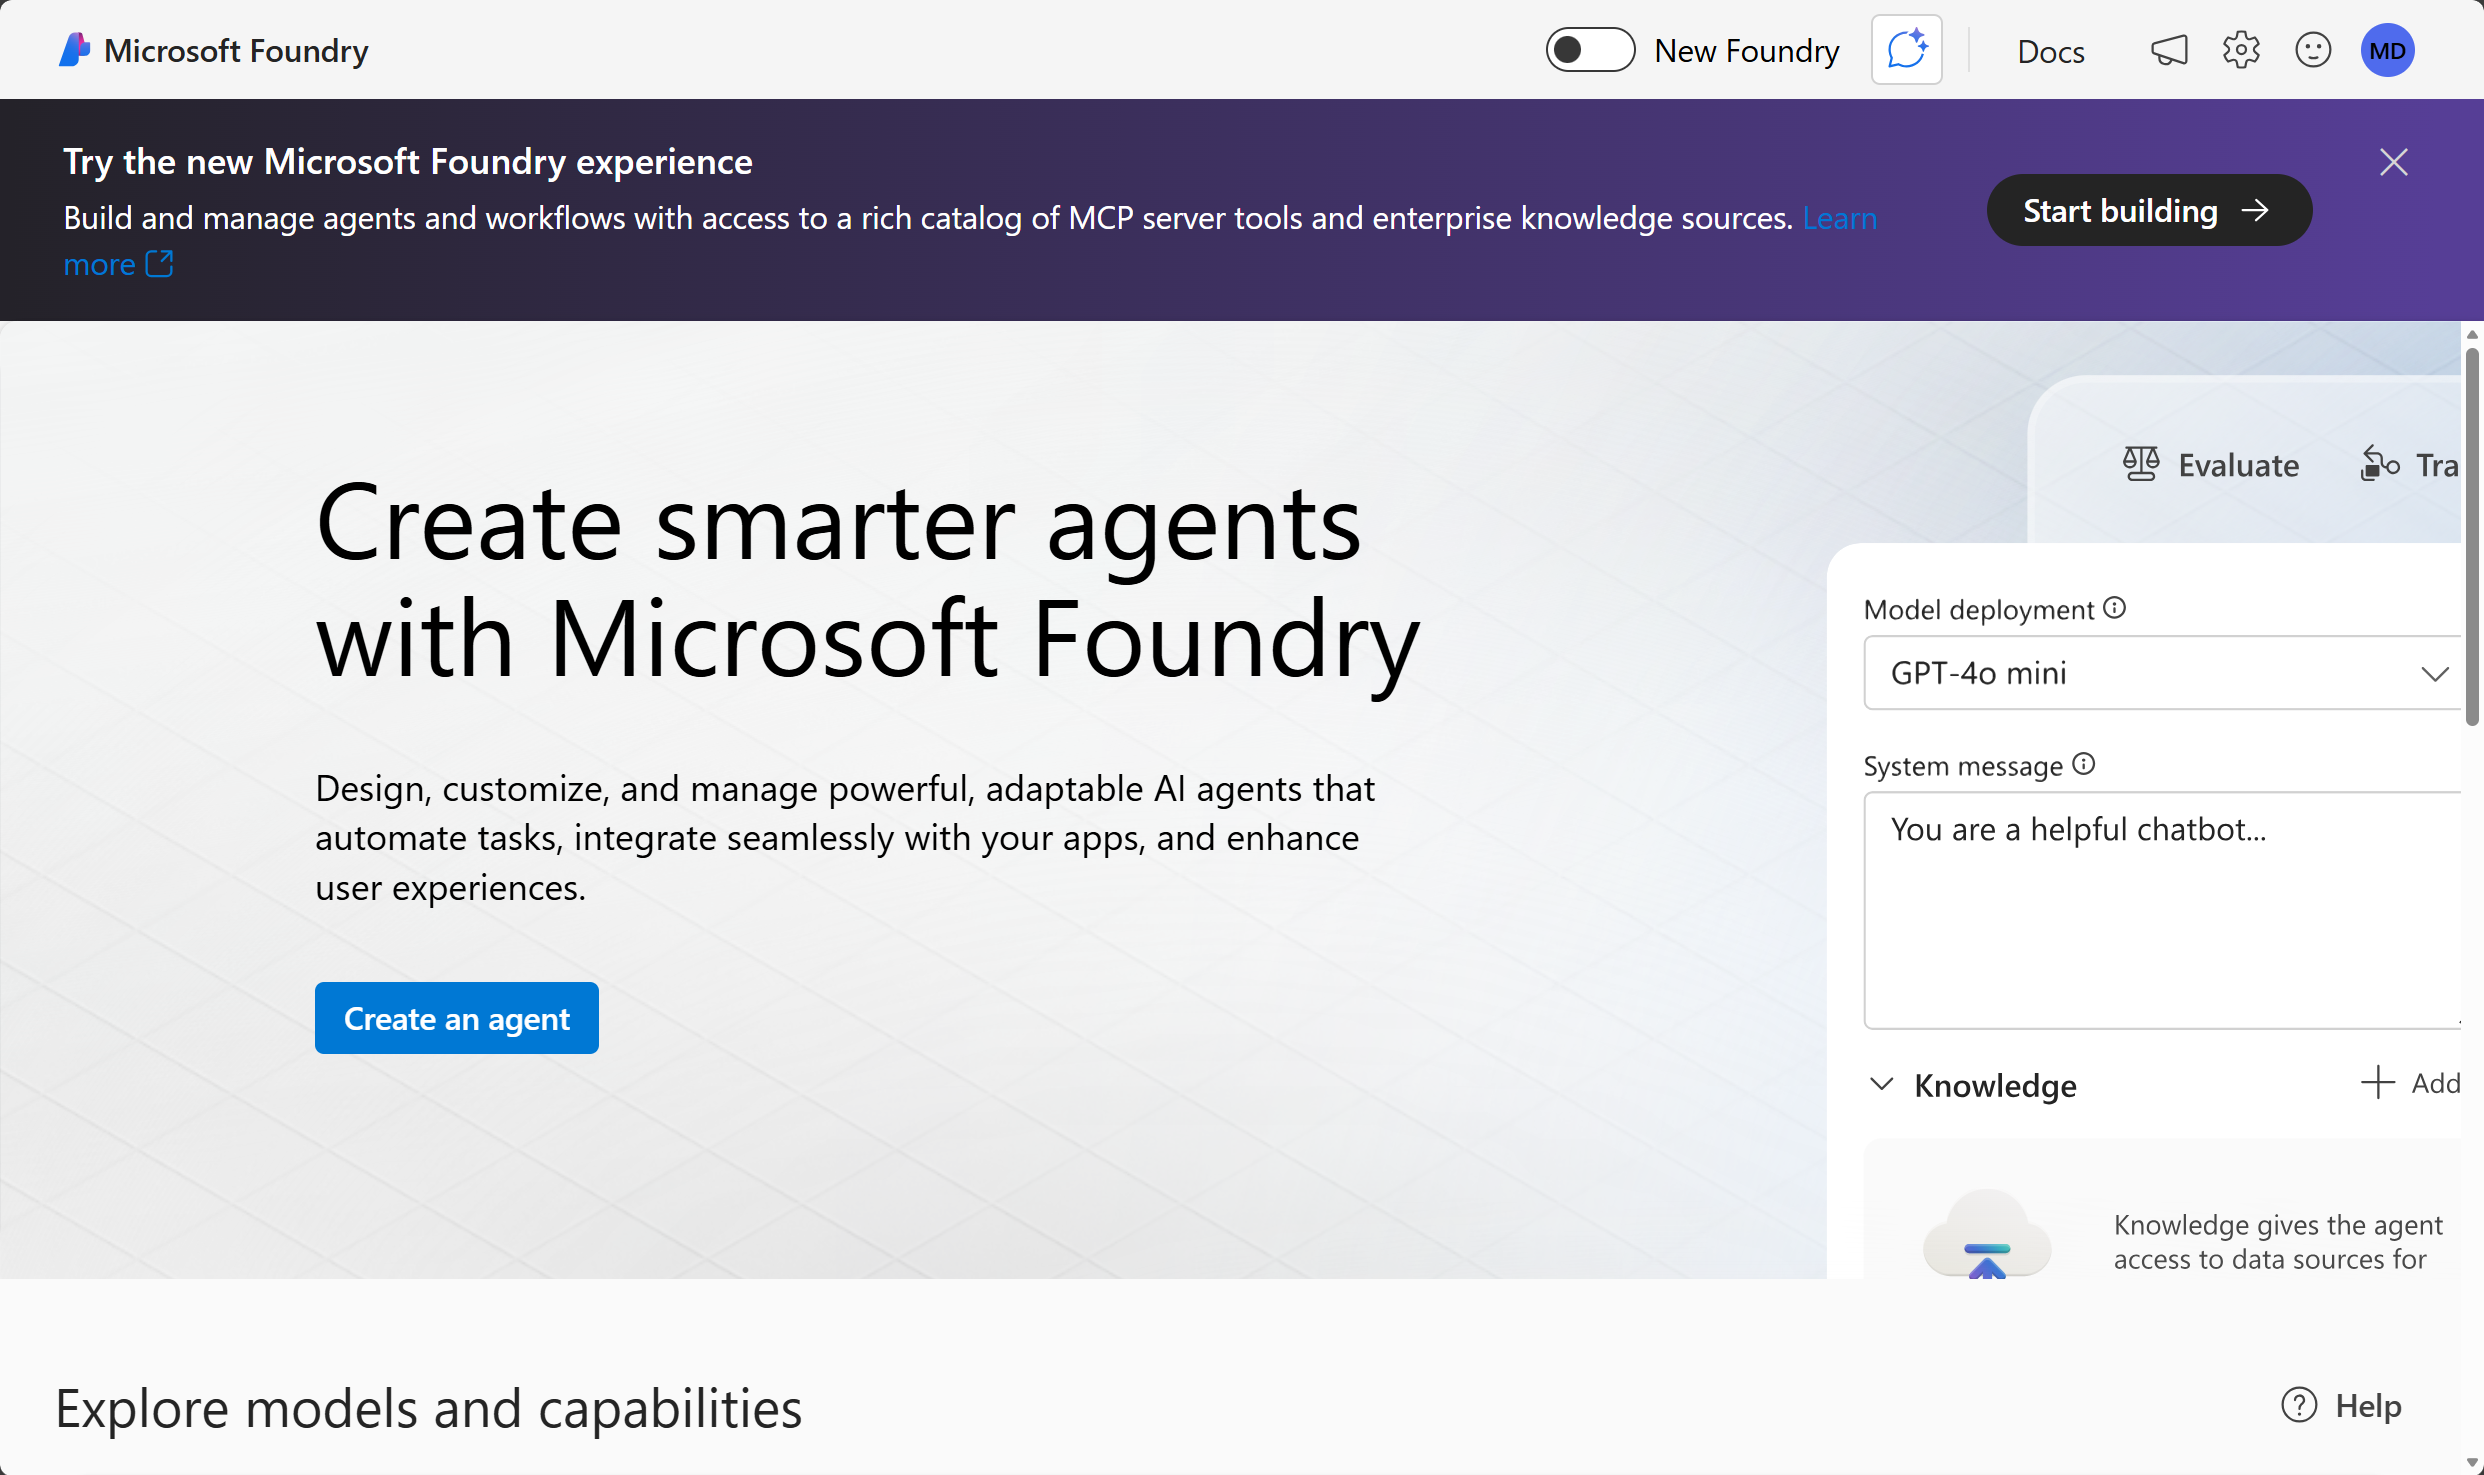
Important: For this lab, you’re using the New Foundry experience.
-
In the top banner, select Start building to try the new Microsoft Foundry Experience.
-
When prompted, select Create a new project and enter a valid name for your project.
- Expand Advanced options and specify the following settings:
- Foundry resource: A valid name for your Foundry resource
- Subscription: Your Azure subscription
- Resource group: Select your resource group, or create a new one
- Region: Select any AI Foundry recommended**
* Some Azure AI resources are constrained by regional model quotas. In the event of a quota limit being exceeded later in the exercise, there’s a possibility you may need to create another resource in a different region.
-
Select Create and wait for your project to be created.
-
After your project is created, select Build from the navigation bar.
-
Select Models from the left-hand menu, and then select Deploy a base model.
-
Enter gpt-4.1 in the search box, and then select the gpt-4.1 model from the search results.
-
Select Deploy with the default settings to create a deployment of the model.
After the model is deployed, the playground for the model is displayed.
-
In the navigation bar on the left, select Microsoft Foundry to return to the Foundry home page.
- Copy the Project endpoint value to a notepad, as you’ll use them to connect to your project in a client application.
Create an A2A application
Now you’re ready to create a client app that uses an agent. Some code has been provided for you in a GitHub repository.
Clone the repo containing the application code
-
Open a new browser tab (keeping the Foundry portal open in the existing tab). Then in the new tab, browse to the Azure portal at
https://portal.azure.com; signing in with your Azure credentials if prompted.Close any welcome notifications to see the Azure portal home page.
-
Use the [>_] button to the right of the search bar at the top of the page to create a new Cloud Shell in the Azure portal, selecting a PowerShell environment with no storage in your subscription.
The cloud shell provides a command-line interface in a pane at the bottom of the Azure portal. You can resize or maximize this pane to make it easier to work in.
Note: If you have previously created a cloud shell that uses a Bash environment, switch it to PowerShell.
-
In the cloud shell toolbar, in the Settings menu, select Go to Classic version (this is required to use the code editor).
Ensure you've switched to the classic version of the cloud shell before continuing.
-
In the cloud shell pane, enter the following commands to clone the GitHub repo containing the code files for this exercise (type the command, or copy it to the clipboard and then right-click in the command line and paste as plain text):
rm -r ai-agents -f git clone https://github.com/MicrosoftLearning/mslearn-ai-agents ai-agentsTip: As you enter commands into the cloudshell, the output may take up a large amount of the screen buffer and the cursor on the current line may be obscured. You can clear the screen by entering the
clscommand to make it easier to focus on each task. -
Enter the following command to change the working directory to the folder containing the code files and list them all.
cd ai-agents/Labfiles/06-build-remote-agents-with-a2a/python
ls -a -l
The provided files include:
 python
 ├── outline_agent/
 │   ├── agent.py
 │   ├── agent_executor.py
 │   └── server.py
 ├── routing_agent/
 │   ├── agent.py
 │   └── server.py
 ├── title_agent/
 │   ├── agent.py
 |   ├── agent_executor.py
 │   └── server.py
 ├── client.py
 └── run_all.py
Each agent folder contains the Azure AI agent code and a server to host the agent. The routing agent is responsible for discovering and communicating with the title and outline agents. The client allows users to submit prompts to the routing agent.
run_all.pylaunches all the servers and runs the client.
Configure the application settings
-
In the cloud shell command-line pane, enter the following command to install the libraries you’ll use:
python -m venv labenv ./labenv/bin/Activate.ps1 pip install -r requirements.txt -
Enter the following command to edit the configuration file that has been provided:
code .envThe file is opened in a code editor.
- In the code file, replace the your_project_endpoint placeholder with the endpoint for your project (copied from the project Overview page in the Foundry portal) and ensure that the MODEL_DEPLOYMENT_NAME variable is set to your model deployment name (which should be gpt-4.1).
- After you’ve replaced the placeholder, use the CTRL+S command to save your changes and then use the CTRL+Q command to close the code editor while keeping the cloud shell command line open.
Create a discoverable agent
In this task, you create the title agent that helps writers create trendy headlines for their articles. You also define the agent’s skills and card required by the A2A protocol to make the agent discoverable.
-
Navigate to the
title_agentdirectory:cd title_agent
Tip: As you add code, be sure to maintain the correct indentation. Use the comment indentation levels as a guide.
-
Enter the following command to edit the code file that has been provided:
code agent.py -
Find the comment Create the agents client and add the following code to connect to the Azure AI project:
Tip: Be careful to maintain the correct indentation level.
# Create the agents client self.client = AgentsClient( endpoint=os.environ['PROJECT_ENDPOINT'], credential=DefaultAzureCredential( exclude_environment_credential=True, exclude_managed_identity_credential=True ) ) -
Find the comment Create the title agent and add the following code to create the agent:
# Create the title agent self.agent = self.client.create_agent( model=os.environ['MODEL_DEPLOYMENT_NAME'], name='title-agent', instructions=""" You are a helpful writing assistant. Given a topic the user wants to write about, suggest a single clear and catchy blog post title. """, ) -
Find the comment Create a thread for the chat session and add the following code to create the chat thread:
# Create a thread for the chat session thread = self.client.threads.create() -
Locate the comment Send user message and add this code to submit the user’s prompt:
# Send user message self.client.messages.create(thread_id=thread.id, role=MessageRole.USER, content=user_message) -
Under the comment Create and run the agent, add the following code to initiate the agent’s response generation:
# Create and run the agent
run = self.client.runs.create_and_process(thread_id=thread.id, agent_id=self.agent.id)
The code provided in the rest of the file will process and return the agent’s response.
-
Save the code file (CTRL+S). Now you’re ready to share the agent’s skills and card with the A2A protocol.
-
Enter the following command to edit the title agent’s
server.pyfilecode server.py -
Find the comment Define agent skills and add the following code to specify the agent’s functionality:
# Define agent skills skills = [ AgentSkill( id='generate_blog_title', name='Generate Blog Title', description='Generates a blog title based on a topic', tags=['title'], examples=[ 'Can you give me a title for this article?', ], ), ] -
Find the comment Create agent card and add this code to define the metadata that makes the agent discoverable:
# Create agent card agent_card = AgentCard( name='AI Foundry Title Agent', description='An intelligent title generator agent powered by Foundry. ' 'I can help you generate catchy titles for your articles.', url=f'http://{host}:{port}/', version='1.0.0', default_input_modes=['text'], default_output_modes=['text'], capabilities=AgentCapabilities(), skills=skills, ) -
Locate the comment Create agent executor and add the following code to initialize the agent executor using the agent card:
# Create agent executor
agent_executor = create_foundry_agent_executor(agent_card)
The agent executor will act as a wrapper for the title agent you created.
-
Find the comment Create request handler and add the following to handle incoming requests using the executor:
# Create request handler request_handler = DefaultRequestHandler( agent_executor=agent_executor, task_store=InMemoryTaskStore() ) -
Under the comment Create A2A application, add this code to create the A2A-compatible application instance:
# Create A2A application
a2a_app = A2AStarletteApplication(
    agent_card=agent_card, http_handler=request_handler
)
This code creates an A2A server that will share the title agent’s information and handle incoming requests for this agent using the title agent executor.
-
Save the code file (CTRL+S) when you have finished.
Enable messages between the agents
In this task, you use the A2A protocol to enable the routing agent to send messages to the other agents. You also allow the title agent to receive messages by implementing the agent executor class.
-
Navigate to the
routing_agentdirectory:cd ../routing_agent -
Enter the following command to edit the code file that has been provided:
code agent.pyThe routing agent acts as an orchestrator that handles user messages and determines which remote agent should process the request.
When a user message is received, the routing agent:
- Starts a conversation thread.
- Uses the
create_and_processmethod to evaluate the best-matching agent for the user’s message. - The message is routed to the appropriate agent over HTTP using the
send_messagefunction. - The remote agent processes the message and returns a response.
The routing agent finally captures the response and returns it to the user through the thread.
Notice that the
send_messagemethod is async and must be awaited for the agent run to complete successfully. -
Add the following code under the comment Retrieve the remote agent’s A2A client using the agent name:
# Retrieve the remote agent's A2A client using the agent name client = self.remote_agent_connections[agent_name] -
Locate the comment Construct the payload to send to the remote agent and add the following code:
# Construct the payload to send to the remote agent payload: dict[str, Any] = { 'message': { 'role': 'user', 'parts': [{'kind': 'text', 'text': task}], 'messageId': message_id, }, } -
Find the comment Wrap the payload in a SendMessageRequest object and add the following code:
# Wrap the payload in a SendMessageRequest object message_request = SendMessageRequest(id=message_id, params=MessageSendParams.model_validate(payload)) -
Add the following code under the comment Send the message to the remote agent client and await the response:
# Send the message to the remote agent client and await the response send_response: SendMessageResponse = await client.send_message(message_request=message_request) -
Save the code file (CTRL+S) when you have finished. Now the routing agent is able to discover and send messages to the title agent. Let’s create the agent executor code to handle those incoming messages from the routing agent.
-
Navigate to the
title_agentdirectory:cd ../title_agent -
Enter the following command to edit the code file that has been provided:
code agent_executor.pyThe
AgentExecutorclass implemenation must contain the methodsexecuteandcancel. The cancel method has been provided for you. Theexecutemethod includes aTaskUpdaterobject that manages events and signals to the caller when the task is complete. Let’s add the logic for task execution. -
In the
executemethod, add the following code under the comment Process the request:# Process the request await self._process_request(context.message.parts, context.context_id, updater) -
In the
_process_requestmethod, add the following code under the comment Get the title agent:# Get the title agent agent = await self._get_or_create_agent() -
Add the following code under the comment Update the task status:
# Update the task status await task_updater.update_status( TaskState.working, message=new_agent_text_message('Title Agent is processing your request...', context_id=context_id), ) -
Find the comment Run the agent conversation and add the following code:
# Run the agent conversation responses = await agent.run_conversation(user_message) -
Find the comment Update the task with the responses and add the following code:
# Update the task with the responses for response in responses: await task_updater.update_status( TaskState.working, message=new_agent_text_message(response, context_id=context_id), ) -
Find the comment Mark the task as complete and add the following code:
# Mark the task as complete
final_message = responses[-1] if responses else 'Task completed.'
await task_updater.complete(
    message=new_agent_text_message(final_message, context_id=context_id)
)
Now your title agent has been wrapped with an agent executor that the A2A protocol will use to handle messages. Great work!
Sign into Azure and run the app
-
In the cloud shell command-line pane, enter the following command to sign into Azure.
az loginYou must sign into Azure - even though the cloud shell session is already authenticated.
Note: In most scenarios, just using az login will be sufficient. However, if you have subscriptions in multiple tenants, you may need to specify the tenant by using the –tenant parameter. See Sign into Azure interactively using the Azure CLI for details.
- When prompted, follow the instructions to open the sign-in page in a new tab and enter the authentication code provided and your Azure credentials. Then complete the sign in process in the command line, selecting the subscription containing your Foundry hub if prompted.
-
After you have signed in, enter the following command to run the application:
 cd ..
 python run_all.py
The application runs using the credentials for your authenticated Azure session to connect to your project and create and run the agent. You should see some output from each server as it starts.
-
Wait until the prompt for input appears, then enter a prompt such as:
Create a title and outline for an article about React programming.After a few moments, you should see a response from the agent with the results.
- Enter
quitto exit the program and stop the servers.
Summary
In this exercise, you used the Azure AI Agent Service SDK and the A2A Python SDK to create a remote multi-agent solution. You created a discoverable A2A-compatible agent and set up a routing agent to access the agent’s skills. You also implemented an agent executor to process incoming A2A messages and manage tasks. Great work!
Clean up
If you’ve finished exploring Azure AI Agent Service, you should delete the resources you have created in this exercise to avoid incurring unnecessary Azure costs.
- Return to the browser tab containing the Azure portal (or re-open the Azure portal at
https://portal.azure.comin a new browser tab) and view the contents of the resource group where you deployed the resources used in this exercise. - On the toolbar, select Delete resource group.
- Enter the resource group name and confirm that you want to delete it.