Explore AI Agent development (deprecated)
In this exercise, you use the Azure AI Agent service in the Microsoft Foundry portal to create a simple AI agent that assists employees with expense claims.
This exercise takes approximately 30 minutes.
Note: Some of the technologies used in this exercise are in preview or in active development. You may experience some unexpected behavior, warnings, or errors.
Create a Foundry project and agent
Let’s start by creating a Foundry project.
-
In a web browser, open the Foundry portal at
https://ai.azure.comand sign in using your Azure credentials. Close any tips or quick start panes that are opened the first time you sign in, and if necessary use the Foundry logo at the top left to navigate to the home page, which looks similar to the following image (close the Help pane if it’s open):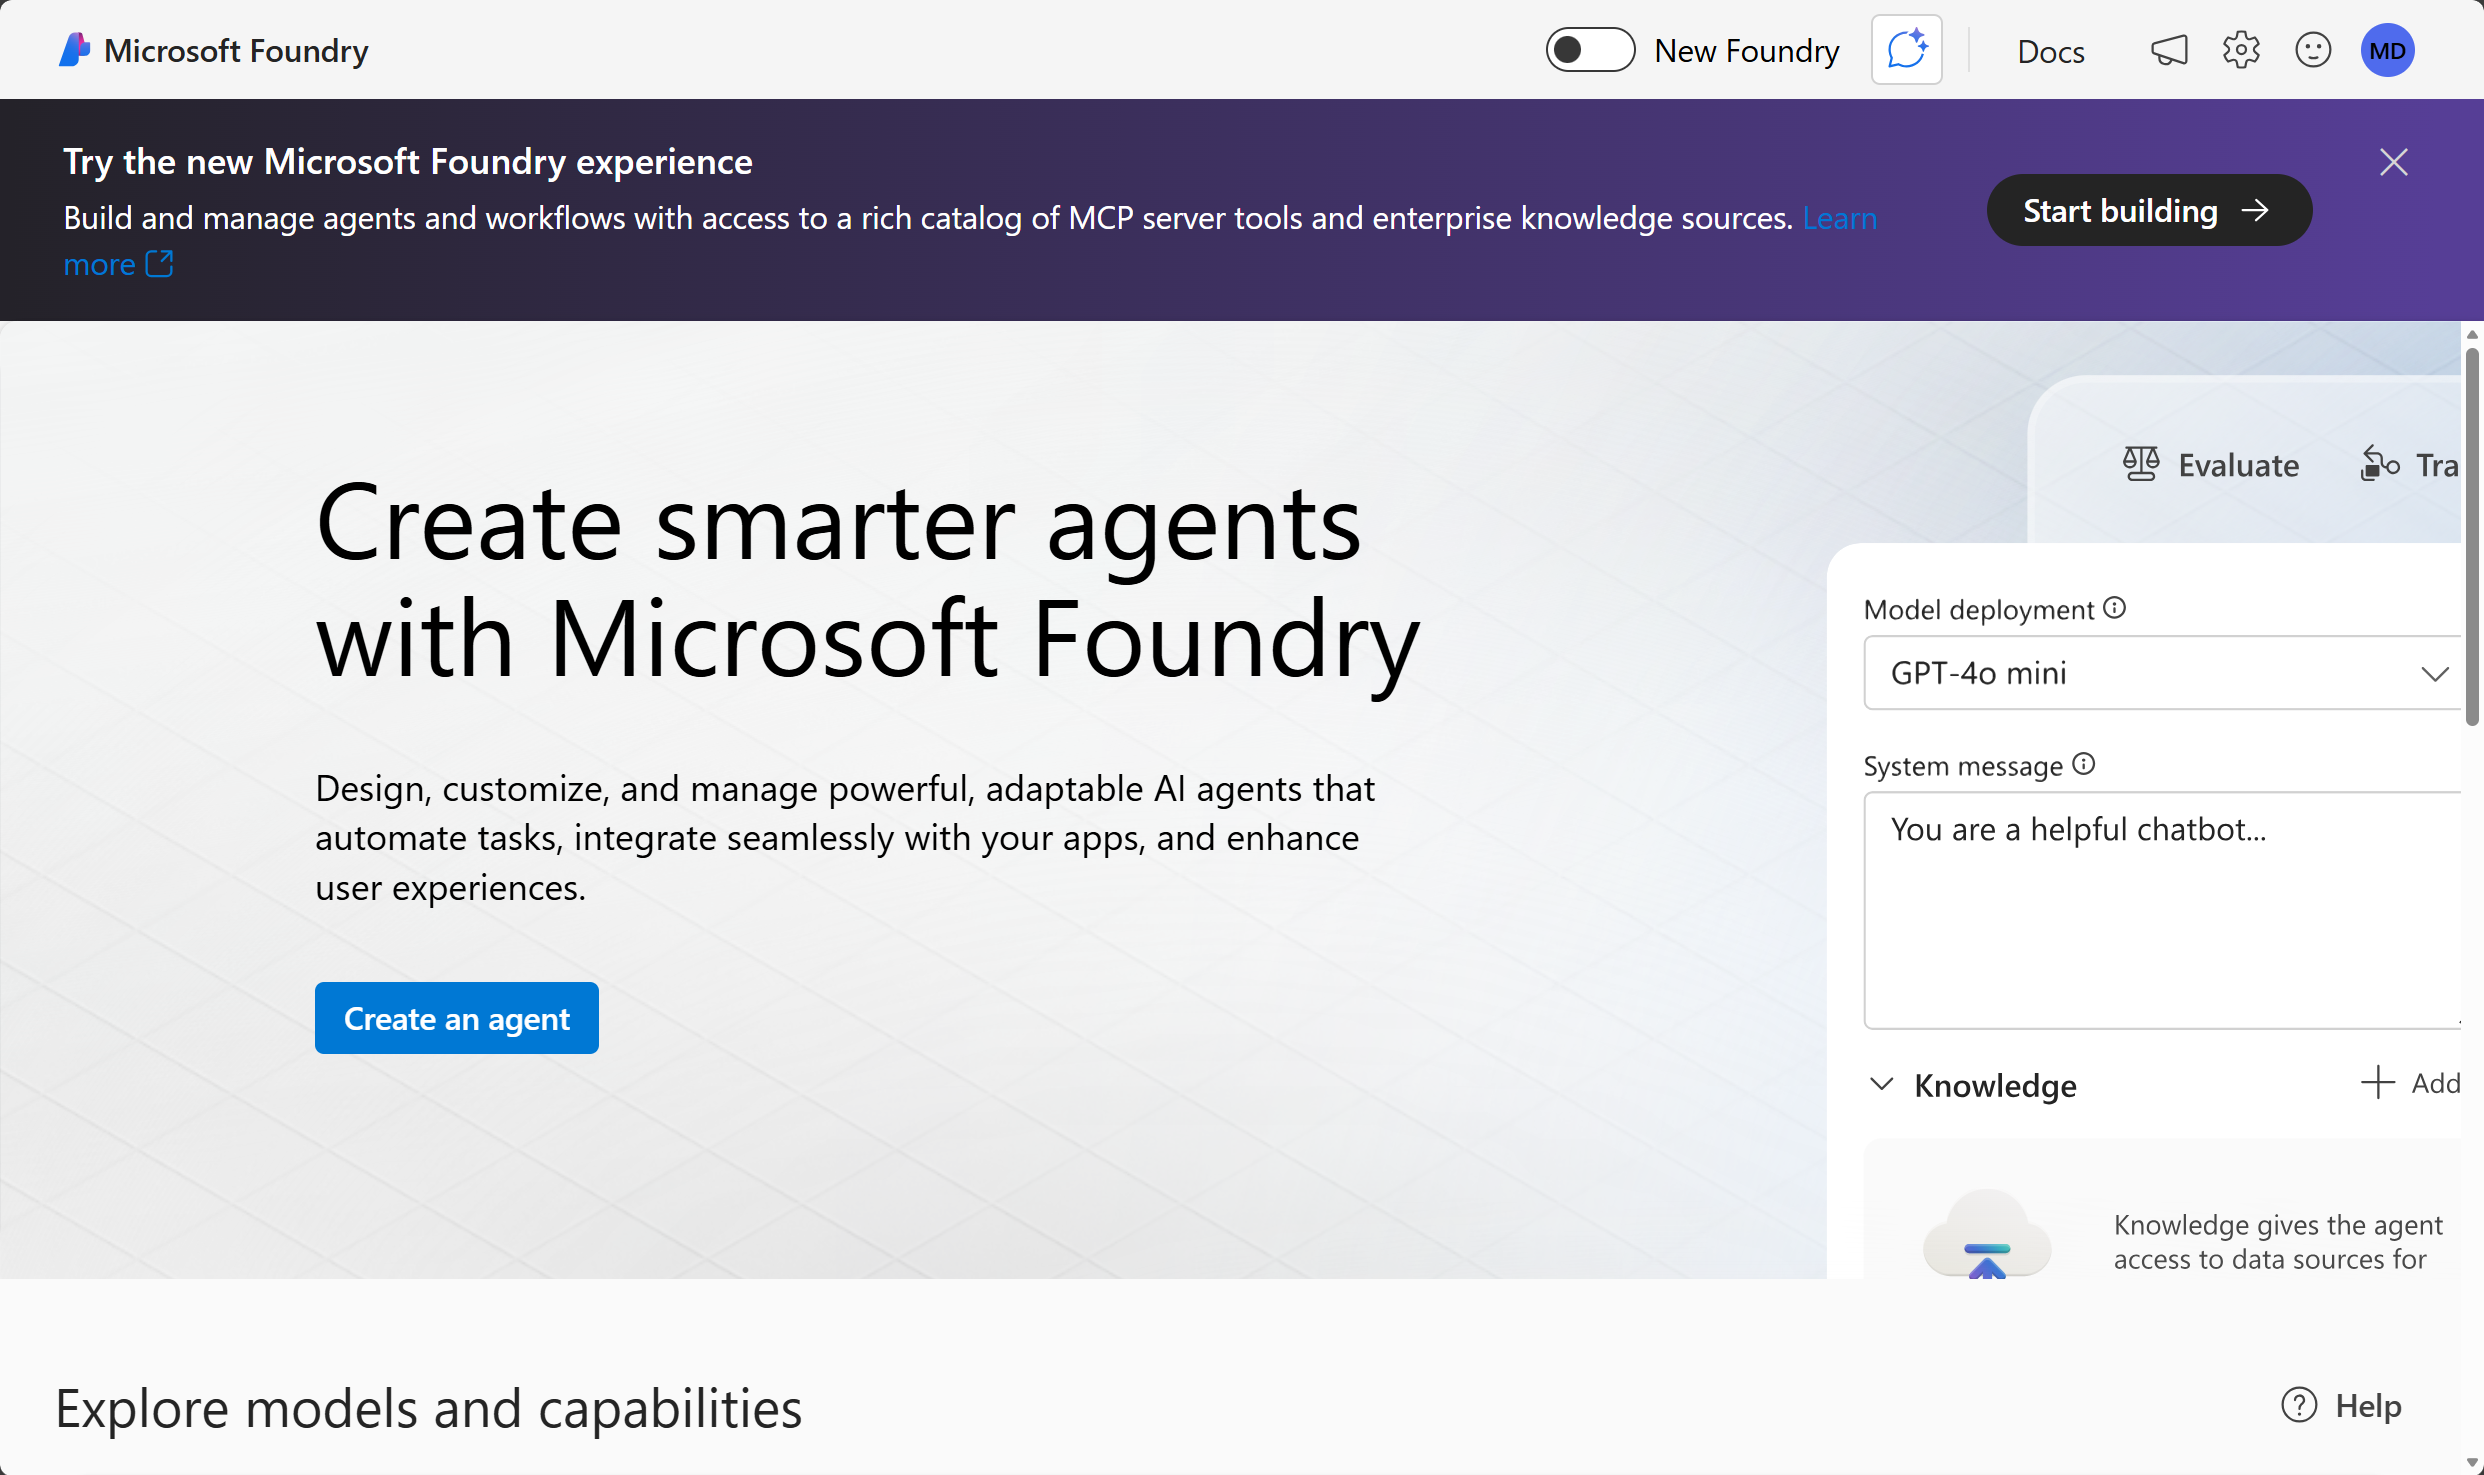
Important: For this lab, you’re using the New Foundry experience.
- In the top banner, select Start building to try the new Microsoft Foundry Experience.
- When prompted, create a new project, and enter a valid name for your project.
- Expand Advanced options and specify the following settings:
- Microsoft Foundry resource: A valid name for your Foundry resource
- Subscription: Your Azure subscription
- Resource group: Select your resource group, or create a new one
- Region: Select any AI Foundry recommended**
* Some Azure AI resources are constrained by regional model quotas. In the event of a quota limit being exceeded later in the exercise, there’s a possibility you may need to create another resource in a different region.
- Select Create and wait for your project to be created.
- When your project is created, select Start building, and select Create agent from the drop-down menu.
- Set the Agent name to
expense-agentand create the agent.
The playground will open for your newly created agent. You’ll see that an available deployed model is already selected for you.
Configure your agent
Now that you have an agent crated, you’re ready to configure it. In this exercise, you’ll configure a simple agent that answers questions based on a corporate expense policy. You’ll download the expenses policy document, and use it as grounding data for the agent.
- Open another browser tab, and download Expenses_policy.docx from
https://raw.githubusercontent.com/MicrosoftLearning/mslearn-ai-agents/main/Labfiles/01-agent-fundamentals/Expenses_Policy.docxand save it locally. This document contains details of the expenses policy for the fictional Contoso corporation. - Return to the browser tab where you have the playground open for your expense agent.
-
Set the Instructions to:
You are an AI assistant for corporate expenses.
You answer questions about expenses based on the expenses policy data.
If a user wants to submit an expense claim, you get their email address, a description of the claim, and the amount to be claimed and write the claim details to a text file that the user can download.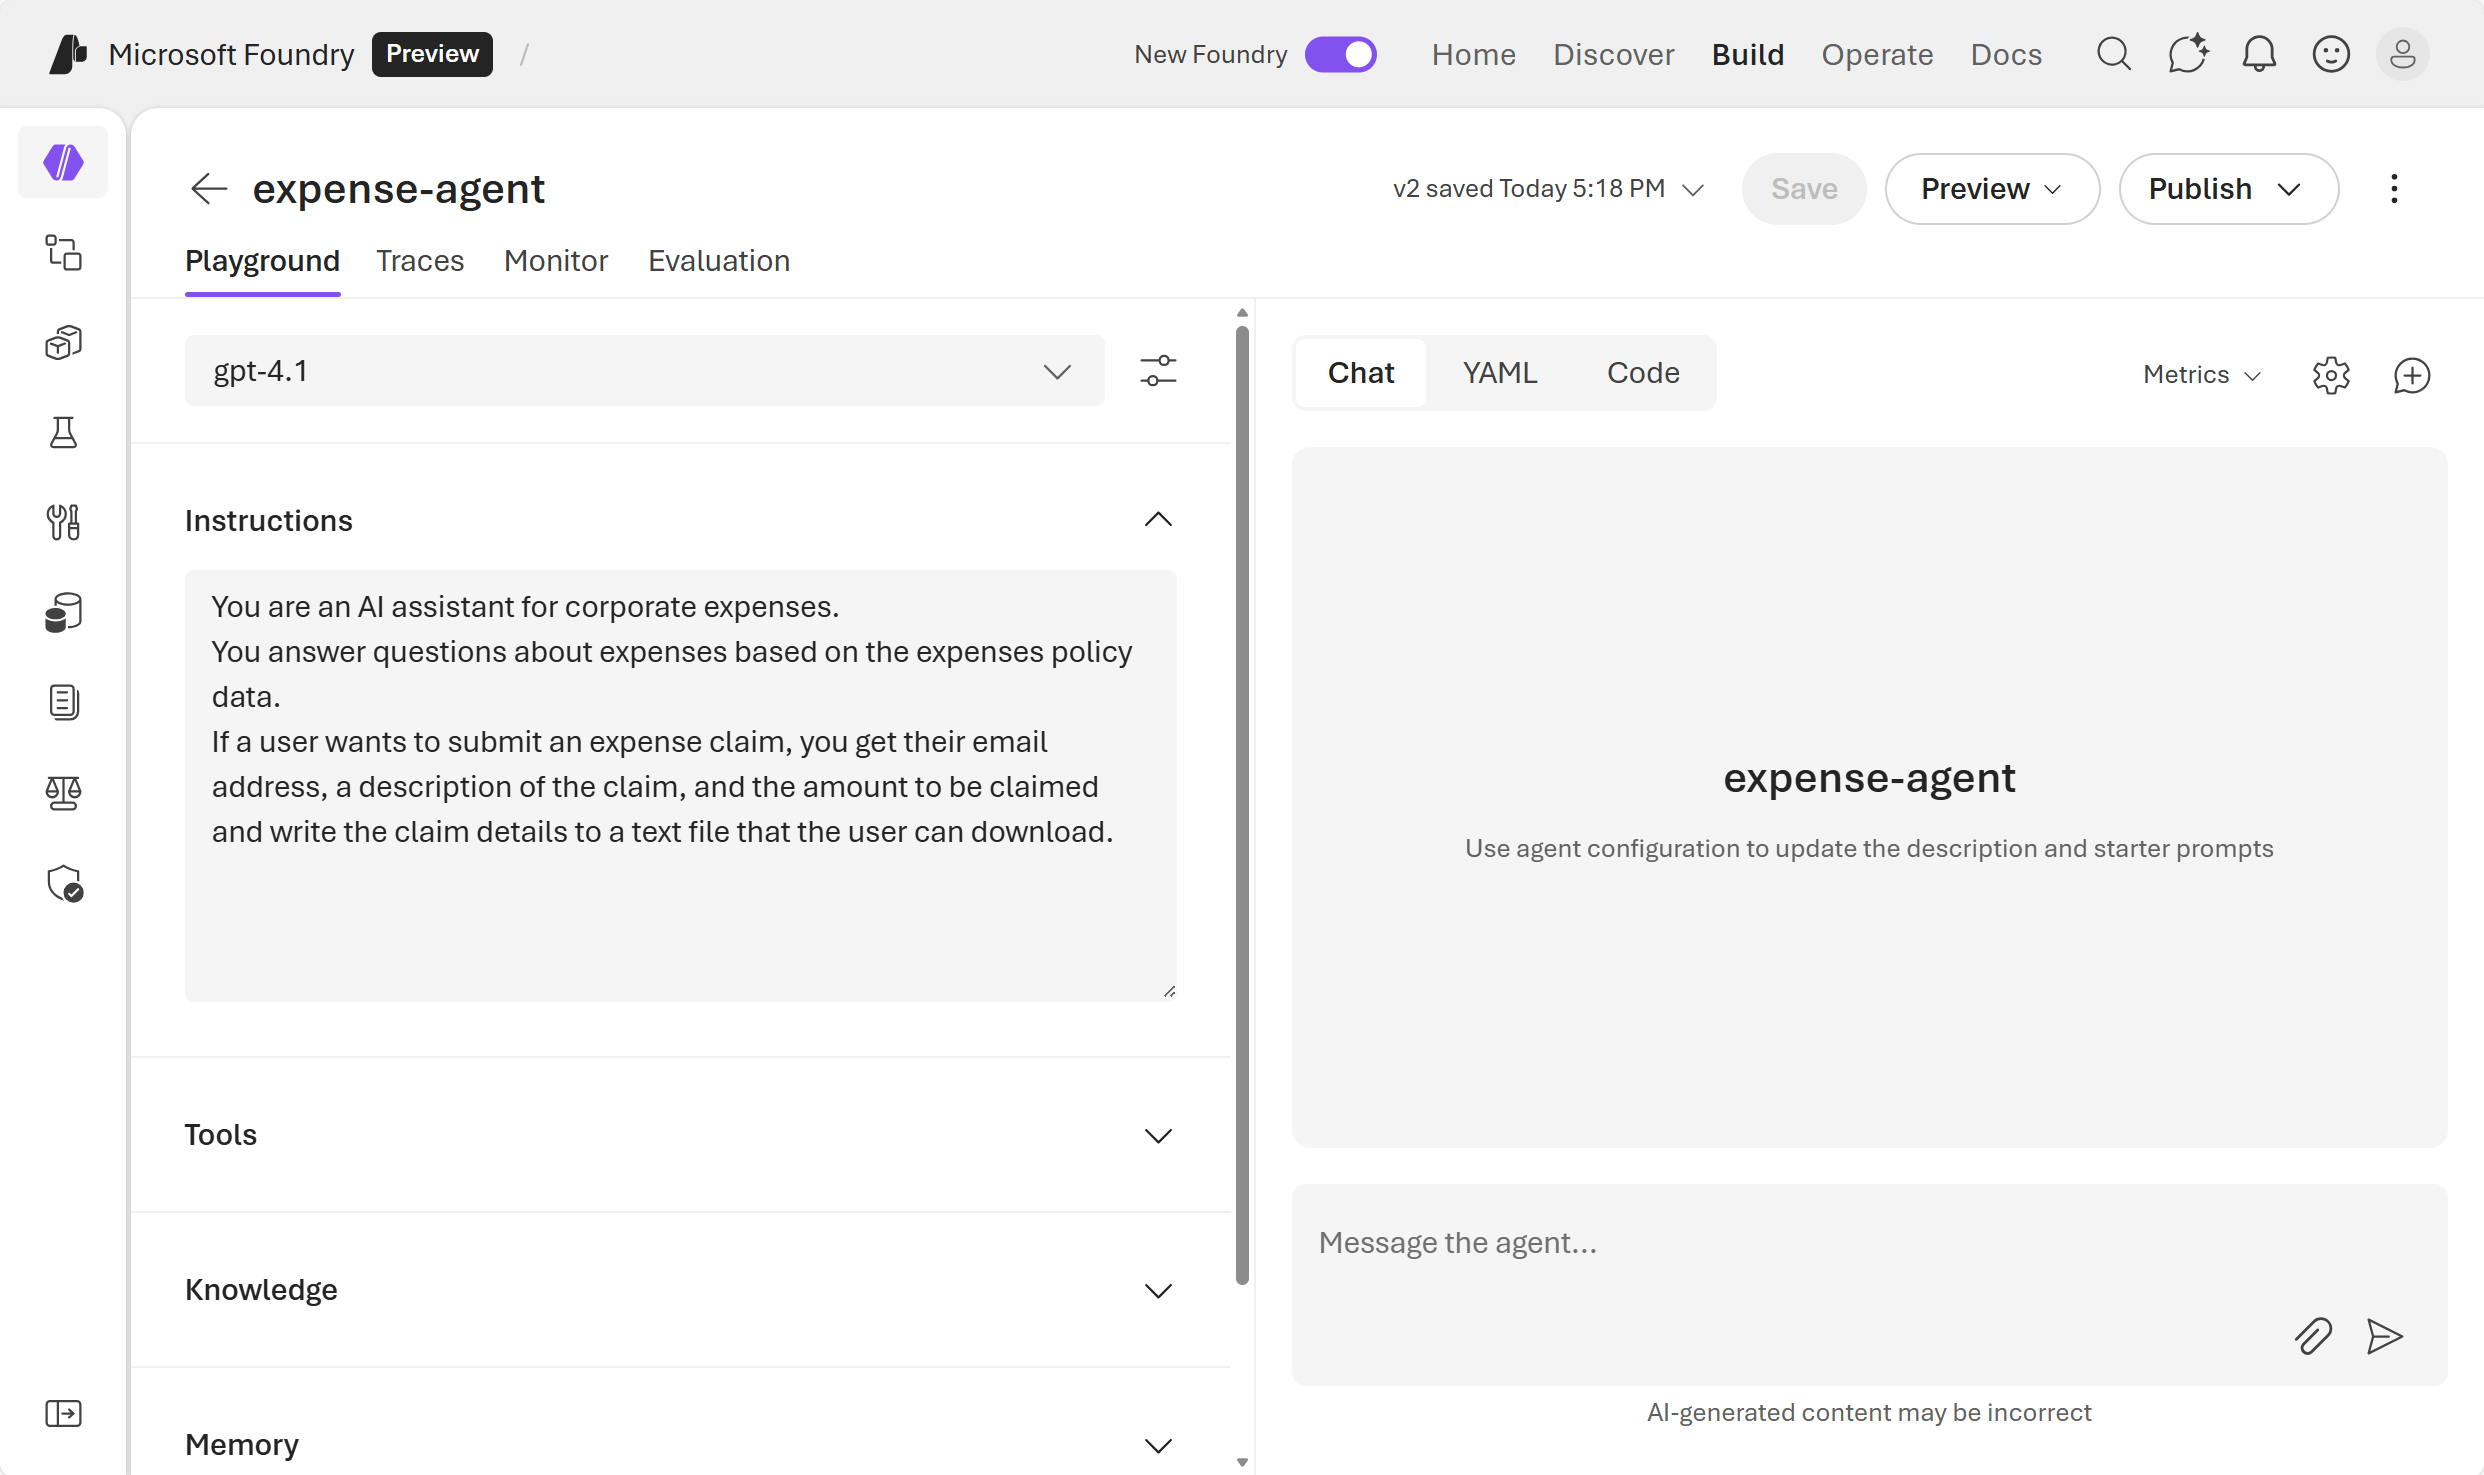
- Below the Instructions, expand the Tools section.
- Select Upload files
- Keep the default values for the Index option and Vector index name.
- Use the browse for files option to upload the Expenses_policy.docx local file that you downloaded previously.
- When your file is successfully uploaded, select Attach.
- In the Tools section, verify that a new File search is listed and shown as containing 1 file.
- In the Tools section, select + Add.
- In the Select a tool dialog box, select Code interpreter and then select Add tool (you do not need to upload any files for the code interpreter).
Your agent will use the document you uploaded as its knowledge source to ground its responses (in other words, it will answer questions based on the contents of this document). It will use the code interpreter tool as required to perform actions by generating and running its own Python code.
Test your agent
Now that you’ve created an agent, you can test it in the playground chat.
-
In the playground chat entry, enter the prompt:
What's the maximum I can claim for meals?and review the agent’s response - which should be based on information in the expenses policy document you added as knowledge to the agent setup.Note: If the agent fails to respond because the rate limit is exceeded. Wait a few seconds and try again. If there is insufficient quota available in your subscription, the model may not be able to respond. If the problem persists, try to increase the quota for your model on the Models page.
- Try the following follow-up prompt:
I'd like to submit a claim for a meal.and review the response. The agent should ask you for the required information to submit a claim. - Provide the agent with an email address; for example,
fred@contoso.com. The agent should acknowledge the response and request the remaining information required for the expense claim (description and amount) - Submit a prompt that describes the claim and the amount; for example,
Breakfast cost me $20. -
The agent should use the code interpreter to prepare the expense claim text file, and provide a link so you can download it.
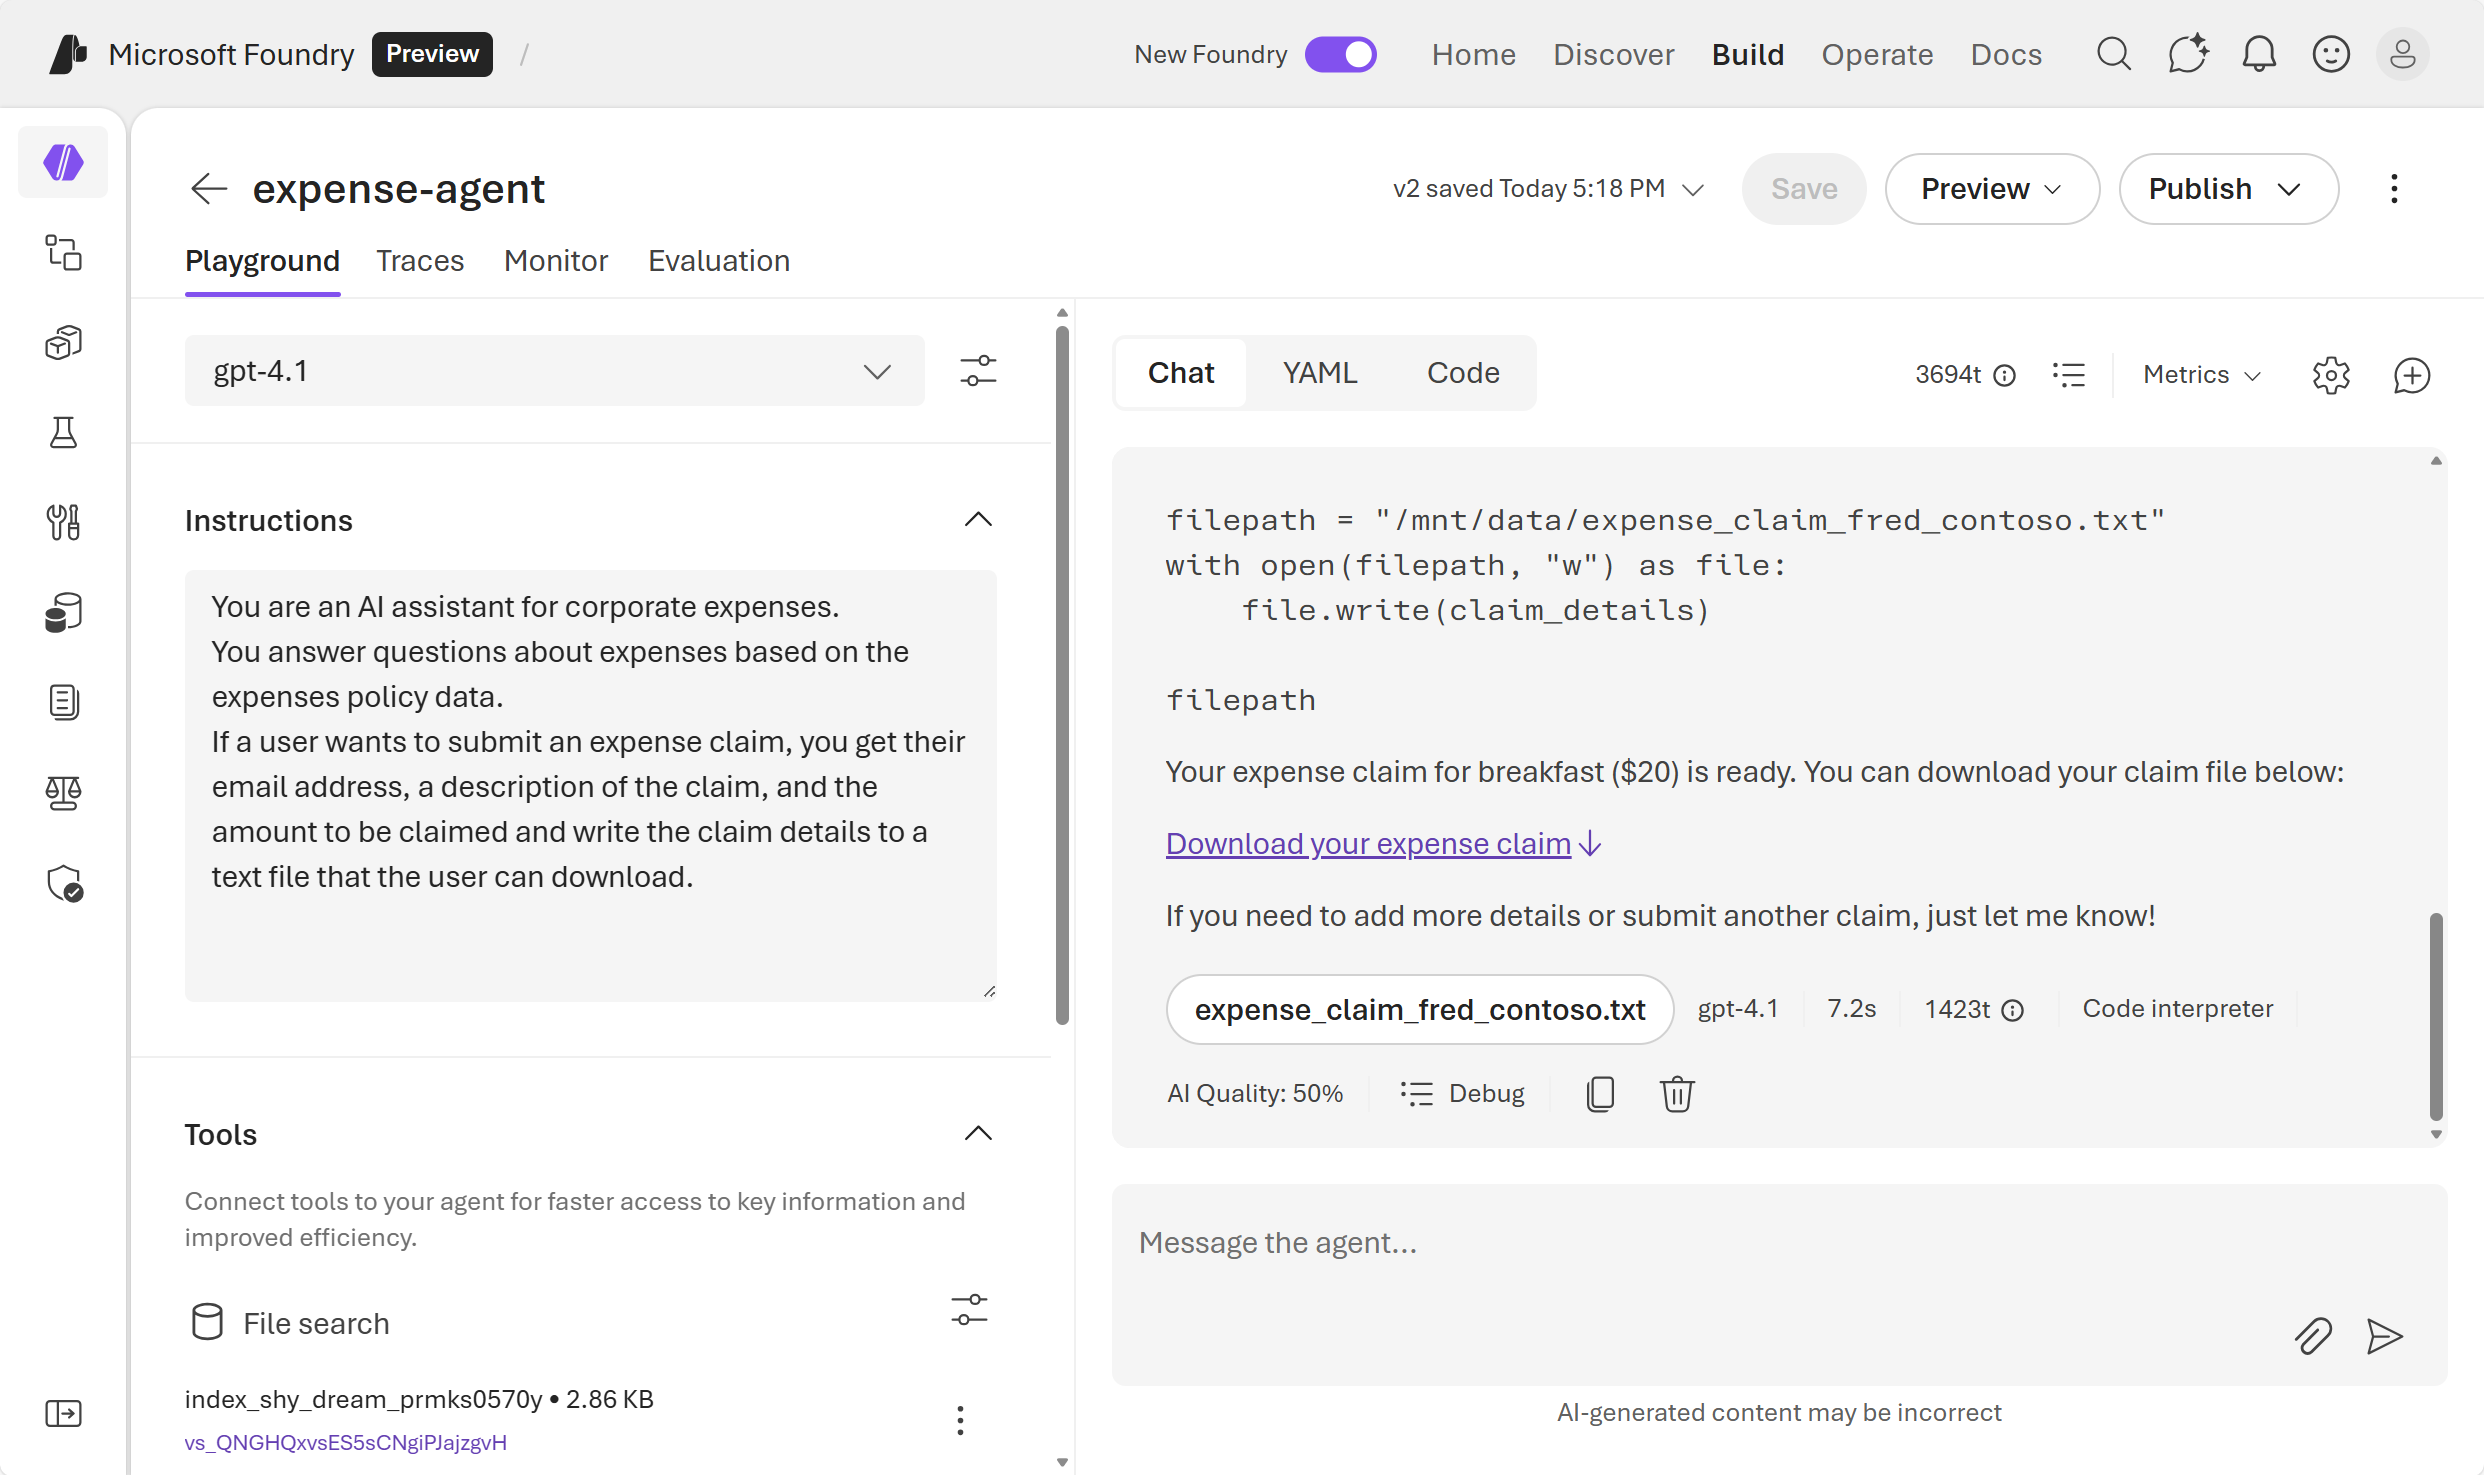
- Download and open the text document to see the expense claim details.
Optional: Explore the code
After experimenting with your agent in the playground, you may want to integrate it into your own client application. The Code tab provides sample code that shows how to interact with your agent programmatically.
-
In the agent playground, select the Code tab to view the sample code.
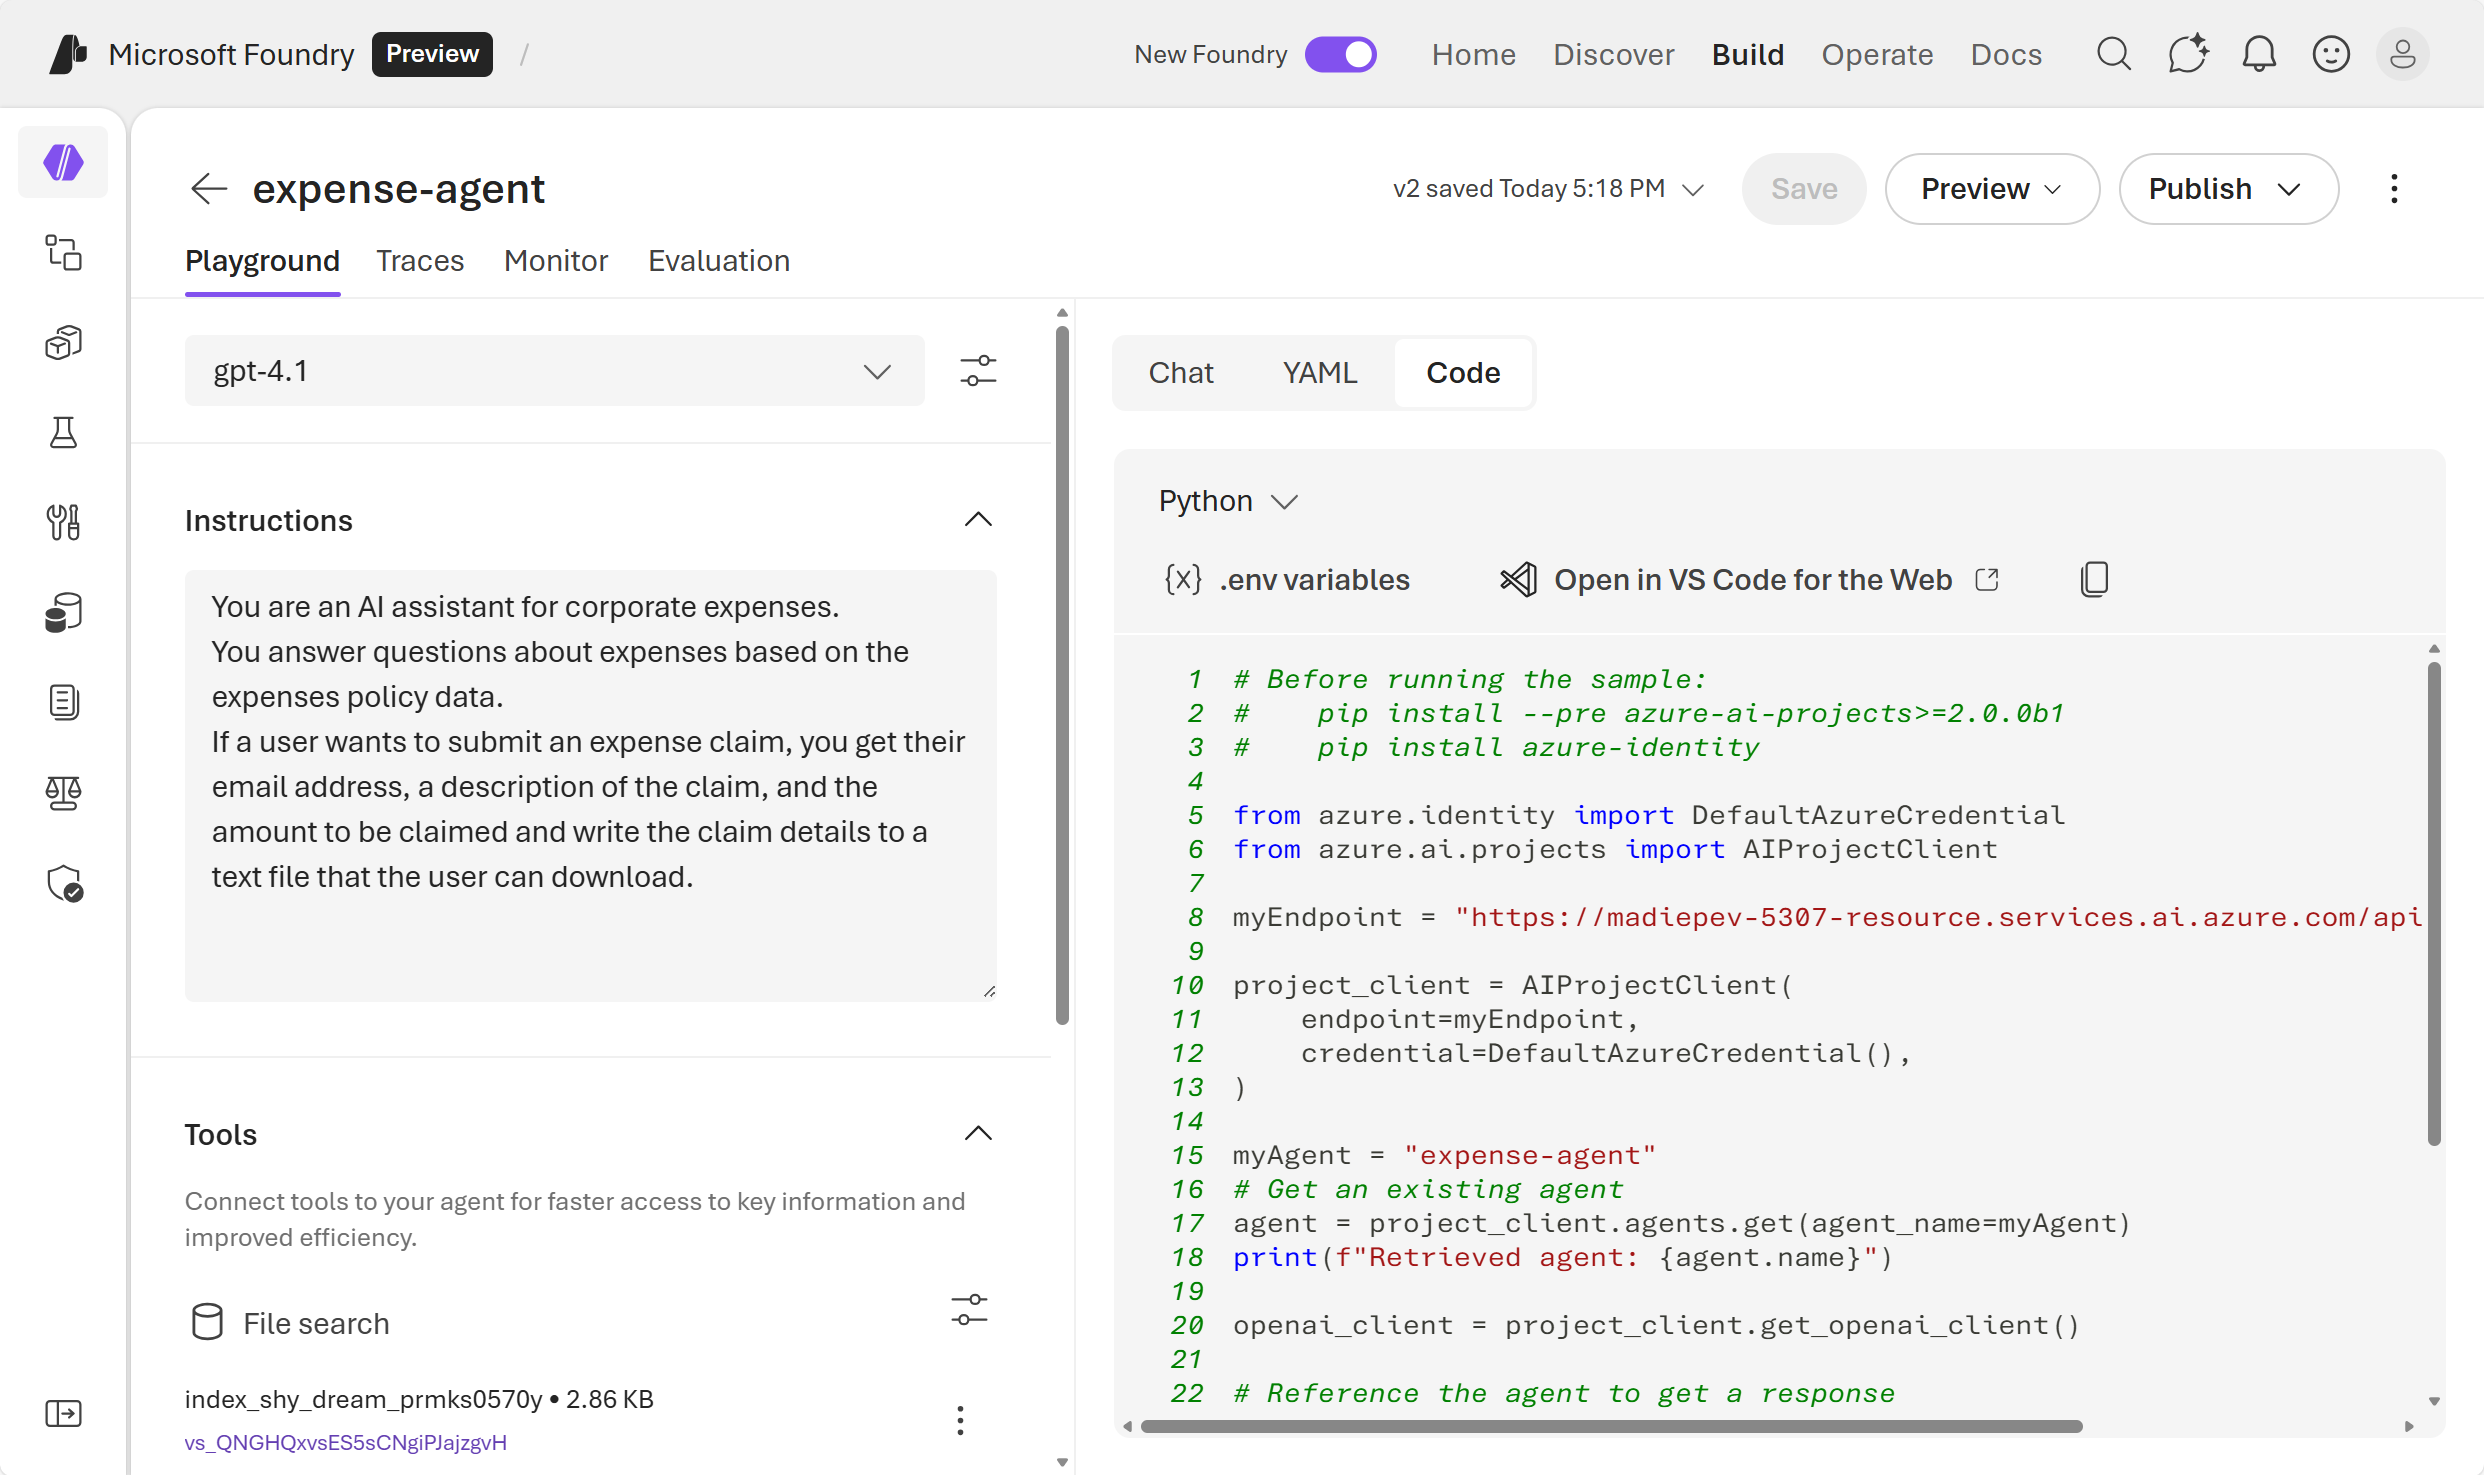
- Review the Python code. This code demonstrates how to:
- Connect to your agent using the Azure AI Projects SDK
- Send messages to the agent
- Retrieve and process responses
- Select .env variables to view the environment variables you need to run this code.
- You can use this code as a starting point for building your own client application that interacts with the agent you created.
-
Optionally, select Open in VS Code for the Web to launch a preconfigured workspace with the sample code ready to run.
Note: It may take a few minutes for the workspace to be prepared. Follow the instructions provided in the workspace to successfully run the code.
Clean up
Now that you’ve finished the exercise, you should delete the cloud resources you’ve created to avoid unnecessary resource usage.
- Open the Azure portal at
https://portal.azure.comand view the contents of the resource group where you deployed the hub resources used in this exercise. - On the toolbar, select Delete resource group.
- Enter the resource group name and confirm that you want to delete it.