Publish and use your agent
In the previous exercises, used Microsoft Foundry and Visual Studio code to develop a computing history agent.
Now you're ready to publish the agent to its own endpoint, and consume it in an application.
This exercise should take approximately 20 minutes to complete.
Publish your agent
So far you've developed and tested your agent within a Foundry project. To take it into production, you need to publish it to a dedicated endpoint from which client applications can consume it.
-
In a web browser, open Microsoft Foundry{:target="_blank"} at
https://ai.azure.comand sign in using your Azure credentials. -
Switch to the New Foundry view if necessary, and open the project in which you created the computing-historian agent.
-
Select the Build menu, and in the Agents page, select the computing-historian agent.
-
In the Publish drop-down list, select Publish agent and publish the latest version of your agent.
-
View the published agent details. In particular, note the Responses API endpoint that clients apps can use to connect to your agent. You'll need this later!
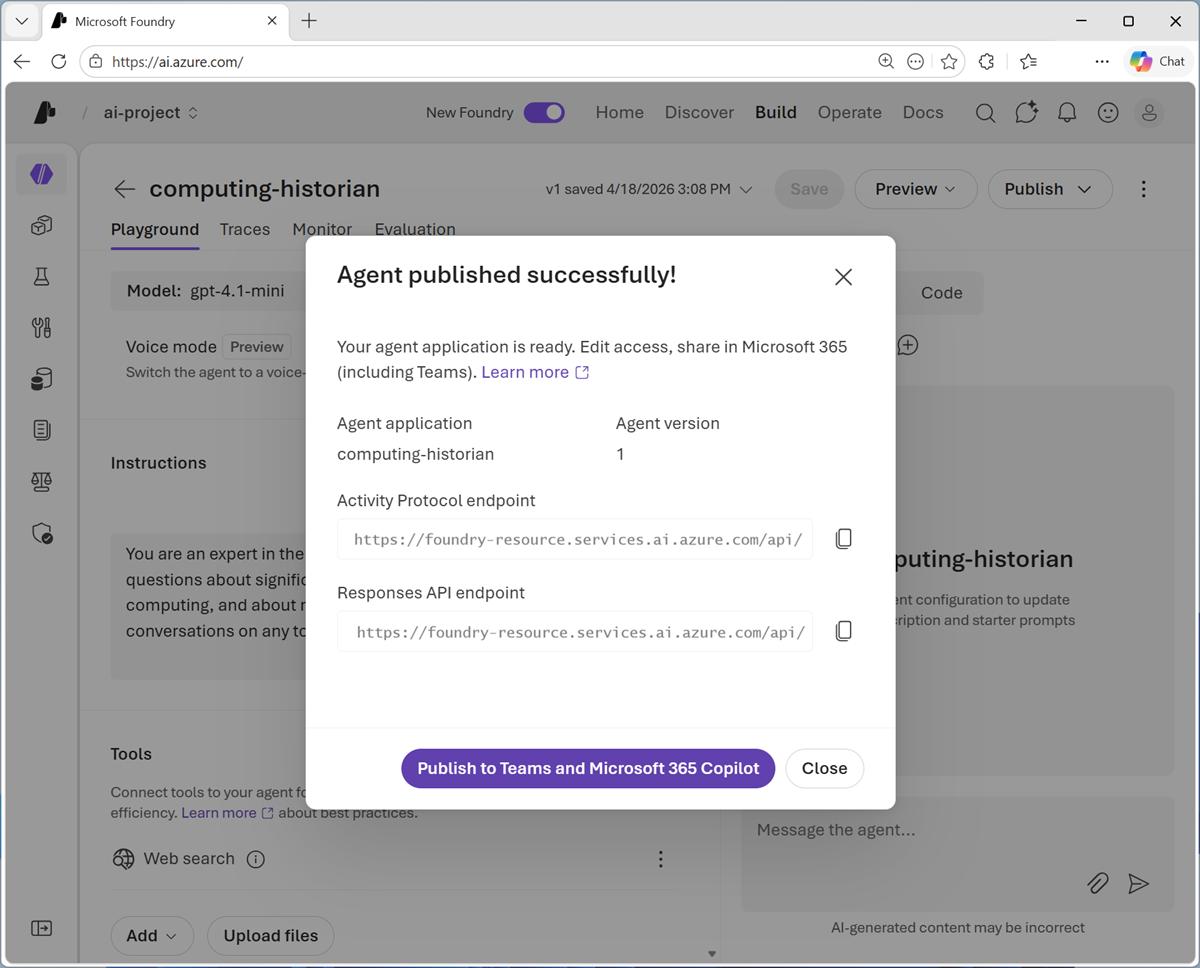
-
Note that you can perform additional steps to publish your agent for integration with Teams and Microsoft 365 Copilot. However, in this exercise, select Close.
Tip: You can use the View details option in the Publish drop-down list to re-open the agent details.
Configure a client application in Visual Studio Code
A partially completed client application for your agent has been provided. You'll complete this app and test it with your agent endpoint.
-
Open Visual Studio Code.
-
Open the command palette (Ctrl+Shift+P) and use the
Git:clonecommand to clone thehttps://github.com/MicrosoftLearning/mslearn-agent-quickstartrepo to a local folder (it doesn't matter which one). Then open it.You may be prompted to confirm you trust the authors.
-
View the Extensions pane; and if it is not already installed, install the Python extension.
-
In the Command Palette, use the command
python:create envionment(orpython:select interpreter) to create a new Venv environment based on your Python 3.1x installation.Tip: If you are prompted to install dependencies, you can install the ones in the requirements.txt file in the /computer-history-client folder; but it's OK if you don't - we'll install them later!
Wait for the environment to be created.
-
In the Explorer pane, navigate to the folder containing the application code files at /computer-history-client. The application files include:
- .env (the application configuration file)
- agent_client.py (the code file for the Python code to interact with your agent)
- app.py (the main code file for a Python Flask-based web application)
- README.md (information about the app)
- requirements.txt (the Python package dependencies that need to be installed)
-
In the Explorer pane, right-click the agent_client.py file, and select Open in integrated terminal.
Note: Opening the terminal in Visual Studio Code will automatically activate the Python environment. If you're using a PowerShell terminal by default, you may need to enable running scripts on your system. See Set-ExecutionPolicy for details.
-
Ensure that the terminal is open in the /computer-history-client folder with the prefix (.venv) to indicate that the Python environment you created is active.
-
Install the required Python packages by running the following command:
pip install -r requirements.txt -
In the Explorer pane, in the /computer-history-client folder, select the .env file to open it. Then update the configuration values to replace your_agent_endpoint_url with the Responses API endpoint for your published agent.
-
Save the updated .env file.
Add code to interact with your agent
Now you're ready to implement the code that will submit prompts to your agent.
-
In the Explorer pane, in the /computer-history-client folder, select the agent_client.py file (not app.py) to open it.
-
Review the existing code. You will add code to use the OpenAI Response API to interact with your agent.
Tip: As you add code to the code file, be sure to maintain the correct indentation.
-
Find the comment Import Azure Identity and OpenAI client libraries, and add the following code to import the Azure Identity classes required to use Entra ID authentication, and the OpenAI library.
# Import Azure Identity and OpenAI client libraries from azure.identity import DefaultAzureCredential, get_bearer_token_provider from openai import OpenAI -
In the AgentClient class, in the init function, note that code has been provided to load the agent endpoint from the environment configuration file. Then find the comment Create OpenAI client authenticated with Azure credentials and add the following code to create an authenticated OpenAI client for your agent:
# Create OpenAI client authenticated with Azure credentials self.client = OpenAI( api_key=get_bearer_token_provider( DefaultAzureCredential(), "https://ai.azure.com/.default" ), base_url=self.agent_endpoint, default_query={"api-version": "2025-11-15-preview"} ) -
In the send_message function, note that code to add the user's prompt to the conversation history has been provided. Then, in the try block, find the comment Send prompt with full conversation history and get response and add the following code to submit the prompt to the agent and get the response.
# Send prompt with full conversation history and get response response = self.client.responses.create( input=self.conversation_history ) assistant_message = response.output_text -
Read through the rest of the code, using the comments to understand the technique of tracking user inputs and responses in a conversation history.
-
Save the updated agent_client.py file.
Run the client application
Now you're ready to test the app with your agent.
-
In the terminal, use the following command to sign into Azure.
az loginNote: In most scenarios, just using az login will be sufficient. However, if you have subscriptions in multiple tenants, you may need to specify the tenant by using the --tenant parameter. See Sign into Azure interactively using the Azure CLI for details.
-
When prompted, follow the instructions to sign into Azure. Then complete the sign in process in the command line, viewing (and confirming if necessary) the details of the subscription containing your Foundry resource.
-
After you have signed in, enter the following command to run the application:
python app.py -
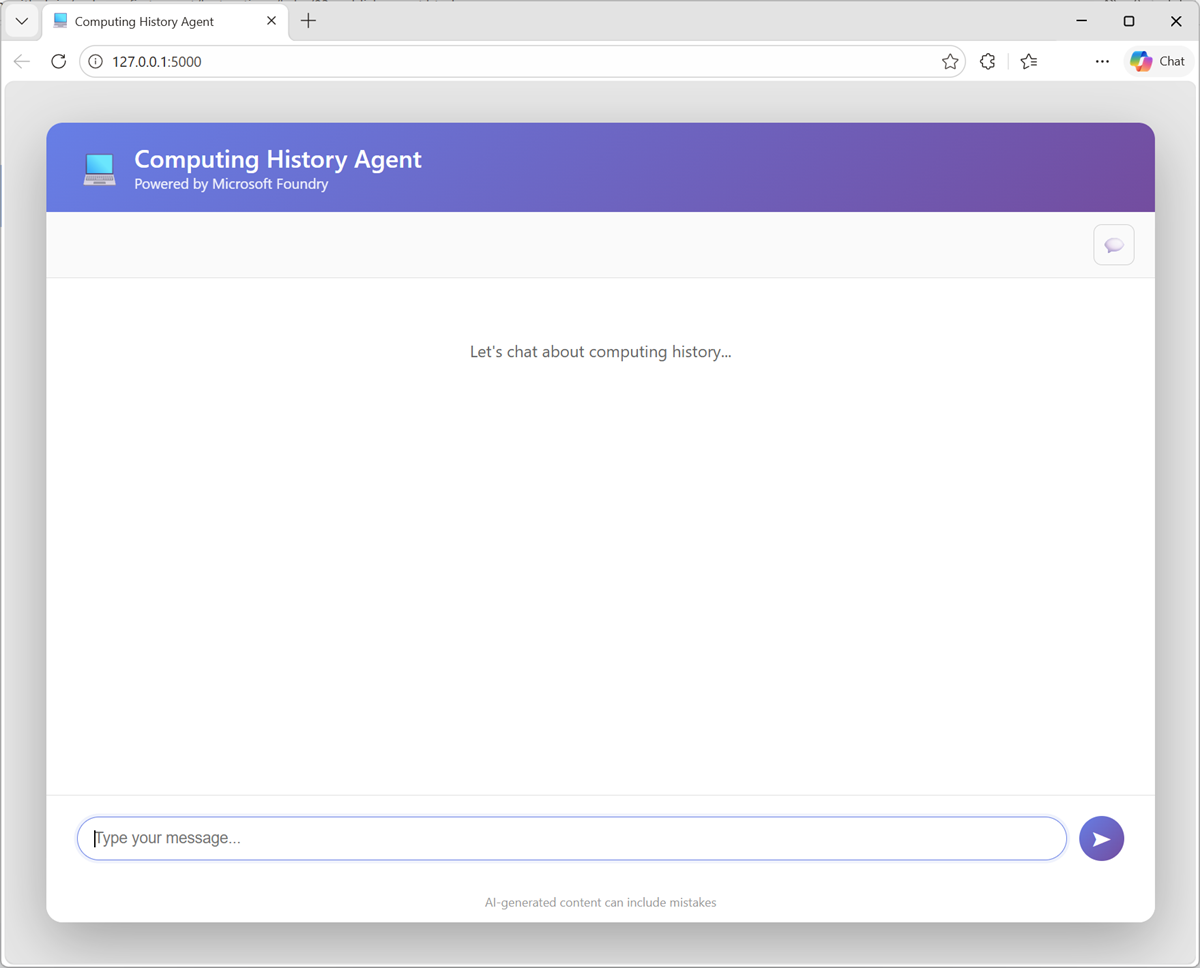
When the Flask application starts, open your browser and navigate to http://localhost:5000 (
http://localhost:5000).The application web site should looks like this:
-
Enter a prompt, such as
What was ENIAC?and view the response. -
Follow up with a second prompt, such as
How does it compare with COLOSSUS? -
When you're finished testing the app, in the terminal pane, enter CTRL+C to stop the local web server.
Summary
In this exercise, you published an agent that you have developed, and implemented a client application that uses it.
Next steps
This is the third and final exercise in a series of lab exercises. Check out the following training resources to dive deeper into AI app and agent development on Azure:
- Develop Generative AI apps in Azure
- Develop AI agents on Azure
- Develop natural language solutions on Azure
- Extract visual insights from data on Azure
- Develop AI Information Extraction solutions on Azure
Tip: If you have finished exploring Microsoft Foundry, you should delete the Azure resources created in this exercise to avoid unnecessary utilization charges.