Configure a project and repository structure to support secure pipelines
In this lab, you will learn how to configure a project and repository structure in Azure DevOps to support secure pipelines. This lab covers best practices for organizing projects and repositories, assigning permissions, and managing secure files.
These exercises take approximately 30 minutes.
Before you start
You’ll need an Azure subscription, Azure DevOps organization, and the eShopOnWeb application to follow the labs.
- Follow the steps to validate your lab environment.
Instructions
Exercise 1: Configure a secure project structure
In this exercise, you will configure a secure project structure by creating a new project and assigning it project permissions. Separating responsibilities and resources into different projects or repositories with specific permissions supports security.
Task 1: Create a new team project
-
Navigate to the Azure DevOps portal at
https://aex.dev.azure.comand open your organization. -
Open your organization settings at the bottom left corner of the portal and then Projects under the General section.
-
Select the New Project option and use the following settings:
- name: eShopSecurity
- visibility: Private
- Advanced: Version Control: Git
- Advanced: Work Item Process: Scrum

-
Select Create to create the new project.
-
You can now switch between the different projects by clicking on the Azure DevOps icon in the upper left corner of the Azure DevOps portal.
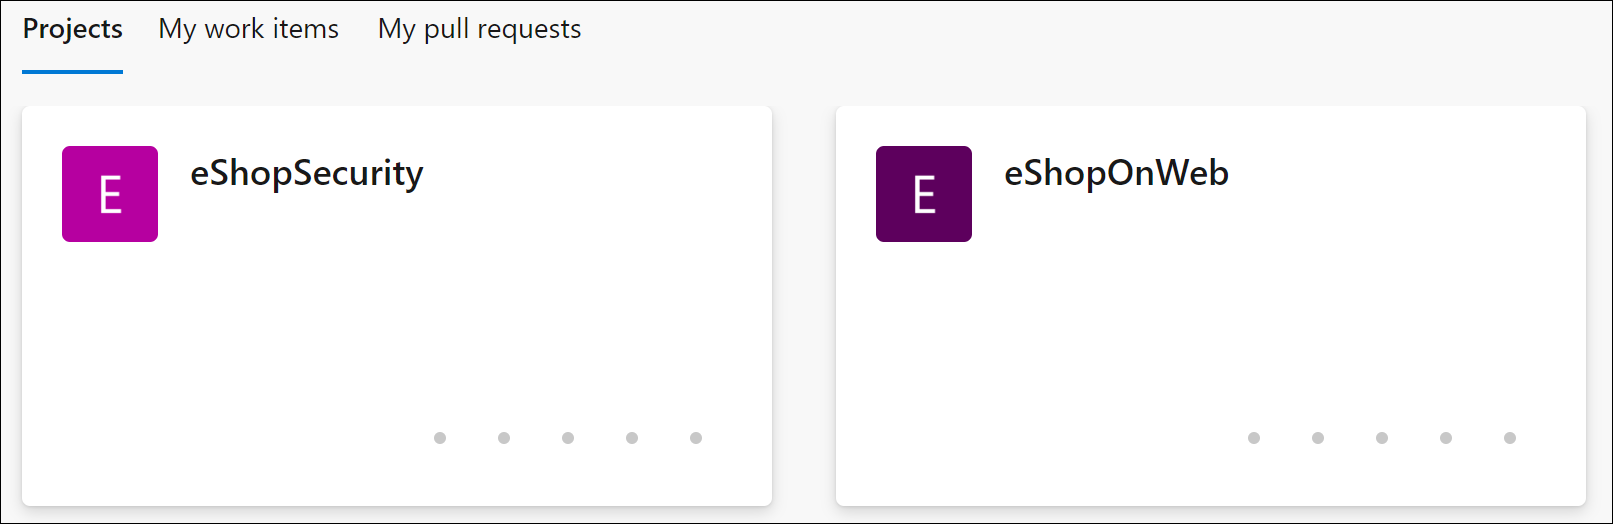
You can manage permissions and settings for each project separately by going to the Project settings menu and selecting the appropriate team project. If you have multiple users or teams working on different projects, you can also assign permissions to each project separately.
Task 2: Create a new repository and assign project permissions
-
Select the organization name in the upper left corner of the Azure DevOps portal and select the new eShopSecurity project.
-
Select the Repos menu.
-
Select the Initialize button to initialize the new repository by adding the README.md file.
-
Open the Project settings menu in the lower left corner of the portal and select Repositories under the Repos section.
-
Select the new eShopSecurity repository and select the Security tab.
Note: Ensure that you select the Security tab in the specific repository only, and not for all repositories in the project. If you select all repositories, you may lose access to other repositories in the project.
-
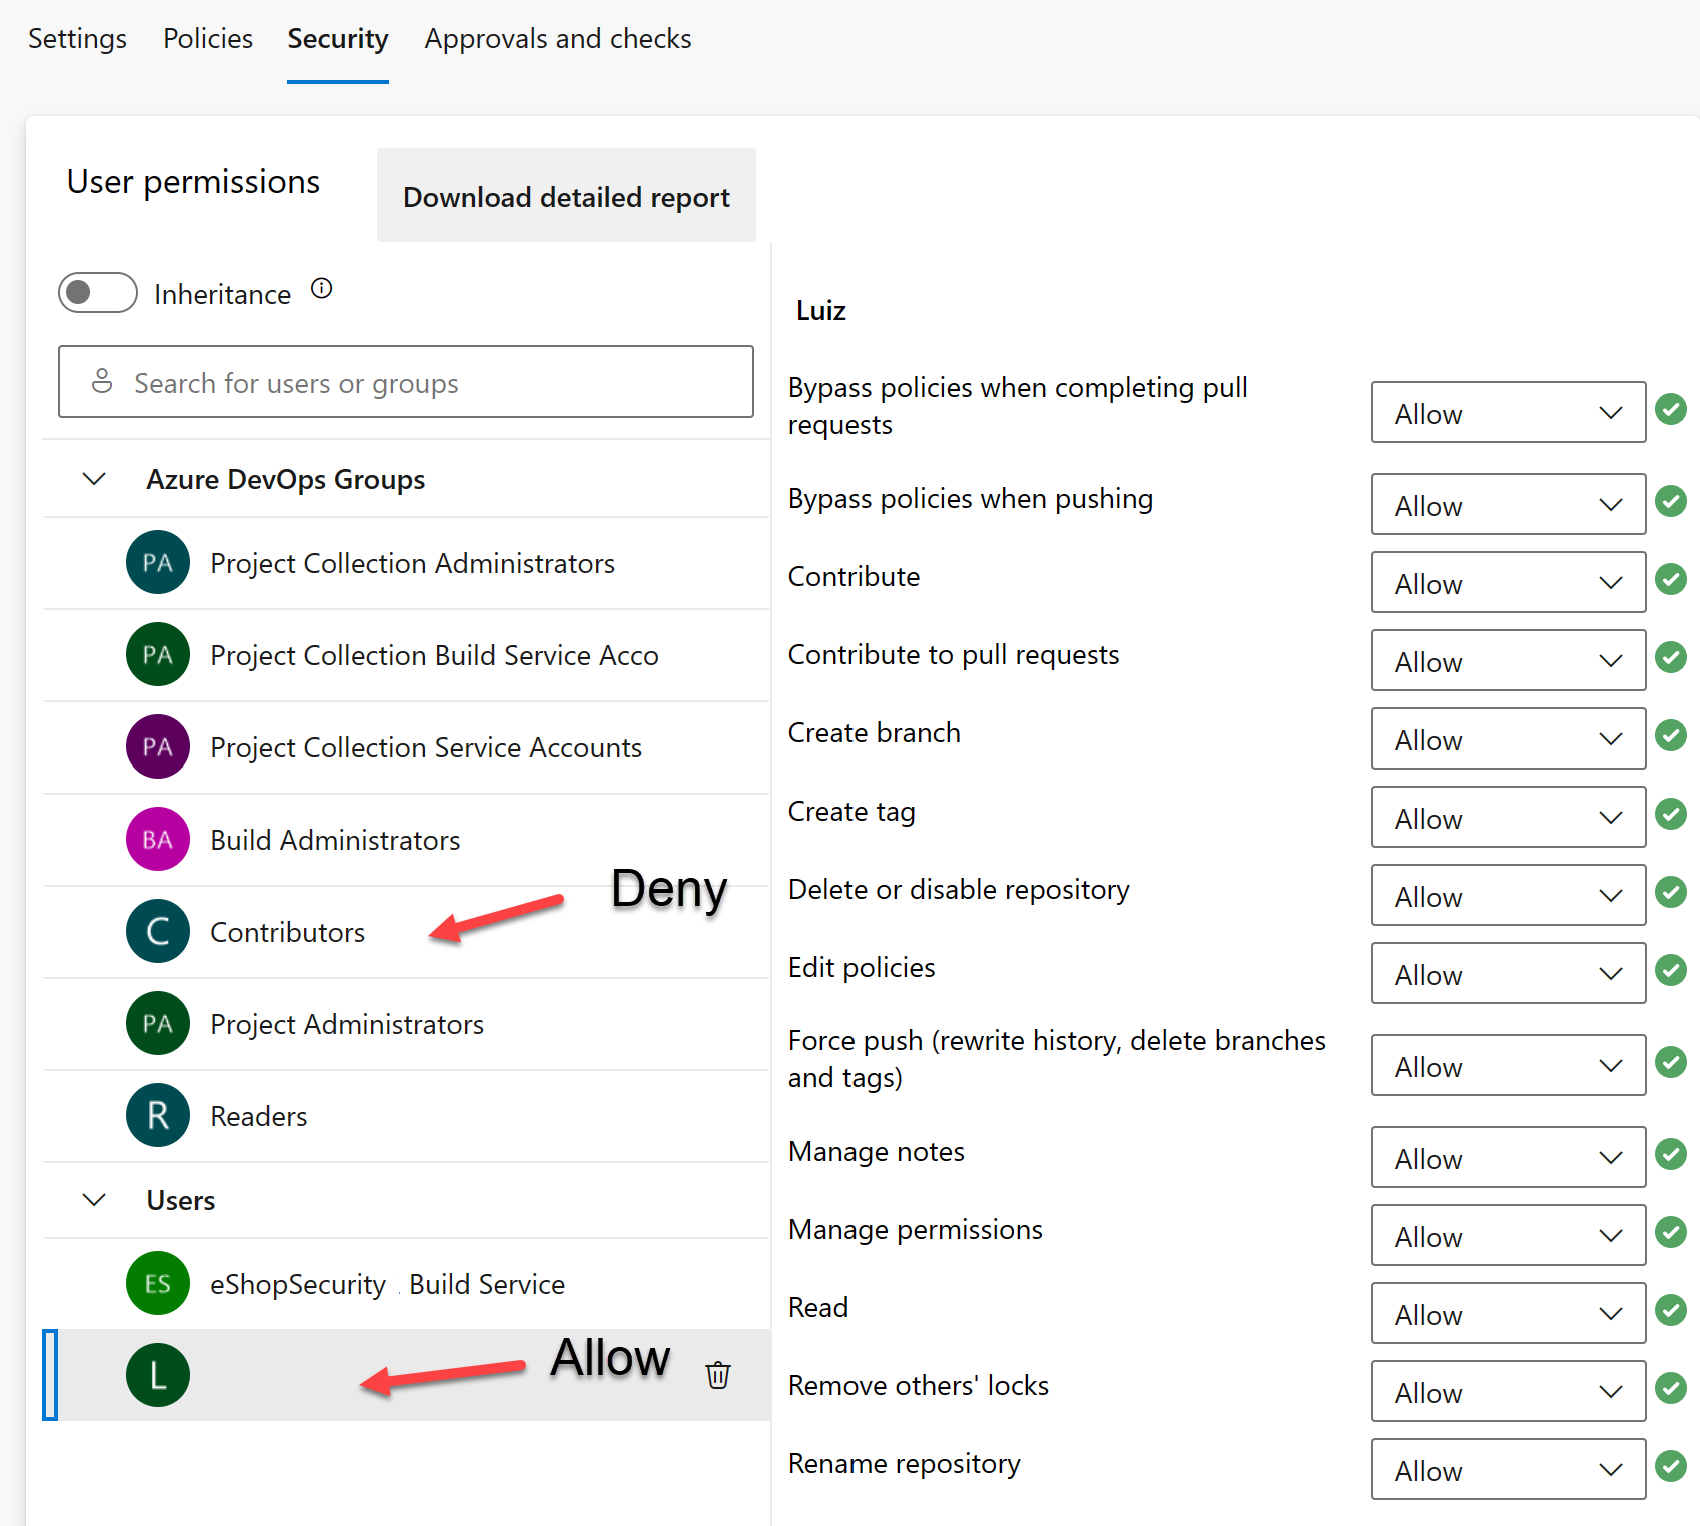
Remove the Inherit permissions from parent by unchecking the Inheritance toggle button.
-
Select the Contributors group and select the Deny dropdown for all permissions except Manage permissions and Read. This will prevent all users from the Contributors group from accessing the repository.
Note: In a real world scenario, you will deny the manage permissions to the Contributors group as well. For this lab, we are allowing the Contributors group to manage permissions to allow you to complete the lab.
-
Select your user under Users and select the Allow button to allow all permissions.
Note: If you don’t see your name in the Users section, enter your name in the Search for users or groups text box and select it in the list of results.
-
Your changes will be saved automatically.
Now only the user you assigned permissions and the administrators can access the repository. This is useful when you want to allow specific users to access the repository and run pipelines from the eShopOnWeb project.
Exercise 2: Configure a pipeline and template structure to support secure pipelines
Task 1: Import and run the CI pipeline
Let’s start by importing the CI pipeline named eshoponweb-ci.yml.
-
Navigate to the Azure DevOps portal at
https://aex.dev.azure.comand open your organization. -
Open the eShopOnWeb project in Azure DevOps.
-
Go to Pipelines > Pipelines.
-
Select the Create Pipeline button.
-
Select Azure Repos Git (Yaml).
-
Select the eShopOnWeb repository.
-
Select Existing Azure Pipelines YAML File.
-
Select the /.ado/eshoponweb-ci.yml file then click on Continue.
-
Select the Run button to run the pipeline.
Note: Your pipeline will take a name based on the project name. You will rename it to easier identify the pipeline.
-
Go to Pipelines > Pipelines and select the recently created pipeline. Select the ellipsis and then select Rename/move option.
-
Name it eshoponweb-ci and select Save.
Task 2: Import and run the CD pipeline
Note: In this task, you will import and run the CD pipeline named eshoponweb-cd-webapp-code.yml.
-
Go to Pipelines > Pipelines.
-
Select New pipeline button.
-
Select Azure Repos Git (Yaml).
-
Select the eShopOnWeb repository.
-
Select Existing Azure Pipelines YAML File.
-
Select the /.ado/eshoponweb-cd-webapp-code.yml file then select Continue.
-
In the YAML pipeline definition, set the variables section to:
variables: resource-group: 'YOUR-RESOURCE-GROUP-NAME' location: 'centralus' templateFile: 'infra/webapp.bicep' subscriptionid: 'YOUR-SUBSCRIPTION-ID' azureserviceconnection: 'YOUR-AZURE-SERVICE-CONNECTION-NAME' webappname: 'YOUR-WEB-APP-NAME' -
Replace the values of the variables with the values of your environment:
- Replace YOUR-RESOURCE-GROUP-NAME with the name of the resource group you want to use in this lab, for example, rg-eshoponweb-secure.
- Set the value of the location variable to the name of the Azure region you want to deploy your resources, for example, centralus.
- Replace YOUR-SUBSCRIPTION-ID with your Azure subscription id.
- Replace YOUR-AZURE-SERVICE-CONNECTION-NAME with azure subs
- Replace YOUR-WEB-APP-NAME with a globally unique name of the web app to be deployed, for example, the string eshoponweb-lab-multi-123456 followed by a random six-digit number.
-
Select Save and Run and choose to commit directly to the main branch.
-
Select Save and Run again.
-
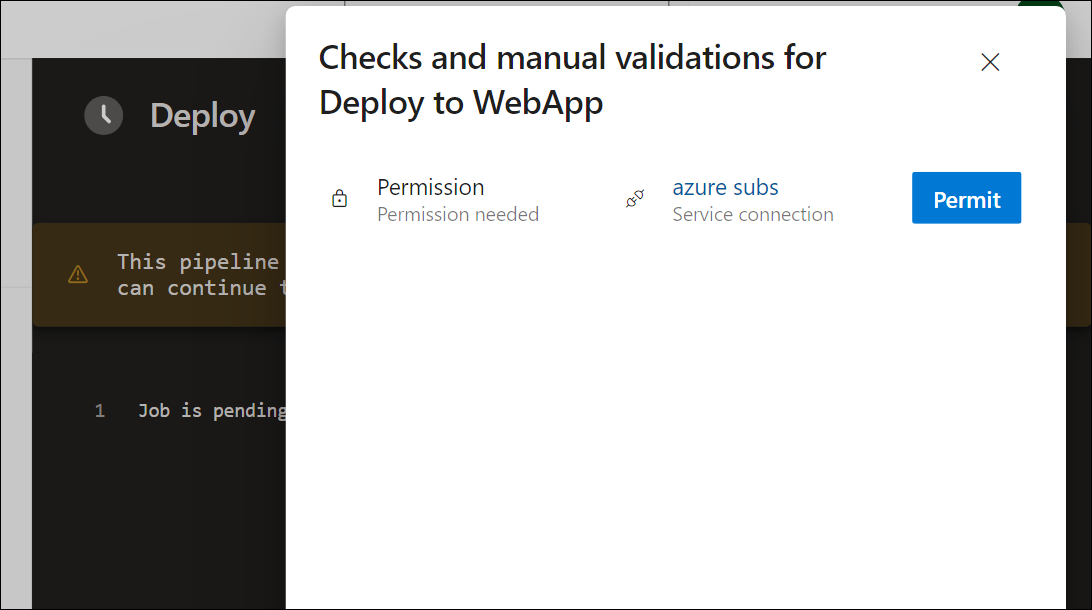
Open the pipeline run. If you receive the message “This pipeline needs permission to access a resource before this run can continue to Deploy to WebApp”, select View, Permit and Permit again. This is needed to allow the pipeline to create the Azure App Service resource.
-
The deployment may take a few minutes to complete, wait for the pipeline to execute. The pipeline is triggered following the completion of the CI pipeline and it includes the following tasks:
- AzureResourceManagerTemplateDeployment: Deploys the Azure App Service web app using bicep template.
- AzureRmWebAppDeployment: Publishes the Web site to the Azure App Service web app.
Note: In case the deployment fails, navigate to the pipeline run page and select Rerun failed jobs to invoke another pipeline run.
Note: Your pipeline will take a name based on the project name. Let’s rename it for identifying the pipeline better.
-
Go to Pipelines > Pipelines and select the recently created pipeline. Select the ellipsis and then select Rename/move option.
-
Name it eshoponweb-cd-webapp-code and click on Save.
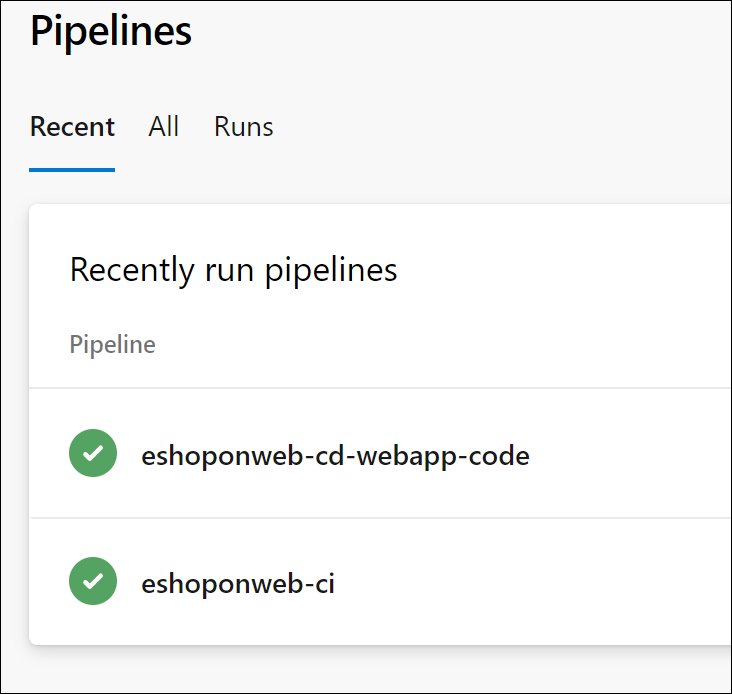
Now you should have two pipelines running in your eShopOnWeb project.
Task 3: Move the CD pipeline variables to a YAML template
In this task, you will create a YAML template to store the variables used in the CD pipeline. This will allow you to reuse the template in other pipelines.
-
Go to Repos and then Files.
-
Expand the .ado folder and select New file.
-
Name the file eshoponweb-secure-variables.yml and select Create.
-
Add the variables section used in the CD pipeline to the new file. The file should look like the following:
variables: resource-group: 'rg-eshoponweb-secure' location: 'southcentralus' #the name of the Azure region you want to deploy your resources templateFile: 'infra/webapp.bicep' subscriptionid: 'YOUR-SUBSCRIPTION-ID' azureserviceconnection: 'azure subs' #the name of the service connection to your Azure subscription webappname: 'eshoponweb-lab-secure-XXXXXX' #the globally unique name of the web appImportant: Replace the values of the variables with the values of your environment (resource group, location, subscription ID, Azure service connection, and web app name).
-
Select Commit, in the commit comment text box, enter
[skip ci], and then select Commit.Note: By adding the
[skip ci]comment to the commit, you will prevent automatic pipeline execution, which, at this point, runs by default following every change to the repo. -
From the list of files in the repo, open the eshoponweb-cd-webapp-code.yml pipeline definition, and replace the variables section with the following:
variables: - template: eshoponweb-secure-variables.yml -
Select Commit, accept the default comment, and then select Commit to run the pipeline again.
-
Verify that the pipeline run completed successfully.
Now you have a YAML template with the variables used in the CD pipeline. You can reuse this template in other pipelines in scenarios where you need to deploy the same resources. Also, your operations team can control the resource group and location where the resources are deployed and other information in your template values and you don’t need to make any changes to your pipeline definition.
Task 4: Move the YAML templates to a separate repository and project
In this task, you will move the YAML templates to a separate repository and project.
-
In your eShopSecurity project, go to Repos > Files.
-
Create a new file named eshoponweb-secure-variables.yml.
-
Copy the content of the file .ado/eshoponweb-secure-variables.yml from the eShopOnWeb repository to the new file.
-
Commit the changes.
-
Open the eshoponweb-cd-webapp-code.yml pipeline definition in the eShopOnWeb repo.
-
Add the following to the resources section before the variables section in the pipeline definition:
repositories: - repository: eShopSecurity type: git name: eShopSecurity/eShopSecurity #name of the project and repository -
Replace the variables section with the following:
variables:
  - template: eshoponweb-secure-variables.yml@eShopSecurity #name of the template and repository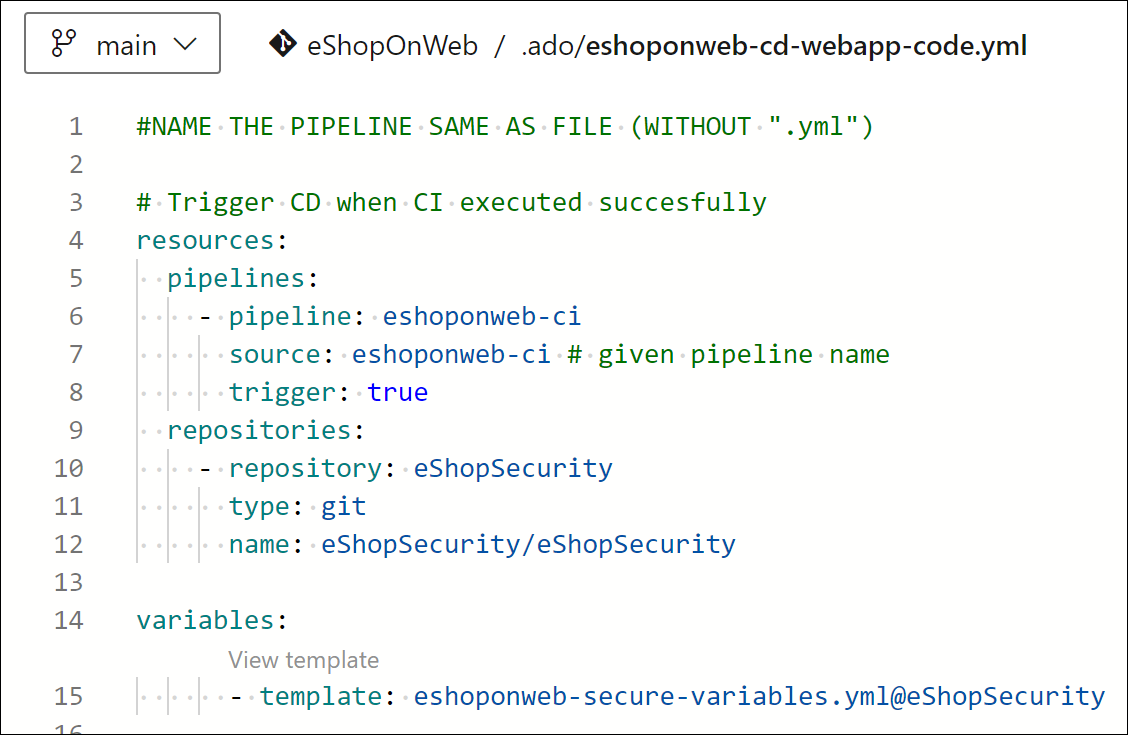
-
Select Commit, accept the default comment, and then select Commit to run the pipeline again.
-
Navigate to the pipeline run and verify that the pipeline is using the YAML file from the eShopSecurity repository.
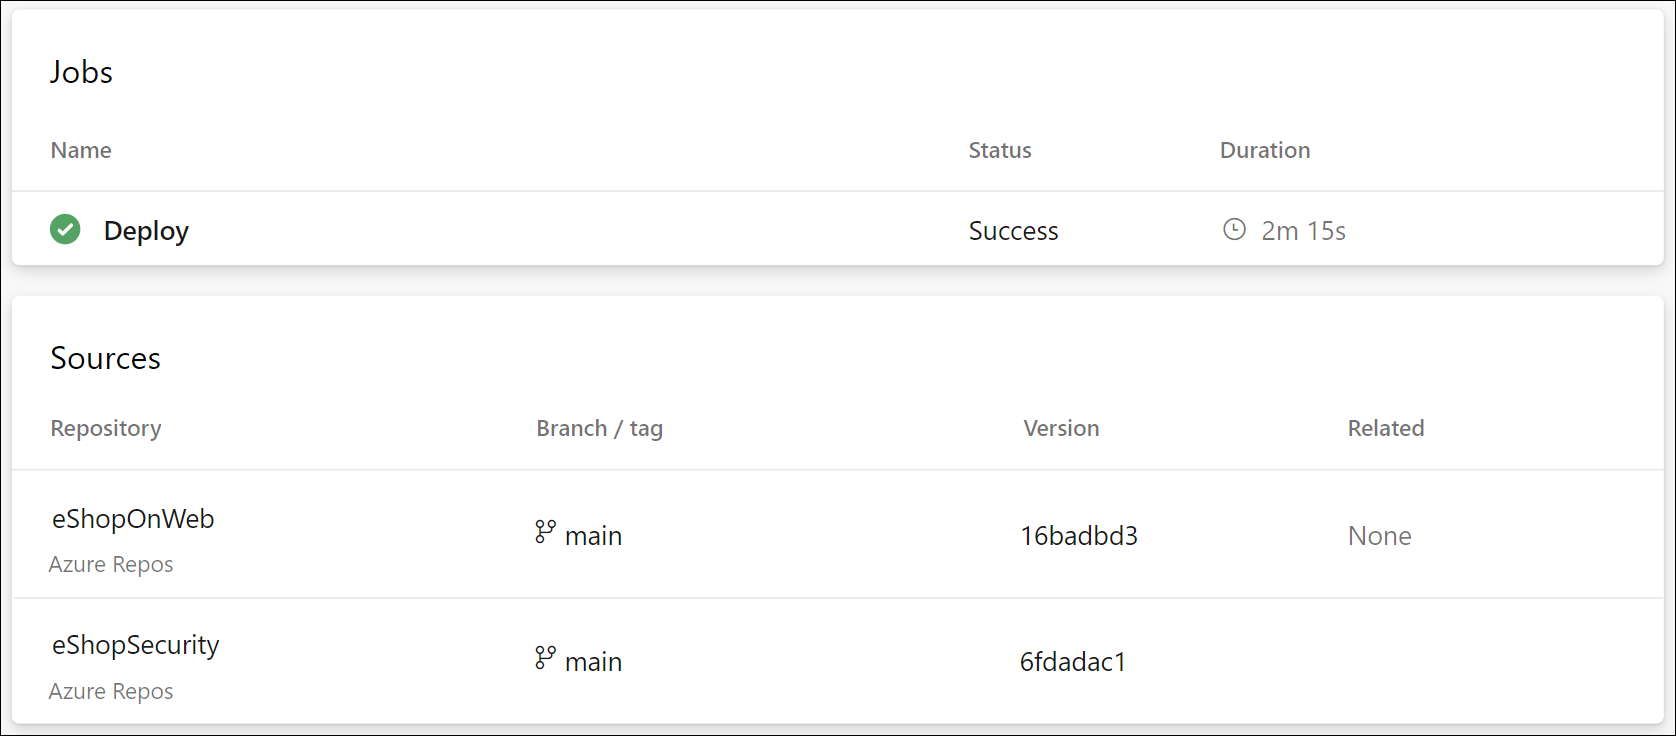
Now you have the YAML file in a separate repository and project. You can reuse this file in other pipelines in scenarios where you need to deploy the same resources. Also, your operations team can control the resource group, location, security and where the resources are deployed and other information by modifying values in the YAML file and you don’t need to make any changes to your pipeline definition.
[!IMPORTANT] Remember to delete the resources created in the Azure portal to avoid unnecessary charges.
Review
In this lab, you learned how to configure and organize a secure project and repository structure in Azure DevOps. By managing permissions effectively, you can ensure that the right users have access to the resources they need while maintaining the security and integrity of your DevOps pipelines and processes.