Build a data pipeline in Azure Synapse Analytics
In this exercise, you’ll load data into a dedicated SQL Pool using a pipeline in Azure Synapse Analytics Explorer. The pipeline will encapsulate a data flow that loads product data into a table in a data warehouse.
This exercise should take approximately 45 minutes to complete.
Before you start
You’ll need an Azure subscription in which you have administrative-level access.
Provision an Azure Synapse Analytics workspace
You’ll need an Azure Synapse Analytics workspace with access to data lake storage and a dedicated SQL pool hosting a relational data warehouse.
In this exercise, you’ll use a combination of a PowerShell script and an ARM template to provision an Azure Synapse Analytics workspace.
- Sign into the Azure portal at
https://portal.azure.com. -
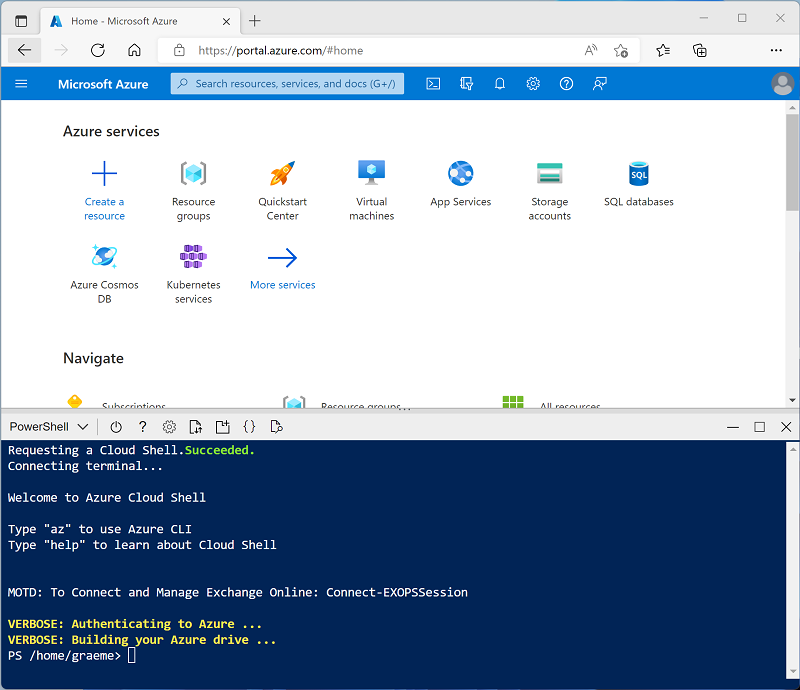
Use the [>_] button to the right of the search bar at the top of the page to create a new Cloud Shell in the Azure portal, selecting a PowerShell environment and creating storage if prompted. The Cloud Shell provides a command line interface in a pane at the bottom of the Azure portal, as shown here:
Note: If you have previously created a cloud shell that uses a Bash environment, use the the drop-down menu at the top left of the cloud shell pane to change it to PowerShell.
-
Note that Cloud Shell can be resized by dragging the separator bar at the top of the pane, or by using the—, ◻, and X icons at the top right of the pane to minimize, maximize, and close the pane. For more information about using the Azure Cloud Shell, see the Azure Cloud Shell documentation.
-
In the PowerShell pane, enter the following commands to clone this repository:
rm -r dp-203 -f git clone https://github.com/MicrosoftLearning/dp-203-azure-data-engineer dp-203 -
After the repository has been cloned, enter the following commands to change to the folder for this exercise, and run the setup.ps1 script it contains:
cd dp-203/Allfiles/labs/10 ./setup.ps1 - If prompted, choose which subscription you want to use (this will only happen if you have access to multiple Azure subscriptions).
-
When prompted, enter a suitable password to be set for your Azure Synapse SQL pool.
Note: Be sure to remember this password!
- Wait for the script to complete - this typically takes around 10 minutes, but in some cases may take longer. While you’re waiting, review the Data flows in Azure Synapse Analytics article in the Azure Synapse Analytics documentation.
View source and destination data stores
The source data for this exercise is a text file containing product data. The destination is a table in a dedicated SQL pool. Your goal is to create a pipeline that encapsulates a data flow in which the product data in the file is loaded into the table; inserting new products and updating existing ones.
- After the script has completed, in the Azure portal, go to the dp203-xxxxxxx resource group that it created, and select your Synapse workspace.
- In the Overview page for your Synapse Workspace, in the Open Synapse Studio card, select Open to open Synapse Studio in a new browser tab; signing in if prompted.
- On the left side of Synapse Studio, use the ›› icon to expand the menu - this reveals the different pages within Synapse Studio that you’ll use to manage resources and perform data analytics tasks.
-
On the Manage page, on the SQL pools tab, select the row for the sqlxxxxxxx dedicated SQL pool and use its ▷ icon to start it; confirming that you want to resume it when prompted.
Resuming the pool can take a few minutes. You can use the ↻ Refresh button to check its status periodically. The status will show as Online when it’s ready. While you’re waiting, continue with the steps below to view the source data.
- On the Data page, view the Linked tab and verify that your workspace includes a link to your Azure Data Lake Storage Gen2 storage account, which should have a name similar to synapsexxxxxxx (Primary - datalakexxxxxxx).
- Expand your storage account and verify that it contains a file system container named files (primary).
- Select the files container, and note that it contains a folder named data.
- Open the data folder and observe the Product.csv file it contains.
- Right-click Product.csv and select Preview to see the data it contains. Note that it contains a header row and some records of product data.
- Return to the Manage page and ensure that your dedicated SQL pool is now online. If not, wait for it.
- In the Data page, on the Workspace tab, expand SQL database, your sqlxxxxxxx (SQL) database, and its Tables.
- Select the dbo.DimProduct table. Then in its … menu, select New SQL script > Select TOP 100 rows; which will run a query that returns the product data from the table - there should be a single row.
Implement a pipeline
To load the data in the text file into the database table, you will implement an Azure Synapse Analytics pipeline that contains a dataflow encapsulating the logic to ingest the data from the text file, lookup the surrogate ProductKey column for products that already exist in the database, and then insert or update rows in the table accordingly.
Create a pipeline with a data flow activity
- In Synapse Studio, select the Integrate page. Then in the + menu select Pipeline to create a new pipeline.
- In the Properties pane for your new pipeline, change its name from Pipeline1 to Load Product Data. Then use the Properties button above the Properties pane to hide it.
-
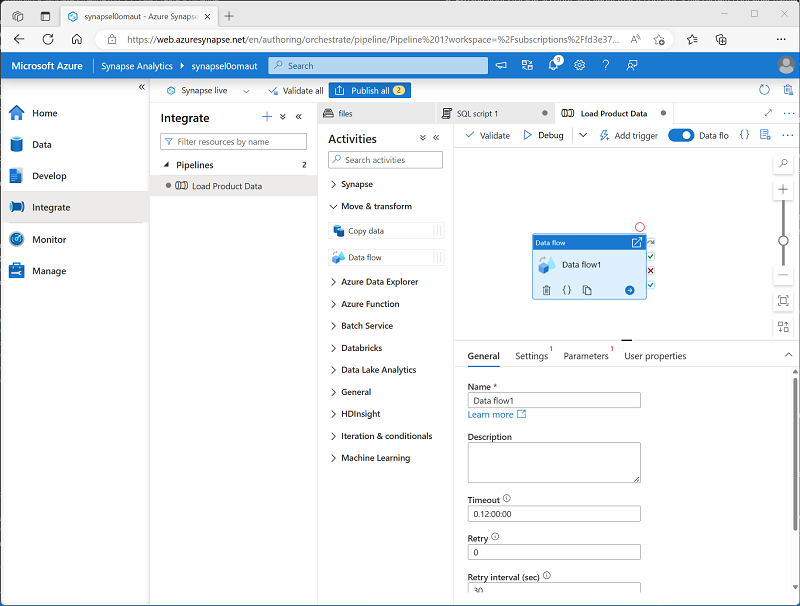
In the Activities pane, expand Move & transform; and then drag a Data flow to the pipeline design surface as shown here:
- Under the pipeline design surface, in the General tab, set the Name property to LoadProducts.
- On the Settings tab, at the bottom of the list of settings, expand Staging and set the following staging settings:
- Staging linked service: Select the synapsexxxxxxx-WorkspaceDefaultStorage linked service.
- Staging storage folder: Set container to files and Directory to stage_products.
Configure the data flow
- At the top of the Settings tab for the LoadProducts data flow, for the Data flow property, select + New.
-
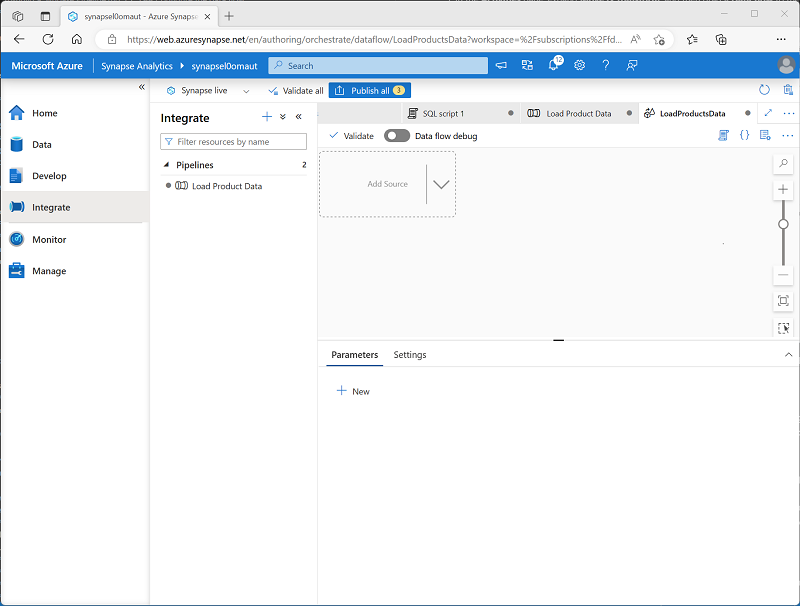
In the Properties pane for the new data flow design surface that opens, set the Name to LoadProductsData and then hide the Properties pane. The data flow designer should look like this:
Add sources
- In the data flow design surface, in the Add Source drop-down list, select Add Source. Then configure the source settings as follows:
- Output stream name: ProductsText
- Description: Products text data
- Source type: Integration dataset
- Dataset: Add a New dataset with the following properties:
- Type: Azure Datalake Storage Gen2
- Format: Delimited text
- Name: Products_Csv
- Linked service: synapsexxxxxxx-WorkspaceDefaultStorage
- File path: files/data/Product.csv
- First row as header: Selected
- Import schema: From connection/store
- Allow schema drift: Selected
- On the Projection tab for the new ProductsText source, set the following data types:
- ProductID: string
- ProductName: string
- Color: string
- Size: string
- ListPrice: decimal
- Discontinued: boolean
- Add a second source with the following properties:
- Output stream name: ProductTable
- Description: Product table
- Source type: Integration dataset
- Dataset: Add a New dataset with the following properties:
- Type: Azure Synapse Analytics
- Name: DimProduct
- Linked service: Create a New linked service with the following properties:
- Name: Data_Warehouse
- Description: Dedicated SQL pool
- Connect via integration runtime: AutoResolveIntegrationRuntime
- Version: Legacy
- Account selection method From Azure subscription
- Azure subscription: Select your Azure subscription
- Server name: synapsexxxxxxx (Synapse workspace)
- Database name: sqlxxxxxxx
- SQL pool: sqlxxxxxxx Authentication type: System Assigned Managed Identity
- Table name: dbo.DimProduct
- Import schema: From connection/store
- Allow schema drift: Selected
- On the Projection tab for the new ProductTable source, verify that the following data types are set:
- ProductKey: integer
- ProductAltKey: string
- ProductName: string
- Color: string
- Size: string
- ListPrice: decimal
- Discontinued: boolean
-
Verify that your data flow contains two sources, as shown here:

Add a Lookup
- Select the + icon at the bottom right of the ProductsText source and select Lookup.
- Configure the Lookup settings as follows:
- Output stream name: MatchedProducts
- Description: Matched product data
- Primary stream: ProductText
- Lookup stream: ProductTable
- Match multiple rows: Unselected
- Match on: Last row
- Sort conditions: ProductKey ascending
- Lookup conditions: ProductID == ProductAltKey
-
Verify that your data flow looks like this:
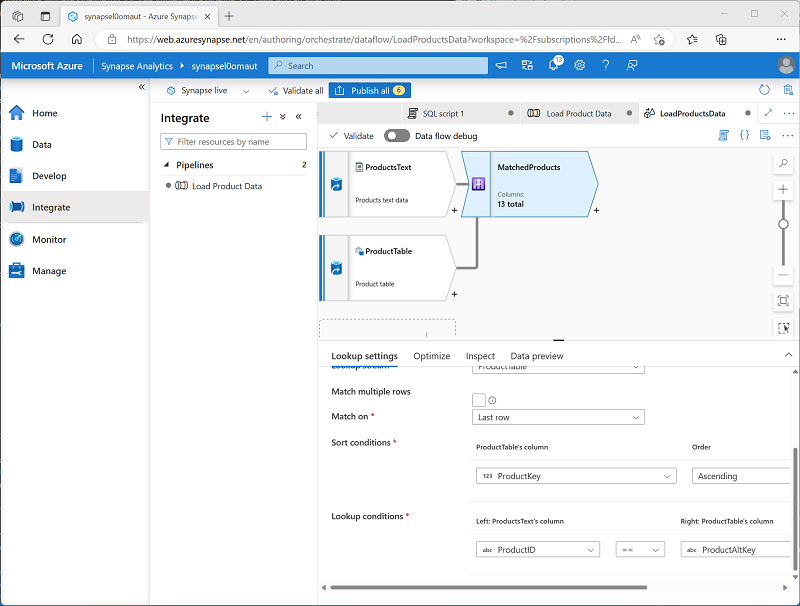
The lookup returns a set of columns from both sources, essentially forming an outer join that matches the ProductID column in the text file to the ProductAltKey column in the data warehouse table. When a product with the alternate key already exists in the table, the dataset will include the values from both sources. When the product dos not already exist in the data warehouse, the dataset will contain NULL values for the table columns.
Add an Alter Row
- Select the + icon at the bottom right of the MatchedProducts Lookup and select Alter Row.
- Configure the alter row settings as follows:
- Output stream name: SetLoadAction
- Description: Insert new, upsert existing
- Incoming stream: MatchedProducts
- Alter row conditions: Edit the existing condition and use the + button to add a second condition as follows (note that the expressions are case-sensitive):
- InsertIf:
isNull(ProductKey) - UpsertIf:
not(isNull(ProductKey))
- InsertIf:
-
verify that the data flow looks like this:
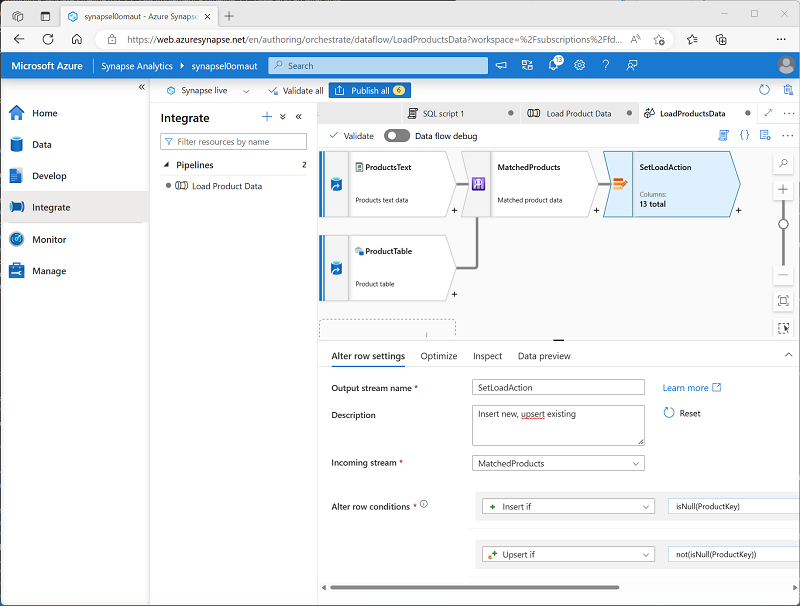
The alter row step configures the kind of load action to perform for each row. Where there’s no existing row in the table (the ProductKey is NULL), the row from the text file will be inserted. Where there’s already a row for the product, an upsert will be performed to update the existing row. This configuration essentially applies a type 1 slowly changing dimension update.
Add a sink
- Select the + icon at the bottom right of the SetLoadAction alter row step and select Sink.
- Configure the Sink properties as follows:
- Output stream name: DimProductTable
- Description: Load DimProduct table
- Incoming stream: SetLoadAction
- Sink type: Integration dataset
- Dataset: DimProduct
- Allow schema drift: Selected
- On the Settings tab for the new DimProductTable sink, specify the following settings:
- Update method: Select Allow insert and Allow Upsert.
- Key columns: Select List of columns, and then select the ProductAltKey column.
- On the Mappings tab for the new DimProductTable sink, clear the Auto mapping checkbox and specify only the following column mappings:
- ProductID: ProductAltKey
- ProductsText@ProductName: ProductName
- ProductsText@Color: Color
- ProductsText@Size: Size
- ProductsText@ListPrice: ListPrice
- ProductsText@Discontinued: Discontinued
-
Verify that your data flow looks like this:

Debug the Data Flow
Now that you’ve built a data flow in a pipeline, you can debug it before publishing.
- At the top of the data flow designer, enabled Data flow debug. Review the default configuration and select OK, then wait for the debug cluster to start (which may take a few minutes).
- In the data flow designer, select the DimProductTable sink and view its Data preview tab.
- Use the ↻ Refresh button to refresh the preview, which has the effect of running data through the data flow to debug it.
- Review the preview data, noting that it indicates one upserted row (for the existing AR5381 product), indicated by a *+ icon; and ten inserted rows, indicated by a + icon.
Publish and run the pipeline
Now you’re ready to publish and run the pipeline.
- Use the Publish all button to publish the pipeline (and any other unsaved assets).
- When publishing is complete, close the LoadProductsData data flow pane and return to the Load Product Data pipeline pane.
-
At the top of the pipeline designer pane, in the Add trigger menu, select Trigger now. Then select OK to confirm you want to run the pipeline.
Note: You can also create a trigger to run the pipeline at a scheduled time or in response to a specific event.
-
When the pipeline has started running, on the Monitor page, view the Pipeline runs tab and review the status of the Load Product Data pipeline.
The pipeline may take five minutes or longer to complete. You can use the ↻ Refresh button on the toolbar to check its status.
- When the pipeline run has succeeded, on the Data page, use the … menu for the dbo.DimProduct table in your SQL database to run a query that selects the top 100 rows. The table should contain the data loaded by the pipeline.
Delete Azure resources
If you’ve finished exploring Azure Synapse Analytics, you should delete the resources you’ve created to avoid unnecessary Azure costs.
- Close the Synapse Studio browser tab and return to the Azure portal.
- On the Azure portal, on the Home page, select Resource groups.
- Select the dp203-xxxxxxx resource group for your Synapse Analytics workspace (not the managed resource group), and verify that it contains the Synapse workspace, storage account, and dedicated SQL pool for your workspace.
- At the top of the Overview page for your resource group, select Delete resource group.
-
Enter the dp203-xxxxxxx resource group name to confirm you want to delete it, and select Delete.
After a few minutes, your Azure Synapse workspace resource group and the managed workspace resource group associated with it will be deleted.