The IT department needs to prototype different storage scenarios and to train new personnel. The content isn’t important enough to back up and doesn’t need to be restored if the data is overwritten or removed. A simple configuration that can be easily changed is desired.
Architecture diagram
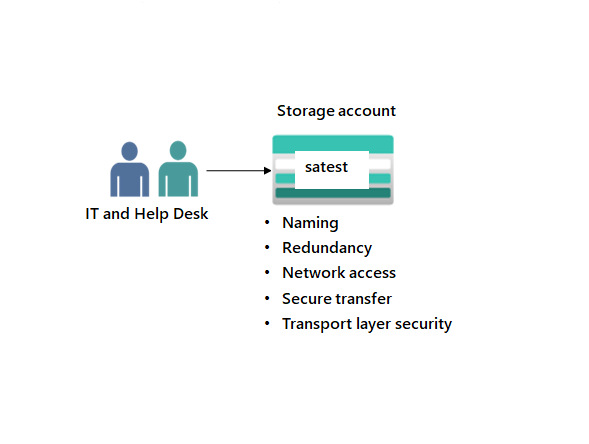
Skilling tasks
- Create a storage account.
- Configure basic settings for security and networking.
Estimated timing: 20 minutes
Exercise instructions
Create a resource group and a storage account.
- Create and deploy a resource group to hold all your project resources. Learn more about resource groups.
- In the Azure portal, search for and select
Resource groups. - Select + Create.
- Give your resource group a name. For example,
storagerg. - Select a region. Use this region throughout the project.
- Select Review and create to validate the resource group.
- Select Create to deploy the resource group.
- In the Azure portal, search for and select
- Create and deploy a storage account to support testing and training. Learn more about the types of storage accounts.
- In the Azure portal, search for and select
Storage accounts. - Select + Create.
- On the Basics tab, select your Resource group.
- Provide a Storage account name. The storage account name must be unique in Azure.
- Set the Performance to Standard.
- Select Review, and then Create.
- Wait for the storage account to deploy and then Go to resource.
- In the Azure portal, search for and select
Configure simple settings in the storage account.
- The data in this storage account doesn’t require high availability or durability. A lowest cost storage solution is desired. Learn more about storage account redundancy.
- In your storage account, in the Data management section, select the Redundancy blade.
- Select Locally-redundant storage (LRS) in the Redundancy drop-down.
- Be sure to Save your changes.
- Refresh the page and notice the content only exists in the primary location.
- The storage account should only accept requests from secure connections. Learn more about requiring secure transfer from secure connections
- In the Settings section, select the Configuration blade.
- Ensure Secure transfer required is Enabled.
- Developers would like the storage account to use at least TLS version 1.2. Learn more about transport layer security (TLS).
- In the Settings section, select the Configuration blade.
- Ensure the Minimal TLS version is set to Version 1.2.
- Until the storage is needed again, disable requests to the storage account. Learn more about disabling shared keys.
- In the Settings section, select the Configuration blade.
- Ensure Allow storage account key access is Disabled.
- Be sure to Save your changes.
- Ensure the storage account allows public access from all networks.
- In the Security + networking section, select the Networking blade.
- Ensure Public network access is set to Enabled from all networks.
- Be sure to Save your changes.
Note: For additional practice complete the Create an Azure Storage Account module. The module has a sandbox where you can practice creating a storage account.
Extend your learning with Copilot
Copilot can assist you in your learning journey. Copilot can provide basic technical information, high-level steps, pros and cons, troubleshooting help, usage cases, coding examples, and much more. To access Copilot, open an Edge browser and choose Copilot (top right). Take a few minutes to try these prompts.
- What is an Azure storage account? What types of Azure storage accounts are available?
- Create a table comparing the Azure storage performance tiers. Hightlight their key features and use cases.
- What Azure storage redundancy options are available? When should I use each option?
Learn more with self-paced training
- Describe Azure storage services. In this module, you compare Azure storage services, describe storage tiers, and describe redundancy options.
- Create an Azure Storage account. In this module, you create and configure a storage account.
Key takeaways
Congratulations on completing the lab. Here are the main takeaways for this lab.
- An Azure storage account is a container that holds all your Azure Storage data objects, including blobs, files, queues, and tables.
- Azure Storage offers several types of storage accounts, Standard and Premium. Each type supports different features and has its own pricing model.
- Azure Storage always stores multiple copies of your data to protect it from planned and unplanned events.
- Redundancy models can replicate data in the primary and secondary regions.