WWL Tenants - Terms of use
If you are being provided with a tenant as a part of an instructor-led training delivery, please note that the tenant is made available for the purpose of supporting the hands-on labs in the instructor-led training.
Tenants should not be shared or used for purposes outside of hands-on labs. The tenant used in this course is a trial tenant and cannot be used or accessed after the class is over and are not eligible for extension.
Tenants must not be converted to a paid subscription. Tenants obtained as a part of this course remain the property of Microsoft Corporation and we reserve the right to obtain access and repossess at any time.
Configure retention policies
Your task is to create and manage retention policies that meet the required criteria:
- Company-wide retention policy: Apply a retention period and set the locations for this policy.
- Location-based retention policies: Create retention policies for specific locations, such as Teams channels and chats, including specific users.
- PowerShell retention policies: Implement retention policies using PowerShell.
- Adaptive scope policies: Create and apply retention policies with adaptive scopes for departments like legal and retail.
Task 1 – Create company-wide retention policy
Here, you will create a retention policy that applies to the entire organization.
- In Microsoft Edge, navigate to the Microsoft Purview portal,
https://purview.microsoft.com, and log in. -
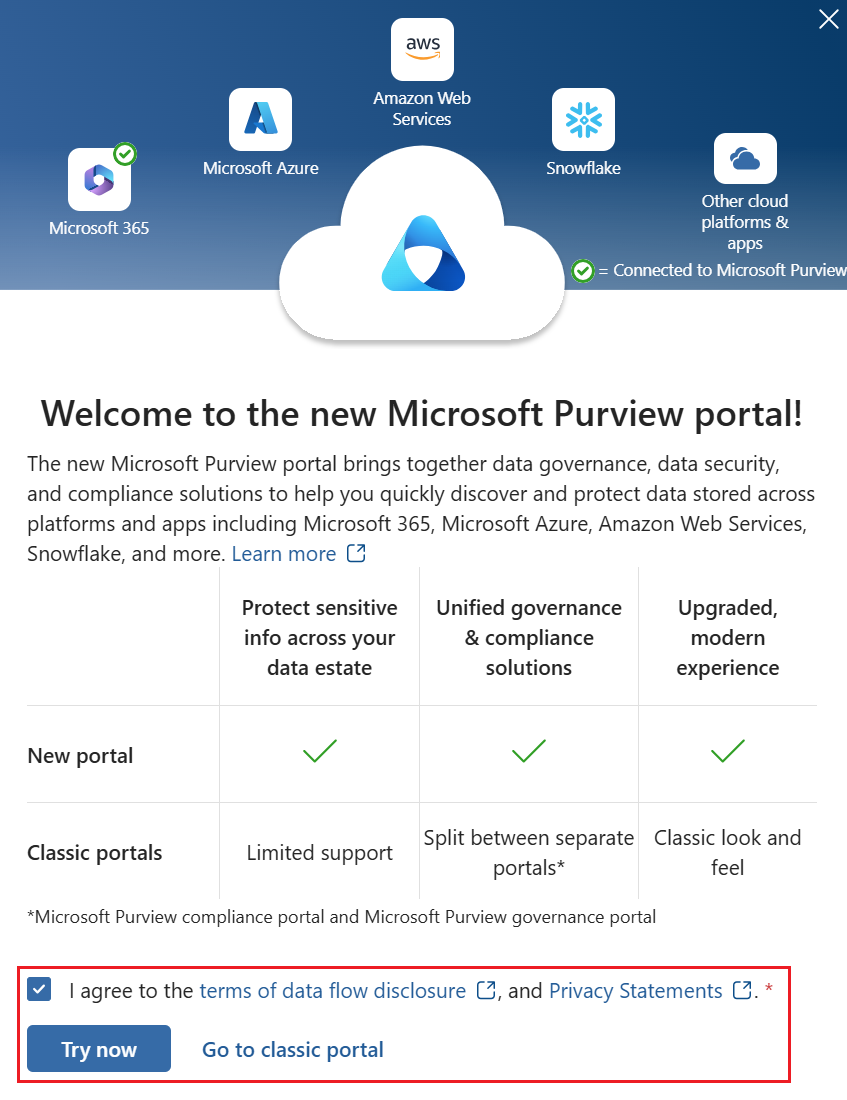
A message about the new Microsoft Purview portal will appear on the screen. Select the option to agree with the terms of data flow disclosure and the privacy statement, then select Get started.
- Select Solutions > Data Lifecycle Management.
- Expand Policies then select Retention policies from the left navigation pane.
- Select + New retention policy.
-
On the Name your retention policy page, enter the Name and Description:
- Name:
Company wide - Description:
All locations except for teams
- Name:
- Select Next.
- On the Policy Scope page, select Next.
- On the Choose the type of retention policy to create page, select Static and then select Next.
-
On the Choose where to apply this policy page, enable:
- Exchange mailboxes
- SharePoint classic and communication sites
- OneDrive accounts
- Microsoft 365 Group mailboxes & sites
- Select Next.
-
On the Decide if you want to retain content, delete it, or both page, for the Retain items for a specific period section, enter the following information:
- Retain items for a specific period: Choose Custom from the dropdown list
- Change the years field to 3
- Start the retention period based on: When items were last modified
- At the end of the retention period: Delete items automatically
- Select Next.
- On the Review and finish page, select Submit.
- Once your policy is created, select Done.
You have successfully created a company-wide retention policy that retains items for three years from the last modified date.
Task 2 – Create location-based Retention policies with filter
Here, you will create retention policies specifically for Teams channels and chats, including filters for specific users.
-
You should still be on the Retention policies screen in the Microsoft Purview portal.
If not, in Microsoft Edge, navigate to the Microsoft Purview portal,
https://purview.microsoft.com, and log in. Select the Data Lifecycle Management > Policies > Retention policies card once logged in. - Select + New retention policy.
-
On the Name your retention policy page, enter the Name and Description:
- Name:
Teams Retention - Description:
Retention for Teams locations
- Name:
- Select Next.
- On the Policy Scope page, select Next.
- On the Choose the type of retention policy to create page, select Static and then select Next.
-
In the Choose locations to apply the policy section, enable:
- Teams channel messages
- Teams chats and Copilot interactions
Ensure all other options are disabled.
-
For the Teams chat and Copilot interactions location, select the Edit link under All users and add two users.

- On the Teams chats and Copilot interactions flyout page, once the users are added, select Done then select Next.
- On the Decide if you want to retain content, delete it, or both page, enter:
- Retain items for a specific period: Choose Custom from the dropdown list.
- Change the years field to 3.
- Start the retention period based on: When items were last modified.
- Select Next.
- On the Review and finish page, select Submit.
- Once your policy is created, select Done.
You have successfully created a retention policy for Teams locations with a three-year retention period, applying a filter for specific users.
Task 3 - Create retention policy via PowerShell
In this task, you will use PowerShell to create and manage retention policies.
- Open an elevated PowerShell window.
-
Enter the following cmdlet to install the latest Exchange Online PowerShell module version:
Install-Module ExchangeOnlineManagement - Confirm the NuGet provider security dialog with Y for Yes and press Enter. This process may take some time to complete.
- Confirm the Untrusted repository security dialog with Y for Yes and press Enter. This process may take some time to complete.
-
Enter the following cmdlet to change your execution policy and press Enter. The command assumes you’re logged in as a user with appropriate permissions.
Set-ExecutionPolicy -ExecutionPolicy RemoteSigned -Scope CurrentUser - Confirm the Execution Policy Change with Y for Yes and press Enter.
- Close the PowerShell window.
- Open a regular PowerShell window, without elevation, by selecting the Windows button with the right mouse button and select Windows PowerShell.
-
Connect to the Security & Compliance Center in your tenant with the following cmdlet:
Connect-IPPSSession - When prompted, sign in as a user with appropriate permissions.
-
Run the following cmdlet to create the first retention policy for all locations except teams:
New-RetentionCompliancePolicy -Name "Company Wide PS" -ExchangeLocation All -ModernGroupLocation All -SharePointLocation All -OneDriveLocation All -
Run the following cmdlet to set the retention period, using days as units based on the date modified:
New-RetentionComplianceRule -Name "Company Wide PS Rule" -Policy "Company Wide PS" -RetentionDuration 1095 -ExpirationDateOption ModificationAgeInDays -RetentionComplianceAction Keep
You have successfully created retention policies through PowerShell with a three-year retention period.