WWL Tenants - Terms of use
If you are being provided with a tenant as a part of an instructor-led training delivery, please note that the tenant is made available for the purpose of supporting the hands-on labs in the instructor-led training.
Tenants should not be shared or used for purposes outside of hands-on labs. The tenant used in this course is a trial tenant and cannot be used or accessed after the class is over and are not eligible for extension.
Tenants must not be converted to a paid subscription. Tenants obtained as a part of this course remain the property of Microsoft Corporation and we reserve the right to obtain access and repossess at any time.
Lab Setup: Preparing your environment for administration
In this lab, you’ll configure and prepare your environment for administration tasks. You’ll activate necessary features, set up administrative permissions, and ensure proper configuration of key elements.
Tasks:
- Enable Audit in the Microsoft Purview portal
- Assign compliance roles
- Explore the Microsoft Purview portal
Task – Enable Audit in the Microsoft Purview portal
In this task, you’ll enable Audit in the Microsoft Purview portal to monitor portal activities.
-
Log into Client 1 VM (SC-401-CL1) with the Admin account.
-
Open Microsoft Edge.
-
In Microsoft Edge, navigate to
https://purview.microsoft.comand sign in as MOD Administrator,admin@WWLxZZZZZZ.onmicrosoft.com(where ZZZZZZ is your unique tenant prefix provided by your lab hosting provider). Admin’s password should be provided by your lab hosting provider. -
In Microsoft Edge, navigate to the Microsoft Purview portal,
https://purview.microsoft.com, and log in. -
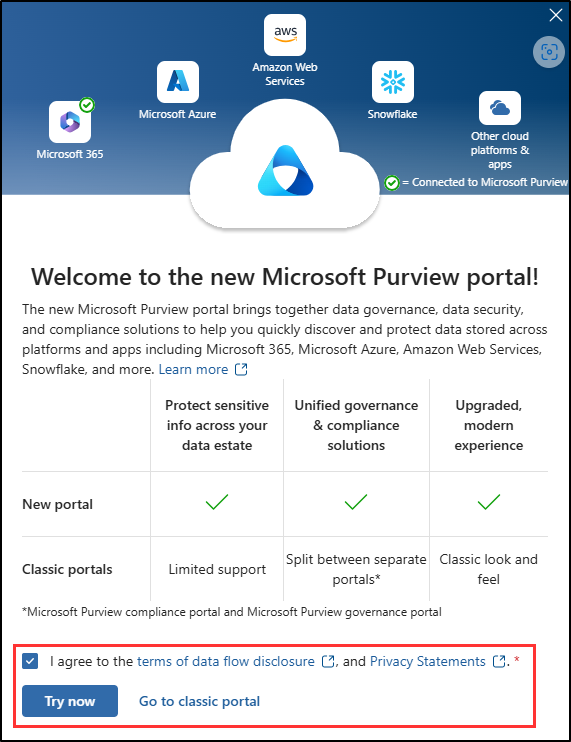
A message about the new Microsoft Purview portal will appear on the screen. Select Get started to access the new portal.
-
Select Solutions from the left sidebar, then select Audit.
-
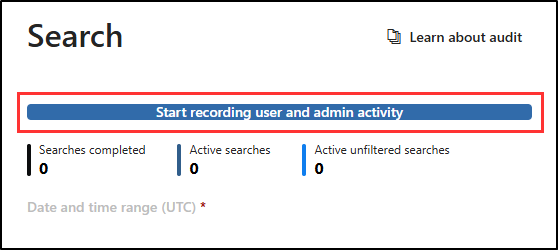
On the Search page, select the Start recording user and admin activity bar to enable audit logging.
-
Once you select this option, the blue bar should disappear from this page.
[!Note] Note: If the Audit button doesn’t enable logging
In some tenants, selecting Start recording user and admin activity might not activate Audit.
If this happens, you can enable Audit through PowerShell instead:
-
Open an elevated Terminal window by right-clicking the Windows button and selecting Terminal (Admin).
-
Install the latest Exchange Online PowerShell module:
Install-Module ExchangeOnlineManagementConfirm any prompts by typing Y for Yes and pressing Enter.
-
Run the following command to change your execution policy:
Set-ExecutionPolicy -ExecutionPolicy RemoteSigned -Scope CurrentUser -
Close the elevated Terminal window and open a regular PowerShell session.
-
Connect to Exchange Online:
Connect-ExchangeOnlineSign in as
admin@WWLxZZZZZZ.onmicrosoft.com(where ZZZZZZ is your unique tenant prefix provided by your lab hosting provider). Admin’s password should be provided by your lab hosting provider. -
Check if Audit is enabled:
Get-AdminAuditLogConfig | FL UnifiedAuditLogIngestionEnabledIf it returns False, enable Audit:
Set-AdminAuditLogConfig -UnifiedAuditLogIngestionEnabled $true -
Verify that it’s now enabled:
Get-AdminAuditLogConfig | FL UnifiedAuditLogIngestionEnabledThe command should return True once Audit is active.
-
You have successfully enabled auditing in Microsoft 365.
Task – Assign compliance roles
In this task, you’ll assign the Compliance Admin to the user you’ll be using for these lab exercises.
-
Open Microsoft Edge and navigate to the Microsoft 365 admin center,
https://admin.microsoft.com. You’ll need to login as a user that has Global Administrator rights. -
Expand Users in the left sidebar, then select Active users.
-
Select or create a user to continue with these lab exercises.
If you choose to use an existing user, select a user with minimal rights for least access privilege.
-
If creating a new user, assign the user with a license that’s appropriate for these lab exercises. The user must have an Microsoft 365 E5 license or compatible add-on for these exercises. Assign the user the Compliance Administrator role in the optional settings in the new user set up and finalize your new user creation.
-
If modifying the access of an existing user, select the user, then select Manage roles. Assign the user the Compliance Administrator role and save your changes.
-
-
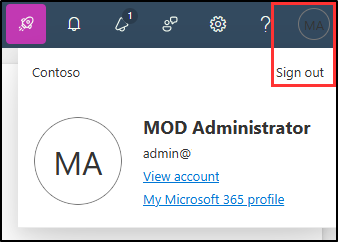
Sign out of the account with the Global Administrator access by selecting their user icon in the top right, then select Sign out.
Example:
You have successfully assigned a user the Compliance Administrator role, which is required to perform the different exercises of this lab.
Task – Explore the Microsoft Purview portal
In this task, you’ll sign in as the user you previously granted Compliance Administrator role to explore the Microsoft Purview portal. This role will be referred to as your Compliance Administrator in the next labs and exercises.
-
In Microsoft Edge, navigate to
https://purview.microsoft.com. -
When the Pick an account window is displayed, select Use another account.
-
When the Sign in window is displayed, sign in as the user you previous selected as the Compliance Administrator.
-
Get yourself familiar with the new Microsoft Purview Portal. When you are done, leave the browser window open.
You have successfully switched to the Compliance Administrator’s account and are now ready to start the lab.