WWL Tenants - Terms of use
If you are being provided with a tenant as a part of an instructor-led training delivery, please note that the tenant is made available for the purpose of supporting the hands-on labs in the instructor-led training.
Tenants should not be shared or used for purposes outside of hands-on labs. The tenant used in this course is a trial tenant and cannot be used or accessed after the class is over and are not eligible for extension.
Tenants must not be converted to a paid subscription. Tenants obtained as a part of this course remain the property of Microsoft Corporation and we reserve the right to obtain access and repossess at any time.
Validation lab - Validate sensitivity, DLP, and retention policies
You are Joni Sherman, the Information Security Administrator at Contoso Ltd. Now that you’ve configured sensitivity labels, data loss prevention (DLP), and retention policies, you’ve been asked to validate that those configurations are working as expected. In this lab, you’ll test the behavior of each policy in Microsoft 365 apps and verify that content is protected and retained according to your policy settings.
Tasks:
- Apply a sensitivity label in Word
- Trigger a DLP policy in Outlook
- Apply retention and sensitivity labels in SharePoint
Estimated time: 20-30 minutes
Task 1 – Apply a sensitivity label in Word
In this task, you’ll verify that published sensitivity labels are available to users and can be applied directly from Microsoft Word.
-
You should still be logged into Client 1 VM (SC-401-CL1) as the SC-401-CL1\admin account, and you should be logged into Microsoft 365 as Joni Sherman
JoniS@WWLxZZZZZZ.onmicrosoft.com(where ZZZZZZ is your unique tenant prefix provided by your lab hosting provider). User account passwords are provided by your lab hosting provider. -
In Microsoft Edge, navigate to
https://word.office.com. -
Select Blank document.
-
If prompted, close the Your privacy options dialog.
-
Enter the following text into the document:
Important HR employee document. -
Select Sensitivity from the navigation ribbon and select Internal > Employee Data (HR) to apply the newly created sensitivity label to this document.
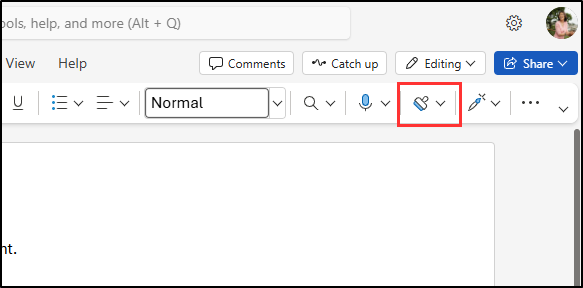
[!Note] It can take 24-48 hours for newly published sensitivity labels to be available for application. If the newly created sensitivity labels aren’t available, you can use Confidential > All Employees for this exercise.
-
Change the sensitivity label to Highly Confidential > Project - Falcon to verify the business justification dialog appears.
-
Select Cancel to keep the sensitivity label.
-
In the upper left of the document, select Document to rename this file, and rename it to
HR Document. Press enter to apply this name change.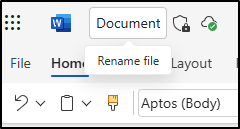
You’ve verified that the HR sensitivity label is available and applies the appropriate protections to a Word document.
Task 2 – Trigger a DLP policy in Outlook
Next, you’ll send sensitive employee information in an email to verify that your DLP policy correctly detects and blocks the activity.
-
You should still be logged into Client 1 VM (SC-401-CL1) as the SC-401-CL1\admin account and logged into Microsoft 365 as Joni Sherman.
-
In Microsoft Edge, select the app launcher in the top left and choose Outlook.
-
Select the New mail button on the top left to compose a new email message.
-
In the To field, enter
Meganand select Megan Bowen’s email address. -
In the subject field enter
Help with employee information. -
In the body of the email enter:
Please help me with the start dates for the following employees: ABC123456 DEF678901 GHI234567 Thank you, Joni Sherman -
Select the Send button in the upper right of the message window to send the email.
-
You should receive a message that the email was undeliverable and blocked by a DLP policy.

You’ve confirmed that your DLP policy blocked the transmission of sensitive employee IDs through email.
Task 3 – Apply retention and sensitivity labels in SharePoint
To test your retention configuration, you’ll apply a retention label to a document stored in SharePoint and verify that sensitivity labels are also available.
-
You should still be logged into Client 1 VM (SC-401-CL1) as the SC-401-CL1\admin account and logged into Microsoft 365 as Joni Sherman.
-
In Microsoft Edge, select the app launcher in the top left and choose SharePoint.
-
On the SharePoint landing page, search for
Benefitsthen select Benefits @ Contoso from the search results. -
Select Documents from the left pane.
-
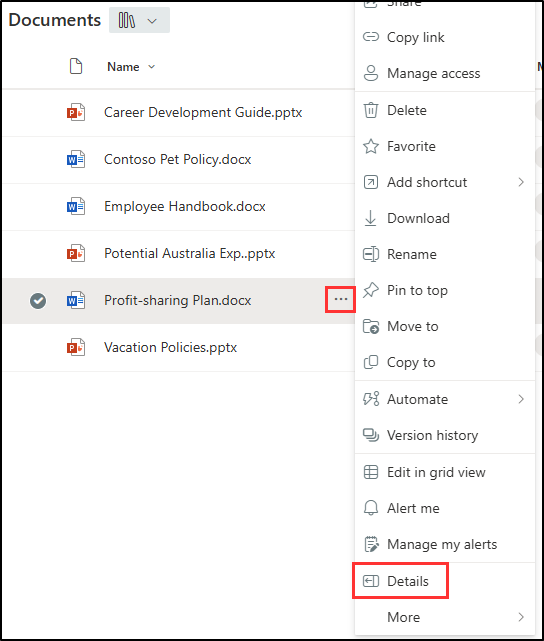
On the Documents page, select the ellipsis next to Profit-sharing Plan.docx, then select Details.
-
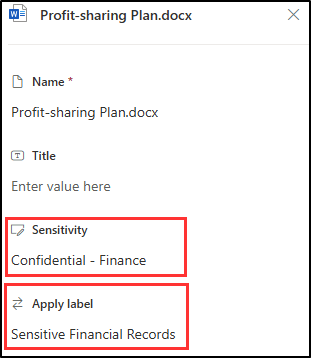
In the Details panel, update the following fields:
- Sensitivity: Confidential - Finance
-
Apply label: Sensitive Financial Records
You’ve confirmed that retention and sensitivity labels are available and can be applied to SharePoint documents.