Lab 14 - Enable sign in and user risk policies
Login type = Microsoft 365 admin
Lab scenario
As an additional layer of security, you need to enable and configure your Microsoft Entra organization’s sign in and user risk policies.
Estimated time: 10 minutes
Exercise 1 - Enable User risk policy
Task 1 - Configure the policy
-
Sign in to the https://entra.microsoft.com using a Global administrator account.
-
Open the portal menu and then select Entra ID.
-
On menu, under ID Protection, select Dashboard.
-
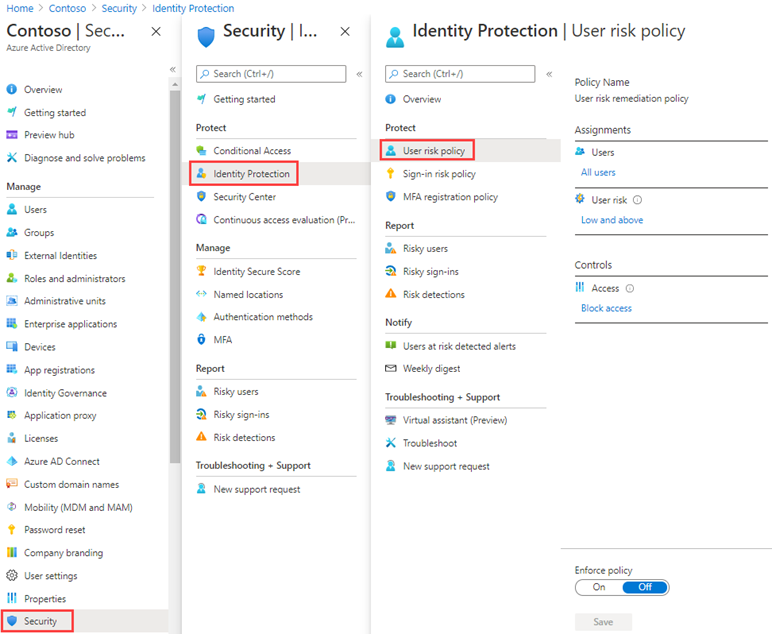
- In the Identity protection Dashboard, in the left navigation, select User risk policy.

-
Under Assignments, select All users and review the available options.
-
You can select from All users or Select individuals and groups if limiting your rollout.
-
Additionally, you can choose to exclude users from the policy.
-
Under User risk, select Low and above.
-
In the User risk pane, select High and then select Done.
-
Under Controls > Access, select Block access.
-
In the Access pane, review the available options.
Tip - Microsoft’s recommendation is to Allow access and Require password change.
-
Select the Require password change check box and then select Done.
- Under Policy enforcement, select Enabled and then select Save.
Task 2 - Enable Sign-in risk policy
-
On the Identity protection page, in the left navigation, select Sign-in risk policy.
-
As with the User risk policy, the Sign-in risk policy can be assigned to users and groups and allows you to exclude users from the policy.
-
Under Sign-in risk, select Low and above.
-
In the Sign-in risk pane, select High and then select Done.
-
Under Controls > Access, select Block access.
-
Select the Require multi-factor authentication check box and then select Done.
-
Under Policy enforcement, select Enabled and then select Save.