Lab 03: Assigning licenses using group membership
Login type = Microsoft 365 + E5 tenant log-in
Lab scenario
Your organization has decided to use security groups in Microsoft Entra ID to manage licenses. You need to configure a new security group and assign a license to that group and verify group member license’s have been updated.
Estimated time: 25 minutes
Exercise 1 - Create a security group and add a user
Task 1 - Check to see if Delia Dennis has access to Office 365
-
Launch a new InPrivate browser window.
-
Connect to Office at
https://www.office.com. -
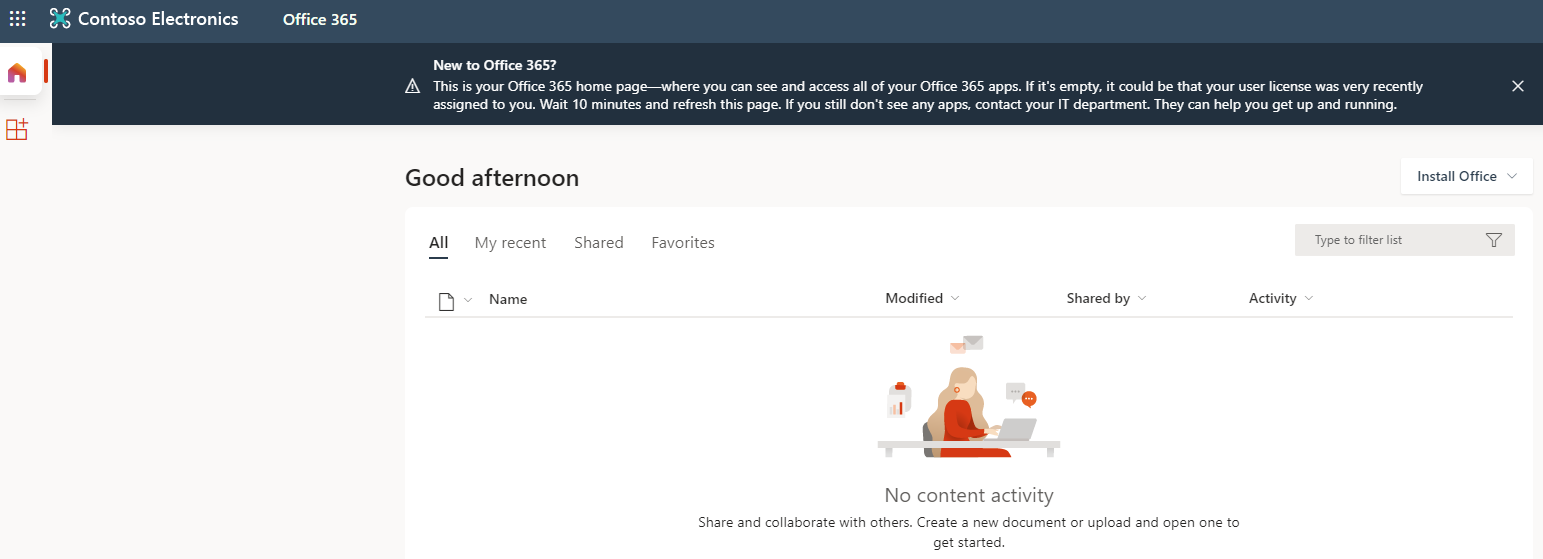
Select Sign in and connect as Delia Dennis.
Setting Value Username DeliaD@ your domain name.comPassword Enter the User password provided for DeliaD -
You should connect to the Office.com website, but see a message indicating you don’t have a license.
-
Close the browser window.
Task 2 - Create a security group in Microsoft Entra ID
-
Browse to Microsoft Entra admin center at
https://entra.microsoft.com, and sign in using a Global administrator account for the directory.Note: You may be prompted to complete Multi-Factor Authentication (MFA) during sign-in. Follow the prompts to configure or verify your authentication method before continuing.
-
In the left navigation, under Entra ID, select Groups, then select All groups.
-
In the Groups page, on the menu, select New group.
-
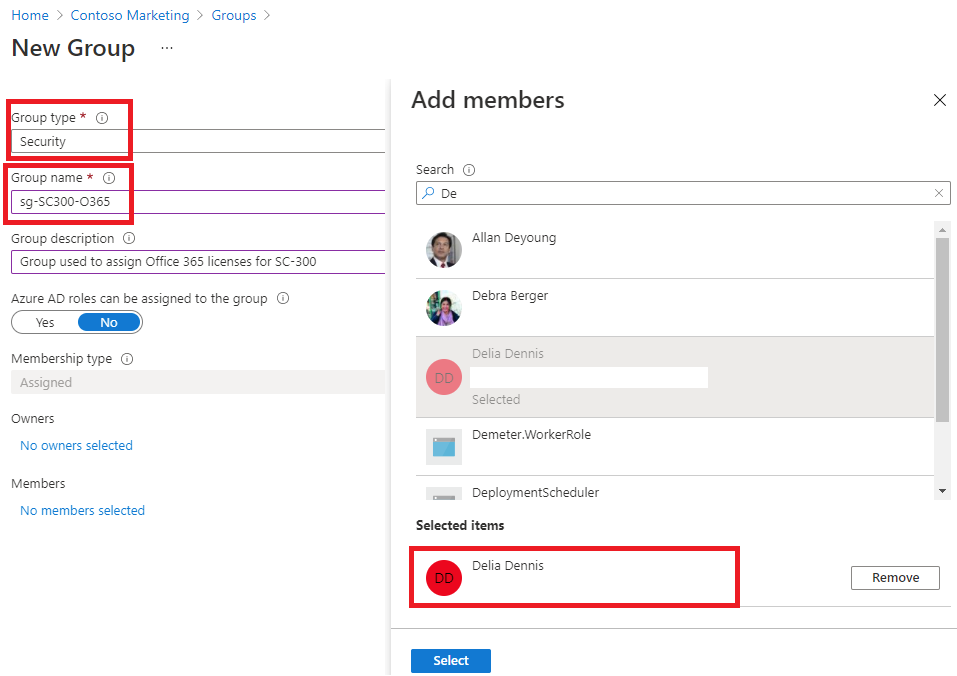
Create a group using the following information:
Setting Value Group type Security Group name sg-SC300-O365 Membership type Assigned Owners Assign your own administrator account as the group owner -
Select the No members selected text under Members.
-
Select Delia Dennis from the list of users.
-
Select the Select button.
-
Select the Create button.
-
When complete, verify the group named sg-SC300-O365 is shown in the All groups list.
Task 3 - Add an Office license to sg-SC300-O365
Lab Tip - You have to add and remove licenses via the Microsoft 365 admin center. This is a relatively new change.
-
Open a new tab in your browser.
-
Connect to Microsoft 365 admin center at
http://admin.microsoft.com. -
Log in as your administrator account if prompted.
-
From the menu on the left, select Billing and then select Licenses.
-
Select Office 365 E3 license from the list.
-
Select the Groups tab on the licensing screen.
-
Choose the + Assign licenses item.
-
Search for sg-SC300-O365 group the select it from the list.
-
Once you have added the group, select Assign.
-
Close the confirmation message.
-
Return to the browser tab with Microsoft Entra admin center open.
-
Navigate back to the All groups in the left navigation, under Entra ID, select Groups.
-
In the Groups page, select sg-SC300-O365.
-
In the left navigation, select Licenses.
-
Notice that the Office 365 E3 license has been assigned.
-
You can exit out of the license screen.
Task 4 - Confirm the Office 365 license
-
Launch a new InPrivate browser window.
-
Connect to Office at
https://www.office.com. -
Select Sign in and connect as Delia Dennis.
Setting Value Username DeliaD@<your domain name.com>Password Enter the password of the provided password -
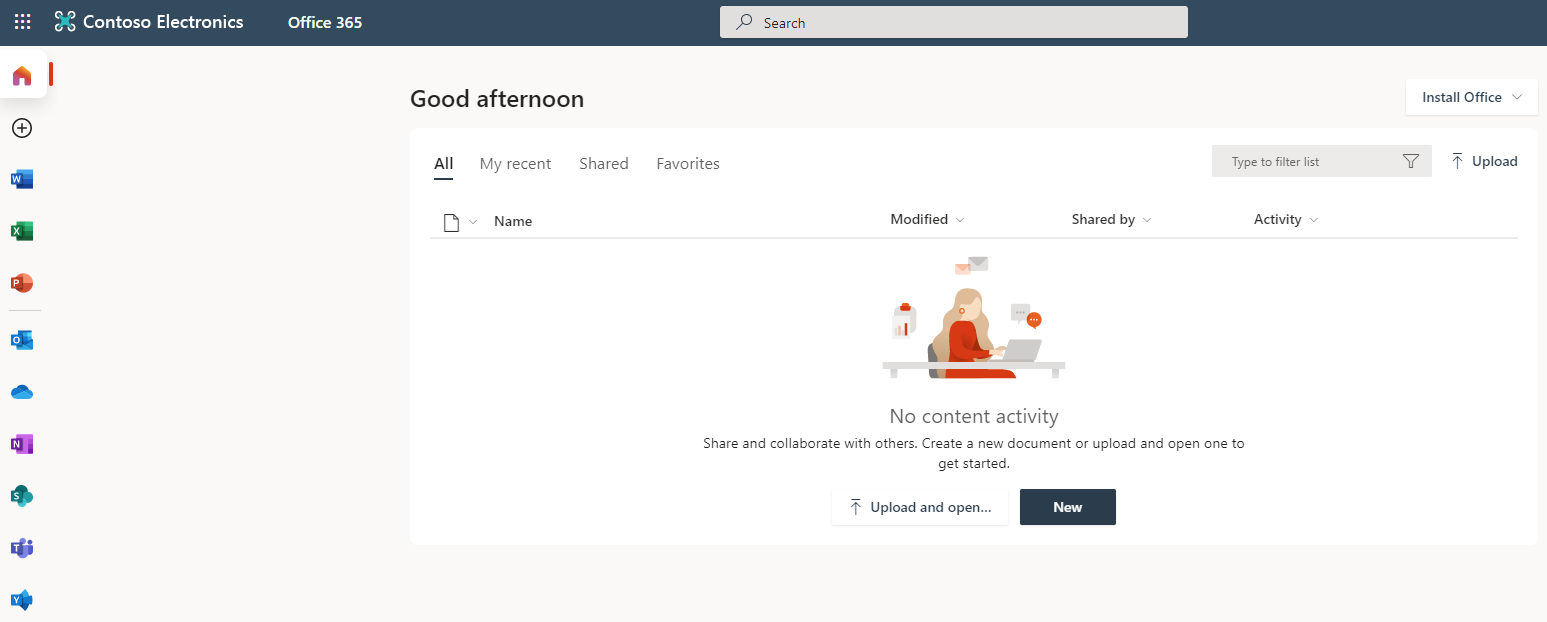
You should connect to the Office.com website, and see no messages regarding license. All of the Office applications are available on the left.
-
Close the browser window.
Exercise summary
In this exercise, you created a security group, assigned a license to the group, and verified that a member of the group inherited the license. This exercise showed how group-based licensing scales license management beyond per-user assignment.
Exercise 2 - Create a Microsoft 365 group in Microsoft Entra ID
Task 1 - Create the group
Part of your duties as an Microsoft Entra administrator is to create different types of groups. You need to create a new Microsoft 365 group for your organization’s sales department.
-
Browse to Microsoft Entra admin center at
https://entra.microsoft.com -
In the left navigation, under Entra ID, select Groups, then select All Groups.
-
In the Groups page, on the menu, select New group.
-
Create a group using the following information:
Setting Value Group type Microsoft 365 Group name Northwest Sales Membership type Assigned Owners Assign your own administrator account as the group owner Members Alex Wilber and Bianca Pisani 
-
When complete, verify the group named Northwest sales is shown in the All groups list.
Exercise summary
In this exercise, you created a Microsoft 365 group with assigned membership and an owner. This exercise showed how Microsoft 365 groups support collaboration scenarios beyond simple access control.
Exercise 3 - Creating a dynamic group with all users as members
Task 1 - Create the dynamic group
As your company grows, manually group management is too time consuming. Since standardizing the directory, you can now take advantage of dynamic groups. You must create a new dynamic group to ensure you’re ready for dynamic group creation in production.
-
Sign in to the Microsoft Entra admin center at
https://entra.microsoft.com, with an provided administrator account. You need at least User Administrator role in the tenant. -
In the left navigation, under Entra ID, select Groups, then select All Groups.
-
On the Groups page, on the menu, select New group.
-
On the New Group page, under Group type, select Security.
-
In the Group name box, enter
SC300-myDynamicGroup. -
Select the Membership type menu and then select Dynamic User.
-
Select an Owner for the group.
-
Under Dynamic user members, select Add dynamic query.
-
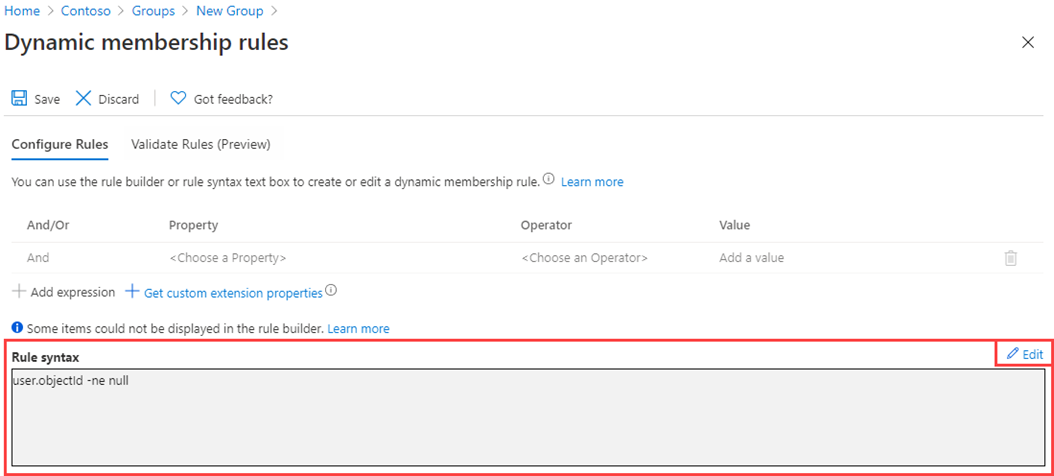
On the right above the Rule syntax box, select Edit.
-
In the Edit rule syntax pane, enter the following expression in the Rule syntax box:
user.objectId -ne nullWarning - the
user.objectIdis case sensitive. -
Select OK. The rule appears in the Rule syntax box.
-
Select Save. The new dynamic group will now include B2B guest users as well as member users.
-
On the New group page, select Create to create the group.
Task 2 - Verify the members have been added
Note: The population of Dynamic group membership may take up to 15 minutes.
-
Select on the Home
Microsoft Entra admin center. -
In the left navigation menu, under Entra ID, select Groups.
-
In the Groups menu Select on All groups.
-
In the filter box type SC300 and your newly created group will be listed.
-
Select on SC300-myDynamicGroup to open the group.
-
Notice that it shows that it contains 30+ Direct members.
-
Select on Members in the Manage menu.
-
Review the members.
Task 3 - Experiment with alternate rules
-
Try making a group with only Guest users:
- (user.objectId -ne null) and (user.userType -eq “Guest”)
-
Try make a group with only Members of the Microsoft Entra users.
- (user.objectId -ne null) and (user.userType -eq “Member”)
Lab Tip - If you get a Failed to Create Group message mentioning an Invalid Operator, confirm the spelling of the operator. Note I in objectId and the T in userType are capital letters.
Exercise summary
In this exercise, you created a dynamic membership group whose members are evaluated from user attributes, and explored alternate rules for guest and member users. This exercise showed how dynamic groups remove the need to maintain static membership lists.