Learning Path 8 - Lab 1 - Exercise 7 - Investigate Incidents
Lab scenario
You are a Security Operations Analyst working at a company that implemented Microsoft Sentinel. You already created Scheduled and Microsoft Security Analytics rules. The Fusion and Anomalies Analytics rules are also enabled in your environment. Now is the time to investigate the Incidents created by them.
An incident can include multiple alerts. It is an aggregation of all the relevant evidence for a specific investigation. The properties related to the alerts, such as severity and status, are set at the incident level. After you let Microsoft Sentinel know what kinds of threats you are looking for and how to find them, you can monitor detected threats by investigating incidents.
Important: The lab exercises for Learning Path #8 are in a standalone environment. If you exit the lab before completing it, you will be required to re-run the configurations again.
Estimated time to complete this lab: 30 minutes
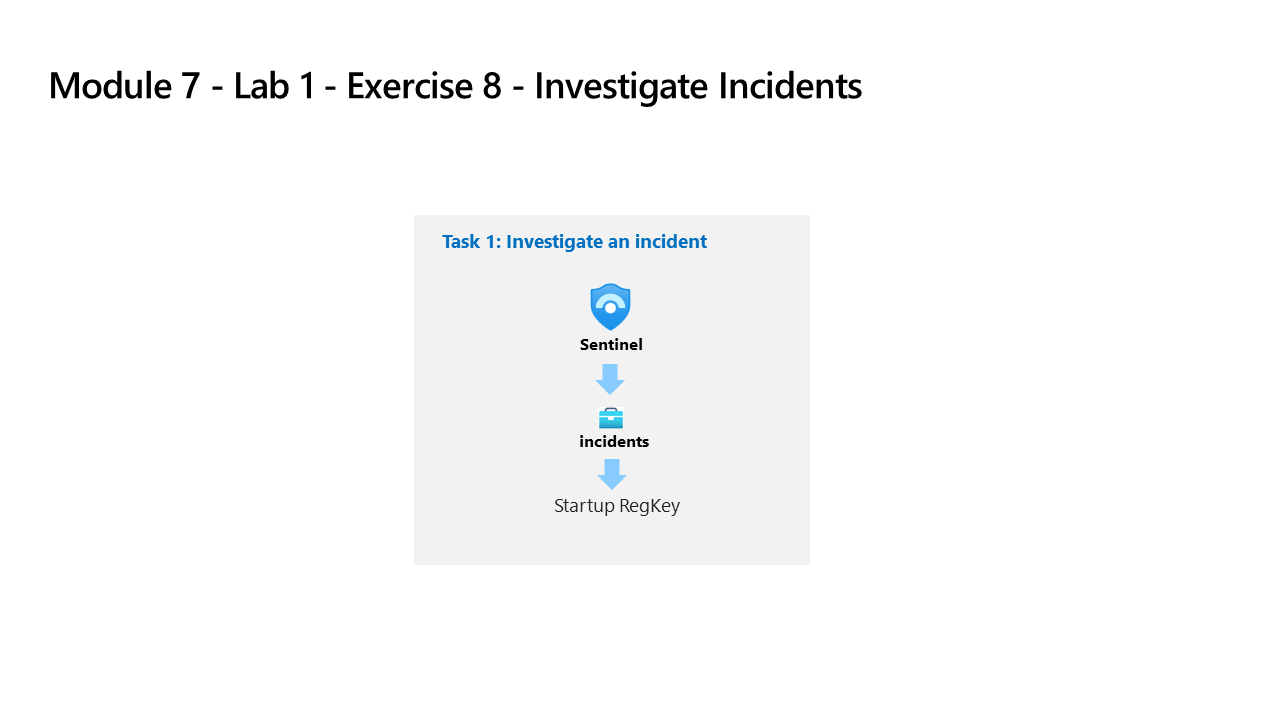
Task 1: Investigate an incident
In this task, you will investigate an incident.
Note: Microsoft Sentinel has been predeployed in your Azure subscription with the name Sentinelworkspace-01, and the required Content hub solutions have been installed.
-
Sign in to WIN1 virtual machine as Admin using the provided credentials.
-
Open Microsoft Edge and navigate to Microsoft Defender XDR at
https://security.microsoft.com. -
In the Sign in dialog box, enter the Tenant Email account provided for this lab, and then select Next.
-
In the Enter password dialog box, enter the Tenant Password provided for this lab, and then select Sign in.
Note: You may be prompted to enter the Temporary Access Pass (TAP) provided for this lab instead of a password. If prompted, enter the TAP and select Sign in.
-
In the Microsoft Defender navigation menu, scroll down and expand the Investigation & response section.
-
Expand the Incidents & alerts section and select Incidents.
-
Review the list of incidents.
Note: The Analytics rules are generating alerts and incidents on the same specific log entry. Remember that this was done in the Query scheduling configuration to generate more alerts and incidents to be utilized in the lab.
-
Set Last update time to 1 Day, and then search for Startup RegKey - your unique identifier using the identifier you created in the previous exercise.
-
Select one of the matching Startup RegKey - your unique identifier incidents.
-
Review the incident details on the page that opened.
-
Select Manage incident from the toolbar. It will have a pencil icon.
-
On the Manage incident page, in the Incident tags field, type RegKey and select RegKey (Create new).
-
In the Assign to field, select the box and then select Assign to me from the dropdown.
-
Verify the Status is set to Active. If not, change the status to Active.
-
Select Save to apply the changes and close the page.
-
Review the Attack story tab. Select the Run playbook from the toolbar. Hint: You might need to select the ellipsis icon (…) to see it.
-
You will see the PostMessageTeams-OnIncident playbook. This option helps you to run playbooks manually.
-
Close the Run playbook on incident blade by selecting the X icon in the top right.
-
Review the Entities window. At least the Host entity that we mapped within the KQL query from the previous exercise should appear. Hint: If no entities are shown, refresh the page.
-
Select the ellipsis icon (…) from the toolbar, and then select Tasks.
-
Select + Add task, type Review who owns the machine in the Name field and select Save.
-
Close the Incident tasks blade by selecting the x icon in the top right.
-
Select the new Activity Log button from the command bar.
-
Review the actions you have taken during this exercise.
-
Close the Incident activity log blade by selecting the x icon in the top right.
-
From the almost hidden left blade, select the user icon named Unassigned. The new incident experience allows quick changes from here.
-
Select Assign to me and then scroll down to select Apply to save the changes.
-
Expand the left blade by selecting the » icon. and then select the Investigate button.
Hint: If the icons are too small for your screen, select (+) to magnify them.
-
Hover the WINServer entity icon and wait for new exploration queries to be shown. It looks that Related Alerts has more data on it. Select the name of the exploration query Related Alerts to bring them to the investigation graph or select Events > to investigate them with a KQL query.
-
Close the query window by selecting the X icon at the top right to go back to the Investigation page.
-
Now select the WINServer entity, a window on the right opens for more detailed information. Review the Info page.
-
Select Timeline button. Hover the incidents and see which things on the graph occurred at what point in time.
-
Select Entities button and review the Entities and Alerts related to WINServer.
-
Close the investigation graph by selecting the X icon at the top right of the page.
-
Back in the incident page, in the left pane select Active Status and select Closed.
-
In the Select classification drop-down review the different options. After that, select True positive - suspicious activity and then select Apply.