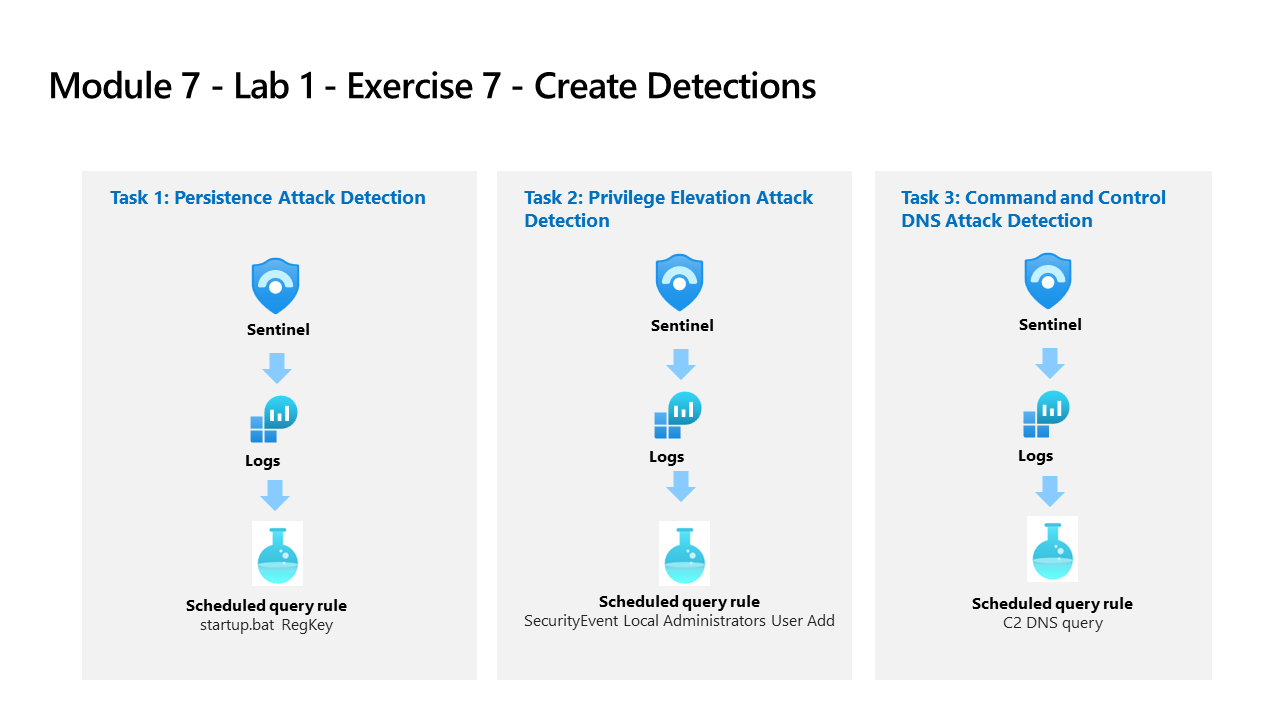
Learning Path 7 - Lab 1 - Exercise 7 - Create Detections
Lab scenario
You are a Security Operations Analyst working at a company that implemented Microsoft Sentinel. You are going to work with Log Analytics KQL queries and from there, you will create custom analytics rules to help discover threats and anomalous behaviors in your environment.
Analytics rules search for specific events or sets of events across your environment, alert you when certain event thresholds or conditions are reached, generate incidents for your SOC to triage and investigate, and respond to threats with automated tracking and reMediation processes.
Note: An interactive lab simulation is available that allows you to click through this lab at your own pace. You may find slight differences between the interactive simulation and the hosted lab, but the core concepts and ideas being demonstrated are the same.
Task 1: Persistence Attack Detection
Important: The next steps are done in a different machine than the one you were previously working. Look for the Virtual Machine name references.
In this task, you will create a detection for the first attack of the previous exercise.
-
Log in to WIN1 virtual machine as Admin with the password: Pa55w.rd.
-
In the Edge browser, navigate to the Azure portal at https://portal.azure.com.
-
In the Sign in dialog box, copy and paste in the Tenant Email account provided by your lab hosting provider and then select Next.
-
In the Enter password dialog box, copy and paste in the Tenant Password provided by your lab hosting provider and then select Sign in.
-
In the Search bar of the Azure portal, type Sentinel, then select Microsoft Sentinel.
-
Select your Microsoft Sentinel Workspace you created earlier.
-
Select Logs from the General section.
-
Run the following KQL Statement again to recall the tables where we have this data:
search "temp\\startup.bat"Note: A result with the event might take up to 5 minutes to appear. Wait until it does. If it does not appear, make sure you have rebooted WINServer as instructed in the previous exercise and that you have completed the Task #3 of the Learning Path 6 Lab, Exercise 2.
-
The table SecurityEvent looks to have the data already normalized and easy for us to query. Expand the row to see all the columns related to the record.
-
From the results, we now know that the Threat Actor is using reg.exe to add keys to the Registry key and the program is located in C:\temp. Run the following statement to replace the search operator with the where operator in our query:
SecurityEvent | where Activity startswith "4688" | where Process == "reg.exe" | where CommandLine startswith "REG" -
It is important to help the Security Operations Center Analyst by providing as much context about the alert as you can. This includes projecting Entities for use in the investigation graph. Run the following query:
SecurityEvent | where Activity startswith "4688" | where Process == "reg.exe" | where CommandLine startswith "REG" | extend timestamp = TimeGenerated, HostCustomEntity = Computer, AccountCustomEntity = SubjectUserName -
Now that you have a good detection rule, in the Logs window, select the + New alert rule in the command bar and then select Create Microsoft Sentinel alert. This will create a new Scheduled rule. Hint: You might need to select the ellipsis (…) button in the command bar.
-
This starts the “Analytics rule wizard”. For the General tab type:
Setting Value Name Startup RegKey Description Startup RegKey in c:\temp Tactics Persistence Severity High -
Select Next: Set rule logic > button.
-
On the Set rule logic tab, the Rule query should be populated already with your KQL query.
-
Configure the entities under Alert enhancement - Entity mapping using the parameters in the table below.
Entity Identifier Data Field Account FullName AccountCustomEntity Host Hostname HostCustomEntity -
For Query scheduling set the following:
Setting Value Run Query every 5 minutes Lookup data from the last 1 Days Note: We are purposely generating many incidents for the same data. This enables the Lab to use these alerts.
-
Leave the rest of the options with the defaults. Select Next: Incident settings> button.
-
For the Incident settings tab, leave the default values and select Next: Automated response > button.
-
On the Automated response tab under Automation rules, select Add new.
-
Use the settings in the table to configure the automation rule.
Setting Value Automation rule name Startup RegKey Trigger When incident is created Actions Run playbook playbook PostMessageTeams-OnIncident Note: You have already assigned permissions to the playbook, so it will be available.
-
Select Apply
-
Select the Next: Review + create > button.
-
On the Review and create tab, select the Save button to create the new Scheduled Analytics rule.
Task 2: Privilege Elevation Attack Detection
In this task, you will create a detection for the second attack of the previous exercise.
-
In the Microsoft Sentinel portal, select Logs from the General section in case you navigated away from this page.
-
Run the following KQL Statement to identify any entry that refers to administrators:
search "administrators" | summarize count() by $table -
The result might show events from different tables, but in our case, we want to investigate the SecurityEvent table. The EventID and Event that we are looking is “4732 - A member was added to a security-enabled local group”. With this, we will identify adding a member to a privileged group. Run the following KQL query to confirm:
SecurityEvent | where EventID == 4732 | where TargetAccount == "Builtin\\Administrators" -
Expand the row to see all the columns related to the record. The username of the account added as Administrator does not show. The issue is that instead of storing the username, we have the Security IDentifier (SID). Run the following KQL to match the SID to the username that was added to the Administrators group:
 SecurityEvent
 | where EventID == 4732
 | where TargetAccount == "Builtin\\Administrators"
 | extend Acct = MemberSid, MachId = SourceComputerId
 | join kind=leftouter (
     SecurityEvent
     | summarize count() by TargetSid, SourceComputerId, TargetUserName
     | project Acct1 = TargetSid, MachId1 = SourceComputerId, UserName1 = TargetUserName) on $left.MachId == $right.MachId1, $left.Acct == $right.Acct1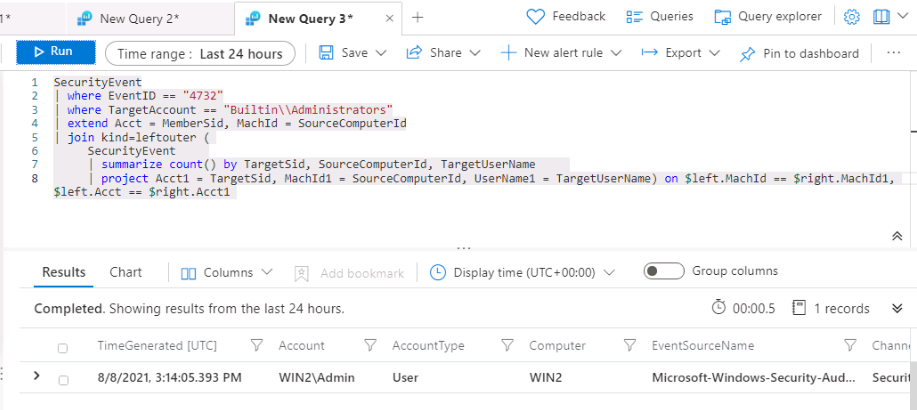
-
Extend the row to show the resulting columns, in the last one, we see the name of the added user under the UserName1 column we project within the KQL query. It is important to help the Security Operations Analyst by providing as much context about the alert as you can. This includes projecting Entities for use in the investigation graph. Run the following query:
SecurityEvent | where EventID == 4732 | where TargetAccount == "Builtin\\Administrators" | extend Acct = MemberSid, MachId = SourceComputerId | join kind=leftouter ( SecurityEvent | summarize count() by TargetSid, SourceComputerId, TargetUserName | project Acct1 = TargetSid, MachId1 = SourceComputerId, UserName1 = TargetUserName) on $left.MachId == $right.MachId1, $left.Acct == $right.Acct1 | extend timestamp = TimeGenerated, HostCustomEntity = Computer, AccountCustomEntity = UserName1 -
Now that you have a good detection rule, in the Logs window, select + New alert rule in the command bar and then select Create Microsoft Sentinel alert. Hint: You might need to select the ellipsis (…) button in the command bar.
-
This starts the “Analytics rule wizard”. For the General tab type:
Setting Value Name SecurityEvent Local Administrators User Add Description User added to Local Administrators group Tactics Privilege Escalation Severity High -
Select Next: Set rule logic > button.
-
On the Set rule logic tab, the Rule query should be populated already with you KQL query, as well the entities under Alert enhancement - Entity mapping.
Entity Identifier Data Field Account FullName AccountCustomEntity Host Hostname HostCustomEntity -
If Hostname isn’t selected for Host Entity, select it from the drop-down list and use the parameters in the preceding table to populate the fields.
-
For Query scheduling set the following:
Setting Value Run Query every 5 minutes Lookup data from the last 1 Days Note: We are purposely generating many incidents for the same data. This enables the Lab to use these alerts.
-
Leave the rest of the options with the defaults. Select Next: Incident settings> button.
-
For the Incident settings tab, leave the default values and select Next: Automated response > button.
-
On the Automated response tab under Automation rules, select Add new.
-
Use the settings in the table to configure the automation rule.
Setting Value Automation rule name SecurityEvent Local Administrators User Add Trigger When incident is created Actions Run playbook playbook PostMessageTeams-OnIncident Note: You have already assigned permissions to the playbook, so it will be available.
-
Select Apply
-
Select the Next: Review and create > button.
-
On the Review and create tab, select the Create button to create the new Scheduled Analytics rule.