Learning Path 7 - Lab 1 - Exercise 6 - Conduct attacks
Lab scenario
You are going to simulate the attacks that you will later use to detect and investigate in Microsoft Sentinel.
Note: An interactive lab simulation is available that allows you to click through this lab at your own pace. You may find slight differences between the interactive simulation and the hosted lab, but the core concepts and ideas being demonstrated are the same.
Task 1: Persistence Attack with Registry Key Add
Important: The next steps are done in a different machine than the one you were previously working. Look for the Virtual Machine name references.
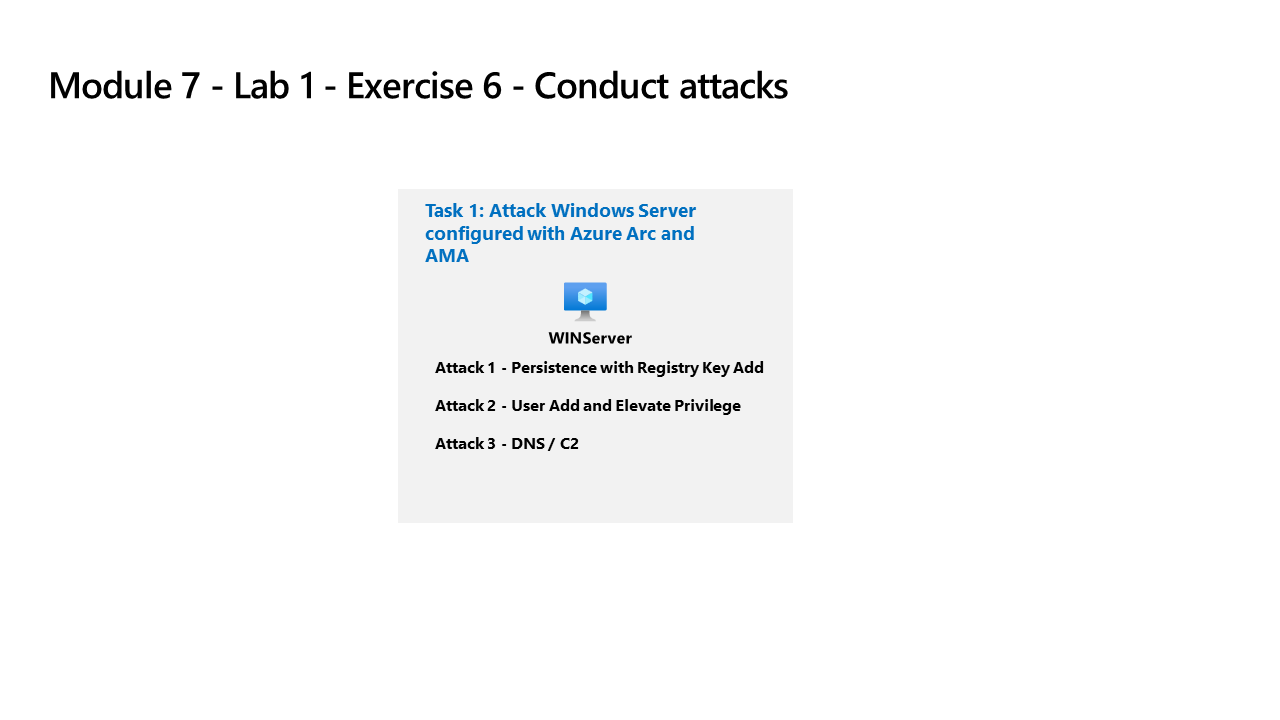
In this task, you will perform attacks on the host connected with Azure Arc and that has the Azure Monitor Agent configured.
-
Login to WINServer virtual machine as Admin with the password: Pa55w.rd.
Important: The lab SAVE functionality can cause WINServer to become disconnected from Azure Arc. A reboot will solve the issue.
-
Select Start in Windows. Then Power, next Restart.
-
Follow the instructions to log into WINServer again.
-
In the search of the task bar, enter Command. Command Prompt will be displayed in the search results. Right-click on the Command Prompt and select Run as Administrator. Select Yes in the User Account Control window that appears to allow the app to run.
-
In the Command Prompt, create a Temp folder in the root directory. Remember to press Enter after the last row:
cd \ mkdir temp cd temp -
Copy and run this command to simulate program persistence:
REG ADD "HKCU\SOFTWARE\Microsoft\Windows\CurrentVersion\Run" /V "SOC Test" /t REG_SZ /F /D "C:\temp\startup.bat"
Task 2: Privilege Elevation Attack with User Add
-
Copy and run this command to simulate the creation of an Admin account. Remember to press Enter after the last row:
 net user theusernametoadd /add
 net user theusernametoadd ThePassword1!
 net localgroup administrators theusernametoadd /add
Task 3: Command and Control Attack with DNS
-
Copy and run this command to create a script that will simulate a DNS query to a C2 server:
notepad c2.ps1 -
Select Yes to create a new file and copy the following PowerShell script into c2.ps1.
Note: Pasting into the virtual machine file might not show the full script length. Make sure the script matches the instructions within the c2.ps1 file.
param( [string]$Domain = "microsoft.com", [string]$Subdomain = "subdomain", [string]$Sub2domain = "sub2domain", [string]$Sub3domain = "sub3domain", [string]$QueryType = "TXT", [int]$C2Interval = 8, [int]$C2Jitter = 20, [int]$RunTime = 240 ) $RunStart = Get-Date $RunEnd = $RunStart.addminutes($RunTime) $x2 = 1 $x3 = 1 Do { $TimeNow = Get-Date Resolve-DnsName -type $QueryType $Subdomain".$(Get-Random -Minimum 1 -Maximum 999999)."$Domain -QuickTimeout if ($x2 -eq 3 ) { Resolve-DnsName -type $QueryType $Sub2domain".$(Get-Random -Minimum 1 -Maximum 999999)."$Domain -QuickTimeout $x2 = 1 } else { $x2 = $x2 + 1 } if ($x3 -eq 7 ) { Resolve-DnsName -type $QueryType $Sub3domain".$(Get-Random -Minimum 1 -Maximum 999999)."$Domain -QuickTimeout $x3 = 1 } else { $x3 = $x3 + 1 } $Jitter = ((Get-Random -Minimum -$C2Jitter -Maximum $C2Jitter) / 100 + 1) +$C2Interval Start-Sleep -Seconds $Jitter } Until ($TimeNow -ge $RunEnd) -
In the Notepad menu, select File and then Save.
-
Go back to the Command Prompt window, enter the following command and press Enter.
Note: You will see DNS resolve errors. This is expected.
Start PowerShell.exe -file c2.ps1
Important: Do not close these windows. Let this PowerShell script run in the background. The command needs to generate log entries for some hours. You can proceed to the next task and next exercises while this script runs. The data created by this task will be used in the Threat Hunting lab later. This process will not create substantial amounts of data or processing.