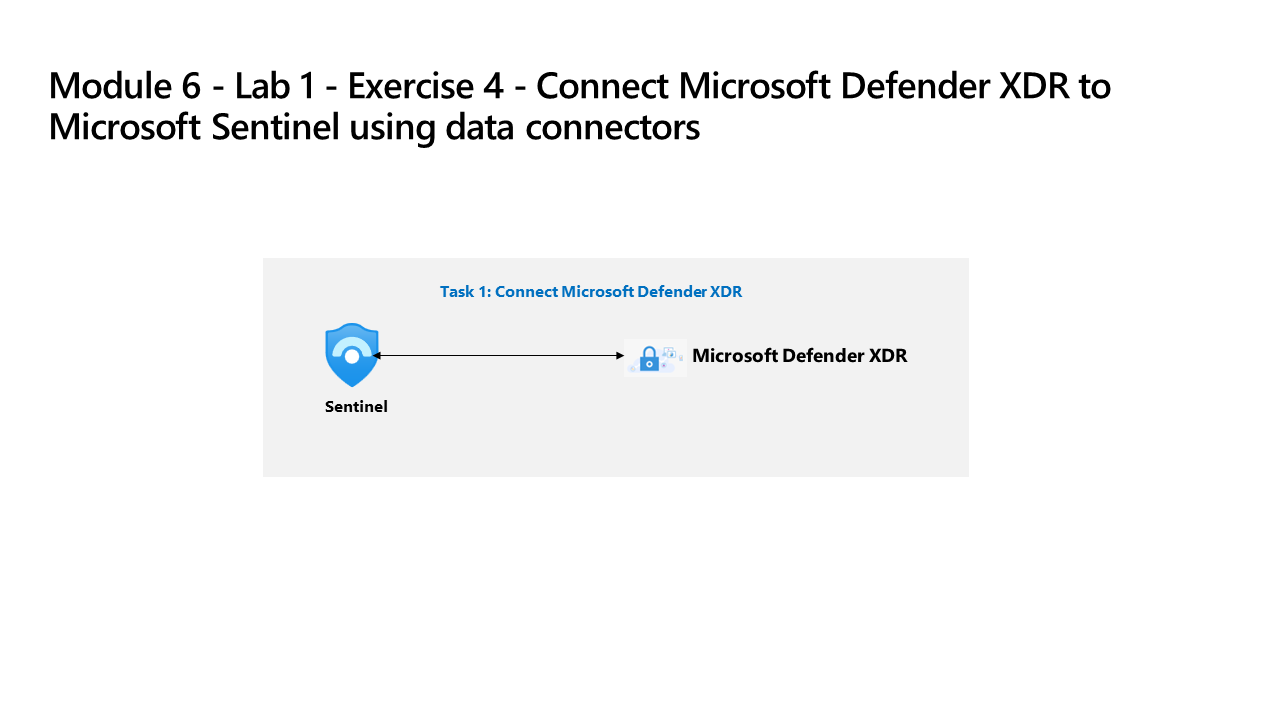
Learning Path 6 - Lab 1 - Exercise 4 - Connect Defender XDR to Microsoft Sentinel using data connectors
Lab scenario

You’re a Security Operations Analyst working at a company that deployed both Microsoft Defender XDR and Microsoft Sentinel. You need to prepare for the Unified Security Operations Platform connecting Microsoft Sentinel to Defender XDR. Your next step will be to install the Defender XDR Content Hub solution and deploy the Defender XDR data connector to Microsoft Sentinel.
Important: Be aware that there are capability differences between the azure Microsoft Sentinel portal and Sentinel in the Microsoft Defender XDR portal Portal capability differences.
Task 1: Connect Defender XDR
In this task, you deploy the Microsoft Defender XDR connector.
-
Login to WIN1 virtual machine as Admin with the password: Pa55w.rd.
-
In the Microsoft Edge browser, navigate to the Azure portal at (https://portal.azure.com).
-
In the Sign in dialog box, copy, and paste in the Tenant Email account provided by your lab hosting provider and then select Next.
-
In the Enter password dialog box, copy, and paste in the Tenant Password provided by your lab hosting provider and then select Sign in.
-
In the Search bar of the Azure portal, type Sentinel, then select Microsoft Sentinel.
-
Select your Microsoft Sentinel Workspace you created earlier.
-
In the Microsoft Sentinel left menus, scroll down to the Content management section and select Content Hub.
-
In the Content hub, search for the Microsoft Defender XDR solution and select it from the list.
-
On the Microsoft Defender XDR solution details page, select Install.
-
When the installation completes, search for the Microsoft Defender XDR solution and select it.
-
On the Microsoft Defender XDR solution details page, select Manage
-
Select the Microsoft Defender XDR Data connector check-box, and select Open connector page.
-
In the Configuration section, under the Instructions tab, deselect the checkbox for the Turn off all Microsoft incident creation rules for these products. Recommended, and select the Connect incidents & alerts button.
-
You should see a message that the connection was successful.
Task 2: Connect Microsoft Sentinel and Microsoft Defender XDR
In this task, you’ll connect a Microsoft Sentinel workspace to Microsoft Defender XDR.
Note: Microsoft Sentinel in the Microsoft Defender XDR portal is in public preview and the user interface experience and steps may differ from the lab instructions.
-
Log in to the WIN1 virtual machine as Admin with the password: Pa55w.rd.
-
Start the Microsoft Edge browser.
-
In the Edge browser, go to the Microsoft Defender XDR portal at https://security.microsoft.com.
-
In the Sign in dialog box, copy, and paste in the tenant Email account for the admin username provided by your lab hosting provider and then select Next.
-
In the Enter password dialog box, copy, and paste in the admin’s tenant password provided by your lab hosting provider and then select Sign in.
Tip: The admin’s tenant email account and password can be found on the Resources tab.
-
On the Defender XDR portal Home screen, you should see a banner at the top with the message, Get your SIEM and XDR in one place. Select the Connect a workspaces button.
-
On the Choose a workspace page, select the Microsoft Sentinel workspace you created earlier.
Hint: It should have a name like uniquenameDefender.
-
Select the Next button.
Note: if the Next button is disabled, or greyed out, and you see an error message that the Microsoft Sentinel workspace is not onboarded to Defender XDR, try refreshing the Defender XDR portal page as it may take 5 to 10 minutes to sync up.
-
On the Review changes page, verify that the Workspace selection is correct and review the bulleted items under the What to expect when the workspace is connected section. Select the Connect button.
-
You should see a Connecting the workspace message followed by a Workspace successfully connected message.
-
Select the Close button.
-
On the Defender XDR portal Home screen, you should see a banner at the top with the message, Your unified SIEM and XDR is ready. Select the Start Hunting button.
-
In Advanced hunting, you should see a message to “Explore your content from Sentinel”. In the left menu pane, note the Microsoft Sentinel tables, functions, and queries under the corresponding tabs.
-
Expand the left main menu pane if collapsed and expand the new Microsoft Sentinel menu items. You should see Threat management, Content management and Configuration selections.
Note: The syncronization between Microsoft Sentinel and Microsoft Defender XDR may take a few minutes to complete, so you may not see all the installed Data connectors for example.