Learning Path 6 - Lab 1 - Exercise 1 - Connect data to Microsoft Sentinel using data connectors
Lab scenario
You are a Security Operations Analyst working at a company that implemented Microsoft Sentinel. You must learn how to connect log data from the many data sources in your organization. The organization has data from Microsoft 365, Microsoft 365 Defender, Azure resources, non-azure virtual machines, etc. You start connecting the Microsoft sources first.
Note: An interactive lab simulation is available that allows you to click through this lab at your own pace. You may find slight differences between the interactive simulation and the hosted lab, but the core concepts and ideas being demonstrated are the same.
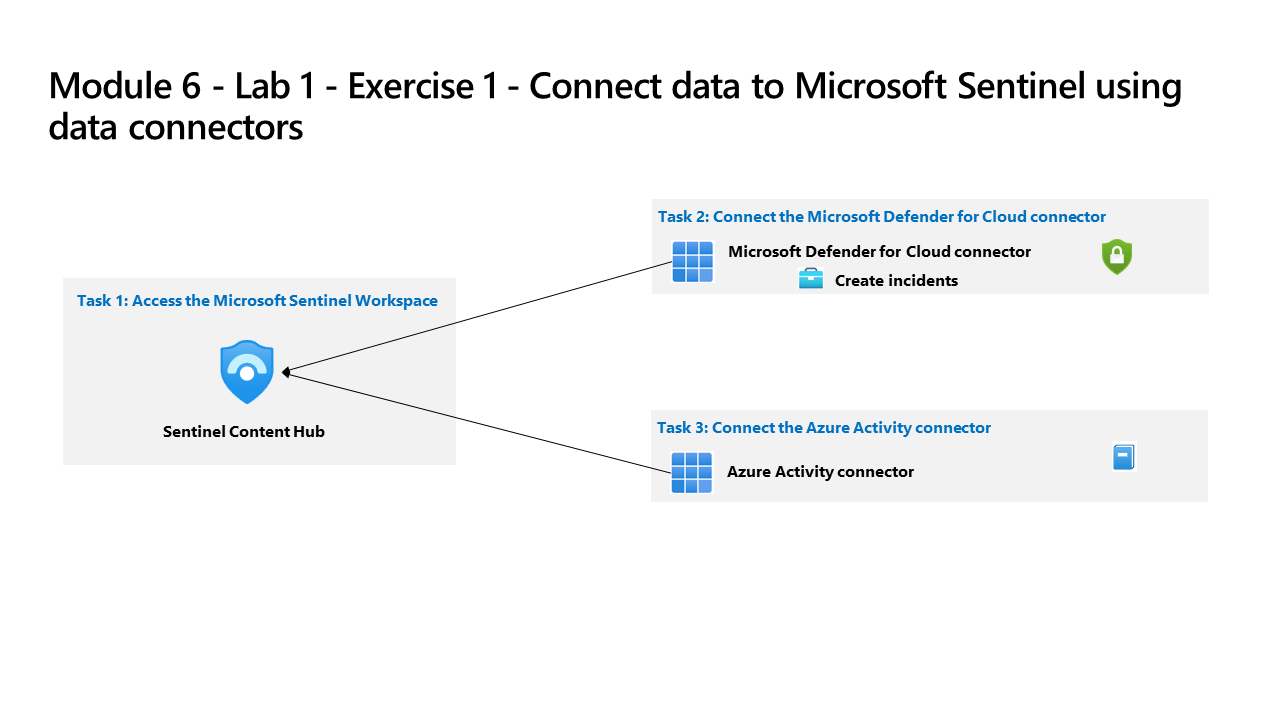
Task 1: Access the Microsoft Sentinel Workspace
In this task, you will access your Microsoft Sentinel workspace.
-
Log in to WIN1 virtual machine as Admin with the password: Pa55w.rd.
-
Open the Microsoft Edge browser.
-
In the Edge browser, navigate to the Azure portal at https://portal.azure.com.
-
In the Sign in dialog box, copy, and paste in the Tenant Email account provided by your lab hosting provider and then select Next.
-
In the Enter password dialog box, copy, and paste in the Tenant Password provided by your lab hosting provider and then select Sign in.
-
In the Search bar of the Azure portal, type Sentinel, then select Microsoft Sentinel.
-
Select your Microsoft Sentinel Workspace that you created in the previous lab.
-
Proceed to the next task.
Task 2: Connect the Microsoft Defender for Cloud data connector
In this task, you will connect the Microsoft Defender for Cloud data connector.
-
In the Microsoft Sentinel left menus, scroll down to the Content management section and select Content Hub.
-
In the Content hub, search for the Microsoft Defender for Cloud solution and select it from the list.
-
On the Microsoft Defender for Cloud solution details page select Install.
-
When the installation completes, search for the Microsoft Defender for Cloud solution and select it.
-
On the Microsoft Defender for Cloud solution details page select Manage
Note: The Microsoft Defender for Cloud solution installs the Subscription-based Microsoft Defender for Cloud (Legacy) Data connector, the Tenant-based Microsoft Defender for Cloud (Preview) Data connector, and an Analytics rule. The Tenant-based Microsoft Defender for Cloud (Preview) Data connector is used when a tenant has multiple subscriptions.
-
Select the Subscription-based Microsoft Defender for Cloud (Legacy) Data connector check-box, and select Open connector page.
-
In the Configuration section, under the Instructions tab, select the checkbox for the “Azure Pass - Sponsorship” subscription and slide the Status option to the right.
Note: If it switches back to disconnected, please review the Learning Path 3, Exercise 1, Task 1 to assign the proper permissions to your account.
-
The Status should be now Connected and “Bi-directional sync” should be Enabled.
Task 3: Connect the Azure Activity data connector
In this task, you will connect the Azure Activity data connector.
-
In the Microsoft Sentinel left menus, scroll down to the Content management section and select Content Hub.
-
In the Content hub, search for the Azure Activity solution and select it from the list.
-
On the Azure Activity solution page select Install.
-
When the installation completes select Manage
Note: The Azure Activity solution installs the Azure Activity Data connector, 12 Analytic rules, 14 Hunting queries and 1 Workbook.
-
Select the Azure Activity Data connector and select Open connector page.
-
In the Configuration area under the Instructions tab, scroll down to “2. Connect your subscriptions…”, and select Launch Azure Policy Assignment Wizard>.
-
In the Basics tab, select the ellipsis button (…) under Scope and select your “Azure Pass - Sponsorship” subscription from the drop-down list and click Select.
-
Select the Parameters tab, choose your uniquenameDefender workspace from the Primary Log Analytics workspace drop-down list. This action will apply the subscription configuration to send the information to the Log Analytics workspace.
-
Select the Remediation tab and select the Create a remediation task checkbox. This action will apply the policy to existing Azure resources.
-
Select the Review + Create button to review the configuration.
-
Select Create to finish.