Learning Path 3 - Lab 1 - Exercise 2 - Mitigate threats using Microsoft Defender for Cloud
Lab scenario
You’re a Security Operations Analyst working at a company that implemented Microsoft Defender for Cloud. You need to respond to recommendations and security alerts generated by Microsoft Defender for Cloud.
Note: An interactive lab simulation is available that allows you to click through this lab at your own pace. You may find slight differences between the interactive simulation and the hosted lab, but the core concepts and ideas being demonstrated are the same.
Task 1: Explore Regulatory Compliance
In this task, you’ll review Regulatory compliance configuration in Microsoft Defender for Cloud.
Important: The next steps are done in a different machine than the one you were previously working. Look for the Virtual Machine name references.
-
Log in to WIN1 virtual machine as Admin with the password: Pa55w.rd.
-
In the Microsoft Edge browser, open the Azure portal at https://portal.azure.com.
-
In the Sign in dialog box, copy, and paste in the Tenant Email account provided by your lab hosting provider and then select Next.
-
In the Enter password dialog box, copy, and paste in the Tenant Password provided by your lab hosting provider and then select Sign in.
-
In the Search bar of the Azure portal, type Defender, then select Microsoft Defender for Cloud.
-
Under Cloud Security, select Regulatory compliance from the left menu items.
-
Select Manage compliance standards on the toolbar.
-
Select your subscription.
Hint: Select Expand all to find your subscription if you have a hierarchy of Management Groups.
-
Under Settings, select Security policies in the portal menu.
-
Scroll down and review the “Security standards” available to you by default.
-
Use the search box to find ISO 27001:2013.
-
Select and move the Status slider to right of ISO 27001:2013 to On.
Note: Some standards require you to assign an Azure Policy initiative.
-
Select Refresh on the page menu to confirm that ISO 27001:2013 is set to On for your subscription.
-
Close the Security policies page by selecting the ‘X’ on the upper right of the page to go back to the Environment settings.
Note: You might want to return later to Regulatory compliance to review the new standard controls and recommendations.
Task 2: Explore Security posture and recommendations
In this task, you’ll review cloud security posture management. The Secure Score information can take 24 hours to recalculate. It’s recommended to do this task again in 24 hours.
-
Under Cloud Security, select Security posture from the left menu items.
-
The Secure score defaults to the Azure environment.
-
Under the Environment tab, select View recommendations > link.
-
Select Add filter and then select Resource type.
-
Select the Machines - Azure Arc checkbox and then select the Apply button.
Note: If you don’t see Machines - Azure Arc listed, make sure you have completed Learning Path 3 - Lab 1 - Exercise 1 Task 4..
-
Select any recommendation where the status isn’t “Completed”.
-
Review the recommendation and in the Take action tab scroll down to Delegate and select Assign owner & set due date.
-
In the Create assignment window, leave Type set to Defender for Cloud and expand the Assignment details.
-
In the
Set ownerEmail address box, type in your admin email. Hint: You can copy it from the instructions in the Resources tab. -
Explore the Set remediation timeframe and Set email notifications options and select Create.
Note: If you see the error Failed to create requested assignments, try again later.
-
Close the recommendation page by selecting the ‘X’ on the upper right of the window.
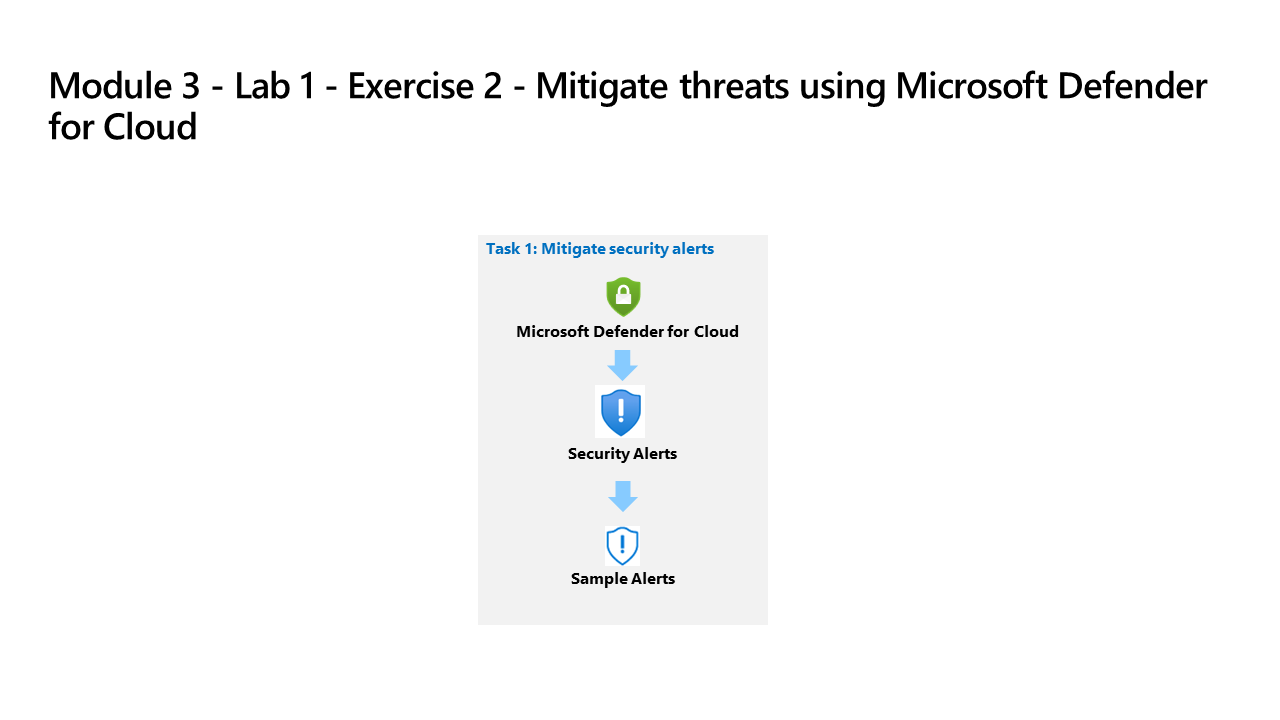
Task 3: Mitigate security alerts
In this task, you’ll load sample security alerts and review the alert details.
-
Under General, select Security alerts in the portal menu.
-
Select Sample alerts from the command bar. Hint: you may need to select the ellipsis (…) button from the command bar.
-
In the Create sample alerts (Preview) pane make sure your subscription is selected and that all sample alerts are selected in the Defender for Cloud plans area.
-
Select Create sample alerts.
Note: This sample alert creation process may take a few minutes to complete, wait for the “Successfully created sample alerts” notification.
-
Once completed, select Refresh (if needed) to see the alerts appear under the Security alerts area.
-
Choose an interesting alert with a Severity of High and perform the following actions:
-
Select the alert checkbox and the alert detail pane should appear. Select View full details.
-
Review and read the Alert details tab.
-
Select the Take action tab or scroll down and select the Next: Take Action button at the end of the page.
-
Review the Take action information. Notice the sections available to take action depending on the type of alert: Inspect resource context, Mitigate the threat, Prevent future attacks, Trigger automated response and Suppress similar alerts.
-