Practice Lab 3 - Create a model-driven app
Estimated time: 30 minutes
Lab objectives
In this lab, you will learn to:
- Understand the difference between canvas apps and model-driven apps
- Create a model-driven app using the modern app designer
- Add a Dataverse table to the app’s site map
- Customize the main form and view for the table
- Publish and test the model-driven app
Scenario
While employees submit requests using a mobile canvas app, the Contoso facilities management team needs a full-featured desktop application to manage, triage, and track all requests. Model-driven apps are ideal for this because the interface is automatically generated from the data model, providing a consistent and professional experience.
Exercise 1: Create the model-driven app
Task 1: Create a model-driven app
- Navigate to Power Apps Maker portal
https://make.powerapps.comand sign in. - Select + Create from the left navigation, then select Blank Page with navigation.
- Name the app Contoso Facilities Management.
- Select Create. The modern app designer will open.
Task 2: Add the Facility Request table
- In the App Designer, select + Add page or + New, and select Dataverse table.
- Search for and select both the Facility Request and Room tables (if you completed Lab 1), additionally select the Account and Contact tables.
-
Make sure the Show in navigation checkbox is selected and select Add. The tables will now appear in your app’s navigation.
-
In the App Designer, on the left side of the screen, select Pages. Under the Navigation section, select New group.
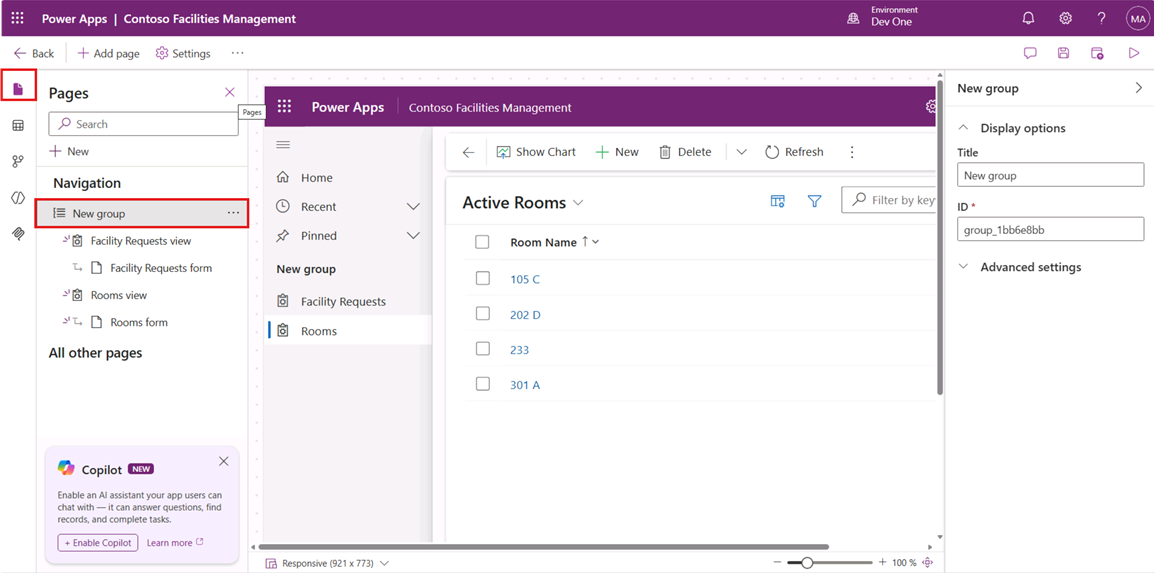
- On the right side of the screen, if not already expanded, expand the New Group pane.
- Change the Title from New Group to Customers.
- Select the three dots next to the Customers group and select New group.
- Change the Title of the New Group to Facilities.
- Under Navigation select the Facility Requests view, and select Move Down until it is in the Facilities Group.
- Repeat for Rooms view, selecting Move down until Rooms appears below Facility Requests.
- Select the Save button.
-
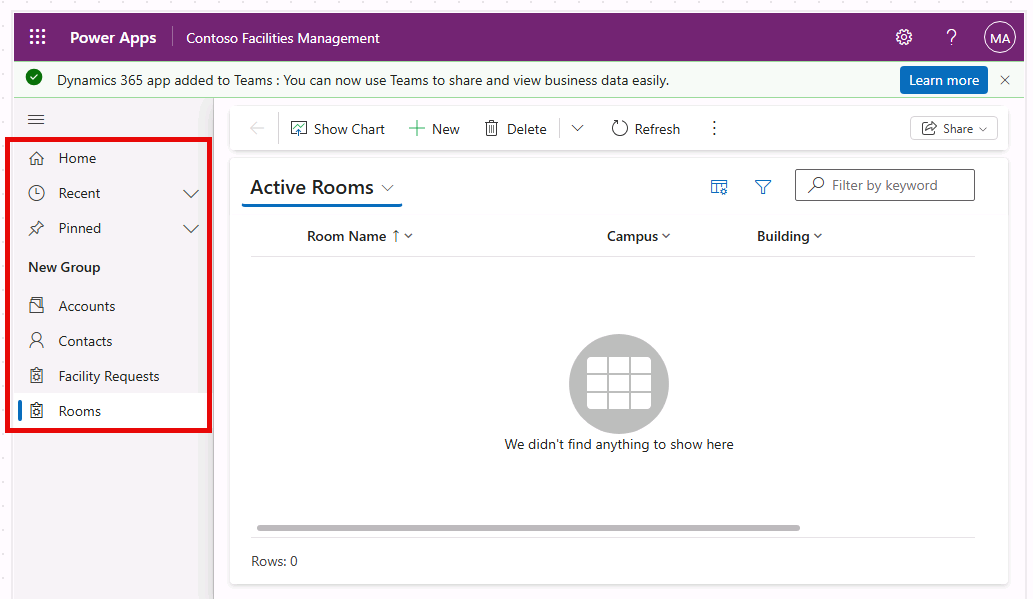
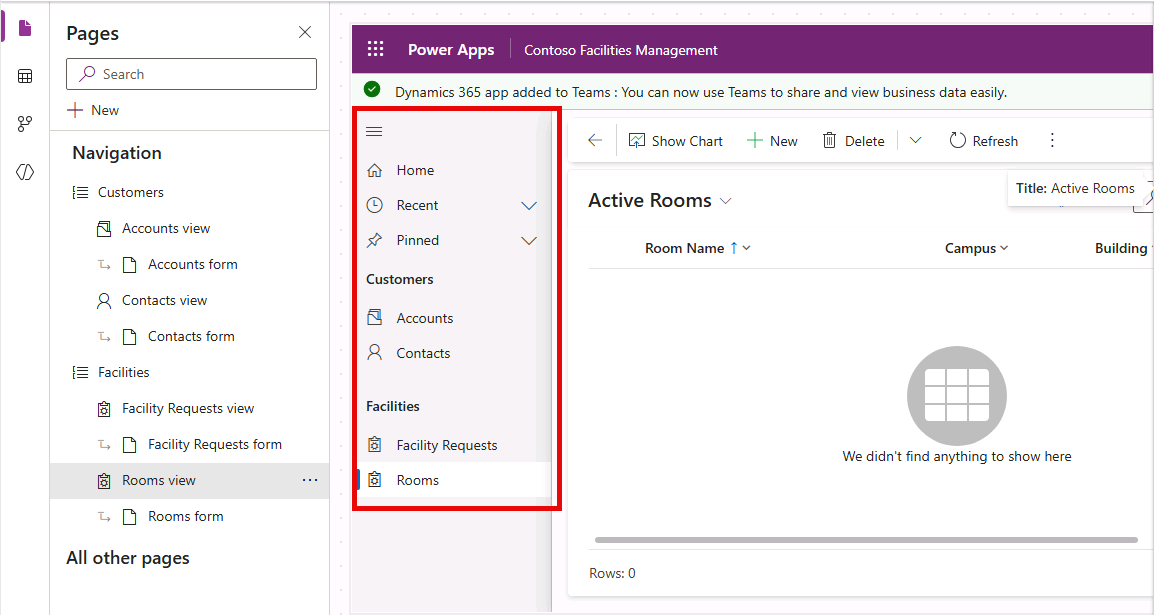
Your completed App should resemble the image below:
Exercise 2: Edit Facility Request form and Facility Request public view
Task 1: Modify the Facility Request main form
- Open a new tab and navigate to the Power Apps Maker portal
https://make.powerapps.com - Make sure you are in the Dev One environment.
- In the left navigation pane, select Tables.
- In the search bar at the top-right, type Facility Request, and then select the Facility Request table from the results.
- Under Data experiences, select Forms.
- Select the Information form where the Form type is Main, select the Commands menu (…), and select Edit > Edit in new tab.
- Drag the Owner column into the Header area.
- Drag the Description column below Request Title.
- Drag the Date Requested column below Description.
- Drag the Estimated Cost column below Date Requested.
- Drag the Category column below Estimated Cost.
- Drag the Priority column below Category.
- Drag the Status column into the Header area.
- Select Save and publish.
- Close the form designer.
- Select Done
Task 2: Modify the Facility Request public view
- Navigate to the Power Apps Maker portal
https://make.powerapps.com - Make sure you are in the Dev One environment.
- In the left navigation pane, select Tables.
- In the search bar at the top-right, type Facility Request, and then select the Facility Request table from the results.
- Under Data experiences, select Views.
- Select the Active Facility Requests view, select the Commands menu (…), and select Edit > Edit in new tab.
- Select the caret next to the Created On column and select Remove.
- Select the Description column to add to the view.
- Select the Date Requested column to add to the view.
- Select the Estimated Cost column to add to the view.
- Select the Category column to add to the view.
- Select the Priority column to add to the view..
- Select the Status column to add to the view.
- Select Save and publish.
- Close the view designer.
- Select Done
Task 3: Publish and test
- Navigate to the Power Apps Maker portal
https://make.powerapps.com - In the left navigation pane, select Apps.
- Select Contoso Facilities Management Model-driven app, select the Commands menu (…), and select Edit.
- Select Save and Publish in the upper right.
- Select Play to open the app in a new browser tab.
- Verify the following:
- The navigation menu shows your Facility Request table.
- Selecting the table name shows the list view with the columns you configured.
- Selecting a record opens the form with the layout you customized.
- You can create a new record by selecting + New. **