Learning Objective
In this exercise, learners will be using Copilot to build a Power Pages site. Once the site is created, you will be using Power Pages Design Studio to perform tasks such as adding and modifying content, as well as changing themes.
Scenario
Throughout the year, Contoso Consulting hosts many different types of events. They range from in person events, to webinars, Instructor led trainings and more. They are looking to use Microsoft Power Platform to manage the different events that they put on. They want to use Power Pages to create an event management site that will display the different events that they host.
Upon successful completion of this exercise, you will:
- Use Copilot to build an Event Management website.
- Add new content to your site.
- Preview your new Power Pages site of different types of devices.
Lab Details:
Before beginning this exercise, required that you have completed the following lab:
- Lab 2 – Create a data model
Important: This lab uses AI to build out the components. Since AI results can vary, it’s important to note that your results may be different (but similar) to what is defined in the lab. The basic concepts outlined in the lab will be the same no matter what was created or what it was named. If the tables and columns do not match exactly, you may need to adjust to what was created for you.
The estimated time to complete this exercise is 30 to 45 minutes.
Before you begin: If this is the first time you are accessing the Power Pages maker portal, you may need to run through some setup. If so, follow the instructions below. Otherwise, you can continue to Task 1.
- If necessary, navigate to Microsoft Power Pages.
-
On the Welcome to Power Pages screen, select the Get started button.
-
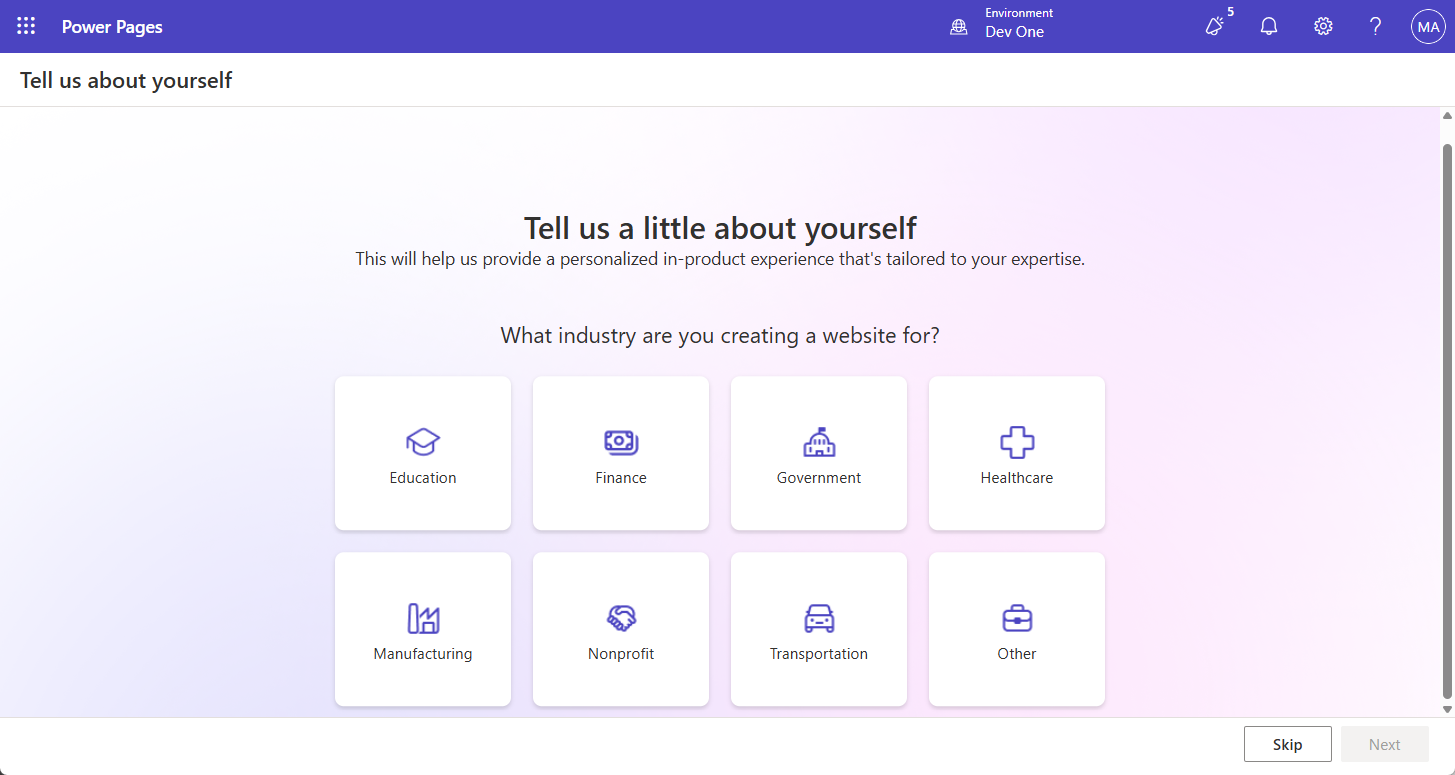
On the Tell us a little about yourself screen, select the Skip button. Do not navigate away from this page.
Task 1: Use Copilot to create a new Power pages site.
- On the page, enter the following text: “Build a site to manage events our organization hosts.” to
Describe the site you want and let AI create the first draftinput box. - Select the Build my site button.
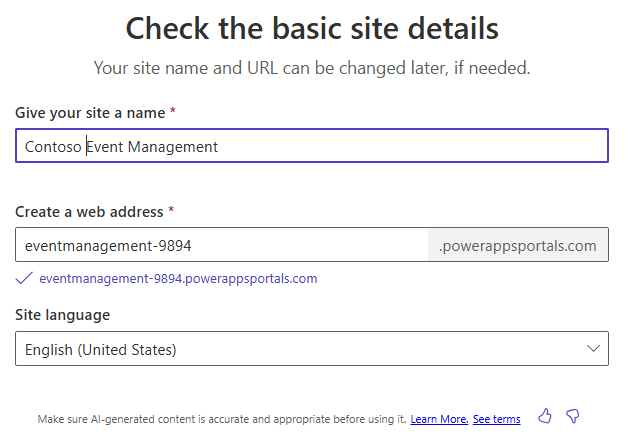
- In the Check the basic site details screen, configure as follows:
- Give your site a name:
Contoso Event Management - Create a web address: Accept the default address provided
- Site Language: English
- Give your site a name:
- Select the Next button.
- In the Choose a layout screen, review the suggested layout provided. If you would like additional layout suggestions, select Try again to have Copilot suggest another layout.
- Once you have identified the template you want to use, select Next.
- In the Add common pages section, select the following pages:
- About Us
- Contact Us
- FAQ
- Select any additional pages, as desired.
-
Once you have selected your pages, select Done.
Your new site will be created in the background, which can take several minutes.
-
After your site is created, open the it (If not already taken there.)
Note: Sometimes when your site loads for the first time, you might see a Liquid object not found message. If this happens, Refresh (F5) the browser window to reload the site. The site should appear.
Task 2: Modify the contents of your site
Now that your initial site is created, you can use the design studio to modify you site by adding pages, text, images, forms, and more.
- Main navigation, select Home to open the Home page.
- Hover over the Contoso Event management text in the site header and select Edit site header.
- Change the Site title to Contoso Consulting.
- Select the Upload image button.
- On the Add an image screen, select Upload image, choose the Contoso Logo from your downloaded files, and choose Open.
- With the Contoso Logo image selected, select OK.
- After you are finished with your changes, select the X to leave the Edit site header screen.
- To change the site background image, click anywhere in the background image.
- From the menu that appears, choose Edit background.
- Select the Change image button.
- Select Media library and choose Upload image.
- Select the Site_Background image from your class files and choose Open.
- With the Site_Background selected, choose OK.
- Select the text Welcome to Contoso Events and change the text to Contoso Consulting.
- On the toolbar that appears, select the Design (Paint brush) button.
- Select the arrow next to the Text Shadow property and set the H-Offset to 2.
- Select the X to close the Text Design window.
-
Select the text below Contoso Consulting, (Might say something similar to Your Partner in Event Management) and change it to Your partner for today and tomorrow.
Now that we have made some basic changes to the home page, we are going to update the theme of the site to better match Contoso’s branding.
- Using the navigation on the left, select the Styling button.
- Select the Bright Blue theme.
- Under brand colors, select the Grey color circle.
- Change the Hex color : 101E2B
- Select OK.
- Select the White circle, and change the color to Hex code e8e8e8
- Select OK
- Select the Black circle and change the color to White. (ffffff)
- Select OK.
- Make any additional theming changes that you want. Once you are finished with your theming change, select the Save button.
Task 3: Connect your site to your business data
One of the primary advantages of Power Pages is the ability to connect a Power Pages to your business data that is in Dataverse. Before we can bring the data in, we need to build out some elements that will be used.
- Using the navigation on the left, select the Data icon.
- In the Search field, enter Event.
-
Select the Event table.
First, we are going to create a form that will be used when we want to add a new event.
- Select the Forms tab, then choose + New form.
- Set the Form name to
Create Event, then select the Create button. - We are not going to make any modifications to the layout. Select the Save and Publish button.
-
Press the Back arrow to return to the designer.
Next, we are going to create a form that will be used for viewing and editing existing events
- Select the + New form button.
- Name the form View Event and select the Create button.
- On the Command bar, select Add component, and select Subgrid.
- Configure the Subgrid as follows:
- Show Related Records: Yes
- Table: Event Sessions
- Default: Active Sessions
- Select Done.
- Select the Save and Publish button.
- Select the Back button to return to the Design Studio.
Task 4: Create necessary web page forms
Now that we have defined forms for the Event table, we are going to create pages that include those forms so site users will be able to work with Event records. We are going to create pages for viewing, creating, and editing events.
- Using the navigation on the left, select the Pages icon.
- Select the + Page button.
- In Copilot, enter the following text:
Add a new blank page.Select the Send button. - Select the Keep it button.
- At the top of the new page, select the Add a Section button.
- Select 1 Column.
- In Choose a component to add to this section, select Form.
- Select + New form.
- On the Add a form screen, configure as follows:
- Choose a table: Event
- Select a form: Create Event
- Name your copy of selected form: Create Event
- Select the Data tab and verify that the Data for this form is set to Create a new record.
- Select the On submit tab. In the Display this message field, enter
Your event has been successfully submitted. -
Select the OK button.
Let’s remove any additional sections on the page as we do not need them.
- Select the Section below the Form you just added. On the toolbar that appears, select More (…) and choose Delete.
-
Repeat the previous step to remove the remaining two sections from the page.
Once completed, the only items that should remain are the form you created and the footer at the bottom of the page.
- Under Main navigation on the left, select the Ellipsis next to the New Page you created.
- From the menu that appears, select Page settings.
- Configure the page settings as follows:
- Name: New Event
- Partial URL: New-Events
-
Select the OK button.
Next, we will add an additional page that can be used for viewing an individual event.
- Make sure you still have Pages selected and click the + Page button.
- In the Describe a page to create it screen, enter:
Add a Blank Page named View Event.Select the Send button. - Select the Keep it button to accept the new page.
- At the top of the new page, select the Add a Section button.
- Select 1 Column.
- In Choose a component to add to this section, select Form.
- Select + New form.
- On the Add a form screen, configure as follows:
- Choose a table: Event
- Select a form: View Event
- Name your copy of selected form: View Event
- Select the Data tab and set the Data for this form field to Is read-only.
-
Select the OK button.
Let’s remove any additional sections on the page as we do not need them.
- Select the Section below the Form you just added. On the toolbar that appears, select More (…) and choose Delete.
- Repeat the previous step to remove the remaining section from the page.
- Under Main navigation on the left, select the Ellipsis next to the new page you created.
- From the menu that appears, select Page settings.
- Configure the page settings as follows:
- Name: View Event
- Partial URL: View-Event
-
Select the OK button.
Finally, let’s create one more webpage form that we can use to edit an event.
- Make sure you still have Pages selected and click the + Page button.
- In the Describe a page to create it screen, enter:
Add a Blank Page named Edit Event.Select the Send button. - Select the Keep it button to accept the new page.
- At the top of the new page, select the Add a Section button.
- Select 1 Column.
- In Choose a component to add to this section, select Form.
- Select + New form.
- On the Add a form screen, configure as follows:
- Choose a table: Event
- Select a form: Create Event
- Name your copy of selected form: Edit Event
- Select the Data tab and set the Data for this form to Updates an existing record.
-
Select the OK button.
Let’s remove any additional sections on the page as we do not need them.
- Select the Section below the Form you just added. On the toolbar that appears, select More (…) and choose Delete.
- Repeat the previous step to remove the remaining section(s) from the page.
- Select the OK button.
Task 5: Create a page that displays a list of events
Now that we have defined the necessary forms we are going to use for managing records, we are going to create a page view to display those records.
-
Select the + Page button.
- In the Describe a page to create it screen, enter:
Add a blank page called events.Select the Send button. - Select Keep it to accept the new page.
- At the top of the new page, select the Add a Section button.
- Select 1 Column.
- In Choose a component to add to this section, select the More button (…). Under the Connected data group, select List.
- In the Add a list screen, select the Setup tab, and configure as follows:
- Choose a Table: Event
- Select the data views: Active Events, Inactive Events
- Name you list:
Events
- Select the Actions tab and configure as follows:
- Create a new record: On
- Target Type: Form
- Form: Create Event
- Display label:
Create New Event
- View details: On
- Target Type: Form
- Form: View Event
- Display label:
See Event Details
- Edit record: On
- Target Type: Form
- Form: Edit Event
- Display label:
Edit Event
- Create a new record: On
- Select Done.
Task 6: Update permissions
To ensure that users are only seeing data relevant to them organizations can specify table permissions. In this task we are going to create very basic permissions that provide access to anyone.
- Under Main Navigation, select the Events page.
- Select the Events list and click the + New permission button.
- Configure the permission as follows:
- Name: Events
- Table: Event
- Access Type: Global access
- Set the Permission to Read.
- Select Add roles, and choose the Administrators, Anonymous Users, and Authenticated Users roles.
- Select the Save button.
-
A screen that says The data can be seen by anyone appears, select Save.
Let’s repeat that process for the event form pages. We’ll start with the New Event page
- Under Main Navigation, select the New Event page.
- Select the Update permission button.
- Configure the permission as follows:
- Name: Create Events
- Table: Event
- Access Type: Global access
- Set the Permission to Read and Create.
- Select Add roles, and choose the Administrators, Anonymous Users, and Authenticated Users roles.
-
Select the Save button and select Save again on the popup screen.
Next, we will set for the Edit Event screen.
- Under Main Navigation, select the Edit Event page.
- Select the Update permission button.
- Configure the permission as follows:
- Name: Edit Events
- Table: Event
- Access Type: Global access
- Set the Permission to Read and Update.
- Select Add roles, and choose the Administrators, Anonymous Users, and Authenticated Users roles.
- Select the Save button and select Save again on the popup screen.
Task 7: Update site navigation
Now that we have our pages and Items formatted the way we want, we are going to adjust the site navigation accordingly.
-
Under Main Navigation, select the Ellipsis next to the Events page.
- From the menu that appears, select Move up.
- Repeat step until the Event page located below the Contact Us page.
- Make sure the New Event page is located directly under the Events page. (If not, move the New Event page until it is.)
- On the New Event page, select the Ellipsis button.
- From the menu that appears, select Make this a sub-page.
- Select the Ellipsis next to View Event and select Move to “Other pages”.
- Select the Ellipsis next to Edit Event and select Move to “Other pages”.
- On the Command bar, select the Sync button.
Task 8: Preview and refine your site
Once your site is created, you will want to review it to ensure it meets your business needs and requirements so you can determine any refinements that are necessary. Sites can be previewed in Desktop and Mobile mode
- In the design studio, select the Home page button.
- Click Preview from the command bar.
- Select Desktop to preview your site in a browser.
- While viewing in Desktop mode, review the following aspects of your site such as:
- Layout and navigation.
- Branding elements such as colors, fonts, and logos.
-
Once you have finished testing the site, close the Browser tab to return to the site editor.
Next, we will preview the site as it would appear on mobile devices.
- Select the Preview button again.
- Scan the QR code displayed with your mobile device.
- The site will open on your mobile device (Note: you might be prompted to login, If so provide your login credentials.)
- As you did while in Desktop mode, review the following aspects of your site such as:
- Layout and navigation.
- Branding elements such as colors, fonts, and logos.
- Once you have finished testing, close the browser tab to return to the site.