Practice Lab 2 - Create a canvas app
Estimated Time: 45 minutes
Lab objectives
In this lab, you will learn to:
- Create a canvas app from a pre-built template
- Explore the Power Apps Studio interface and key components
- Build a simple canvas app from a blank screen
- Add controls such as galleries, forms, labels, and buttons
- Connect a canvas app to a Dataverse table as a data source
-
Scenario
Contoso wants a mobile-friendly app that employees can use to view and submit facilities requests. You will first explore an app built from a template to understand how canvas apps work, and then build a simple request submission app from scratch.
Exercise 1: Create an app from a template
In this exercise, you will create a canvas app from one of the built-in templates to quickly see how a finished app is structured.
- Navigate to <Https://make.powerapps.com> and sign in.
- From the Home screen, select + Create from the left navigation pane.
- In the Start from data section, select Upload file.
- On the Upload an Excel File screen, select Select from device.
- From the Class Files, locate and open Room Reservations.xlsx.
[!NOTE] If you only see Room Reservations.zip, select the ZIP file, select Extract All, open the extracted folder, and then select Room Reservations.xlsx.
-
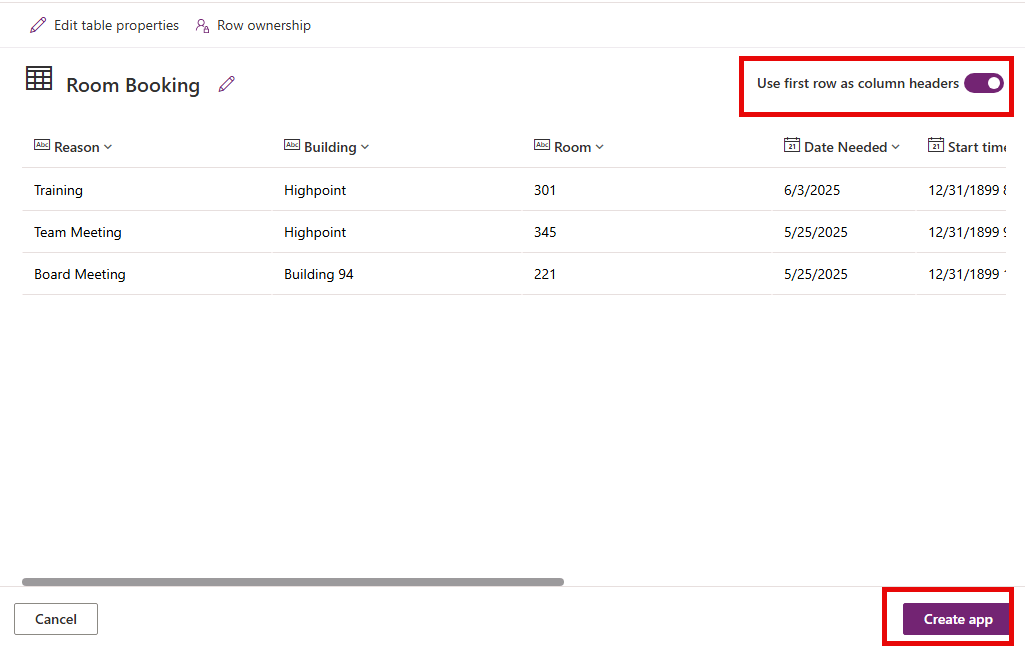
Ensure that Use first row as column headers is selected, and select Create app.
[!NOTE] If you are presented with the Welcome to Power Apps Studio screen, select Don’t show me this again, and choose the Skip button.
- To test the App select the Play button (Located to the left of the Save button.)
- To add a new record, select the + New button.
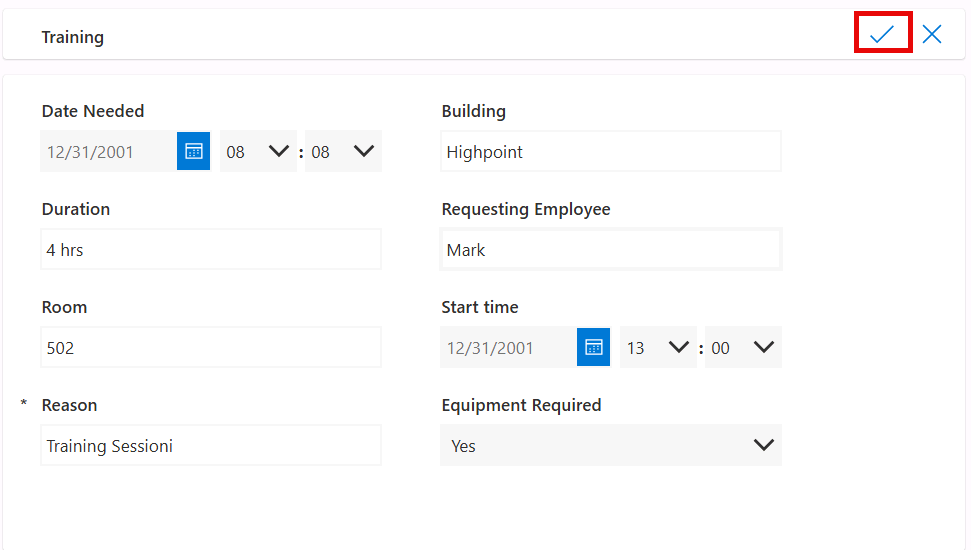
- Enter a new record with the following details:
- Date Needed: Tomorrows Date
- Building: Highpoint
- Duration: 4 Hrs
- Requesting Employee: Your Name
- Room: 502
- Start Time: Tomorrow at 1:00 PM
- Reason: Training Session
- Equipment Required: Yes
-
Select the Save button (Check Mark)
- Close the App from Preview mode (X button)
- Select the Save button.
- Select the Publish button.
- Select the Publish this version button
Exercise 2: Build and edit a canvas app
Now you will build a simple Facility Request app from a blank canvas connected to a Dataverse data source.
Task 1: Create the app and connect to data
- Go to <Https://make.powerapps.com>
- From the Home screen, select + Create from the left navigation pane.
- In the Start from data section, select Dataverse.
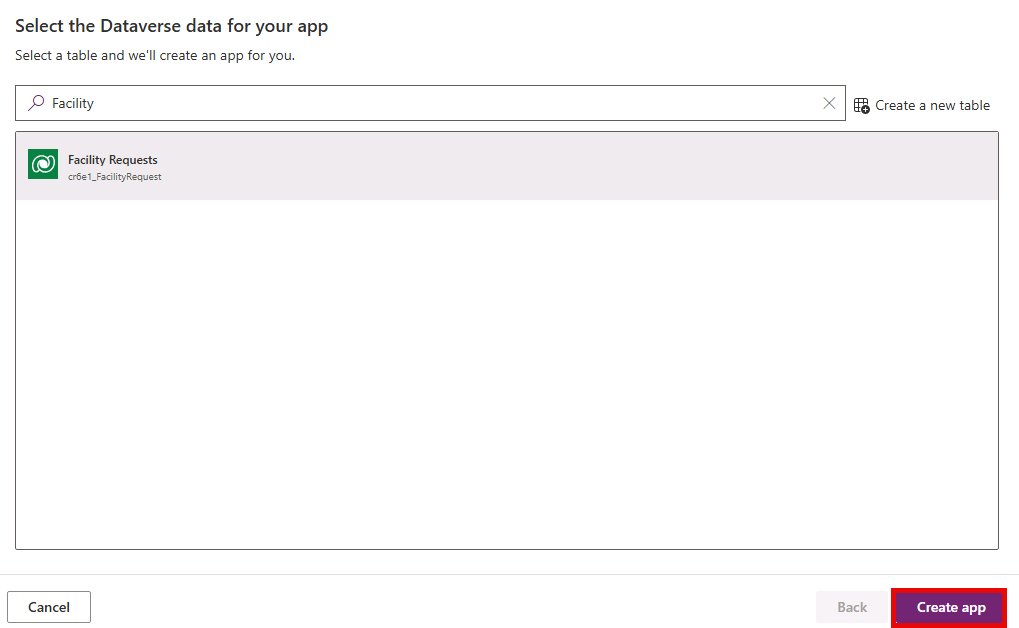
- In the Search field, enter the text Facility.
-
Select the Facility Requests table, and choose Create app.
Task 2: Customize the Facility Requests app.
One of the key elements of canvas apps is the ability to modify the application as needed. We are going to modify the app to tailor it a little more to our needs.
In this task, you will:
- Format existing elements
- Add a Welcome Message to the App
- Modify an existing Form.
- Add a new screen for adding new rooms.
- Add a button to navigate to the new rooms screen.
- Add a Welcome User Prompt on the right-hand side of the screen.
The first thing we want to do is to customize the main screen to include a welcome message that includes the logged in users name.
- On the Facility Request screen (the default screen), select the Facility Requests header.
- Select the + Insert dropdown menu, and then select Text Label.
- Set the Value of the Text Label field to “Welcome”
- Format Text Value field as follows:
- Font Size: 16
- Font Color: White
- Background Color: Blue
- Text alignment: Right
- Height: 52
- With the same item selected, insert another Text Label field.
- Set the Text property to User().FullName
- Format Text Value Field as follows:
- Font Size: 16
- Font Color: White
- Background Color: Blue
- Alignment: Right
- Height: 52
- Width: 225
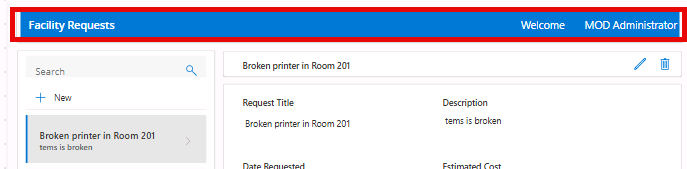
-
Your new header will resemble the image below:
Task 3: Build the New Room Screen
- From the command bar, select the New screen button, and then select the Header and Footer screen.
-
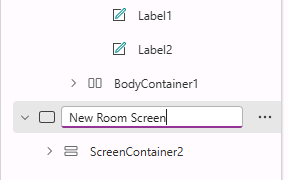
In Tree view, select Screen1, and rename it to New Room Screen.
- Select the + in the form header container and select Text label.
- Set the Text property to “Add New Room”
- Format Text Value Field as follows
- Font Size: 16
- Font Color: White
- Background Color: Blue
- Alignment: Right
- Height: 52
- Width: 225
-
Select the Header container, and set the Background color to Blue.

- In the Main Container, select + Insert, and then select Edit form.
-
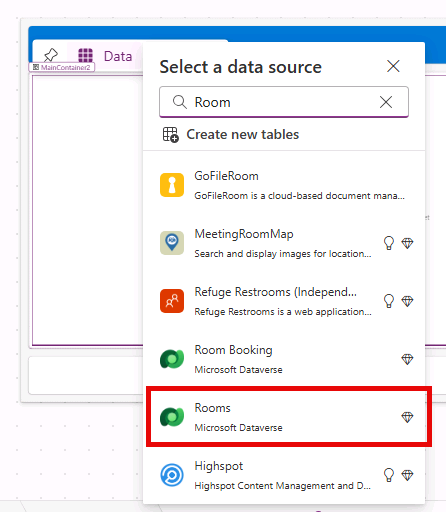
In the Search field, enter Room, and select the Rooms table.
-
If the form includes Import Sequence Number, Time Zone Rule Version Number, or Record Created On, select each field in Tree view and press Delete.
- In the form Properties pane, set the Default mode to New.
-
Your form should resemble the image below:
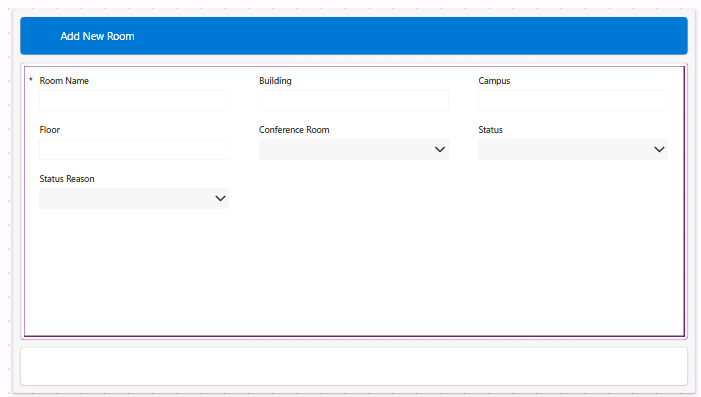
[!NOTE] If a field is missing from the form, select (x) selected under Fields in the form properties pane, select +Add field, and then select the missing column to the form.
- Select the Footer at the bottom of the form.
- Select + Insert, and then select Button.
- Set the button’s Text property to
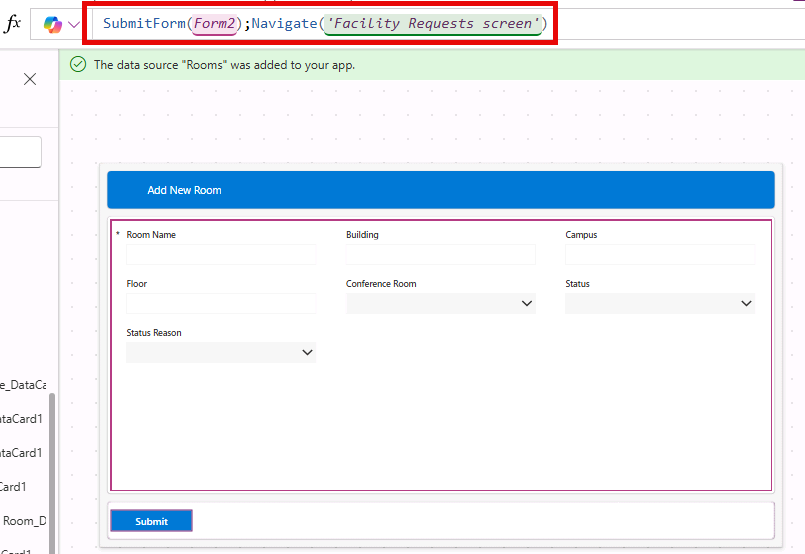
"Submit". - Set the button’s OnSelect property to the following formula:
SubmitForm(Form2); Navigate('Facility Requests screen')
- Set the button’s Text property to
Task 4: Add navigation between screens
- Go back to the Facility Requests screen.
- Select the RecordsGallery1 Gallery
- On the Command bar, select + Insert, and then select Button.
- Set the button’s Text property to
"New Room". - Set the button’s OnSelect property to the following formula:
NewForm(Form2); Navigate('New Room Screen')
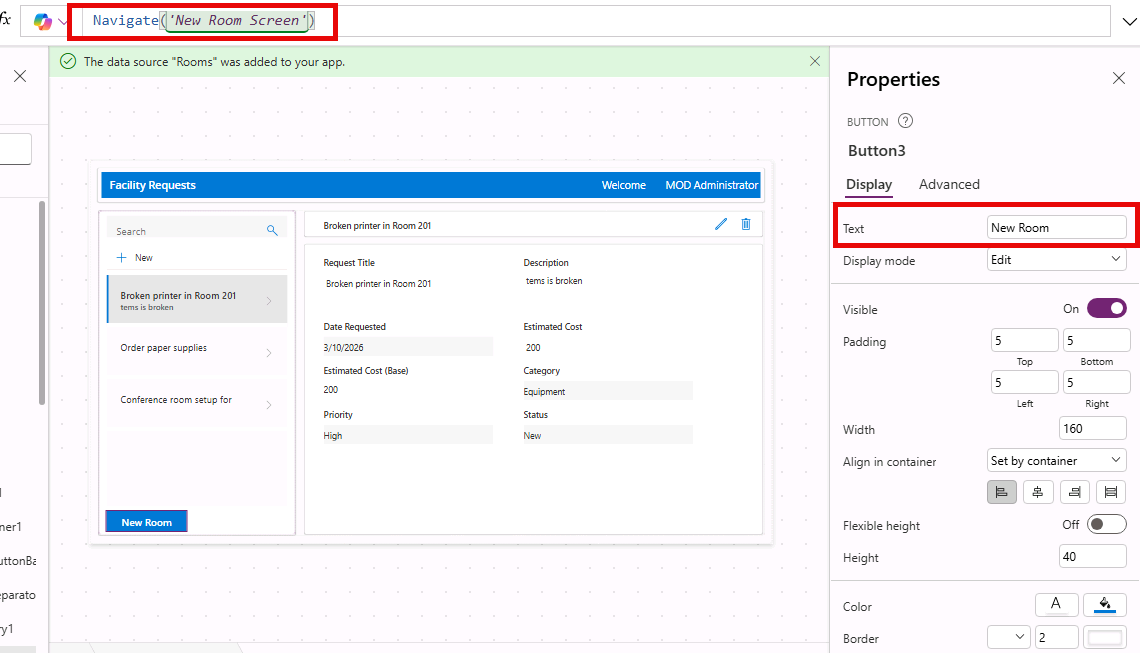
- Set the button’s Text property to
Task 5: Test your app
- Select the Play button (▶) to preview your app.
- Test the following:
- The gallery displays your sample data.
- Selecting + New opens a blank form.
- You can fill in a new request and click Submit to save it.
- Selecting a record in the gallery displays its details in the form on the right.
- Close the preview and Save your app as Facility Request App (File > Save or Ctrl+S).