Practice Lab 3 - Create a model-driven app
Scenario
In this lab, you will create model-driven app and add tables to the app.
Contoso Real Estate wants to track two key elements:
- Real estate property listings
- Who is scheduled for showings of real estate properties
What you will learn
- How to create a model-driven app
- How to add tables to the app
High-level lab steps
- Create a model-driven app
- Add tables to the app
Prerequisites
- Must have completed Lab 2: Data model
Detailed steps
Exercise 1 - Build model-driven app
In this exercise, you will create a model-driven app.
Task 1.1 – Create Property Management app
-
Navigate to the Power Apps Maker portal
https://make.powerapps.com -
Make sure you are in the Dev One environment.
-
Select Solutions.
-
Open the Property listings solution.
-
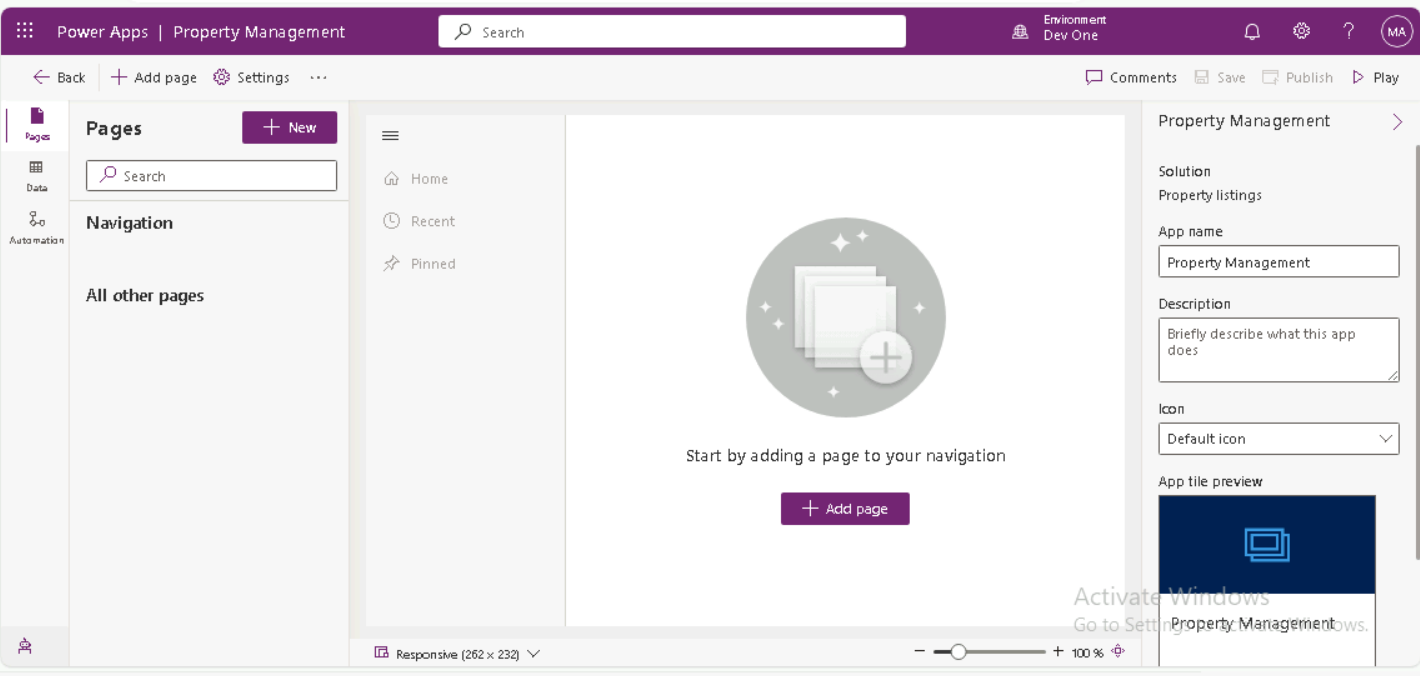
Select + New > App > Model-driven app.

-
Enter
Property Managementfor Name. -
Select Create.
Task 1.2 – Add tables
-
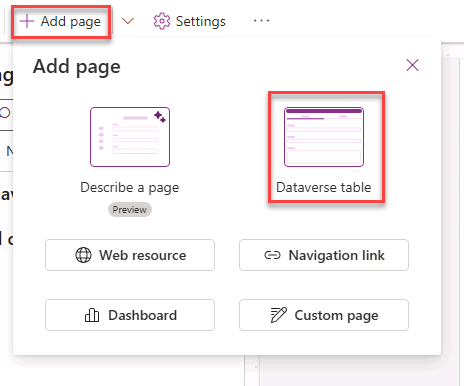
Select + Add page and then select Dataverse table.
-
Enter
cre_in Search.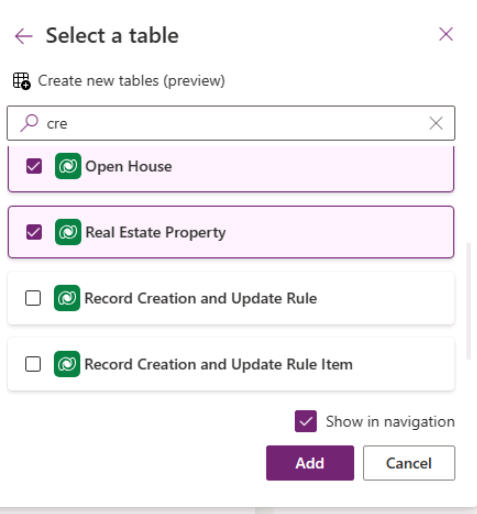
-
Select Open House, Real Estate Property, and Showing.
-
Enter
accountin Search and select Account. -
Enter
contactin Search and select Contact. -
Select Add.

-
Select Save and Publish.

Task 1.3 – Test
-
With the Property Management app designer open, select the Play button.
-
Navigate to Contacts.
-
Select + New.
-
Enter
Jonfor First Name. -
Enter
Doefor Last Name -
Select Save & Close.
-
Navigate to Real Estate Properties
-
Select + New.
-
Enter
Test Propertyfor Property Name. -
Select Save.
-
Select Related and Showings.
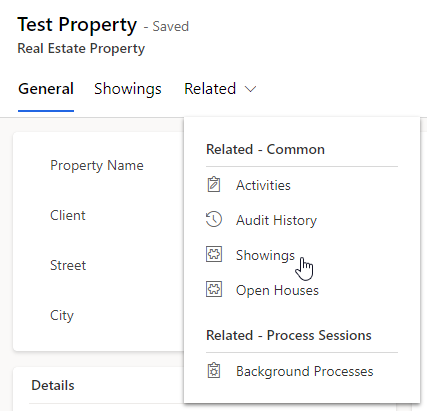
-
Select + New Showing.
-
Enter
First Showingfor Name. -
Select Save & Close.
-
Select Save & Close.
-
Close the app.
-
Select <- Back in the Property Management app designer.