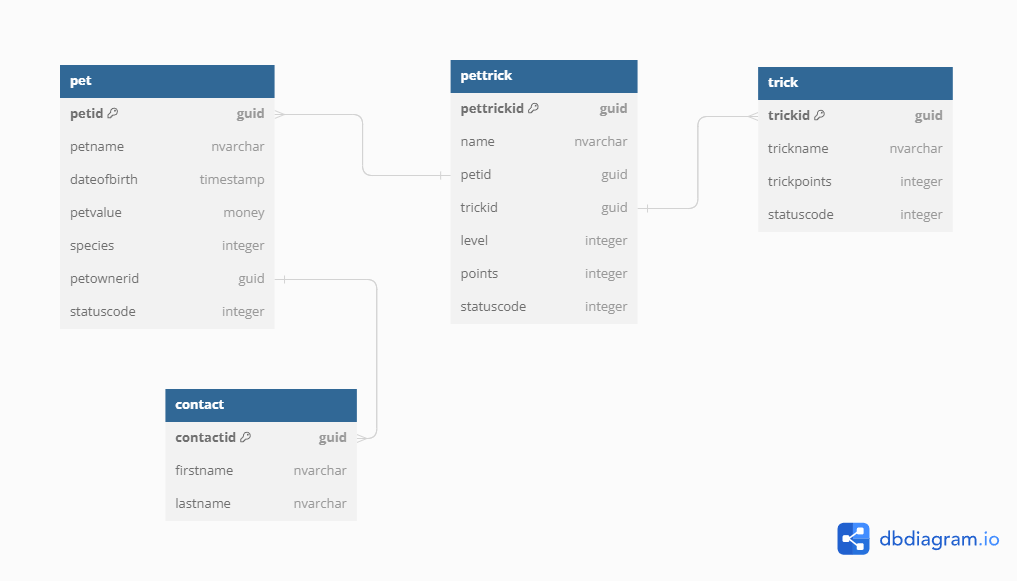
Demo setup instructions 2 - Tables
Objective: In this demo, you will show how to create tables in a Dataverse solution. In later demos you will add columns and relationships.

Task 2.1 - Create table for Pets
-
Navigate to the Power Apps Maker portal
https://make.powerapps.com. - Select the Demo environment.
- Select Solutions from the left navigation pane.
- Select the PL400 Demos solution.
- Select + New and then select Table and select Table again.
- Enter
Petfor Display Name. - Check Enable attachments.
- Expand Advanced options.
- Change Schema name to lower case.
- Show options for Type and select Standard.
- Show options for Record ownership and select User or team.
- Scroll down and show the other table options.
- Check Audit changes to its data.
- Check Create a new activity.
- Check Appear in search results.
- Uncheck Doing a mail merge.
- Select the Primary column tab.
- Change the Display Name to
Pet Name. - Expand Advanced options.
- Show the options for the primary column.
- Change Schema name to lower case.
- Enter
30for Maximum character count. - Select Save.
- Select All in the Objects tree.
Task 2.2 - Create table for Tricks
-
Select + New and then select Table and select Table again.
- Enter
Trickfor Display Name. - Expand Advanced options.
- Change schema name to lower case.
- Select Organization for Record ownership.
- Check Audit changes to its data.
- Check Appear in search results.
- Uncheck Doing a mail merge.
- Select the Primary column tab.
- Change the Display Name to
Trick Name. - Expand Advanced options.
- Change Schema name to lower case.
- Enter
50for Maximum character count. - Select Save.
- Select All in the Objects tree.
Task 2.3 - Create table for Pet Tricks
-
Select + New and then select Table and select Table again.
- Enter
Pet Trickfor Display Name. - Expand Advanced options.
- Change Schema name to lower case.
- Uncheck Apply duplicate detection rules.
- Uncheck Doing a mail merge.
- Select the Primary column tab.
- Expand Advanced options.
- Change Schema name to lower case.
- Select Optional for Column requirement.
- Select Save.
- Select All in the Objects tree.
- Select Publish all customizations.