Practice Lab 13 – Custom Connector
Scenario
In this lab you will build a custom connector that can be used from Power Apps and Power Automate. Custom connectors describe existing APIs and allow them to be used easily. In this lab, you will build an API that has common calculations used by inspectors so that they can be used by applications. After building the API, you will create a custom connector definition to make it available to Power Apps and Power Automate.
The connector could have multiple actions defined on it. However, for our lab we will define a single action Get Required CPM – where CPM stands for Cubic X Per Minute. In some regions this would be Cubic Feet Per Minute, and in others it could be Cubic Meters Per Minute. The action we are building will take the dimensions of a room and the number of air exchanges required by policy. The action logic will calculate the required CPM for that configuration. If you want, you can add additional actions to support other inspection type scenarios to the API and the custom connector.
After building the API and the custom connector you will modify the inspector app. You will use the same connector and invoke an action from Power Automate.
High-level lab steps
As part of configuring the custom connector, you will complete the following
- Create an Azure function
- Create a custom connector in a solution
- Configure the security and actions on the custom connector
- Test the custom connector
- Configure a canvas app to use the connector
Things to consider before you begin
- Is there a standard approved connector already available that can be used?
- What security will we use in our connector?
- What are possible triggers and actions of the connector?
- Are there any API rate limits that could potentially affect the connector?
Starter solution
A starter solution file for this lab can be found in the C:\Labfiles\L13\Starter folder.
Completed solution
Completed solution files for this lab can be found in the C:\Labfiles\L13\Completed folder.
Resources
Complete source code files for this lab can be found in the C:\Labfiles\L13\Resources folder.
Exercise 1: Create the Azure Function
Objective: In this exercise, you will create an Azure function that will calculate the CPM.
Task 1.1: Create Azure Function for CPM Calculation
-
Create function
-
Sign in to the Azure portal.
-
Select All Resources, search for
pl400wh, and open the function app you created in the previous lab. -
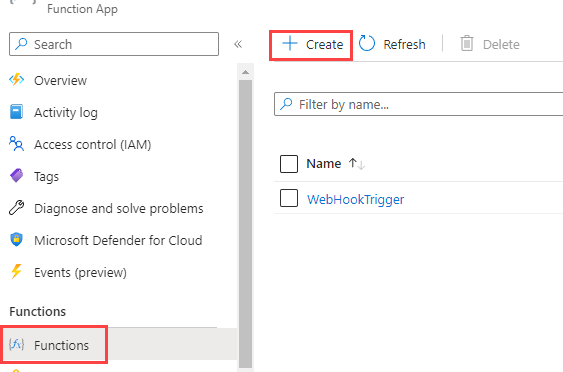
Select Functions.
-
Select + Create.
-
Select HTTP trigger for Template.
-
Enter
CPMTriggerfor New Function. -
Select Function for Authorization level.
-
Select Create.
-
-
Add the Using Statements and CPMCalcRequest class to the function.
-
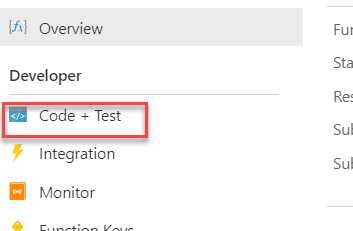
Select Code + Test.
-
Add the Using Statements below to the function.
using Microsoft.Extensions.Logging;
using Newtonsoft.Json.Linq;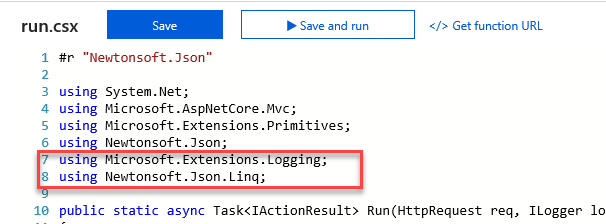
-
-
Clean up the Run method
-
Go to the Run method.
-
Remove everything but the log line from the Run method.

-
-
Add class for the request.
-
Add the public class below to the function. This will describe the request that will be sent from the applications using the API.
public class CPMCalcRequest
{
    public int Width=0;
    public int Height=0;
    public int Length=0;
    public int AirChanges=0;
}
-
-
Get the Request body and deserialize it as CPMCalcRequest.
-
Get the request Body from the request argument. Add the code below inside the Run method.
string requestBody = await new StreamReader(req.Body).ReadToEndAsync(); -
Deserialize the request body. Add the code below inside the Run method.
CPMCalcRequest calcReq = JsonConvert.DeserializeObject<CPMCalcRequest>(requestBody);

-
-
Calculate the CPM and return it form the Run method
-
Calculate the CPM and log the calculated value. Add the code below inside the Run method.
var cpm = ((calcReq.Width*calcReq.Height*calcReq.Length) * calcReq.AirChanges) / 60; log.LogInformation("CPM " + cpm); -
Return the calculated CPM. Add the code below inside the Run method.
return (ActionResult)new OkObjectResult(new{
    CPM = cpm
});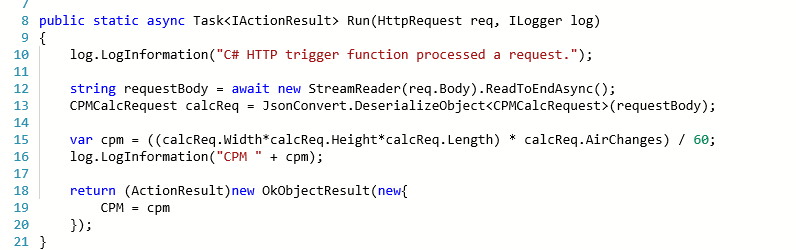
-
Select Save.
-
-
Select Test/Run.
-
In the Body copy the following input values.
{ "Width": 10, "Height": 15, "Length": 10, "AirChanges": 6 } -
Select Run.
-
the result should be as follows.
{ "cpm": 150 } -
Close the Test pane.
-
Copy the Function URL.
-
Select Overview and then select Get Function URL.
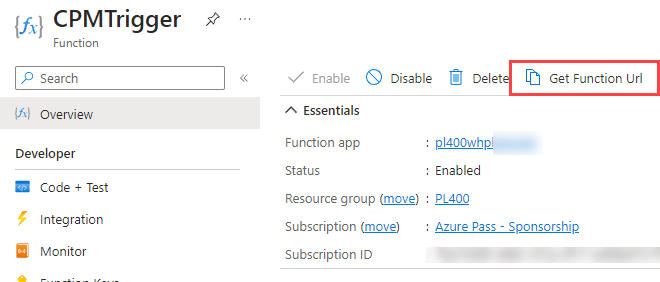
-
Select Copy and then select OK to close the popup.

-
Save the URL in a notepad, you will need it when creating the custom connector.
-
Exercise 2: Create the Custom Connector
Objective: In this exercise, you will create the Custom Connector. This same approach could be used to describe any existing API you create or that has been created by any third party.
Task 2.1: Create the Custom Connector
-
Open the Permit Management solution
- Navigate to Power Apps maker portal and make sure you have the Development environment selected.
- Select Solutions.
- Open the Permit Management solution.
-
Create Custom Connector
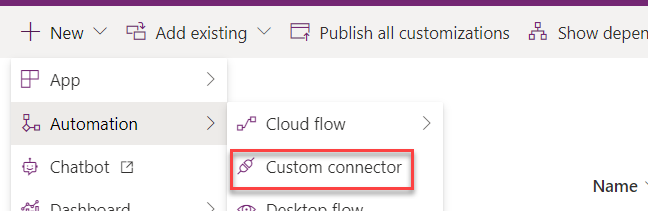
-
Select + New and select Automation and select Custom connector.
-
Enter
CPM Calculatorfor Connector Name.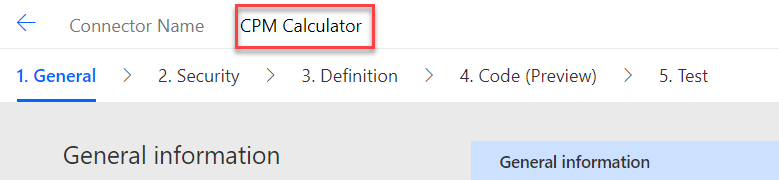
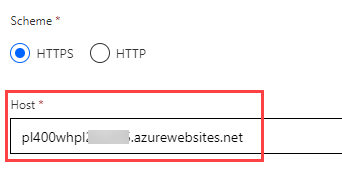
-
Locate the Host column and paste the Function URL you copied in Exercise 1.
-
Remove https:// and everything after .net.
-
-
Add API key for security.
-
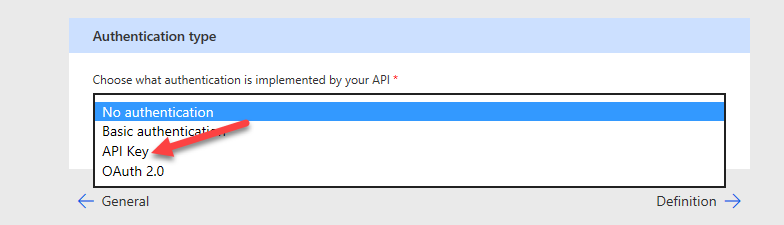
Select Security ->.

-
Select API Key for Authentication type.
-
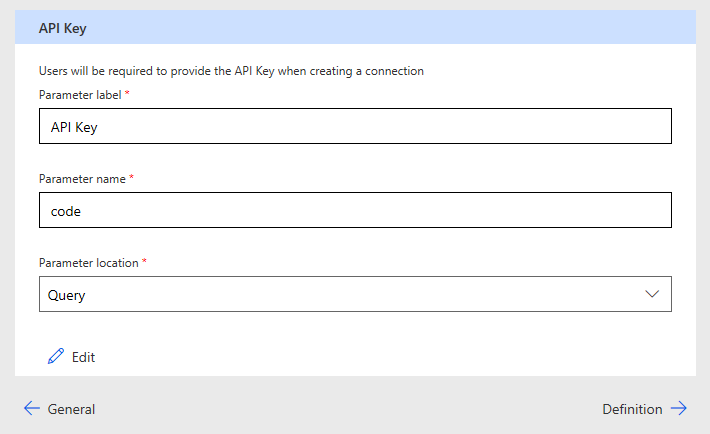
Enter
API Keyfor Parameter label. -
Enter
codefor Parameter name -
Select Query for Parameter Location.
-
-
Define action.
-
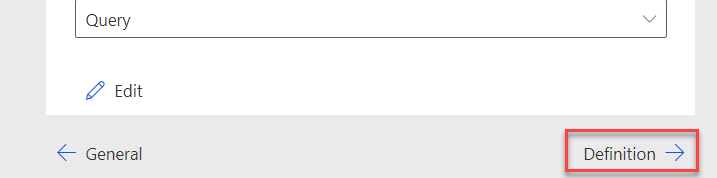
Select Definition.
-
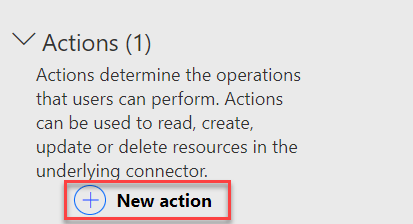
Select New Action. The action describes each operation that the API has. These can be manually defined like we are doing here or can be imported from Open API for larger APIs.
-
Enter
CPM Calculatorfor Summary -
Enter
Calculates CPMfor Description. -
Enter
GetRequiredCPMfor Operation ID.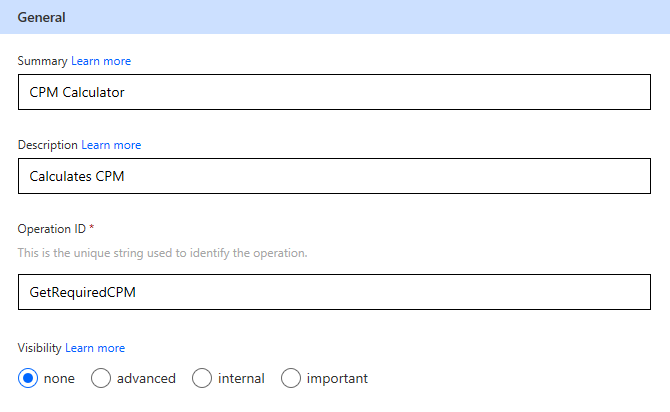
-
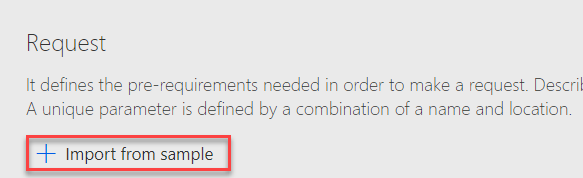
Under Request, select + Import from Sample.
-
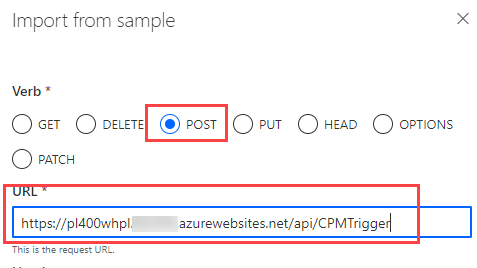
Select POST for Verb.
-
Paste the function URL from your notepad and remove everything after CPMTrigger.
-
Paste the json below in the Body field.
{
    "Width": 15,
    "Height": 8,
    "Length":20,
    "AirChanges":8
}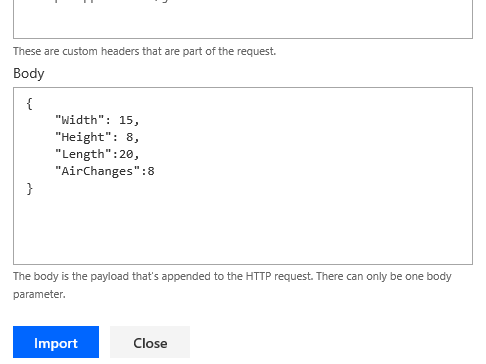
-
Select Import.
-
Under Response, select + Add default response.
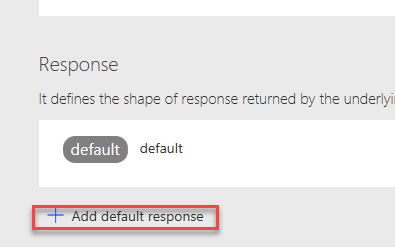
-
Paste the json below in the Body.
{"cpm":200}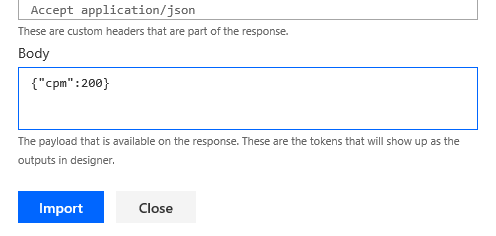
-
Select Import.
-
-
Create connector.
-
Select Create Connector and wait for the connector to be created.

-
-
Test the connector
-
Advance to Test.

-
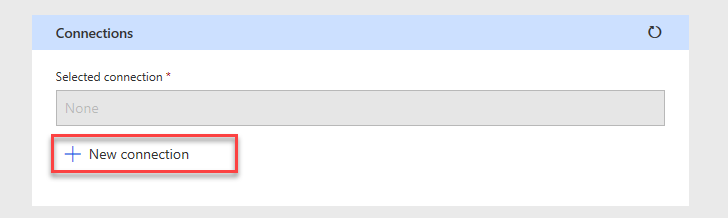
Select + New connection. This will open a New window.
-
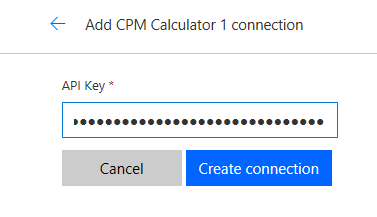
Go back to the notepad and copy the key - everything after code=.
-
Go back to the connector and paste the value you copied.
-
Select Create connection.
-
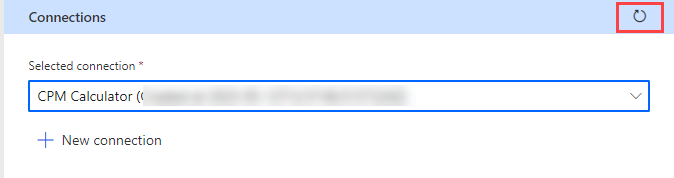
Select the Refresh icon.
-
The connection should be selected.
-
Enter test data,
- Enter 15 for Width.
- Enter 8 for Height.
- Enter 15 for Length.
- Enter 5 for AirChanges..

-
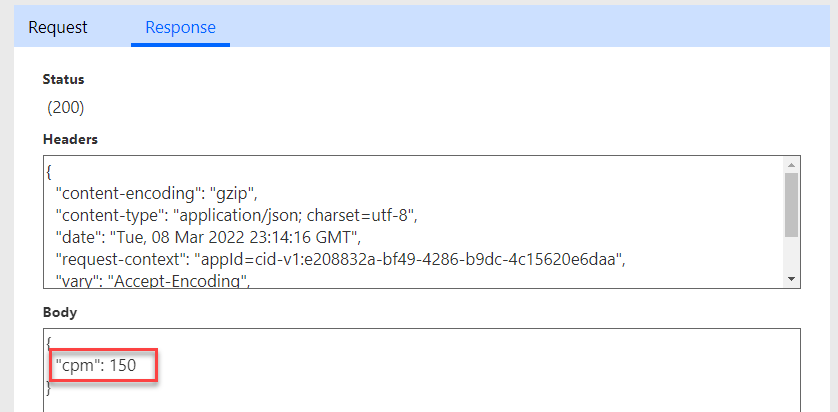
Select Test operation.
-
You should get a CPM value back.
-
Select Close,
-
Close the Custom connectors tab.
-
Select Done.
-
Exercise 3 Test Connector
Objective: In this exercise, you will use the Custom Connector from a canvas app.
Task 3.1: Test in Canvas app
-
Open the Permit Management solution
- Navigate to Power Apps maker portal and make sure you have the Development environment selected.
- Select Solutions.
- Open the Permit Management solution.
-
Edit the Inspector canvas app.
-
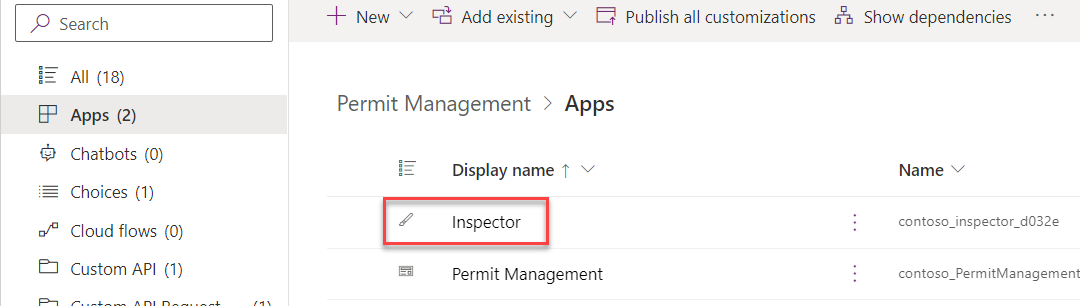
Select Apps and select to open the Inspector Canvas app.
-
-
Add new screen to the application.
-
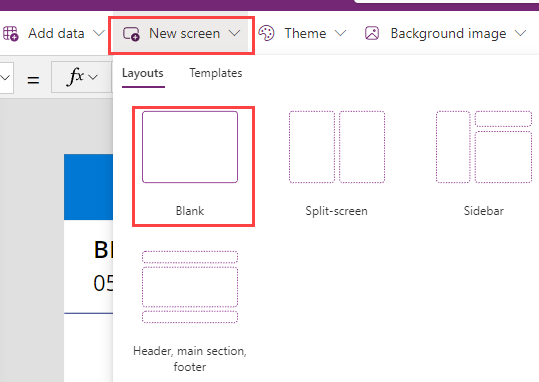
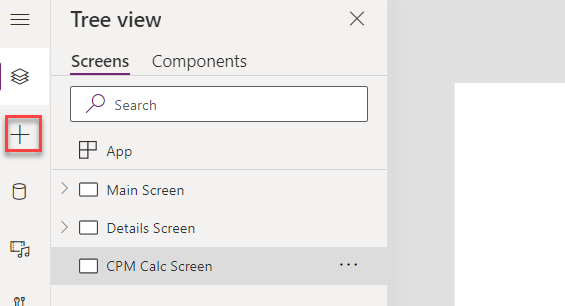
Select New Screen and then select Blank.
-
Rename the screen
CPM Calc Screen.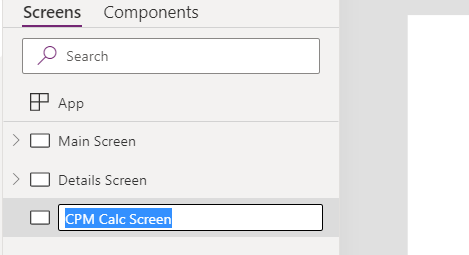
-
-
Add Input Text to the new screen.
-
Select the CPM Calc Screen.
-
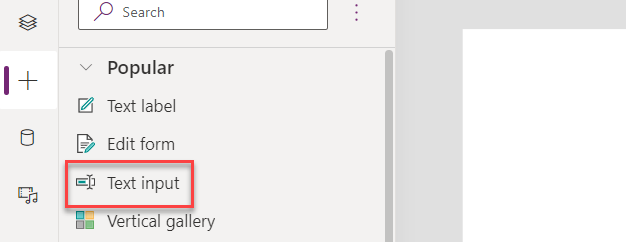
Select + Insert tab.
-
Select Text input.
-
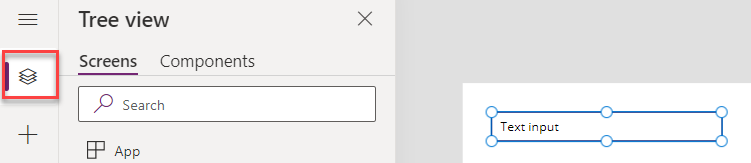
Select the Tree View.
-
Rename the Text Input
Width Text. -
Remove the Default property of the Width text input.

-
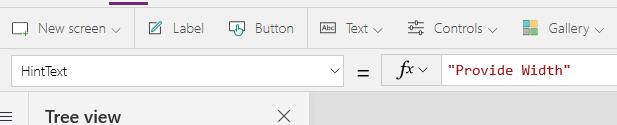
Change the HintText property of the Width text input to
"Provide Width".
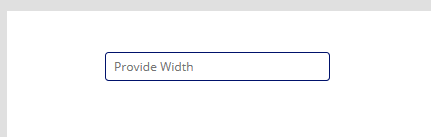
-
The Width Text input should now look like the image below.
-
-
Add Height, Length, and Air Change Input Text controls.
-
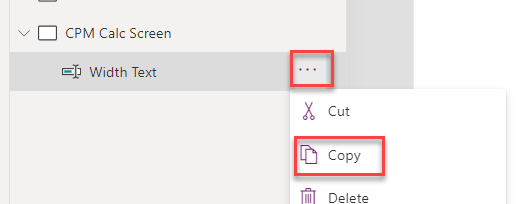
Copy the Width Text.
-
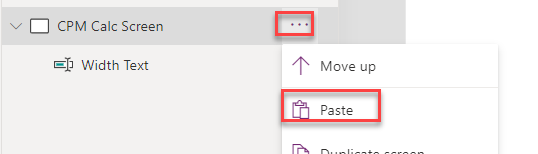
Paste the text input you copied to the CPM Calc Screen.
-
Paste the text input you copied to the CPM Calc Screen two more times.
-
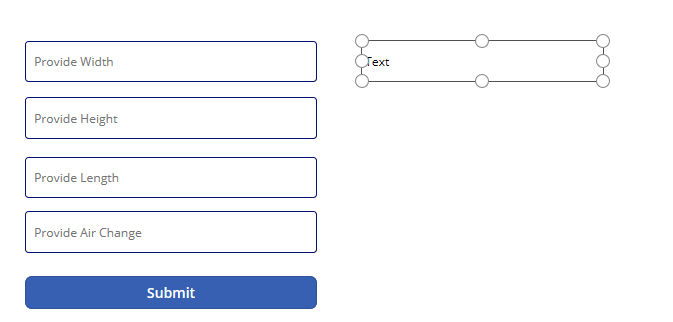
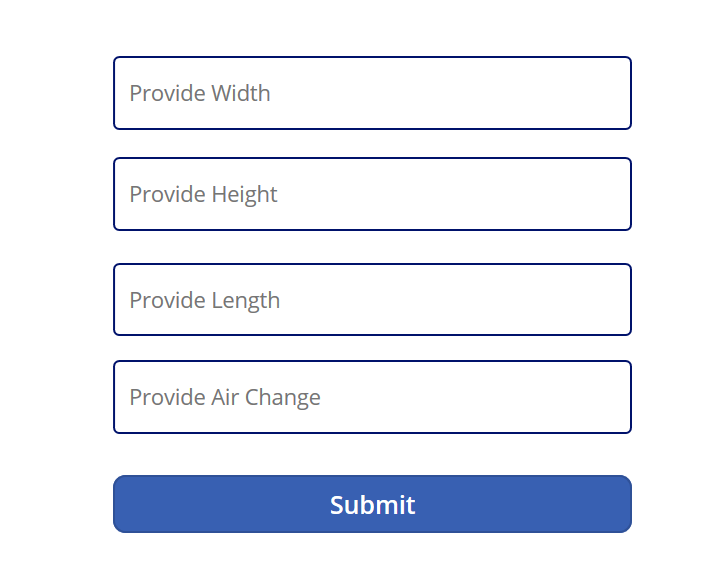
The CPMCalcScreen should now have total of four text inputs.
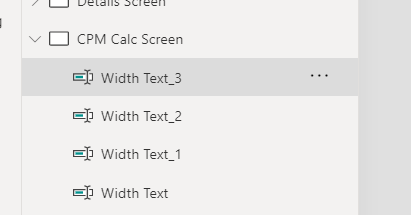
-
Rename the input text controls Height Text, Length Text, and Air Change Text.
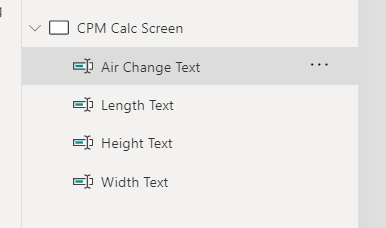
-
Change the HintText for the three text inputs you renamed to Provide Height, Provide Length, and Provide Air Change, respectively.
-
Resize and reposition the text inputs as shown in the image below.
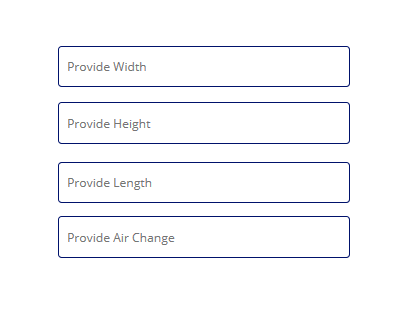
-
-
Add button.
-
Select + Insert tab.
-
Select Button.
-
Select the Tree view tab.
-
Rename the button to
Calculate Button. -
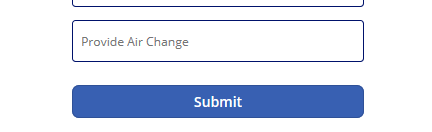
Change the Text value of the button to
"Submit". -
Resize and reposition the button as shown in the image below.
-
-
Add the result label to the screen
-
Select + Insert tab.
-
Select Text label.
-
Select the Tree view tab.
-
Rename the label to
Result Label. -
Place the label to the right of the text inputs.
-
-
Add the Custom Connector to the app.
-
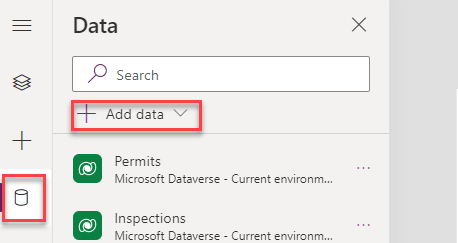
Select the Data tab.
-
Select + Add data.
-
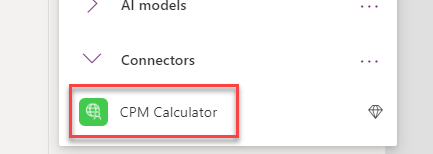
Expand Connectors.
-
Select CPM Connector.
-
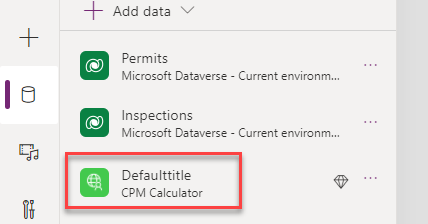
Select CPM Calculator again.
-
-
Get the calculated value when the button is selected
-
Select the Tree view tab.
-
Select Calculate Button.
-
Set the OnSelect property of the Calculate Button to the formula below.
Set(CalculatedValue, Concatenate("Calculated CPM ", Text(Defaulttitle.GetRequiredCPM({Width: 'Width Text'.Text, Height: 'Height Text'.Text, Length: 'Length Text'.Text, AirChanges: 'Air Change Text'.Text}).cpm)))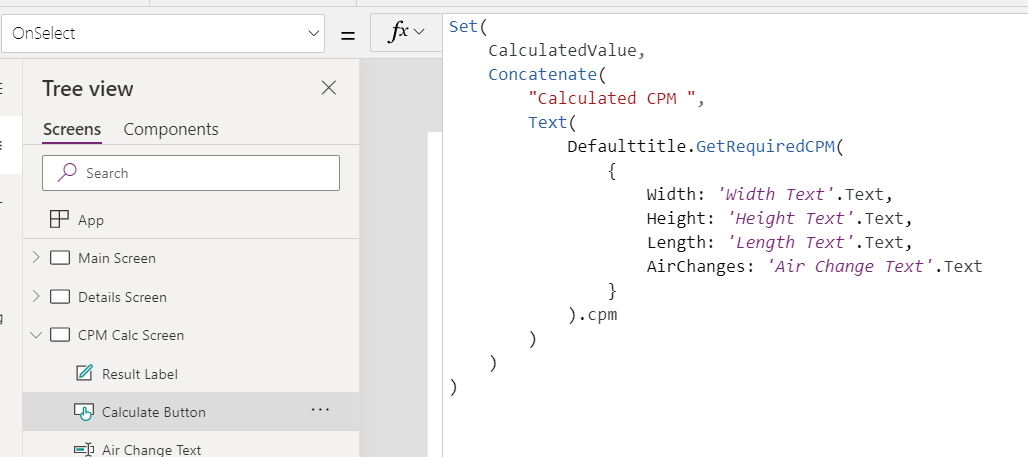
-
Select the Result Label and set the Text property to the CalculatedValue variable.

-
-
Add button to the Main screen.
-
Select the Main Screen.
-
Go to the Insert tab and select Button.
-
Select the Tree view tab.
-
Rename the button to
CPM Button. -
Change the Text value of the button to
"CPM Calculator". -
Place the button on the bottom right of the Main Screen.
-
-
Navigate to the CPM Calc screen.
-
Select the CPM Button button.
-
Set the OnSelect property of the CPM Button to the formula below.
Set(CalculatedValue, ""); Navigate('CPM Calc Screen', ScreenTransition.None);
-
-
Test the app.
- Select the Main Screen and select Preview the app.
-
Select CPM Calculator.
-
The CPM Calc screen should load.
-
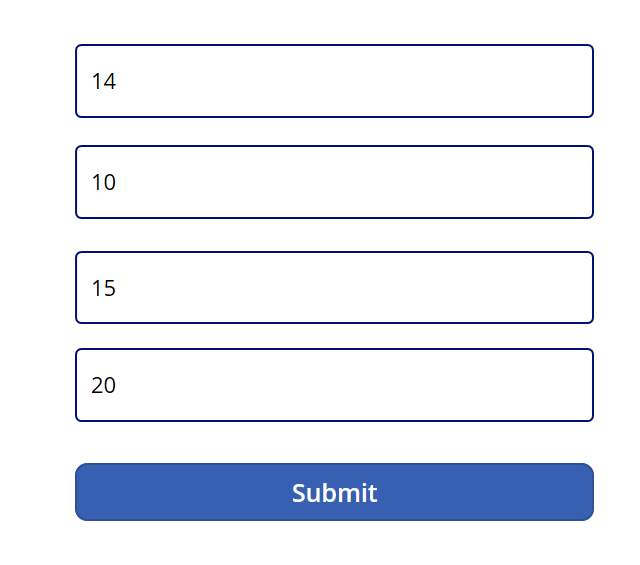
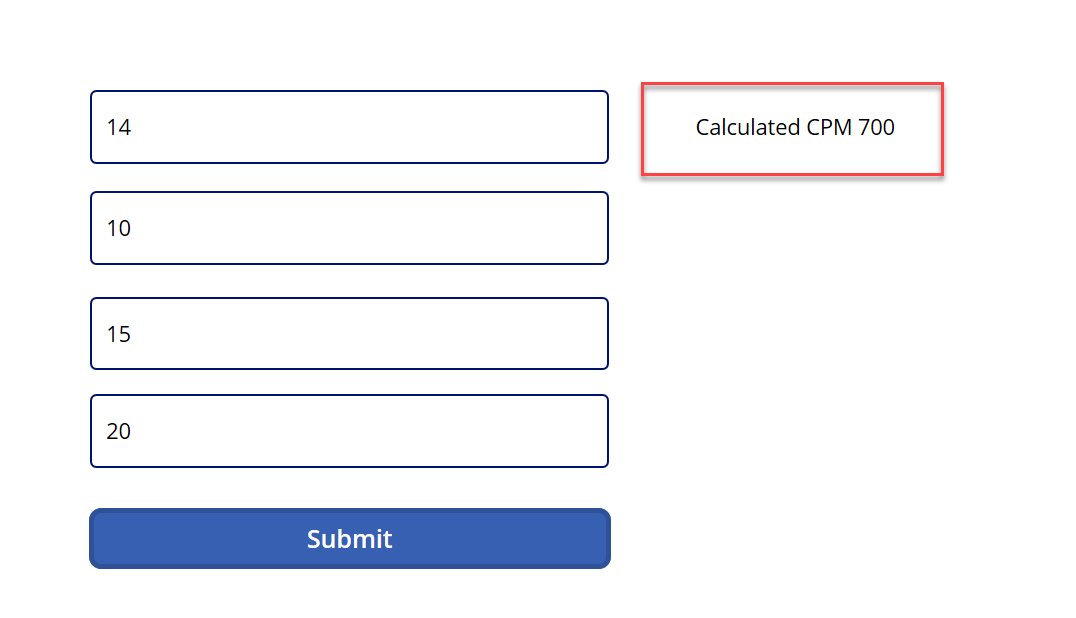
Enter values into the four fields and select Submit. You can notice the loading dots on top of the screen, which confirms that the request has been initiated.
-
The Result Label should show the calculated result from the Custom Connector.
-
Close the Preview.
-
Save and publish the app.
- Click the Save icon.
- Click the Publish icon.
- Select Publish this version.
- Click the <- Back icon.
- Select Leave.